How to replace bearings on a Hansa washing machine
 Any part of the washing machine has its own life, declared by the manufacturer of the equipment. The bearings available in the washer have been functioning properly for ten to fifteen years. However, these elements of the system can fail even earlier, this happens if the machine was used in violation of the basic rules of operation, for example, exceeded the maximum allowable load of things in the drum.
Signs of wear of the part will be the specific noise emitted by the equipment during the spin cycle, visible play, often the engine belt starts to fly off. It is possible to make a bearing replacement on the washing machine with your own hands, without resorting to the help of a master. How to do this, we will tell below.
Thoroughly preparing for repairs
In order to independently replace bearings on a Hans machine, you need to have a complete set of tools, as well as new parts that will be needed during the repair work. Let's figure out what should be prepared:
- small hammer;
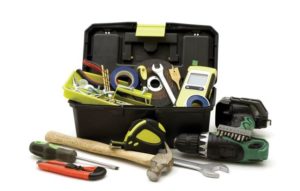
- open-end wrenches of various sizes;
- grinding machine (grinder);
- pliers or pliers;
- gas key;
- two types of screwdrivers: Phillips and slotted;
- sealant;
- a lubricant intended for machining SMA bearings (can be replaced with lithium grease);
- a smartphone with a good camera or a camera. The process of disassembling the washing machine, disconnecting the wiring and other things, it is desirable to fix it on the camera, so that at the end of the process correctly connect all the parts and cables to their places.
As for spare parts, two new bearings and an oil seal should be purchased. Having visited a specialized store, you can call the manager a model of the washing machine and ask for the details. If the order of components takes place via the Internet, we advise you to disassemble the machine before buying, pull out the elements and find analogues in the online store by their numbers.
Try to find original spare parts, they will function much longer, also choose bearings specifically for automatic washing machines (closed type).
Before starting the main work, you should prepare the washing machine directly. Unplug the machine’s power cord from the outlet, turn off the tap responsible for supplying water to the apartment, and disconnect the inlet hose. Then drain the remaining water in the tank. Then you need to remove the drain hose and drag the washer to a place where it will be convenient to repair, it can be an empty room, a spacious corridor or a garage. You can carry out work in the entrance, but you need to make sure that you do not interfere with your neighbors. The preparatory process is completed, you can proceed to the main repair.
Remove the drum tank
Parts that need to be replaced with their own hands are located in the back of the machine, so in order to get out of order bearings you have to disassemble the washing machine completely. It is necessary to remove many of the main parts of the unit to provide free access to the machine’s tank, then pull out the drum tank, disassemble the tank body, and only then change the non-functioning bearings. The front of the work may seem huge, but if you carefully follow the instructions given, you can cope with the repair once or twice.
So, the algorithm of actions for removing the drum tank from the washing machine will be as follows:
- remove the top cover of the washer body, for this, unscrew all the fixing bolts holding it;
- disconnect the bezel panel located at the bottom of the washer from the front wall;
- remove the tray intended for washing powder and other detergents from the case;
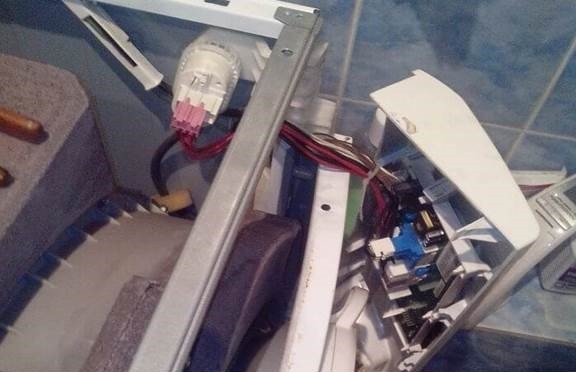
- unscrew the screws holding the main control panel of the machine, carefully move it away from the body and leave it to hang on the side. If desired, you can fix the panel mounting tape;
- dismantle the transverse metal strip and carefully unfasten the pressure switch;
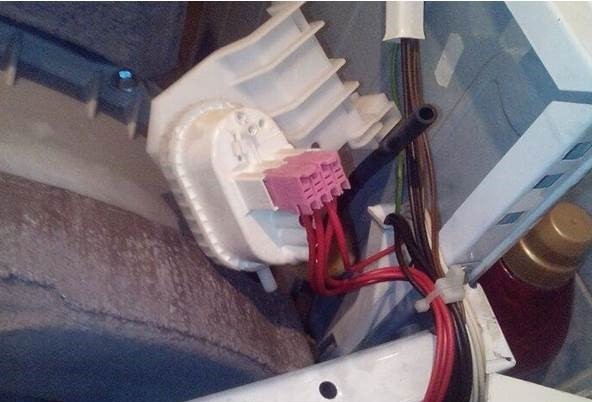
- unscrew the bolts located on the back of the body, responsible for holding the valves of the set of water;
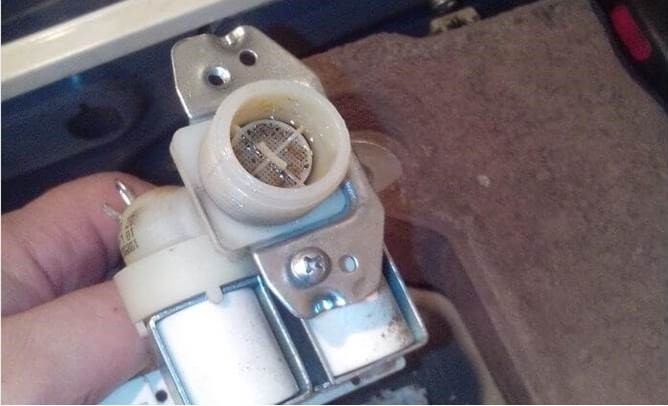
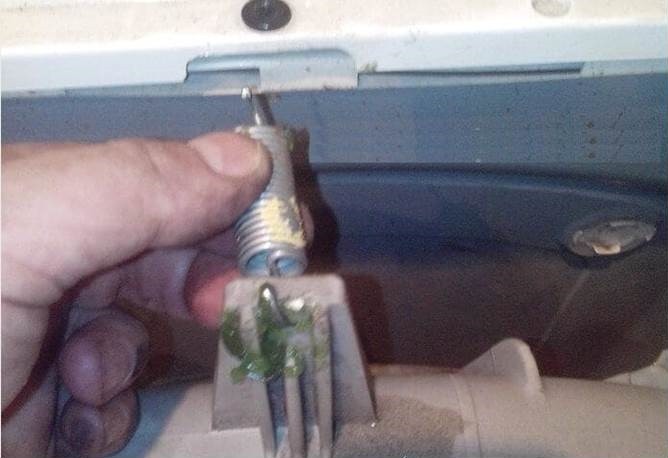
- check the mesh of the inlet filter, if the mesh is clogged using a screwdriver and pliers, pull it out, rinse it well and reinstall it;
- pull out the balances - the concrete bars responsible for the stability of the equipment, they are very heavy, so remove the parts carefully so as not to damage the rest of the system;
- unfasten the spring, keep in mind that Hansa washing machines are equipped with one spring and three shock absorbers;
- remove the dispenser, not forgetting to move the clamp from the pipe from the bottom before;
- open the hatch door and proceed to dismantle the cuff - the elastic band located around the circumference. To do this, tighten the outer and inner clamps holding the gasket and carefully, without damaging, pull out the cuff, unscrew all the bolts holding the front wall of the housing, and remove it.
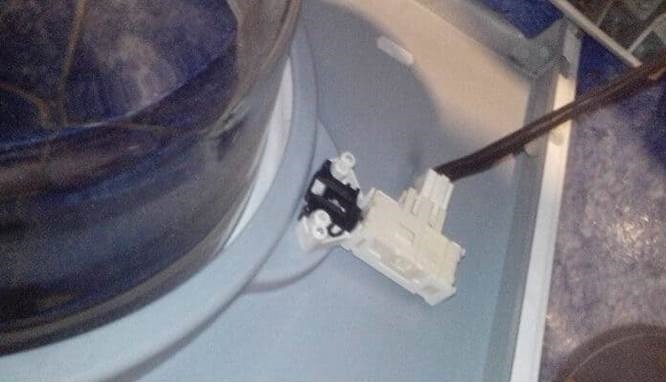
At this stage, pay special attention to the hatch blocking device, it must be either unscrewed or a chip removed from the UBL.
We continue to get to the tank.
- Dismantle the balances near the cuff.
- Disconnect the contacts and ground from the motor.
- Unscrew the bolts, carefully remove the drive belt and remove the electric motor from the washing machine.

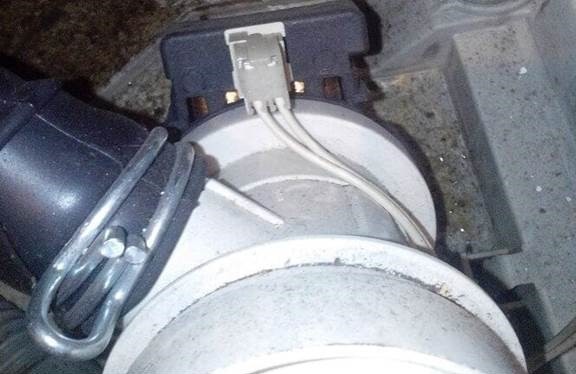
- Disconnect the contacts from the heating element (heater).
- Bite off the plastic clamps with special nippers that connect the cable to the tank of the machine.
- Discard the pump terminals and unfasten the nozzle.
The cable loop should be carefully withdrawn to the side, this will prevent unintentional connection failure.
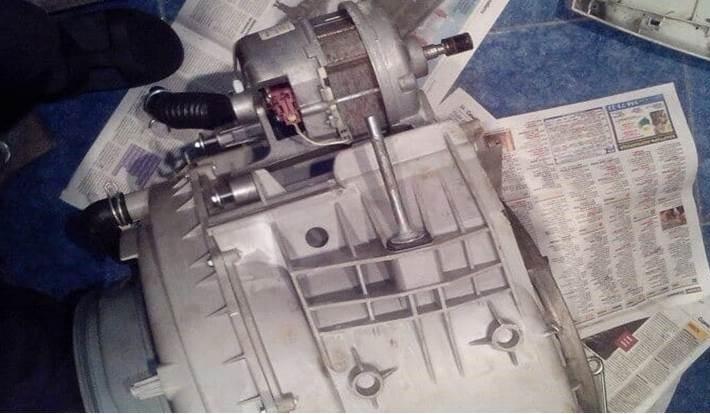
After the manipulations described above are completed, you can begin to get the tank with the drum. It is quite heavy, so it's better to call someone for help. Put your hand in the drum and carefully lift the part. Since the main parts of the washer have been removed, the tank is safely removed from the SMA housing.
We disassemble the tank, change the bearings
The process of disassembling the tank will be less time-consuming than the procedure for removing it. We will tell you what actions you need to take to get to the destroyed bearings:
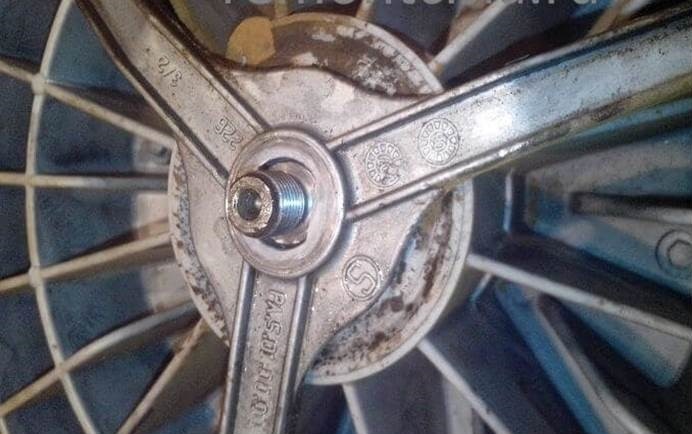
- unfasten the drum pulley;
- using an adjustable or gas wrench, unscrew the fixing bolt;
- unscrew all retaining screws located around the perimeter of the tank circumference;
- carefully separate the tank into two parts and pull out the drum. Performing this procedure is not so easy, to get the drum you have to lightly tap the hammer on the shaft;
- carefully examine the exposed surface. In the case when the washer with such a malfunction has been in use for quite a long time, part of the destroyed bearing can stick to the shaft, forming a working out;
- if a workout is detected, take a grinder and carefully cut off the edges of the bearing, then take a gas wrench and remove the hard-to-remove part of the element.
If during work there are difficulties with the dismantling of metal parts, use the special WD-40 grease.
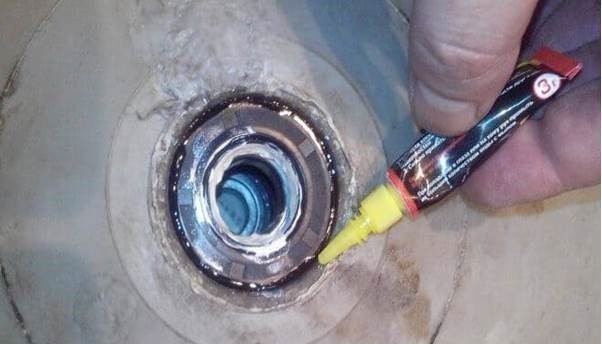
After the old parts have been removed, carefully clean the surface of the tank, drum, shaft seats. It is imperative to use a grease to handle the bearings. Lubricates the shaft, oil seal. Install the new parts in their intended place. For reliable fixation of new bearings, it is recommended to use “Super moment” glue or sealant.
We return to the typewriter operability
Reassembly is carried out either from memory, or focusing on photographic material made during the work. Assembling the unit from photographs is much easier, the probability of confusing the arrangement of parts, terminals, chips and wires in this case will be negligible.
I would like to highlight one most important point related to the reverse installation of the engine in Hans HMA models that do not have access to the part from behind.In this case, having installed the tank first, and then the motor, it will be difficult to put the drive belt in place. To tighten it well, you need to put the washer on its side and carefully put it on, sticking your hand into the hole between the body and the tank. Another, easier method is to install the engine and pull the drive until the final assembly begins.
Interesting:
 How to replace bearings on a Siemens washing machine
 How to change bearings and oil seal on an LG washing machine?
 How to replace bearings in an AEG washing machine
 How to replace bearings in a Beco washing machine
 How to install a washing machine in the bathroom yourself
 How to replace bearings in a washing machine with ...
Reader Comments
- Share your opinion - leave a comment
Headings
Washing machine repair


For buyers


For users


Dishwasher


Add a comment