How to replace bearings in an AEG washing machine
 Some components of the washing machine wear out over time and cease to function at full capacity. Bearings are no exception. A few years after purchasing the washing machine, you may notice the appearance of noises, knocks, and vibrations during its operation. If the situation is not corrected in time, then the usual grinding will turn into an annoying rumble.
Replacing bearings in an AEG washing machine is a rather labor-intensive process; the ideal option is to send the machine to a workshop, and professionals will quickly and efficiently carry out the repair. However, you can save money and try to replace it yourself; our instructions will help you with this.
We are trying to get to the tank
To remove the bearings yourself and install new components in their place, you will have to disassemble the SMA tank. To do this, the element must be removed from the unit body. This process is not easy, because in order to carry out such a procedure, you will have to remove many parts from the machine.
We advise you to have a camera on hand and record the progress of disassembling the equipment, this will help you reassemble the unit accurately in the future.
To get to the tank and easily remove it from the washing machine, carry out the following algorithm of actions:
- remove the top housing cover. To do this, use a regular Phillips screwdriver to unscrew the two screws holding the wall;
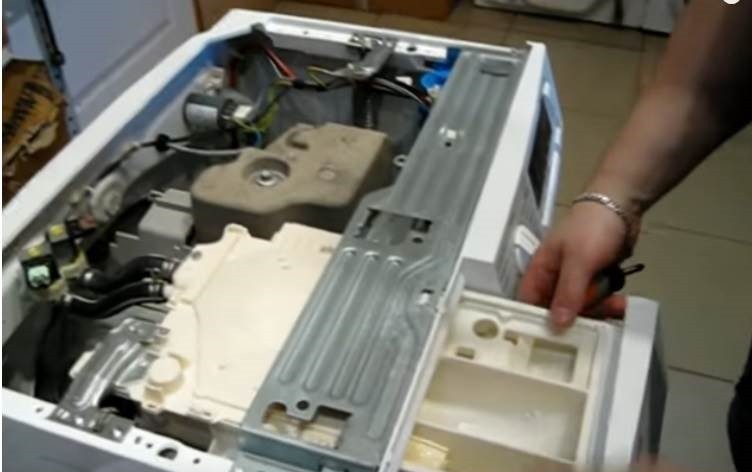
- remove the detergent tray;
- remove the rubber seal surrounding the hatch - loosen the clamp holding the cuff and tuck it into the drum;
- disconnect the control panel; to do this, unscrew all the screws holding it in place.To prevent the panel from interfering with your work, carefully move it to the side. Be careful not to cut contact;
- remove the top metal strip;
- unfasten the lower false panel on the front wall;
- Unscrew the screws holding the front part of the case, located below and above the wall. When you pull the cover towards you, you will see the contacts of the hatch locking device. It is necessary to remove the casing and pull out the UBL wire. Then pull the wall and put it aside;
- disconnect the front and upper counterweights of the washing machine;
- remove the drain pipe;
- unfasten the tank shock absorbers;
- disconnect the pipe from the pressure switch and remove the water level sensor;
- Unscrew the dispenser from the fastenings, remove the fill valve, to do this, push it into the body and turn it to the right. Move the dispenser connected to the valve to the side;
- disconnect the noise suppression line filter;
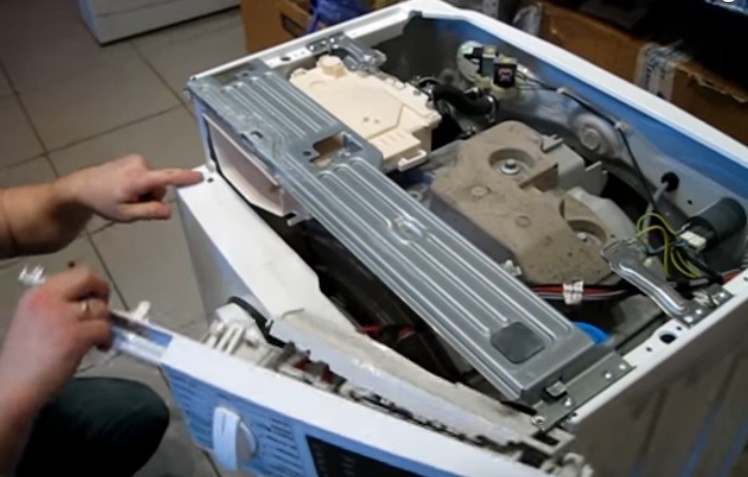
- remove the back wall of the machine, remove the drive belt from the pulley, disconnect the contacts leading to the heating element, as well as the motor wiring.
By performing the described sequence of actions, you will have free access to the SMA tank. Now you need to carefully remove the element from the machine body.
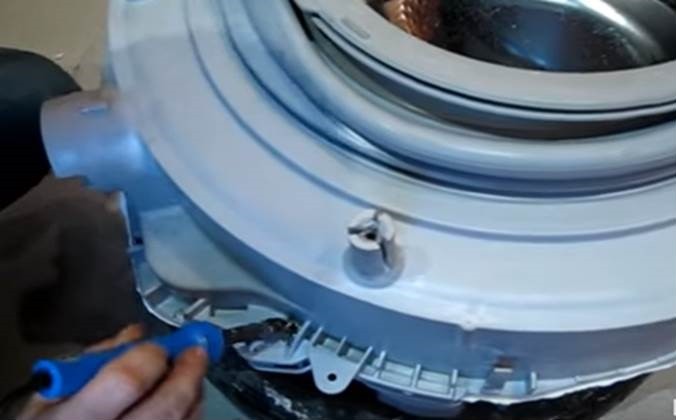
Preparing and disassembling the tank
After the tank is freed, it is necessary to disconnect the pulley, motor and heating element from the structure. Then, using pliers, remove the two shock absorbers located on the surface. The vast majority of washing machines AEGs are equipped with non-separable tanks, so the element will have to be cut.
For the next stage of work, you will need a drill with a long drill with a diameter of 6 mm, five mounting bolts with a diameter of 5 mm, several self-tapping screws (12-14), a degreaser, a water-heat-resistant sealant, and a thin saw with small teeth.The algorithm of actions will be as follows:
- make 5 marks with a marker, using them when assembling the tank you will be able to screw in the bolts in the right place;
- use a drill to make holes at the marked points;
- take a saw and make a cut exactly in the middle of the tank;
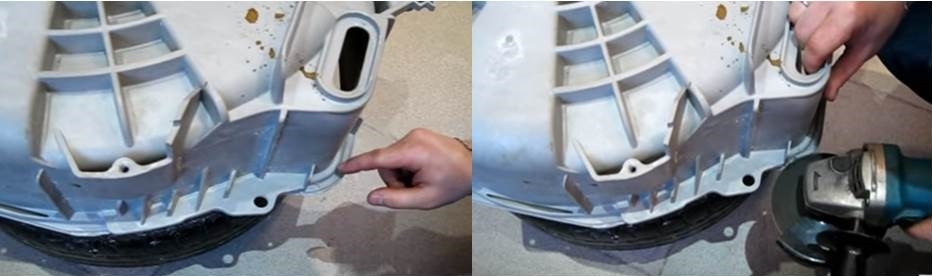
- Using a grinder or soldering iron, slightly deepen the wall of the tank lip indicated in the figure. This will help you with further assembly;
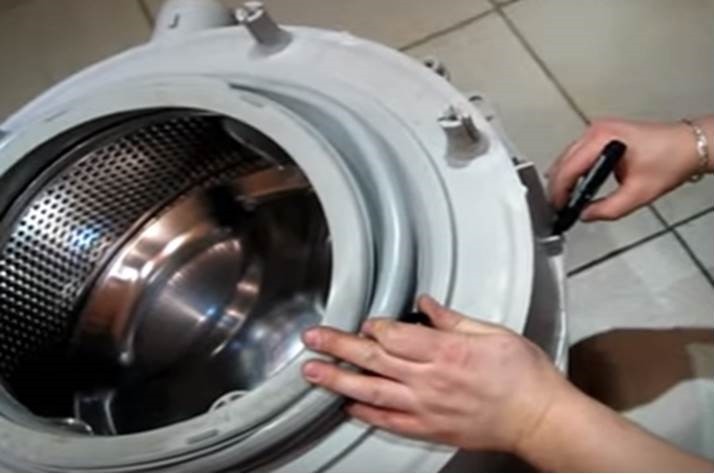
- pull the drum out of the tank body, inspect the shaft for wear, there should not be any. If necessary, clean the bushing.
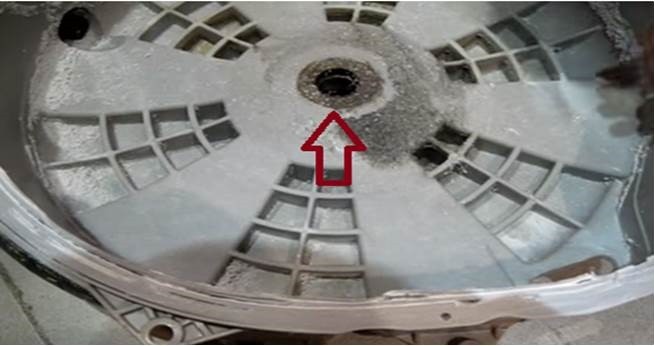
After the drum is moved to the side, you will see where the bearings and oil seal are attached. Let's proceed to the next stage of work on the direct replacement of components.
We change bearings
Before removing damaged parts, remove all dirt on the surface. To remove the old bearings and oil seal, you need to prepare a drift and a regular hammer. Place one end of the tool in the oil seal area and gently tap the top edge of the drift with a hammer. With these steps you can easily remove used parts.
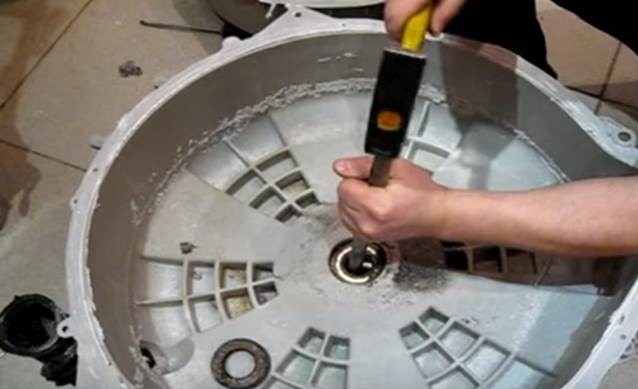
The inner bearing is knocked out inside the tank, after which the tank must be turned over and the second, outer bearing removed.
Before installing new parts, it is better to wash the surface of the tank and drum. After cleaning the parts, you can begin installation. For this procedure, it is best to have a puller; the tool will allow you to carefully place the bearings in their original place. However, if you don't have a puller, you can use a flat drift.
Once the bearings are in place, the oil seal can be installed. Craftsmen recommend coating the rubber band around with regular superglue for a more reliable fixation of the part. The sealing ring should be treated with a special grease for SMA bearings and oil seals; it should completely fill the lip of the element. You should also remember to treat the drum bushing with a lubricant.
You can begin reassembling the tank. To do this, the saw seam is degreased along the entire circumference. Then the drum is inserted into the tank. After the degreasing procedure, a continuous layer of heat-resistant sealant is applied to the edges of both parts of the tank.
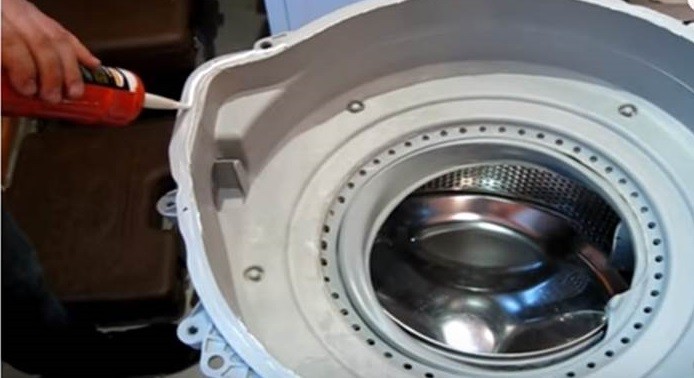
After the walls are coated, connect the two parts of the tank. Then screw the mounting bolts into the holes marked at the beginning of work. Prepare a soldering iron, self-tapping screws and a screwdriver. Using a soldering iron, make indentations on the connecting seam in a circle, in increments of approximately 5-8 cm. After this, insert a self-tapping screw into the hole and deepen it with a screwdriver.
The tank reassembly process is complete. All that remains is to attach the previously removed engine to it, insert the heating element, pulley, and put on the drive belt. After this, the automatic machine is assembled in the same order in which it was disassembled.
Interesting:


Reader comments
- Share your opinion - leave a comment
Categories
Washing machine repair


For buyers


For users


Dishwasher


Add a comment