Error F07 on Ariston washing machine
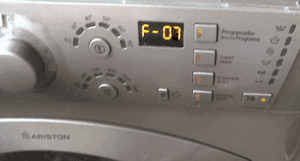 Modern household appliances allow modern housewives not to actively participate in the washing process, but only to load the laundry into the drum, select the desired mode and press the start button. The Hotpoint Ariston automatic machine will do the rest. But it happens that during the washing process some kind of malfunction occurs and after time, instead of clean clothes, you see an unfinished program and an error code F07 or F7 displayed on the display. What does this designation mean and how serious is this breakdown? What to do in this case?
How does it appear and what does the code mean?
Such an error can make itself known in different ways. Immediately after starting the required washing mode, the machine will not fill the tank with water, but will immediately display a code on the electronic display. After 2-5 minutes, in this case, the machine will begin to fill with water, but will immediately drain it. After 10-30 minutes from the start of operation, the machine in normal mode may perform programmed actions, but still not start rinsing the laundry.
Very rarely, this malfunction can appear on an Ariston washing machine after the “home assistant” has been filling and draining water for a long time at the beginning of the process. It happens that programs where washing occurs in cold water work perfectly, and the error appears only when it is necessary to heat the water to a certain temperature. If your machine does not have an electronic display, then the washing machine will also report failure F07/F7.
- On very old cars equipped with power supply and hatch lock indicators, a series of blinks will be observed, consisting of 7 rapid flickers of the power lamp, the break between the series will be from 5 to 10 seconds. In addition to this, the wash program selector knob will click and spin.
- Automatic machines that are slightly more modern than the previous ones and have indicators for the phased execution of washing modes (we are talking about models AVL, AVTL, AVSL and others). They will notify you of a breakdown by flashing three additional function buttons located below (in each model they will be called differently, in some “Easy ironing”, “Quick wash”, in others – “Super wash” or “Extra rinse” ). At the same time, the “Key” indicator, indicating that the hatch door is closing, will blink quickly.
- In Hotpoint Ariston machines of the Low-End series, three lamps located below will simultaneously flicker in a row of the step-by-step execution of the washing program (indicators “Hatch blocking”, “Cycle completion” and “Drain”). An error can also be indicated by all additional function lights located on the control panel.
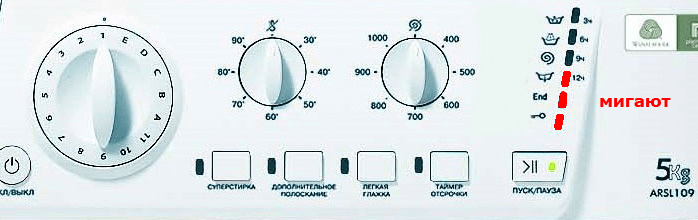
- Hotpoint Ariston Aqualtis models that are not equipped with a display can report a malfunction using the three lowest temperature indicators ("No heating" lamps, 30 degrees and 40 degrees), and they will flicker.
What does this code mean? The designation F07/F7 indicates a malfunction of the sensor that monitors the level of collected water, or a malfunction in the heating element circuit. It often appears when the machine thinks that the heater is not completely immersed in water.
If you notice that the washer shows this error, it is better to refrain from using it until the damage is repaired, this will avoid more serious problems with the equipment.
Let's try to reset
Like any washing machines, Ariston machines can experience a short-term malfunction of the electronic system. Its cause may be increased voltage in the network, magnetic storm, contact with other electrical appliances, etc. Therefore, first try to correct the situation with your own hands, namely, reset the error code F07 or F7 and see if it appears again. If the machine gives an error the following times, it is not a short-term failure, but a more serious violation.
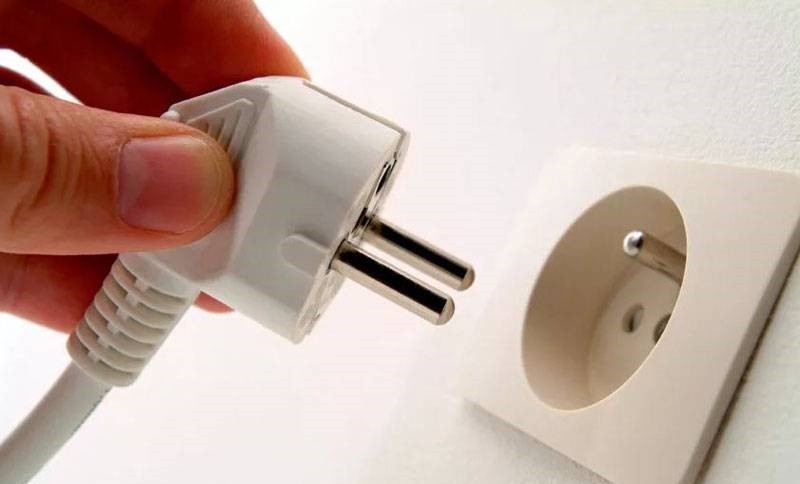
How is the error reset? Turn off the Ariston machine from the network, wait 15-20 minutes, then plug in the power cord and start the machine. If these actions helped, and the designation no longer appears, then the machine will be able to continue working without repair. But if the code makes itself felt again and again, urgent diagnostics of the washer is necessary.
What will we check?
You should start by checking the connection between connector J3 of the pressure switch and the main electrical module. In some cases, it happens that the wiring comes loose or even burns out due to power surges. When this is the reason, soldering or replacing damaged wires may be necessary.
Then inspect the pressure switch for various types of defects. If they are found, the damaged part must be replaced. Test the heating element using a multimeter. When the heater is in full working order, at a power of 1800 Watts it will produce a current resistance of 25 Ohms. If the heating element does not pass this test, it will have to be repaired or completely replaced.

It would also be useful to inspect the wiring for the presence of a contact in the connector of the electrical module CM1. Diagnose the heater relay using the controller. If necessary, replace the electrical module. Often the problem lies precisely in the failure of the heating element, so we will dwell in more detail on how to correct the error by replacing the heater.
Changing the heater
Here is one of the methods that allows you to change the heating element on an Ariston automatic washing machine with your own hands. Heater malfunction can manifest itself in two ways: an open circuit or current leakage into the housing. In both cases, it is necessary to replace the faulty module with a new, working one.
To change the heating element, you need to have free access to the rear wall of the case. In the base of the washing machine you can see a small plug. Unscrew the mounting screws and remove the wall covering the hole in the housing. Through the window that opens, you will have access to the heating element, which is located on the top, on the right.
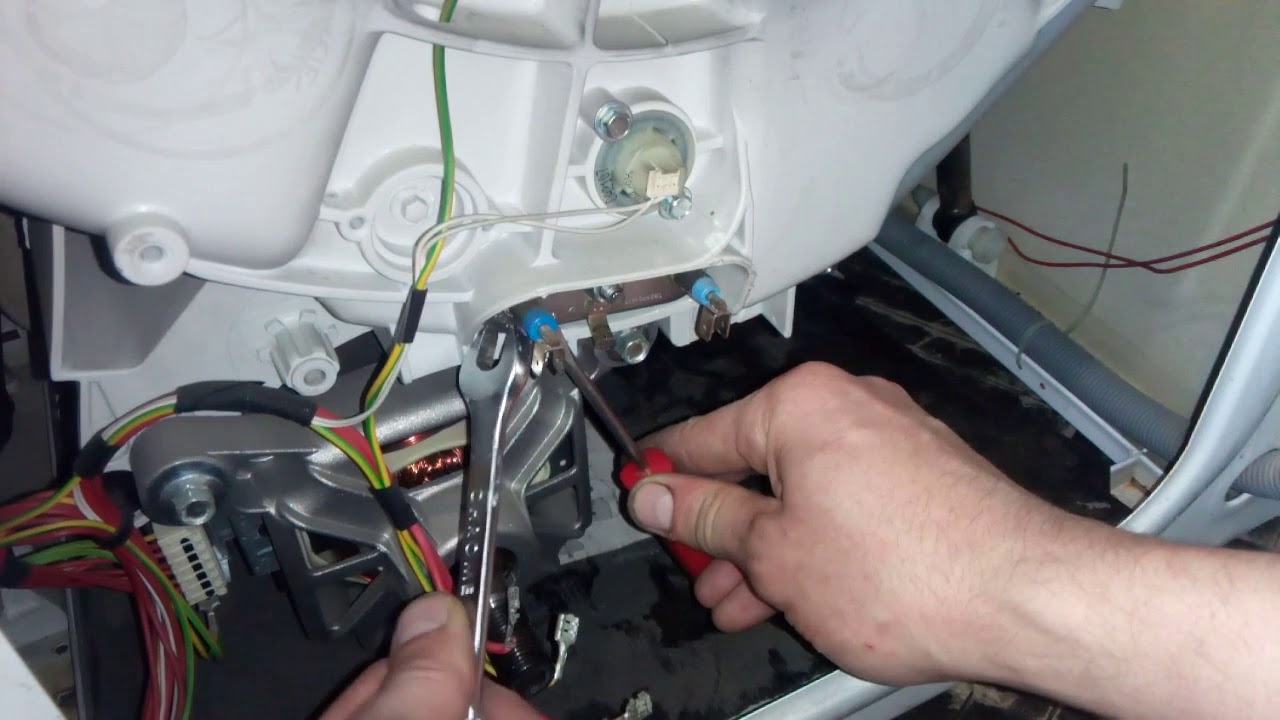
Using your smartphone camera, record how all the wiring should be connected correctly. On the side you can see the power contacts - zero and phase, colored red and blue, respectively. In the center is the housing contact; this cable has a yellow-green tint. Please note that next to the housing contact and the power wire there is a temperature sensor, which is a plastic connector equipped with a special latch. All wiring going to the heater must be carefully disconnected.
The nut located in the center of the heating element must be loosened. She pulls on an elastic band designed to completely seal the connection.There is no need to completely tighten the nut, just loosen it and press it inward along with the tension bolt. These actions will weaken the seal and make it possible to remove the heater from the washer.
It happens that it is not possible to remove the heating element the first time due to the fact that the rubber seal prevents this. Take a slotted screwdriver and, prying the heater in a circle, carefully remove it from the tank.
When you take out the heating element, you will probably see a white limescale deposit on it. It is this layer that disrupts heat transfer, resulting in overheating of the part and breaking the circuit. When replacing the heater, the temperature measurement sensor is removed from the non-working element and attached to a new one.
To make the installation of the new heating element easy and smooth, lubricate its gasket with liquid laundry detergent. When further installing a working part, be sure to check that the edge of the element is connected to the fastener located in the tank. To do this, insert the heating element into the tank and press it firmly until it completely enters the hole in the tank. Then secure the structure by tightening the tension nut. Connect all existing wires and contacts according to the previous diagram.
Before installing the plug cover, check the heater for leaks - fill the tank with water without starting the wash. If it turns out that the connection is leaking liquid or air, tighten the tension nut more tightly. Once the functionality of the washing machine has been confirmed, assemble the Ariston machine completely.
Interesting:


Reader comments
- Share your opinion - leave a comment
Categories
Washing machine repair


For buyers


For users


Dishwasher


Add a comment