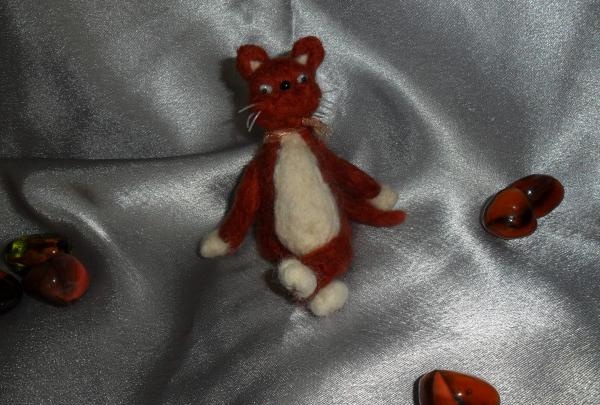
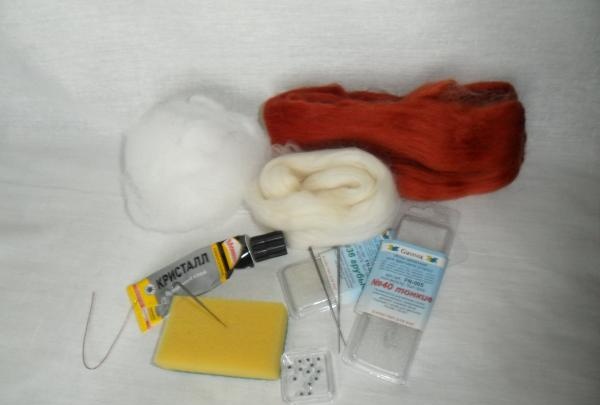
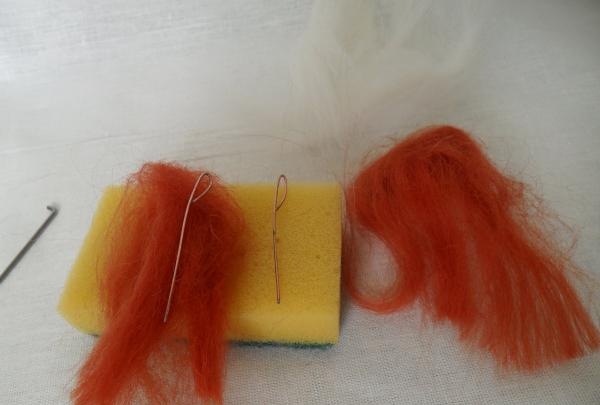
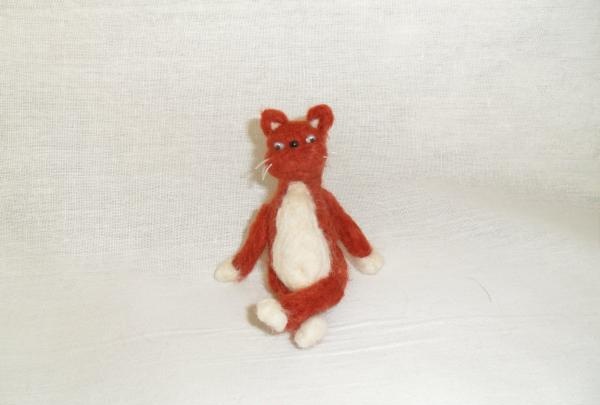
So, in this master class I will tell and show you how to make this happy, fat cat. For felting, we need the wool itself for dry felting (here I use wool from the company “RTO”) in two colors - I took chestnut and light cream, but you can take other colors typical of the color of cats. Also, a little padding polyester is useful for filling, but it’s not necessary, you can just take more wool. For felting the shape itself, I use Coarse needles No. 36, and Fine No. 40 for felting parts (I use Gamma). As a porous pad, I used a regular kitchen sponge for washing dishes. You will also need beads for the nose and eyes, transparent universal glue, and a small piece of wire to give density to the legs on which the form will rest.
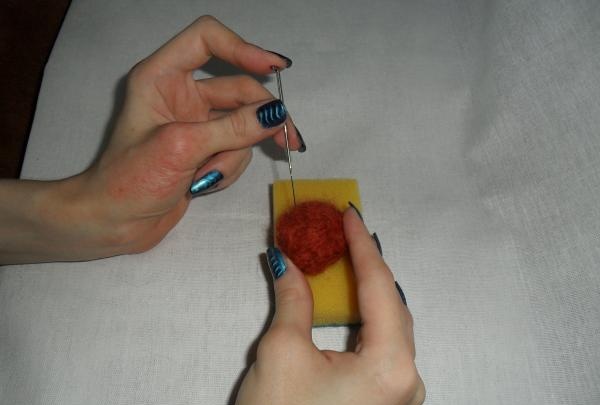
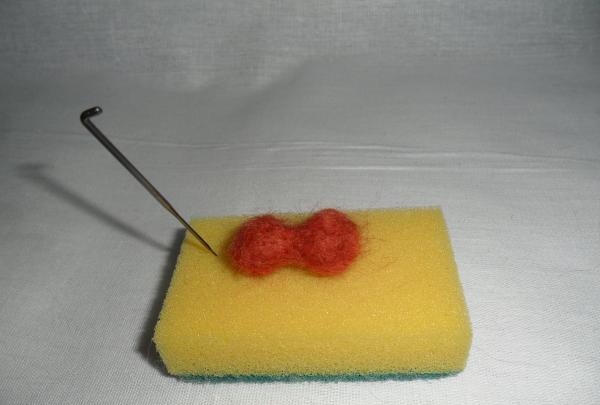
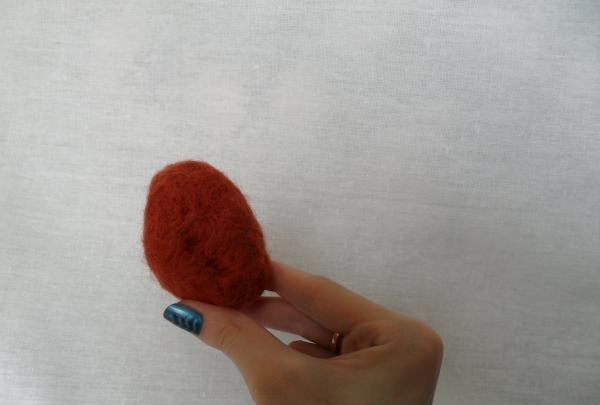
Let's start with the head. Wrap a small piece of padding polyester in wool of the main color.
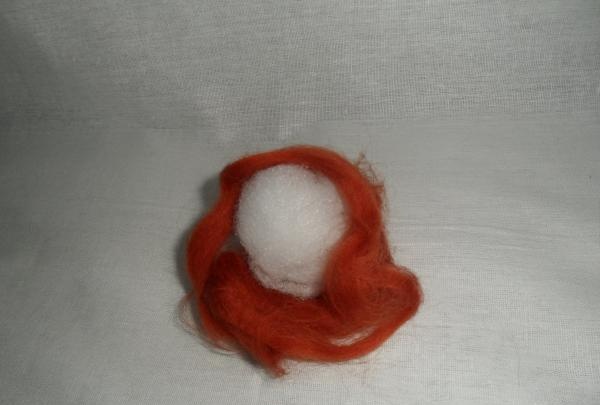
And we begin to roll on the sponge with a coarse needle, giving the future head a rounded shape with our hands.
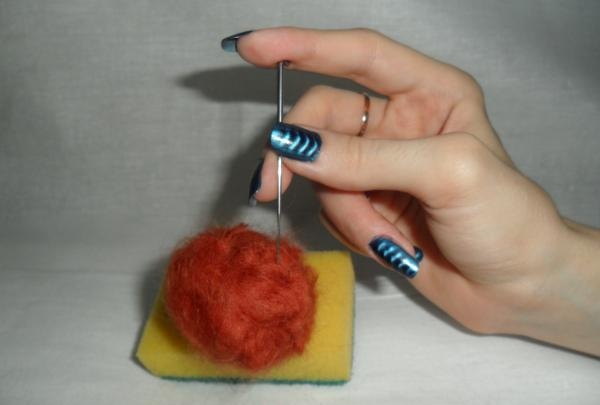
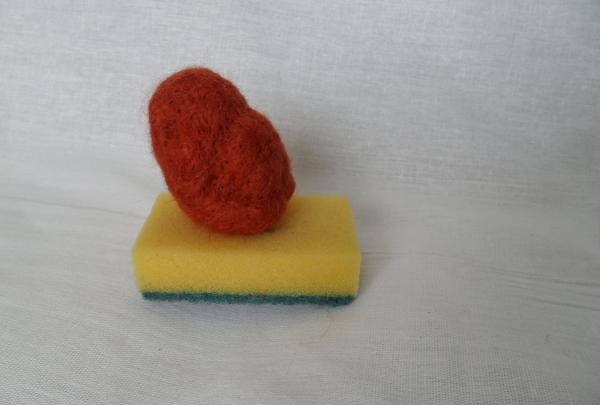
If padding polyester stains are found somewhere during the process, add another layer of wool. At this stage, the needle should go vertically, as deep as possible, so that the internal cavity of the head falls well, while the outer part remains loose for further processing.
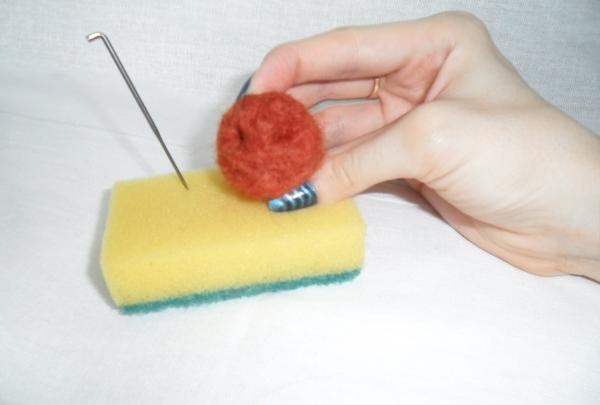
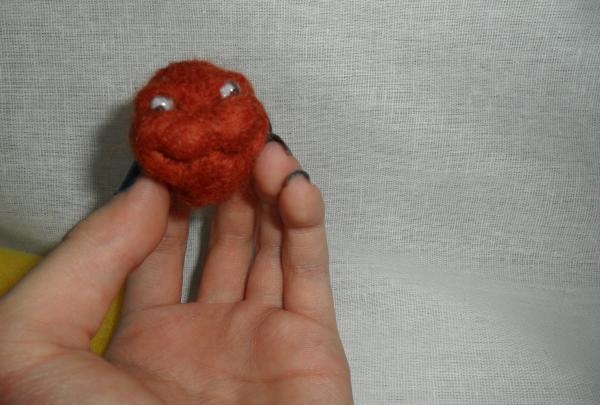
When the ball becomes more or less elastic, it’s time to give it the shape of the future head; here you need to immediately make “eye sockets” - holes into which we will glue the eyes; they can be made by repeatedly “poking” them in the same place, symmetrically to each other.
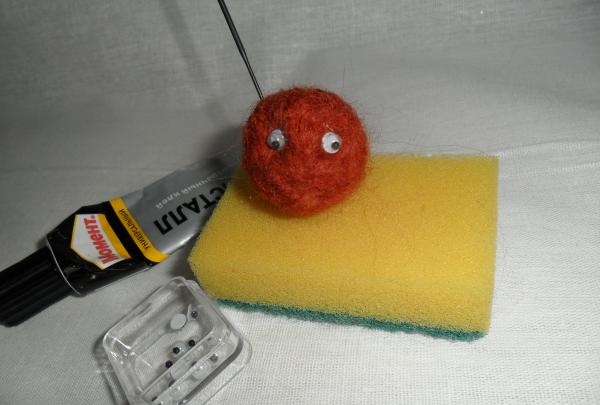
Next comes the eyes themselves, here you have room for creativity: you can make them from wool, fabric, or mold them from polymer clay and paint them, you can pick up beads, I used “running eyes” bought at a handicraft store.
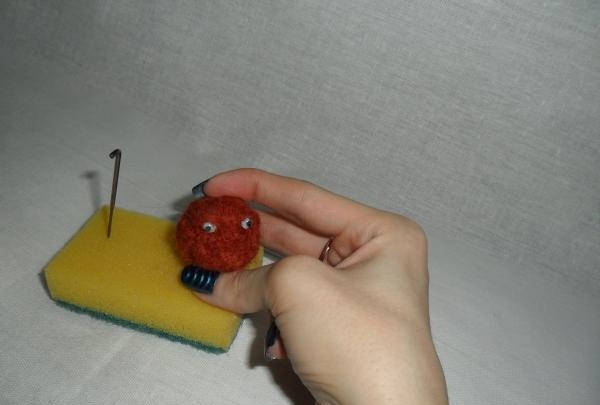
Now let’s add a little “lazy” severity to the look by rolling small pieces of wool as eyelids.
Separately, I made small cheeks on a sponge and, pressing them onto the head along them, outlined the mouth of the animal.
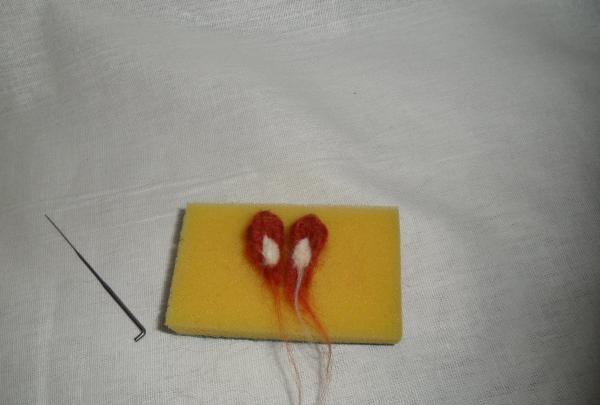
We felt all paired parts at the same time, taking the same amount of wool to achieve symmetry. I added some light fur to the inside of the ears.
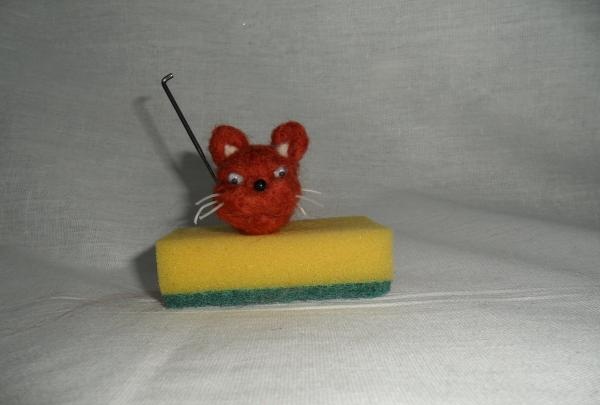
I glued in a nose from a bead (can be felted from dark wool), and added a mustache from thick fishing line. This is how the head came out.

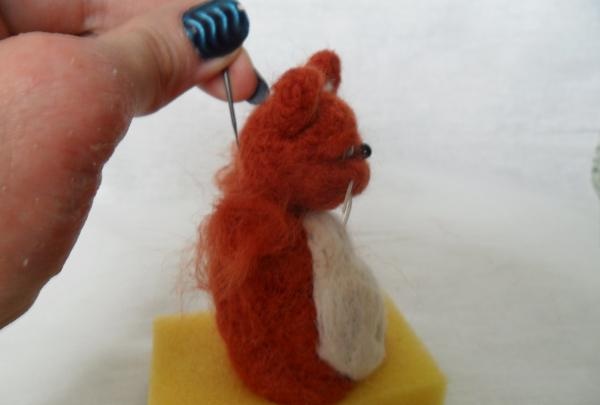
We create the body using the same principle as the head.

Initially, we give the shape a pear-shaped figure; when it becomes elastic enough, we outline a round belly, and the future hips of the toy.
We highlight the belly with light hair (don't forget about the navel ;) ).

And secure the head with an additional piece of wool.
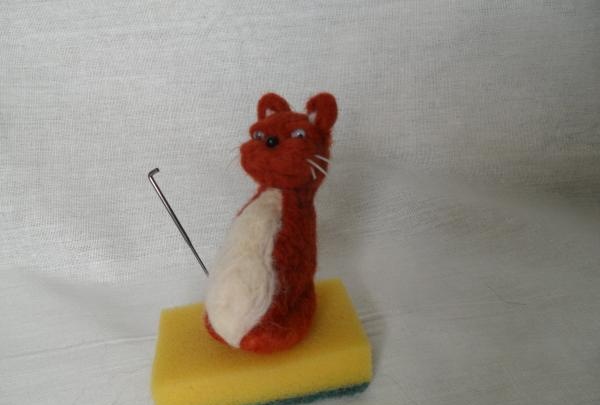
Now give the butt of the toy a good pat, it should become hard, otherwise our cat won’t be able to sit on it confidently. At the next stage, we look through the entire body for the presence of “flaws”; if there are holes somewhere, then they need to be carefully filled with wool, the main thing here is not to overdo it. What’s good about this type of needlework is that you always have a chance to redo what you don’t like without harming the whole work, but you need to know when to stop, otherwise you can get carried away and redo it endlessly.
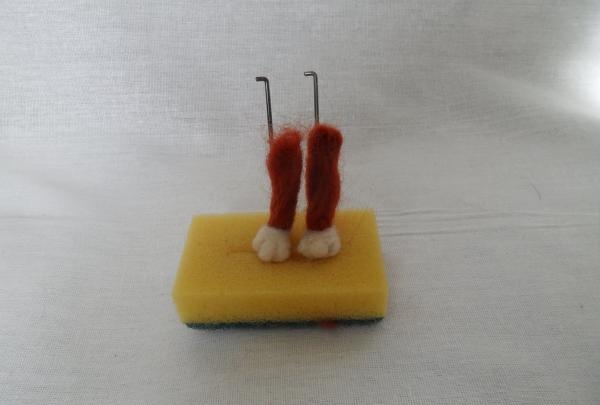
For the front paws, additional support is needed; I used not very thick, but quite elastic wire, rounding it at the top so that it did not slide inside the paw. We wrap it in wool and start felting, here the needle should go parallel to the wire.
These are the paws that came out.
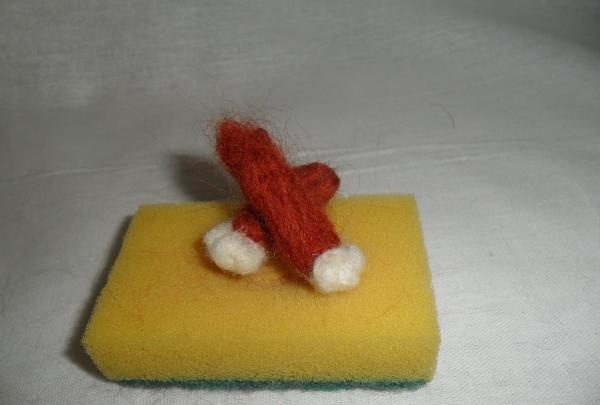
The hind legs can be made without a wire base, a little thicker than the front ones, I wanted them to cross.
And of course, the most important thing for any cat is a beautiful tail!
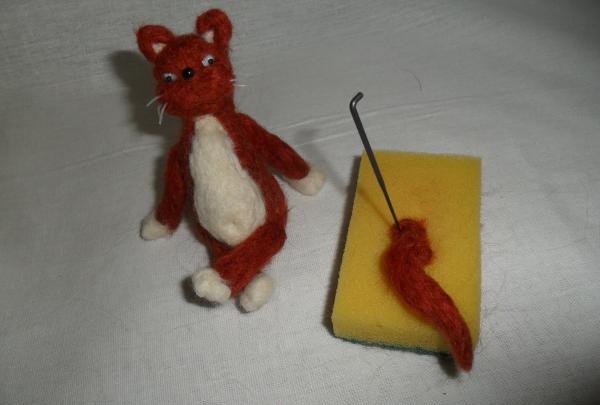
We roll him over to the little animal. I tied an organza bow around my fat boy’s neck, and this is what I came up with:
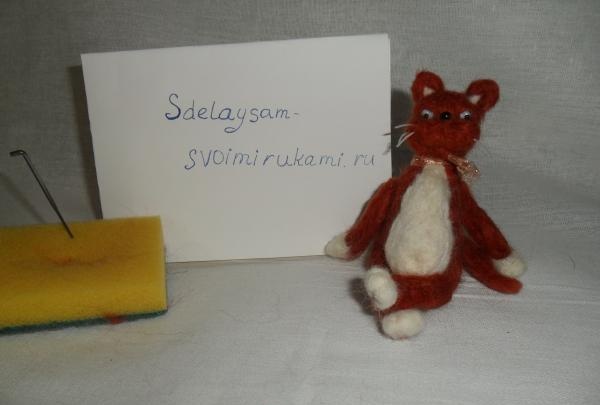
Anyone with no experience in felting can easily create such a toy; on average, it took about 3 hours to create it, and it will be able to please the eye for many years. The author of this design and master class is Nikonorova Svetlana, especially for the site enn.washerhouse.com