Do it yourself
Life hacks, master classes, useful tips, recipes.
home » Construction and repair » Repair » Laying floor tiles
Laying floor tiles at home is not such an expensive process. Therefore, in case of repairs, I believe that you can save money here and do all the work yourself. I bring to your attention some tips for laying floor tiles with your own hands. To carry out this work, you will need the following tools and materials: an angle grinder with a stone disc, an ordinary trowel, a notched trowel, a building level, tile adhesive, grout and the tile itself.
Before starting work, it is necessary to carefully prepare the floor surface. This is one of the most important points. Tiles are placed only on a “sure” surface: linoleum or sagging boards will not work here. You can use plywood to level the floor surface. However, this is not enough. To ensure that the tile adhesive has good contact with the floor, I recommend leveling the surface with a screed. The smoother the surface, the easier it is to lay the tiles.

Laying floor tiles


Next, you need to decide on the sequence of laying the tiles. Usually, solid tiles are laid out in accessible, central places, and trims are laid along the edges, where the tiles do not fit.
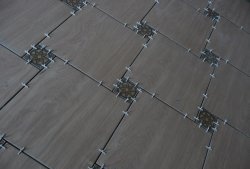
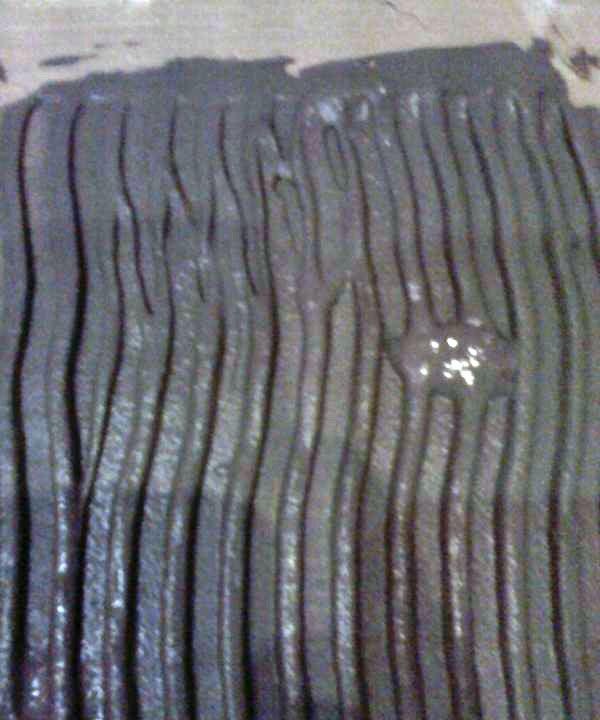
Actually, we start with solid tiles.Mix the glue according to the manufacturer's instructions (mix thoroughly until smooth, without lumps, and maintain a technological pause for about 10 minutes). Next, using a regular spatula, spread the glue over the prepared surface in an even layer. Then we run a notched trowel over the layer so that we get stripes. We lay the tiles carefully: first we lay one edge completely, and then slowly lower the second. Then we press the tile with our hands so that it stands straight. The installation process itself is not complicated. However, it is important to remember that the distance between the tiles should be approximately 3 - 4 mm. And when laying each tile, use a building level: all tiles must be in the same plane.


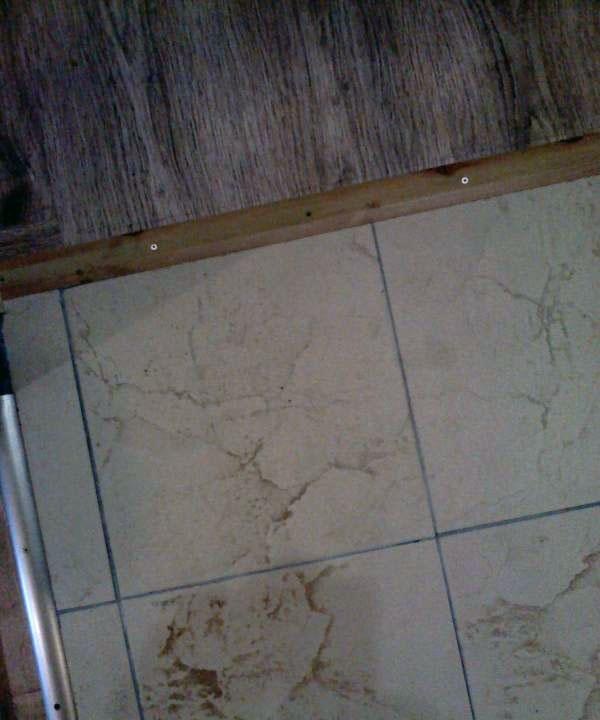
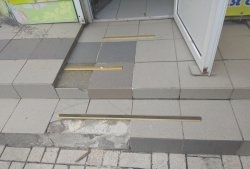
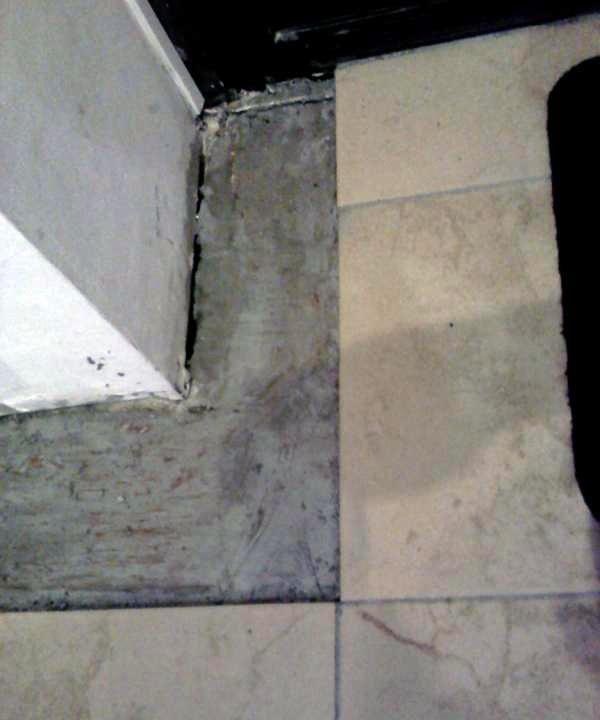
When the solid tiles are laid, you can begin making blanks. To do this, we take measurements, draw them on the tiles and cut off unnecessary residues with a grinder. Some builders use mechanical or electric tile cutters. However, complex workpieces are easier to cut with a grinder. Next, we continue the process of laying the tiles, observing the gaps. Please note that the tiles should not rest against the wall (a gap is required).
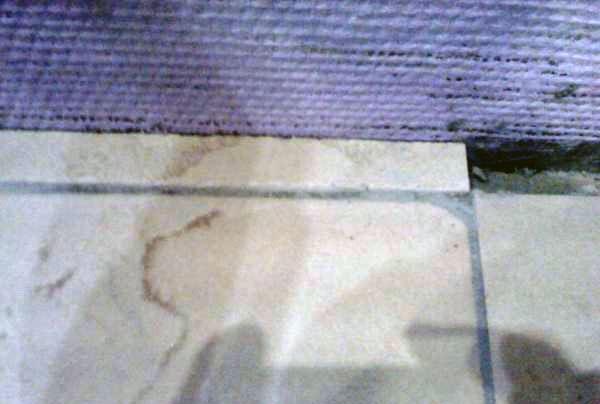
After completing the work, it is necessary to ensure complete rest for the laid tiles. The glue dries completely after 24 hours. Then the tile can be subjected to load. After 3 - 4 days, it is necessary to clean the seams between the tiles and, using grout, thoroughly coat them, removing excess.
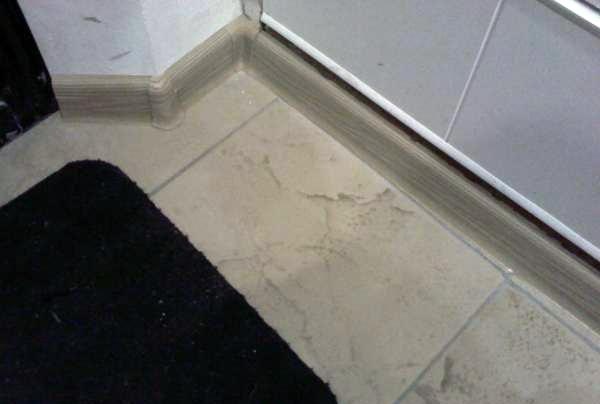
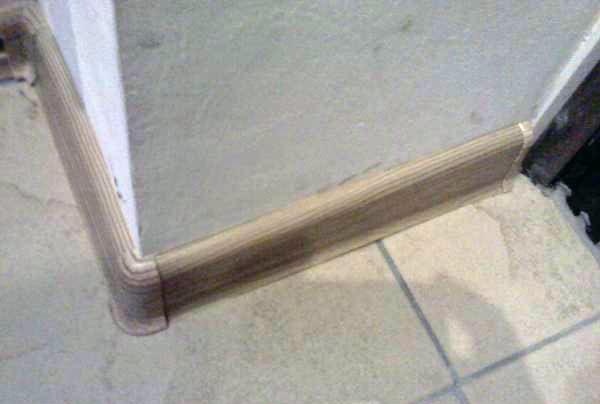
Cover the transition areas between tiles and linoleum or laminate with regular thresholds. Cover the joints with the wall with plinths or border tiles. After drying, the floor is ready. Good luck.


come back
Comment
  • bowtiesmilelaughingblushsmileyrelaxed relaxedsmirk
    heart_eyeskissing_heartkissing_closed_eyesflushedrelievedsatisfiedgrin
    winkstuck_out_tongue_winking_eyestuck_out_tongue_closed_eyesgrinningkissingstuck_out_tonguesleeping
    worriedfrowninganguishedopen_mouthgrimacingconfusedhushed
    expressionlessunamusedsweat_smilesweatdisappointed_relievedwearypassive
    disappointedconfoundedfearfulcold_sweatperseverecrysob
    joyastonishedscreamtired_faceangryragetriumph
    sleepyyummasksunglassesdizzy_faceimpsmiling_imp
    neutral_faceno_mouthinnocent
5+two=
Comments (2)
  1. Andrey
    #1 Andrey Guests 30 July 2014 13:44
    0
    1. Floor tiles, floorboards, life is the same
    2. GKL is available in the following thicknesses: 6,8,10,12,5 (mm) Knauf; 9,5,10,12,5 (mm) - native fatherland, as the hand takes
  2. Grisha
    #2 Grisha Guests October 20, 2014 23:00
    0
    It’s worth calculating in advance about the inserts (trimming around the edges), either starting in the center or from the edge if the insert is very large. If the room is large, it is worth stretching the thread and laying it along it so that the geometry does not come apart at the seams

Homemade feta cheese | Do it yourself

How to make a connection of profile pipes without welding at right angles with a jib with your own hands

How to make a garden path from wild stone and without concrete

Quick desoldering of SMD components using an iron

«Do it yourself - with your own hands» - a site of interesting homemade products made from scrap materials and items at home. Step-by-step master classes with photos and descriptions, technologies, life hacks - everything a real master or just a craftsman needs for needlework. Crafts of any complexity, a large selection of directions and ideas for creativity.

We recommend reading

Washing machine error codes