Soldering Station Diagram:
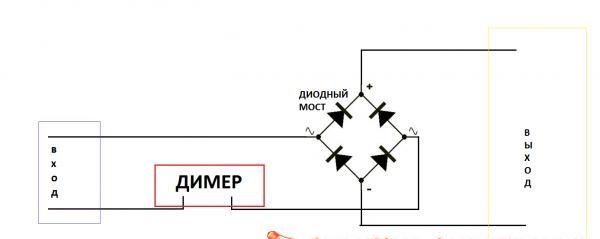
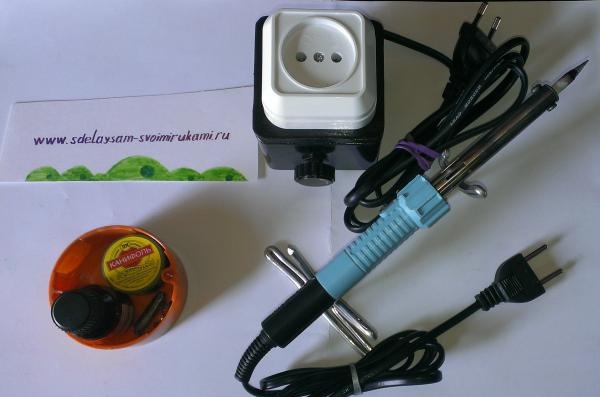
We will need:
1. Dimer. (any will do). It is also called a dimmer.
2. The diode bridge.
3. Case. (wooden or plastic box). It is best to buy a ready-made housing in an electrician.
4. Socket.
5. A plug with a wire.
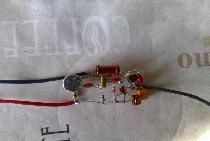
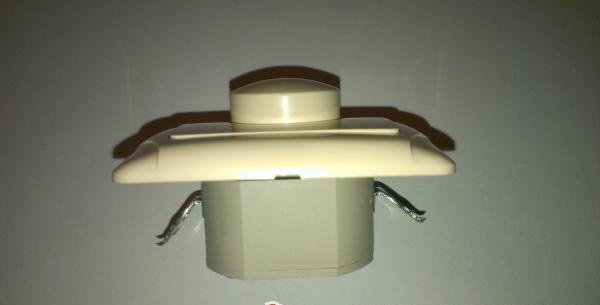
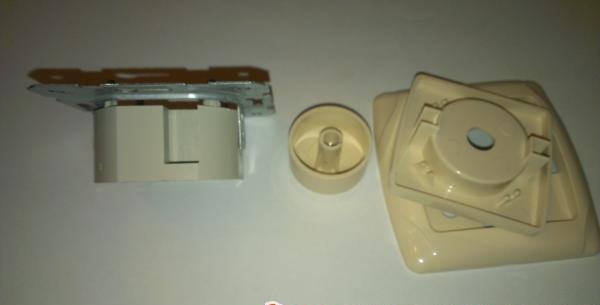
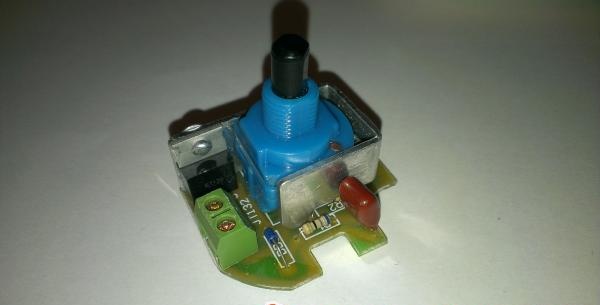
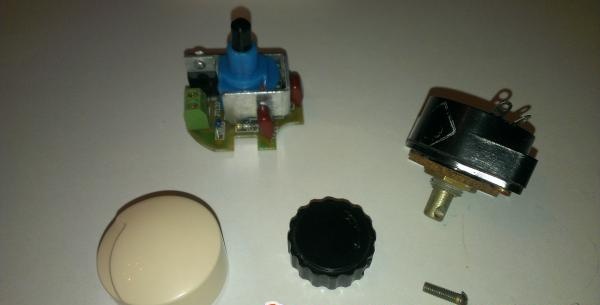
Let's start with the dimer. Since the case of the dimer is very large, I recommend disassembling it, leaving only the circuit itself. The pen can be replaced, as in my case, you can leave your own.
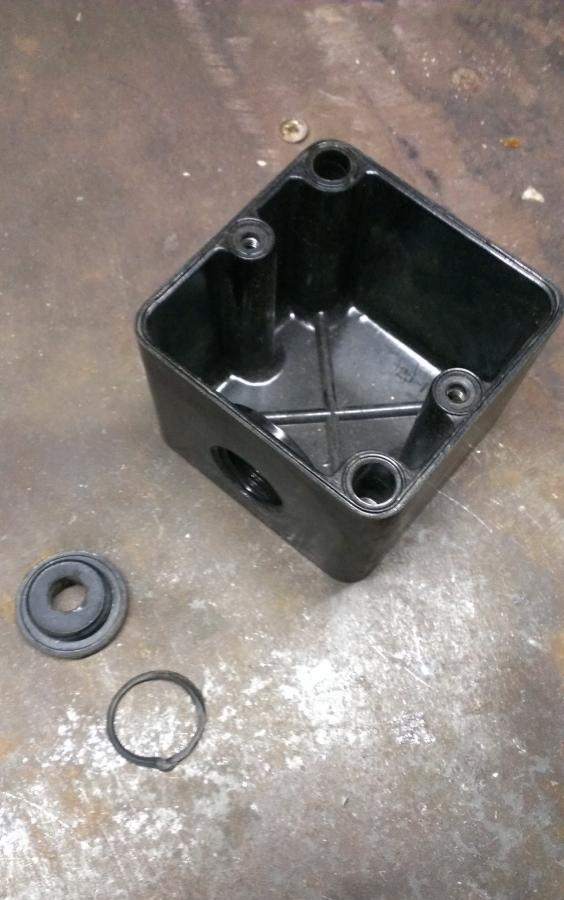
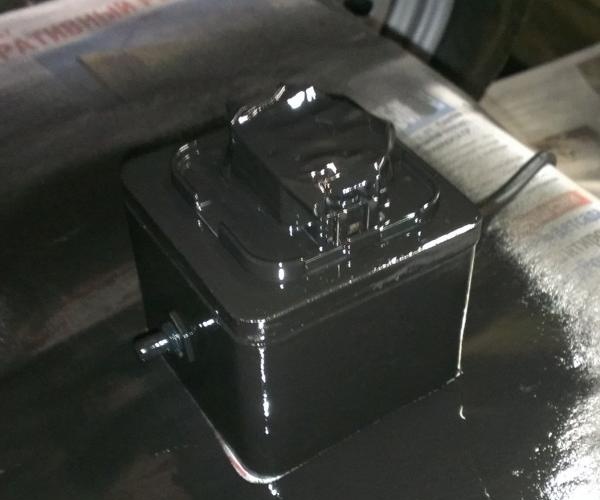
As a case, I decided to take a box from under the Soviet switch. Since there was no cover, I made mine from plywood.
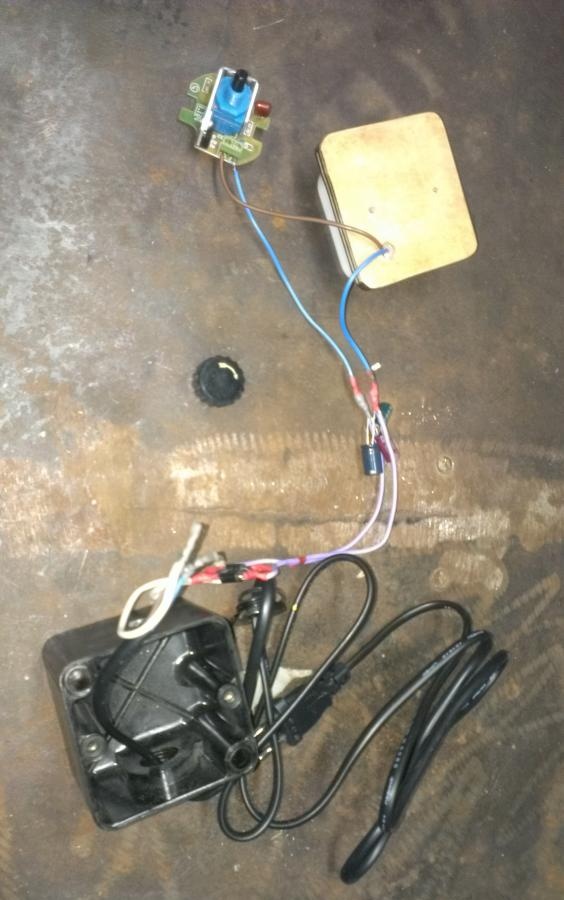
Now you need to assemble everything according to the scheme. Install a power outlet, plug.
For beauty, I recommend painting the item.
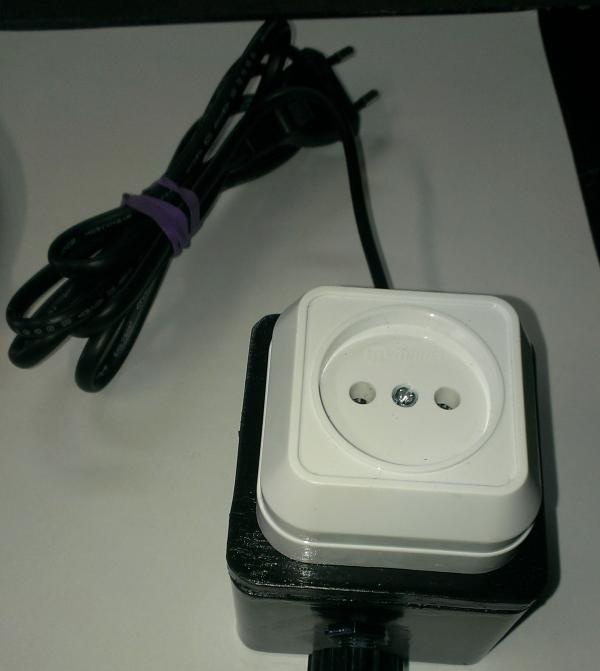
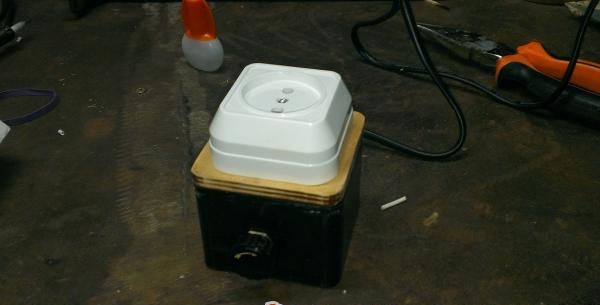
Here is the end result.
I WISH SUCCESS !!!