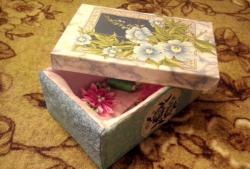
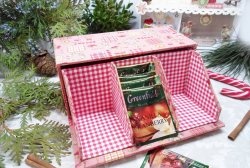
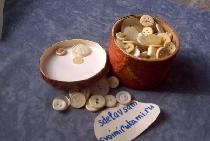
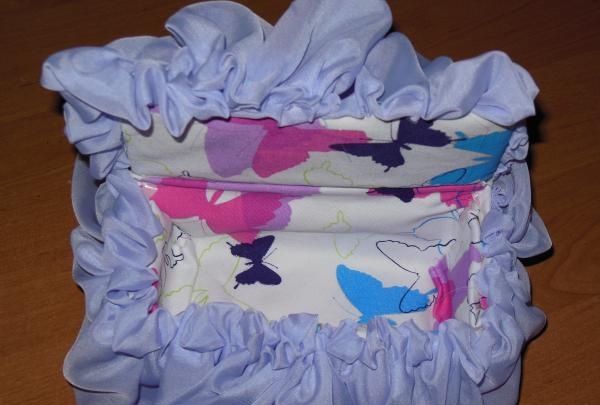
To keep your home in order, you need somewhere to store small items. Our wonderful handmade box is perfect for this task.
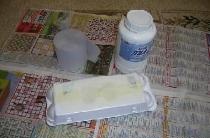
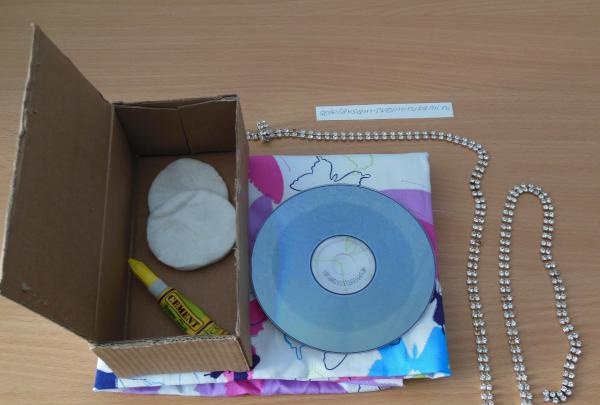
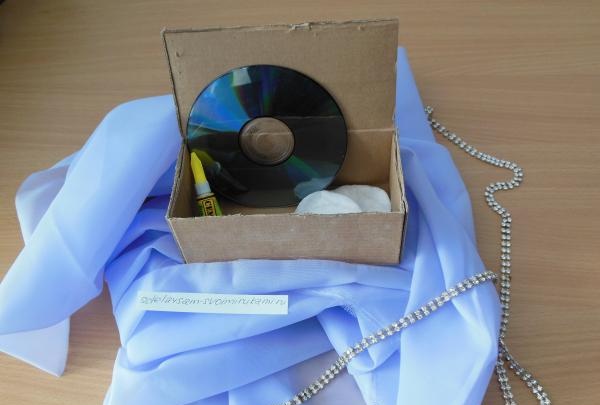
To work, we will need super glue, an old medium-sized box, two types of fabric (light and thick), cotton wool or cotton pads, a needle and thread, computer disks, rhinestones or glitter.
Making the base
We take a cardboard box and cover it on all sides with cotton wool or cotton pads. Next we prepare the fabric. It should be ironed and cut according to the dimensions of the box (thick fabric). Let's start processing the walls of our box. We attach the fabric to the base, treating the walls of the product with super glue.
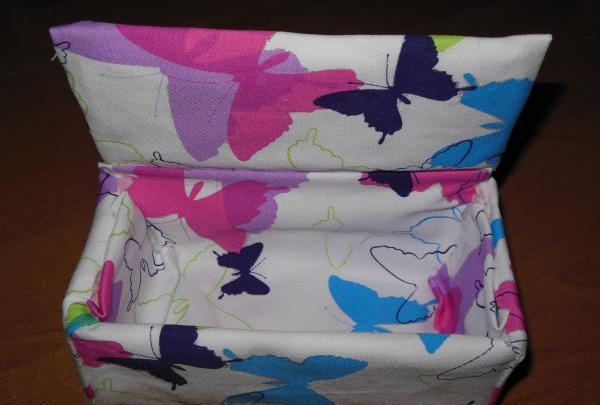
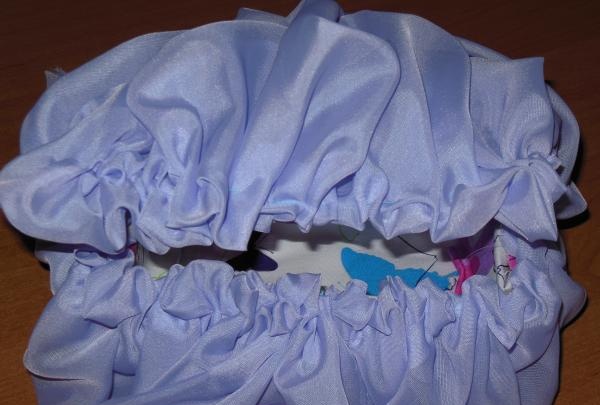
After securing the base material, we begin to work with light fabric. Using a thread and a needle, we make assemblies and hook them to the edges of our box. We perform this operation on all sides of the product.
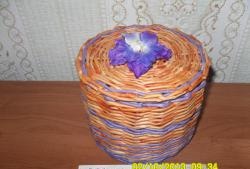
Decorating the box.
We take computer disks and break them into pieces of different sizes and shapes. Heat it using a gas stove and give it the desired look using a pencil. Parts should be held over the fire with tweezers or pliers to avoid burning your hands.After giving the required shape, the product should be immersed in cold water and cooled. We distribute the resulting parts evenly over the entire surface of the box. Secure with super glue. Add rhinestones and sparkles. The production of our wonderful box for small items is completed. It's time to use it for its intended purpose.
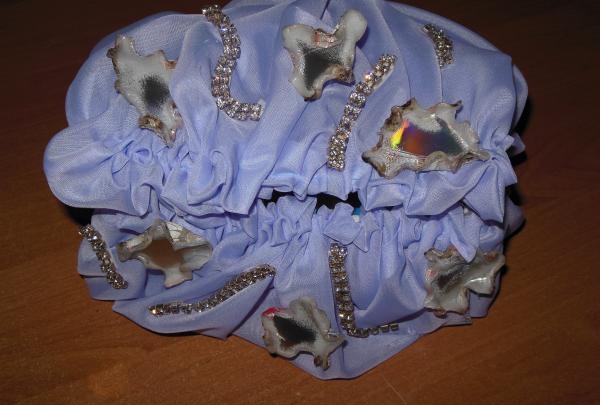
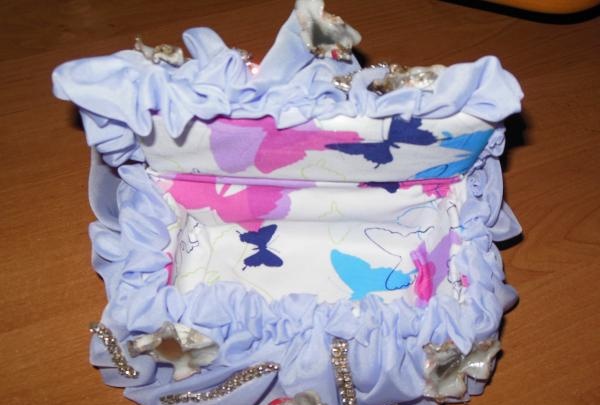
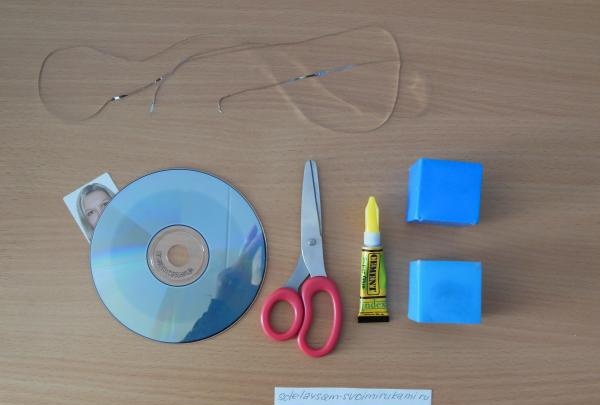
Photo frame Rubik's Cube for your favorite car.
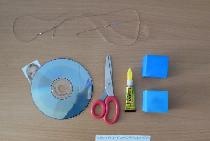
Everyone knows that traveling together is more fun. With the Rubik's Cube photo frame you can take your whole family with you. 2 children's cubes or square boxes, a thin chain, favorite photographs, super glue, double-sided tape, self-adhesive paper, old computer disks, cling film, scissors.
We cover the pre-prepared cubes with self-adhesive paper.

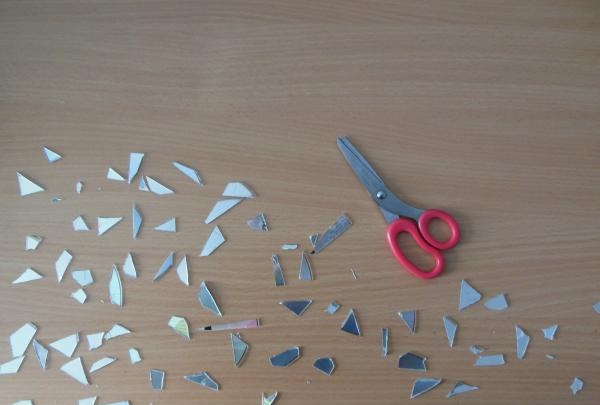
We take the disks and cut them with scissors into small pieces, no more than 2 cm.
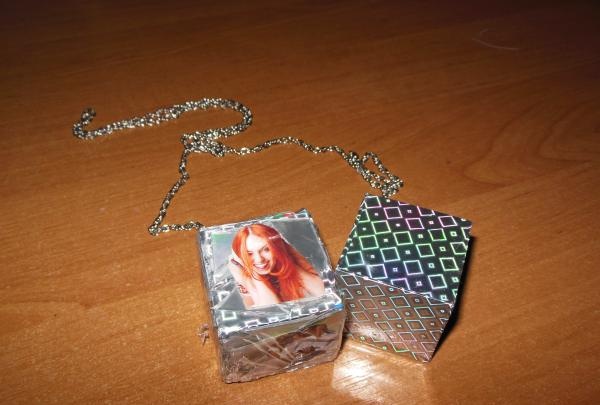
We paste them over the entire surface of the cubes and let them dry. We glue our favorite photographs to all 6 sides and glue them with double-sided tape.
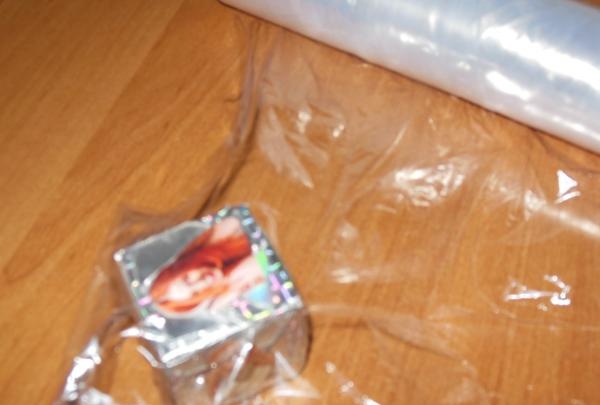
Next, add a chain with which the photo frame will be attached, and laminate the cube on all sides with cling film.
We send the finished product to a place of honor in the car or simply hang it at home.