After some deliberation, it was decided to dismantle all the old covering. The work is not the most pleasant, but absolutely necessary.
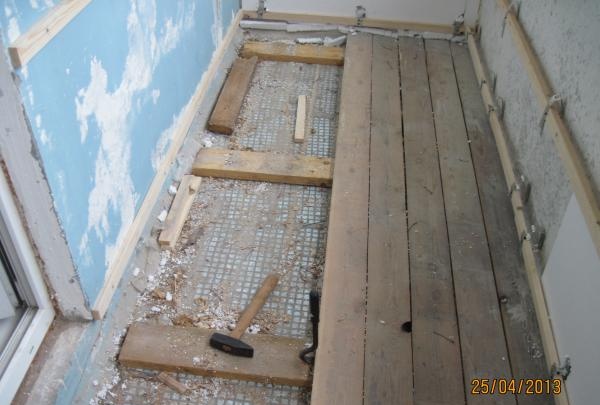
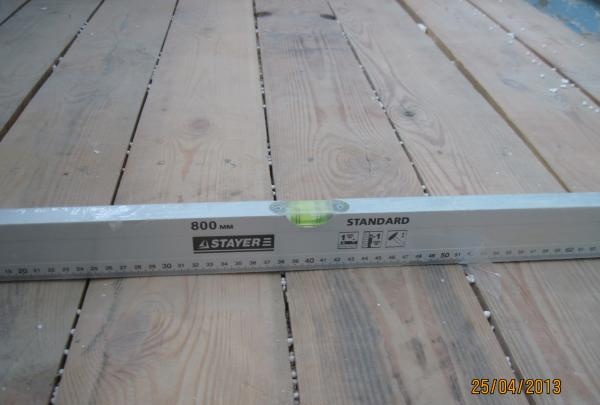
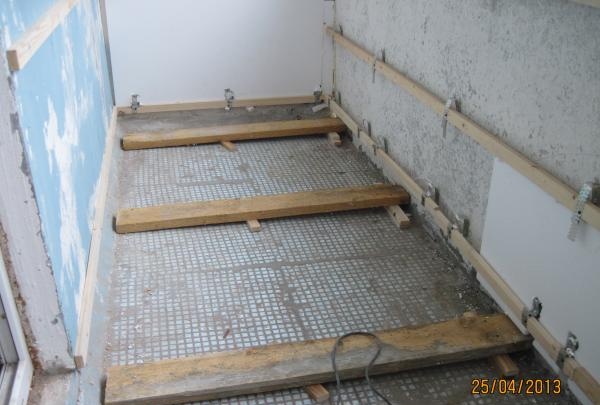
Then new even joists were placed and secured on which the floor should lie.
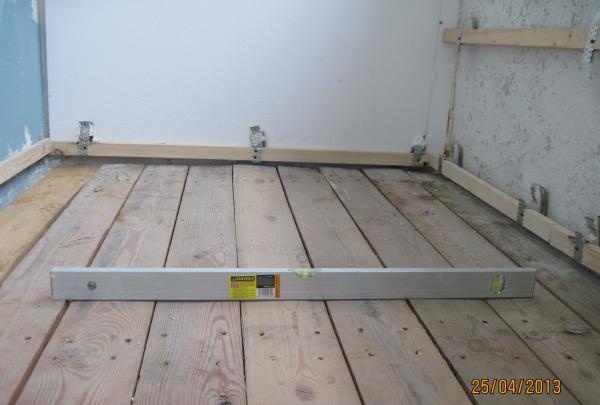
A subfloor made of 35 mm thick laminated boards was laid on the new joists. New boards were secured with long self-tapping screws.
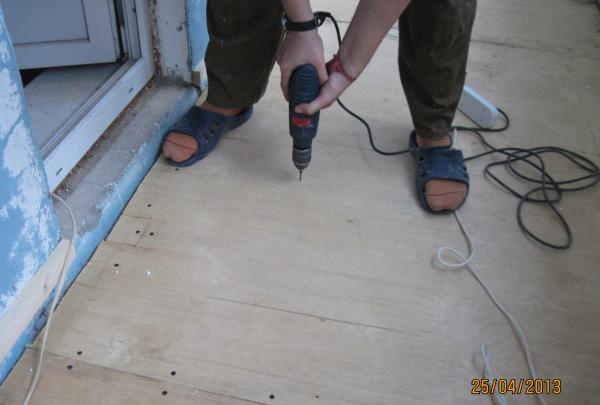
After that, a layer of sheet plywood 5 mm thick was placed on the floor, which was securely hemmed with screws to the lower plank floor.
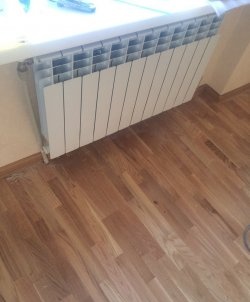
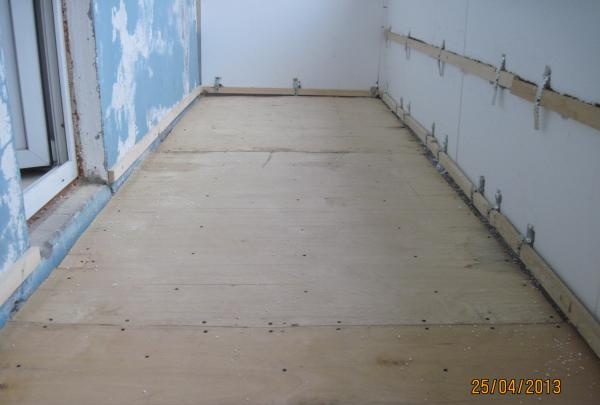
Now the floor is smooth, durable and ready for subsequent finishing.
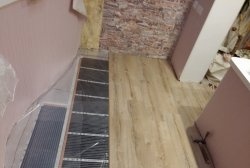
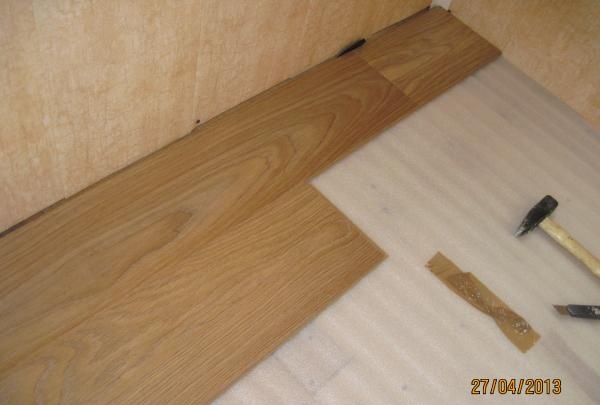
Of all the possible finishing options, it was decided to choose a laminate in the color of mature oak. The waxed edge of the selected laminate ensures moisture resistance and long service life of the floor.
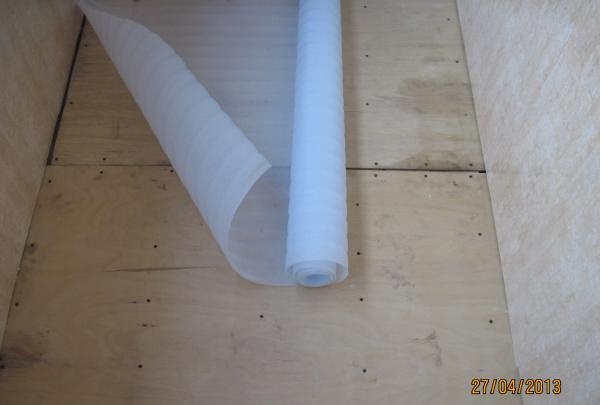
Next you need to put a layer of thermal insulation. For this, it was decided to use a foam substrate 3 mm thick.
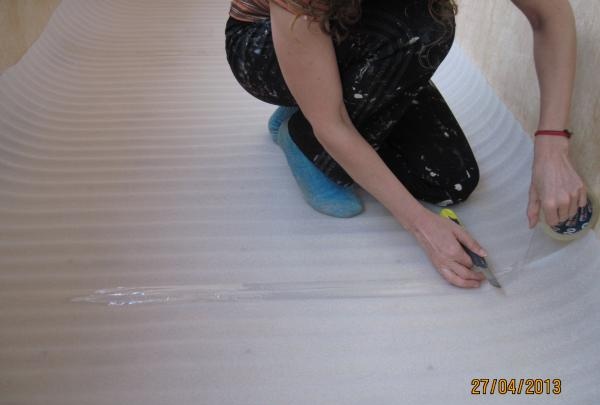
The backing sheets are carefully laid out and taped along the joint with strong tape.At this stage, you need to make sure that there are no overlaps of the substrate, as this is very harmful to the laminate.
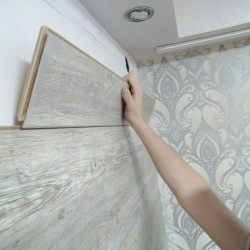
Wedges 8-10 mm thick must be laid between the wall and the first row of laminate. This allows the laminate flooring to lie freely, even if the floor expands somewhat over time.

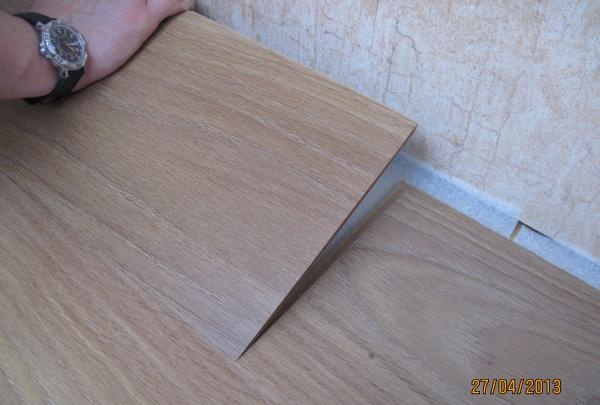
When laying the second row of laminate, it is necessary to create a run-up of the planks of at least 30 cm. This will ensure strong adhesion to the entire floor covering.
The modern locking system makes it easy to install laminate flooring without spending a lot of effort. It is enough to simply place the board end-to-end on the previous one and lightly hit the place of the transverse connection with your fist.
The outer planks can be pulled together with a special S-shaped lever, which is sold in the “For laying laminate” kit.
Now you can pull out all the wedges that supported the outer planks of the laminate. We won't need them anymore.
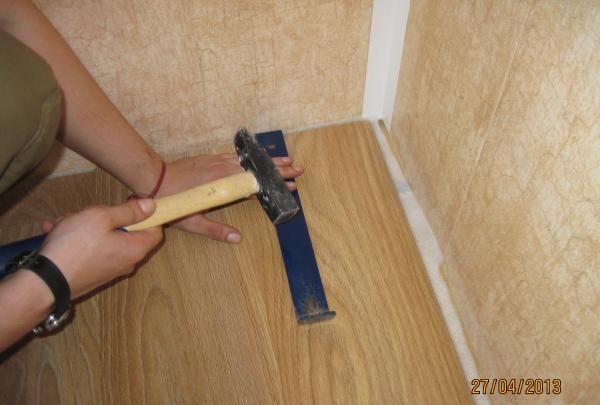
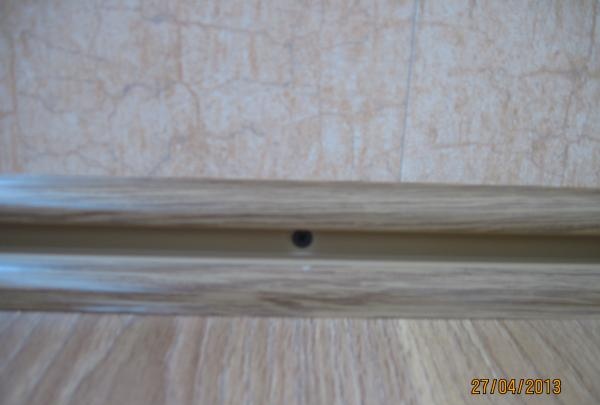
Next, we install the plinth with cable duct. To do this, we take out the central strip from the plinth and screw the plinth to the wall with self-tapping screws, or nail it onto dowel nails by drilling holes in the walls.
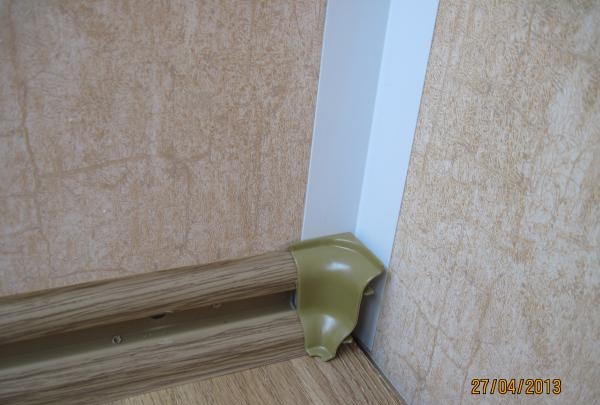
We install corner elements for the plinth in the external and internal corners, harmonizing in color with the plinth.
All that remains is to close the central strip of the plinth, and the work is completed.
The beautiful warm modern floor is ready!