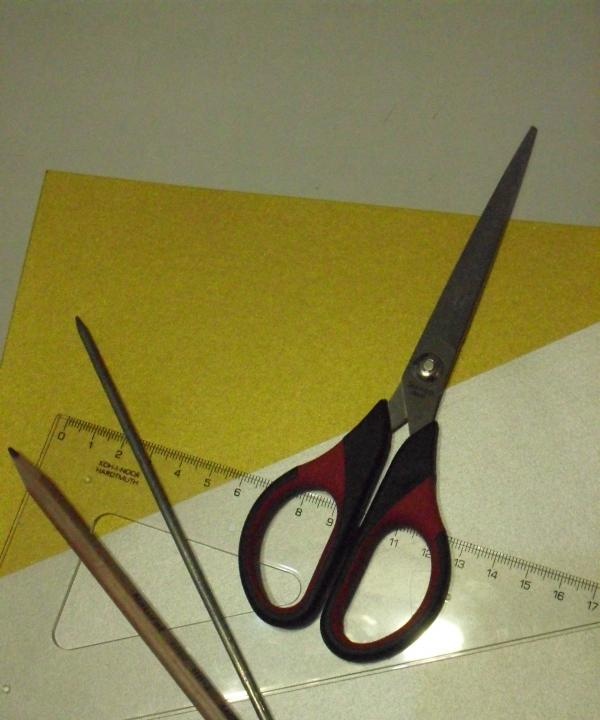
We will need designer cardboard and paper, scissors, transparent glue-gel, lace and satin ribbon (preferably the same color as the paper), a ruler, and a knitting needle.
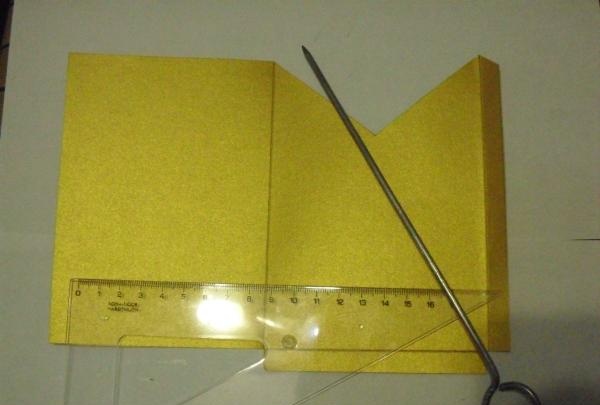
1. Make an envelope out of cardboard. We cut out a blank measuring 21x15 cm. Leave 1 cm on one side and bottom so that you can later bend and glue it. Divide the remaining sheet in half vertically. On one side from above we draw an inverted triangle. Now you can cut off all the excess and draw a knitting needle along the fold lines so that creases do not form on the thick cardboard when folded.
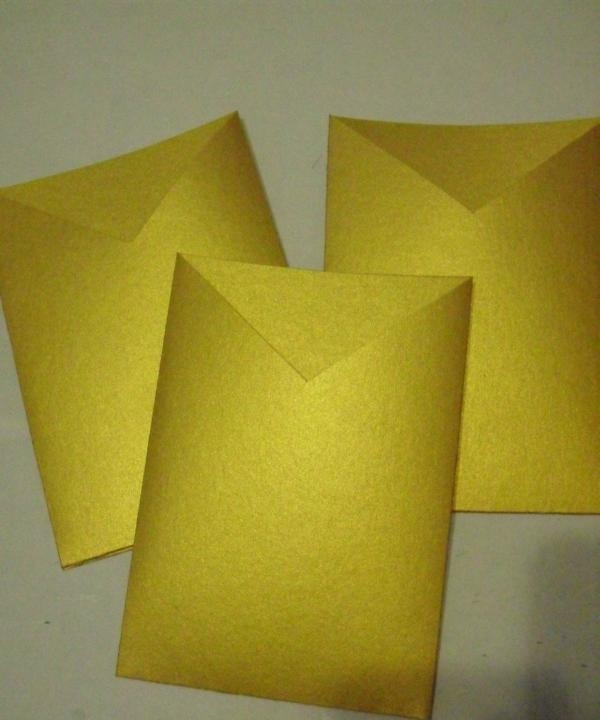
2. We collect our workpiece into an envelope and glue it together. We carefully press the gluing area, or it is better to place it under a press, for example a thick book, for a while.When the glue has set, we cut off all the bumps and excess edges.
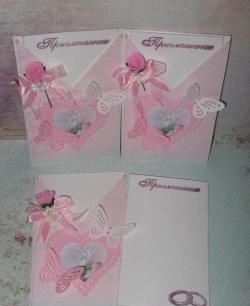
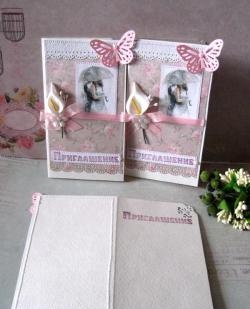
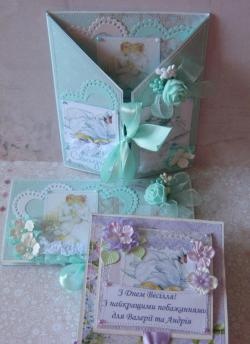
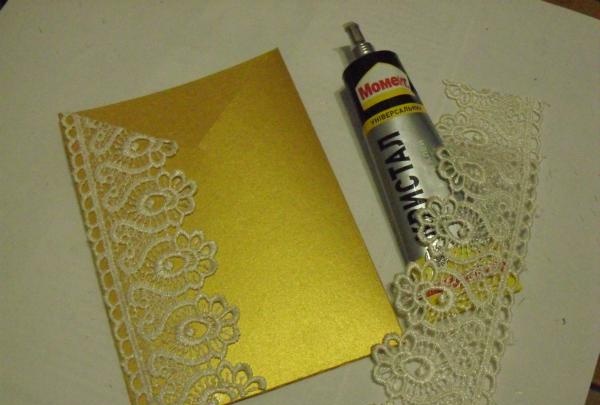
3. Now let's start decorating the envelope. Glue lace to it, 5 cm wide, so that it covers half the front of the envelope. We make a neat bow from a satin ribbon, 2-2.5 cm wide, and glue it to the top of our triangle.
4. We make an insert with text. We select the invitation text from the standard ones or create our own. Ideally, invitations should be personal, i.e. contain printed names of guests, date, time and location of the celebration. It's best to print on plain paper first unless you want to change something, such as the font size and type. When everything is satisfactory, we print the text on designer paper, cut it to the size of the envelope, try on our insert, and correct it if something is wrong. If there is such an opportunity, we recommend cutting the sheet with a cutter so that the edges are as smooth and neat as possible. Now, to make it easier to remove the insert from the envelope, we make a loop. To do this, we use a satin ribbon 3-5 mm wide. We glue it from the inside out; the place of gluing needs to be covered with something, for example, a half-bead or just a small square of the same paper.
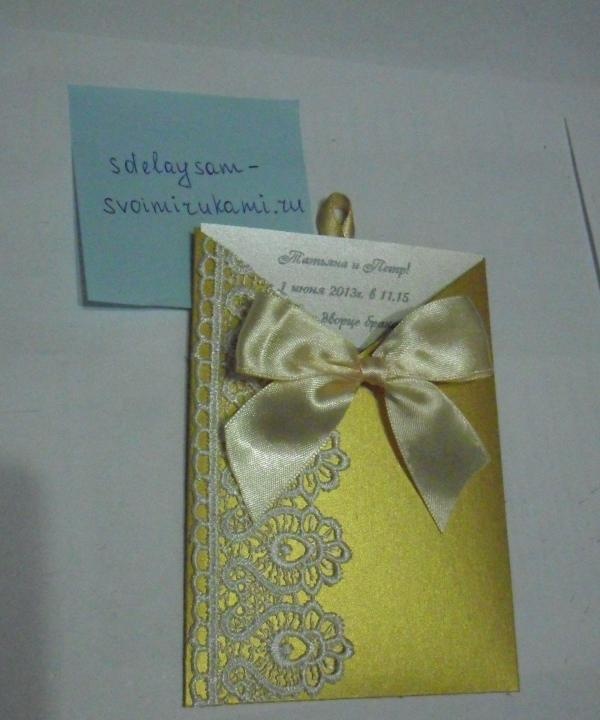
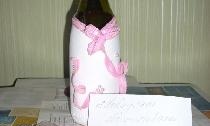
Here are our invitations and ready. Agree, it was quite simple, and all the necessary materials can be easily found in handicraft stores.