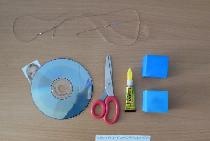
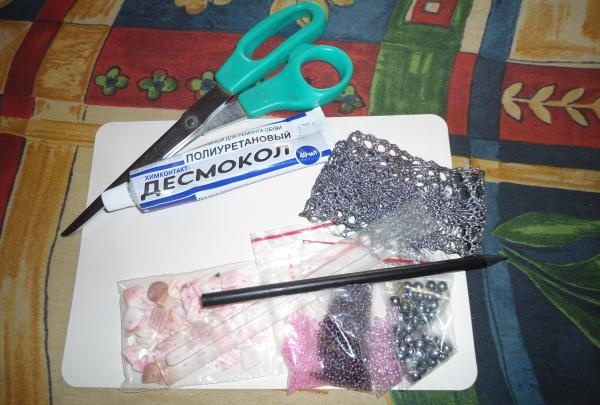
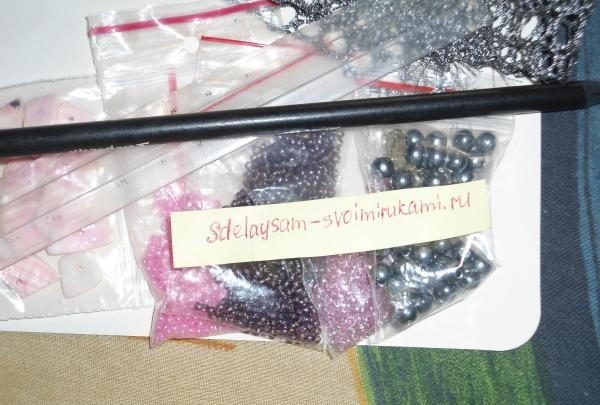
To make such an original and beautiful thing, you must stock up on the following materials in advance: two pieces of cardboard, scissors, glue, lace ribbon 4 cm wide, a simple pencil and ruler, thin ribbon, shells (7 pieces), a shiny pebble or a beautiful neat decoration for the center lids, as well as beads (you choose the colors and quantity of beads or beads yourself, depending on how you want to place it).
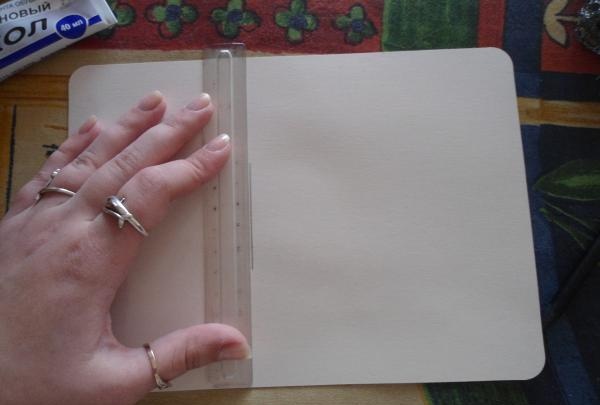
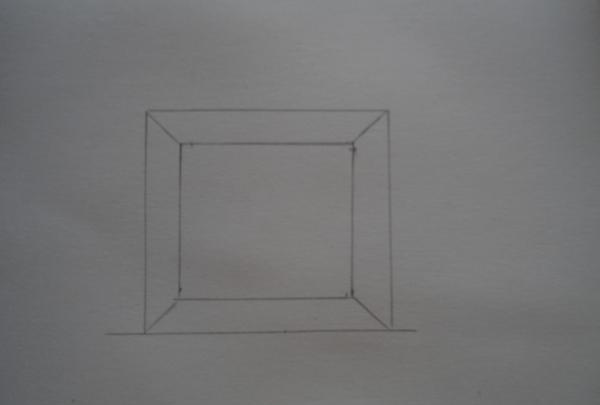
When you are sure that you have everything you need for the box-chest, then take a ruler, a simple pencil and one piece of cardboard. We measure a square in the center with sides of 5 cm, but you can make it larger or smaller.We highlight the square more boldly, and continue to draw the strip to the end of the cardboard (see the bottom photos).
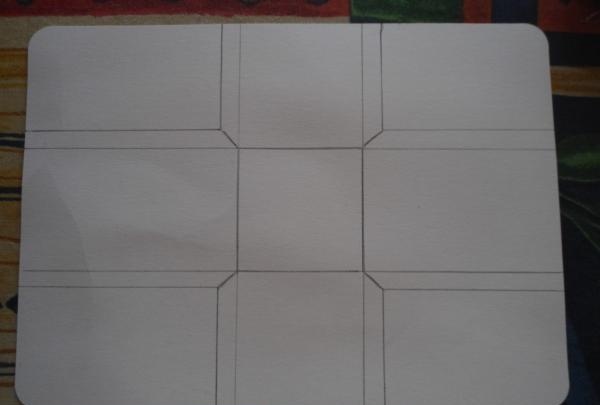
To show how to fasten the base of the box, make additional lines with cuts, retreating 1 cm throughout the entire square.
Now we cut carefully along the lines that are farthest from the center. Always check the photo if you are not sure that you have understood correctly.
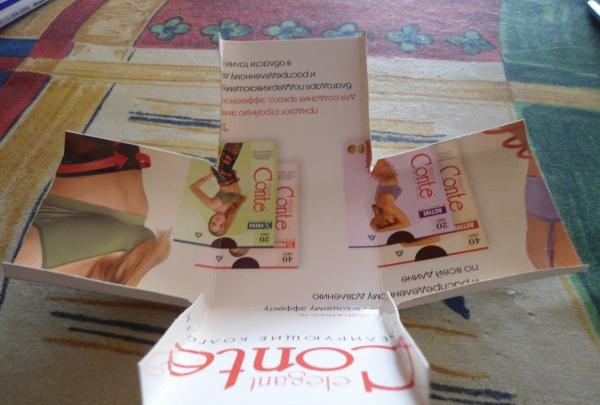
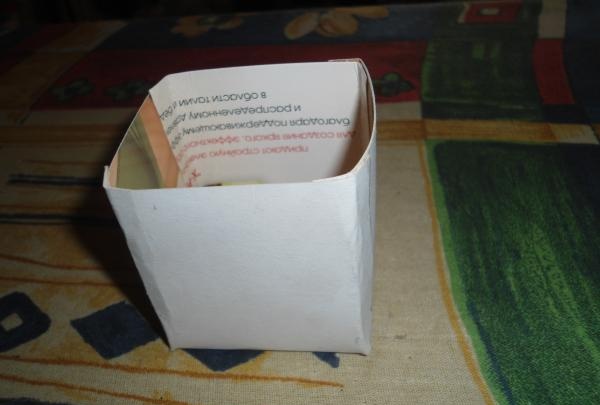
Now you should have something similar to this.

If you checked and got the same result, go to the next step crafts, but before that, glue the box together.
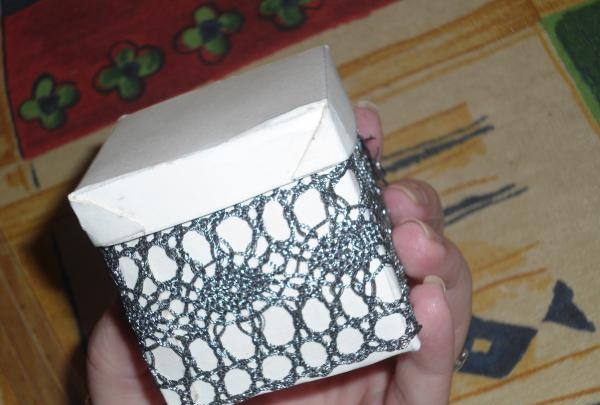
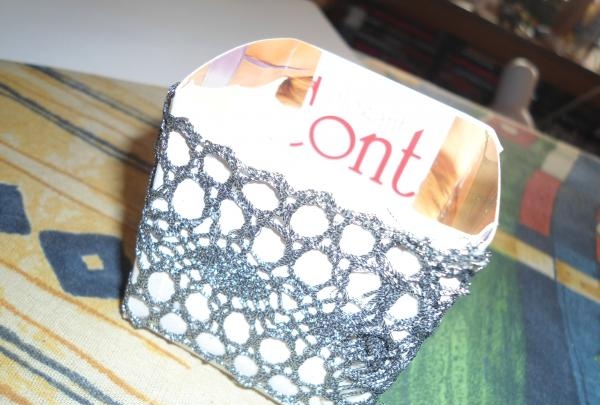
Let's start decorating our chest. First of all, we glue the lace ribbon, in this case silver, all over the box.
In order to make a lid for your chest, we turn the box over while it is still there and outline the second cardboard in the center, but taking into account a couple of millimeters more so that this lid can be put on easily.
We outline the lid in the same way as we outlined the base of the box-chest.
We cut and glue, and then we check whether this procedure was performed correctly - we put the lid on the box.
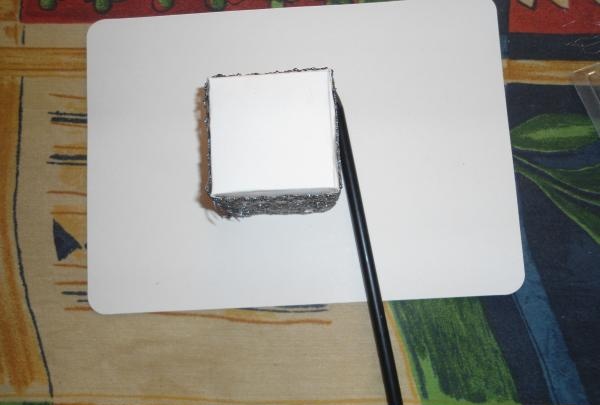
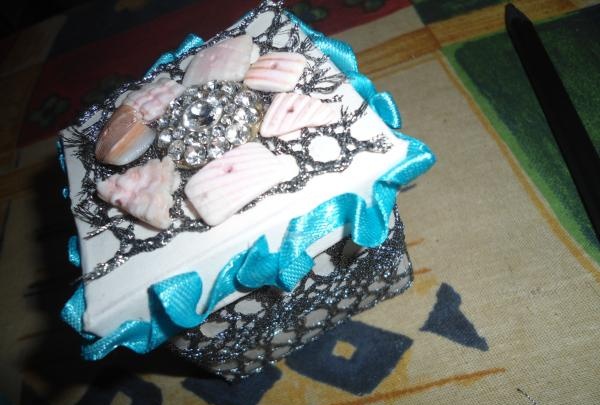
We checked, remove and glue a small piece of wide tape on top.

We glue your pebble or other decoration in the center of the lid, and shells and beads around it. We make the edging of the lid using a thin tape, bending it in different directions and at the same time using glue.
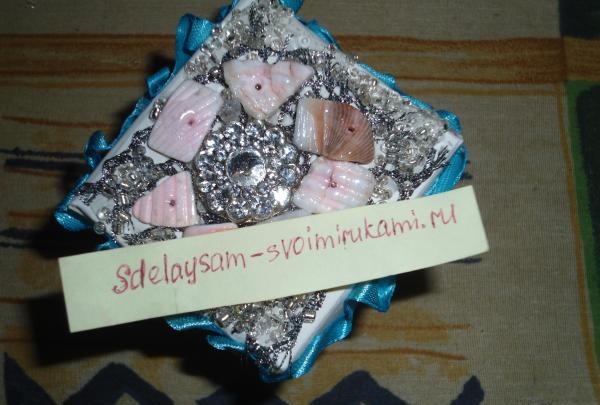
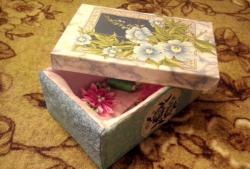
And here you have such a beauty. Congratulations!