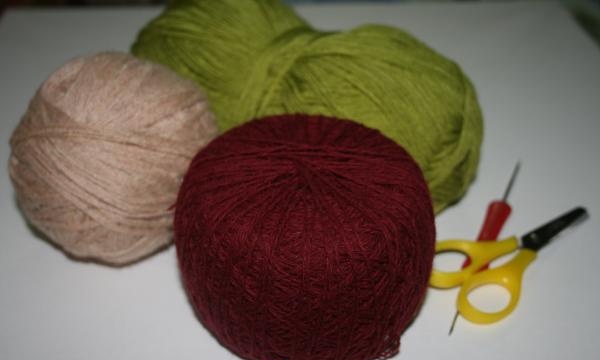
You will need:
- Thick threads for the warp. I took two contrasting shades of thick yarn;
- Thinner, but strong enough thread for tying;
- Hook of suitable size;
- Scissors.
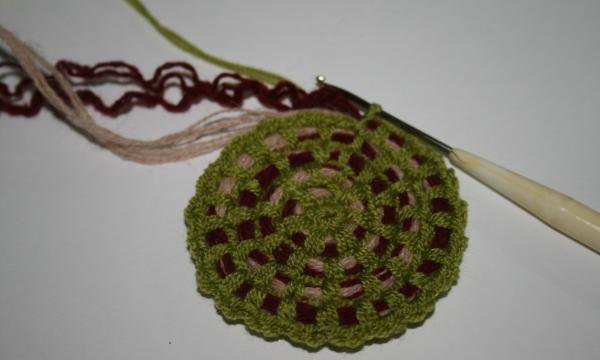
So that the basket initially does not have a hole, we begin to knit it from an amigurumi loop.
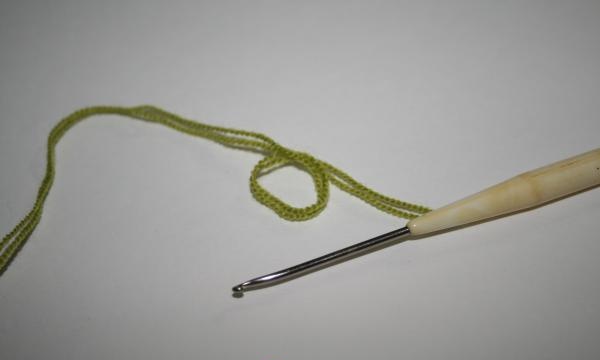
Our first row will consist of six single crochets. Then we tighten the amigurumi loop and connect the last column to the first. Next, we apply a warp thread and begin tying it.
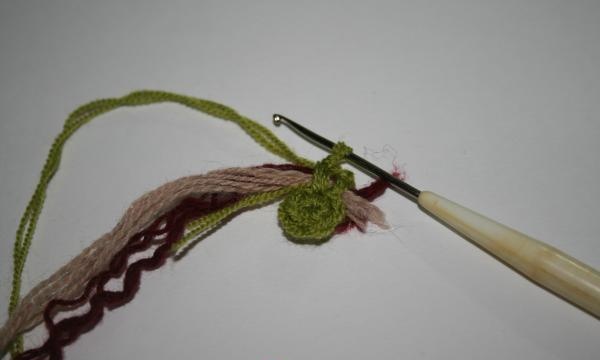
We tie with regular single crochets, doing them twice in each column of the first row. We connect the last column of each row to the first with a binding loop. It should look like a circle.
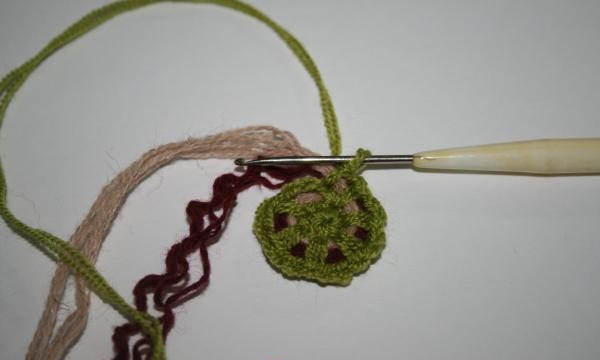
We need to expand the bottom of our basket evenly.Six new loops must be added to each new row, distributing them evenly along the row. For example, our second row consisted of 12 stitches, since we knitted each new stitch twice into each stitch of the first row. In the third row, you need to knit two stitches, not all of them, but through one stitch of the previous row. And so on in increasing order.
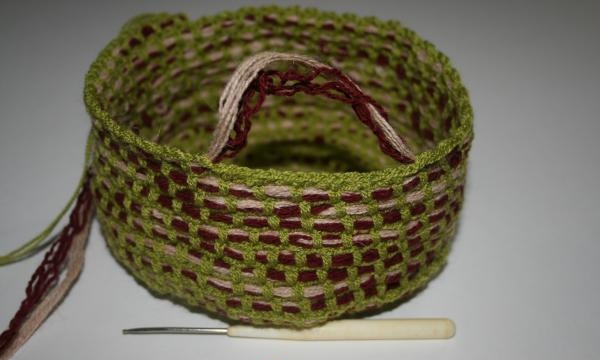
Extend the bottom to the size you want to make the basket. I make it small.
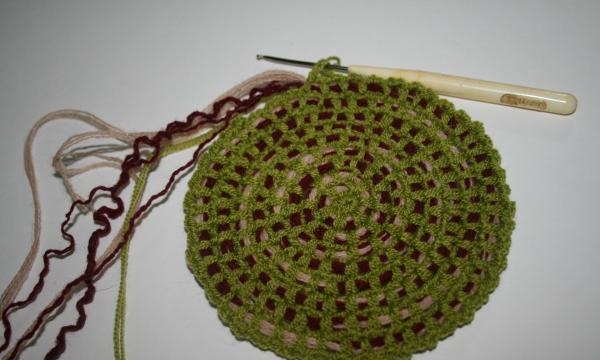
After this, we do not add any more and knit up to the required level.
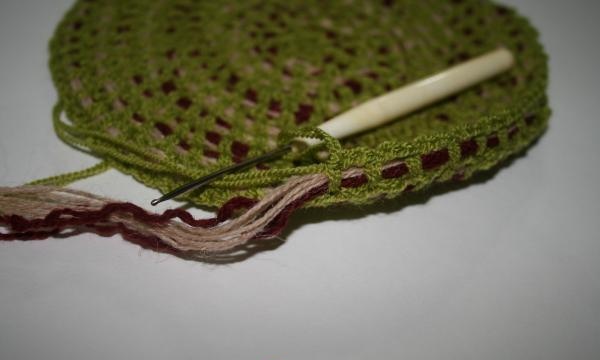
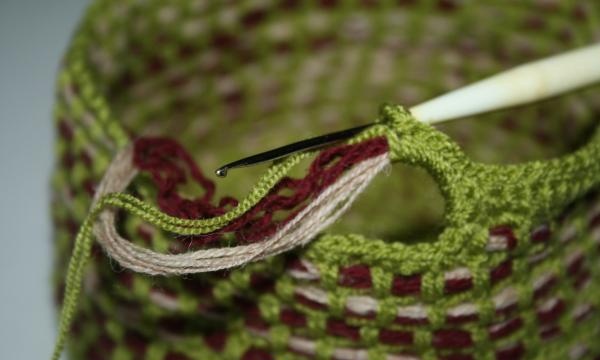
The last row must be connected to the handles. They are made from a warp thread. It rises up by the size of the handle, and we continue to knit further down the row with the binding thread.
When the harness reaches the handle again, it must be tied.
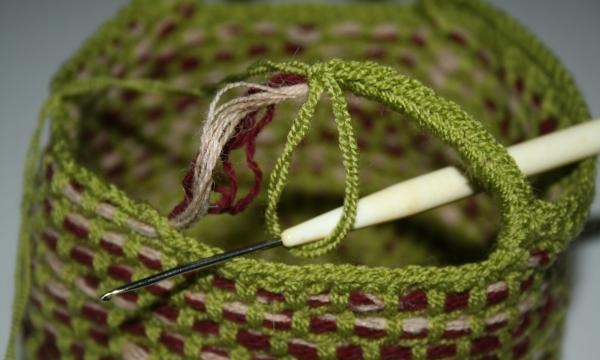
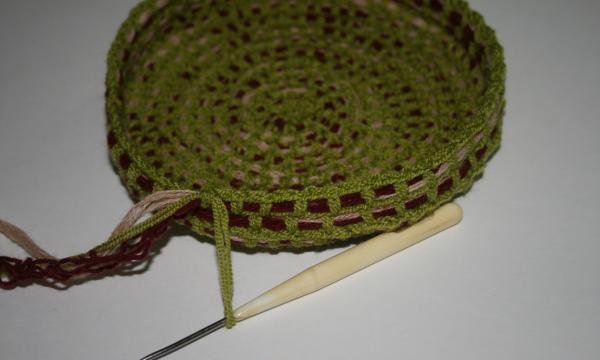
Make three rows between the handles with binding thread. Thus, the handle and these three rows will be the same width and form a single strip. You should end up with a small, roomy basket like this.
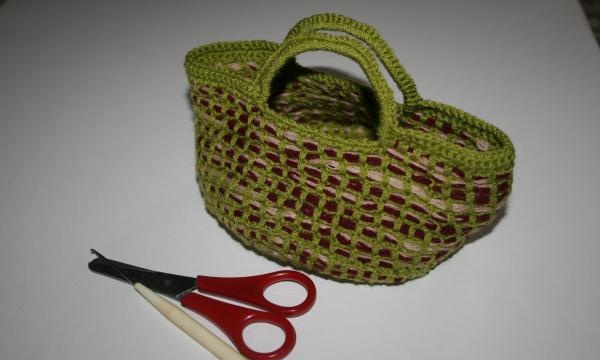
It can be used to store balls and tools or sometimes taken out as a handbag. And if you knit such a basket with a base made of twine and a larger size, then it will turn out to be more solid and perfect for storing linen in a closet, organizing children's toys or other items. This is how, with your own hands, you can create comfort and order in your home.