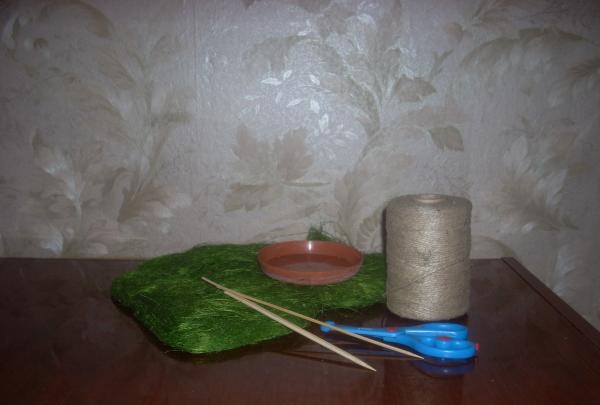
In order to make an Easter basket with our own hands, we will need the following materials and tools:
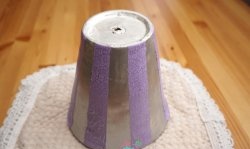
- stand for flower pot;
- wooden skewers;
- foam circle;
- thick threads;
- PVA glue;
- universal glue;
- scissors;
- thick wire;
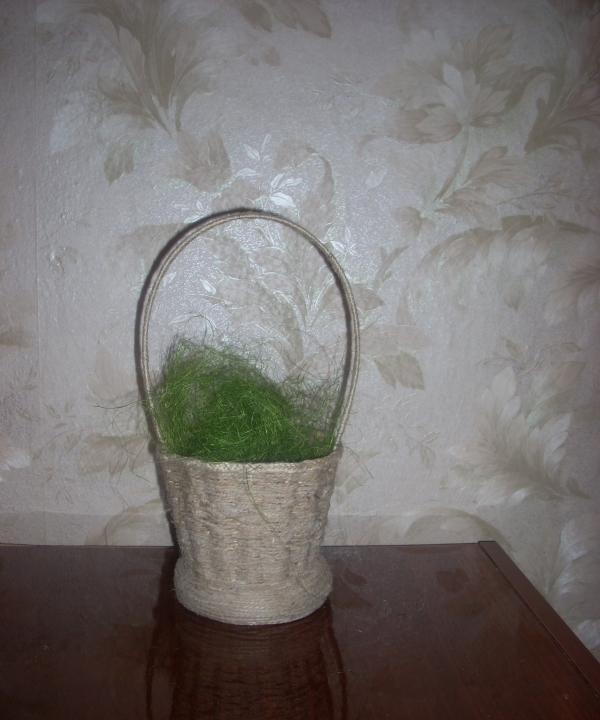
- decorative items: sisal and ribbons
Well, let's get to work.
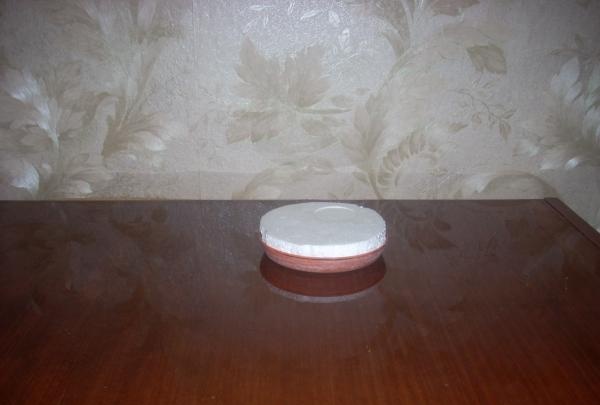
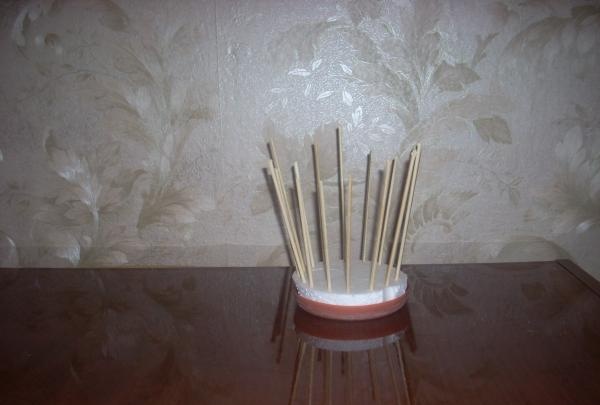
1. Cut out a circle from foam plastic that matches the diameter of our flower pot stand. If you are making a large basket or a different shape, you can use cardboard circles (several pieces glued together) instead of a stand for the pot.
2. Apply universal glue to the bottom of the flower pot stand and glue a circle of foam plastic. Let the glue dry well.
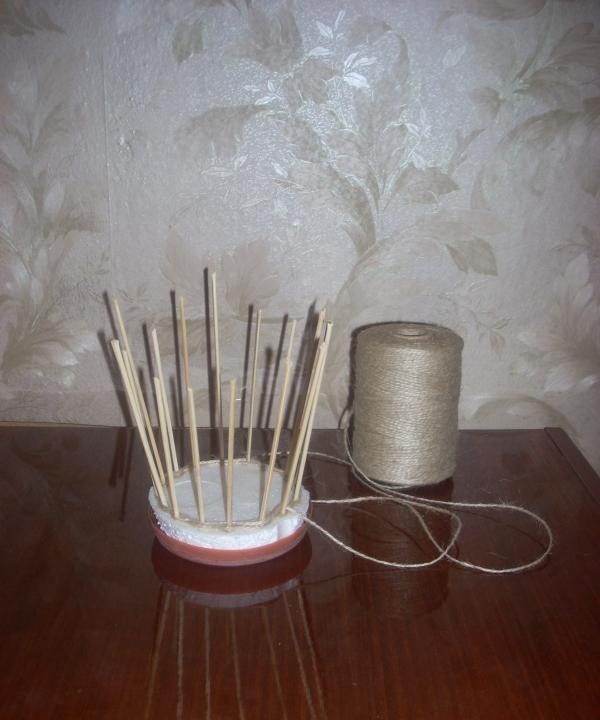
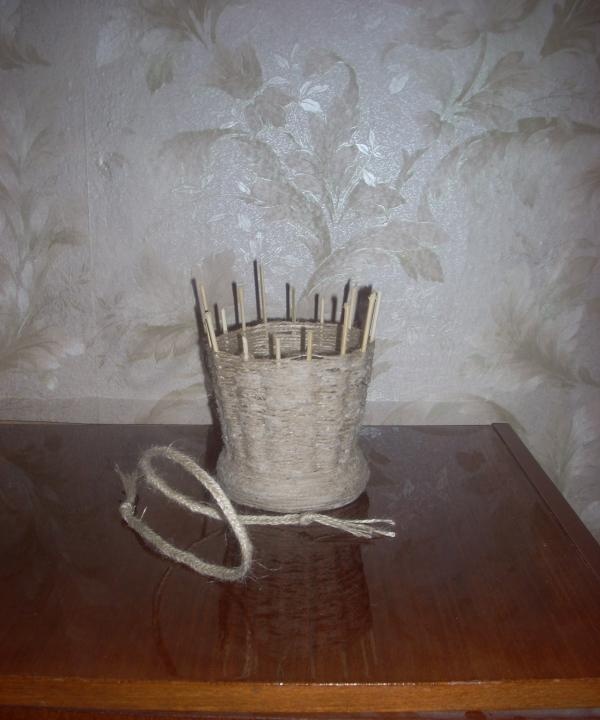
3. Take wooden skewers and stick them into the foam circle at the same distance. For strength, at the junction of the skewers with the foam, you can apply a little universal glue.
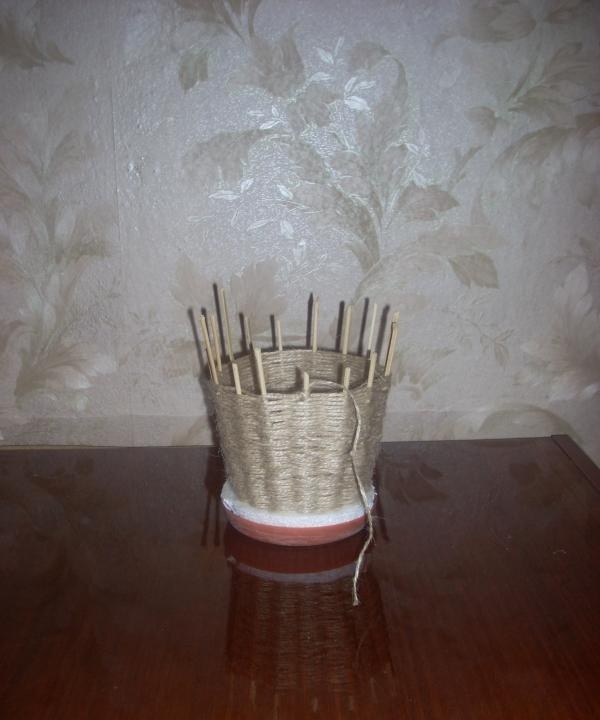
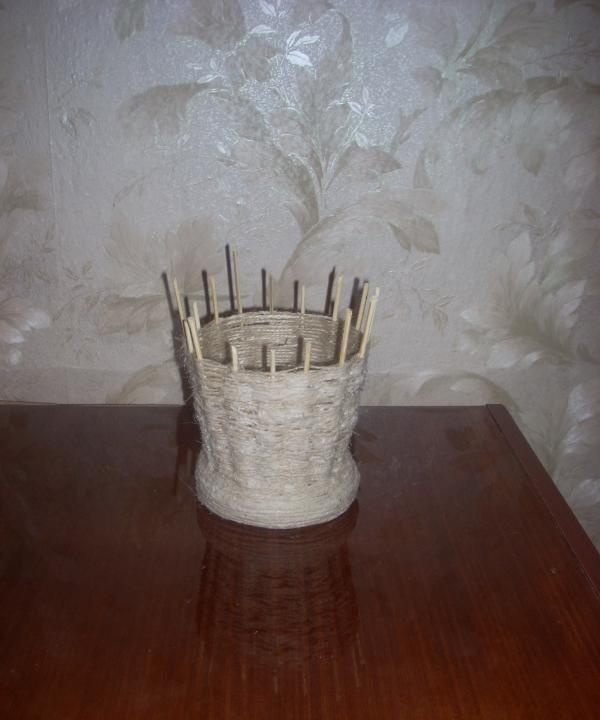
4. Take the end of the thread and tie it to one of the skewers. We begin to form our basket. We wrap the threads around the skewers, alternately passing them from the front side, then from the back side.Having made one row, we change the variability of the thread weave. To do this, you can make a turn around one of the skewers, and braid the next one on the other side.
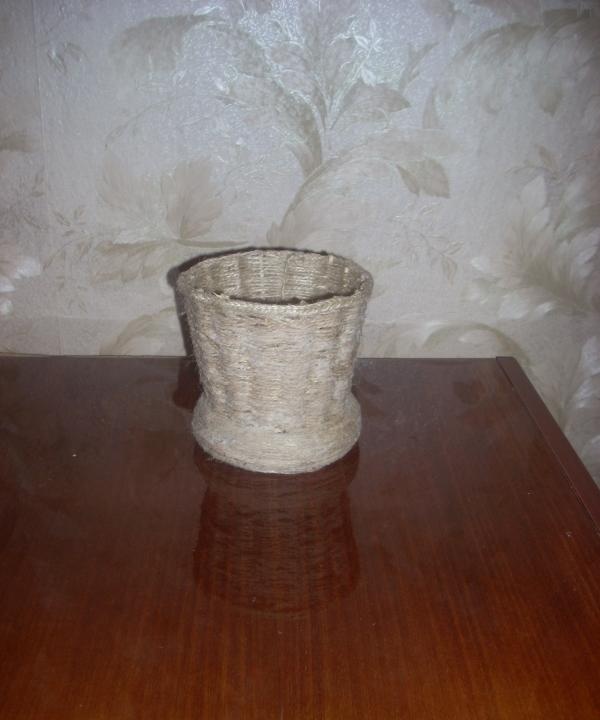
5. When the upper part of the basket is ready, tie a thread around the skewer and additionally secure it with glue. Now you need to decorate the bottom of the basket. Apply universal glue to the stand and foam plastic in an even, continuous layer and begin wrapping it with threads. Cover the entire surface of the basket with PVA glue and leave to dry.
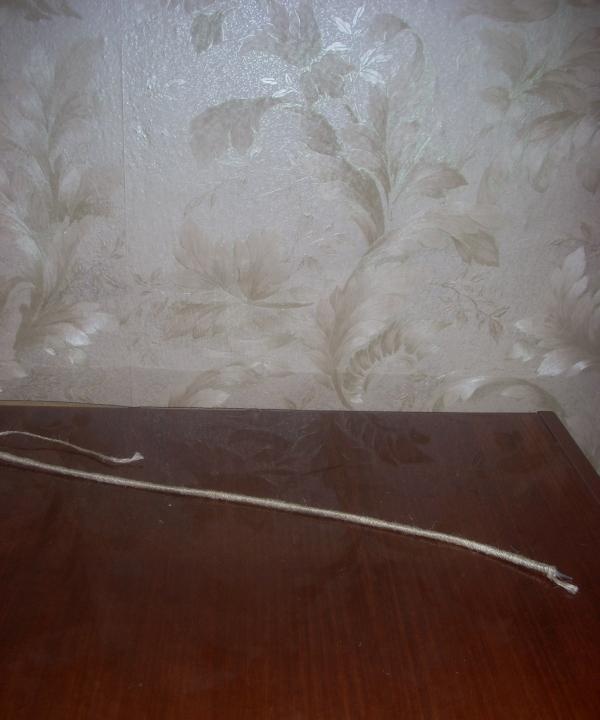
6. Cut 6 identical threads of sufficient length and braid them. We will use it to decorate the top of the basket.

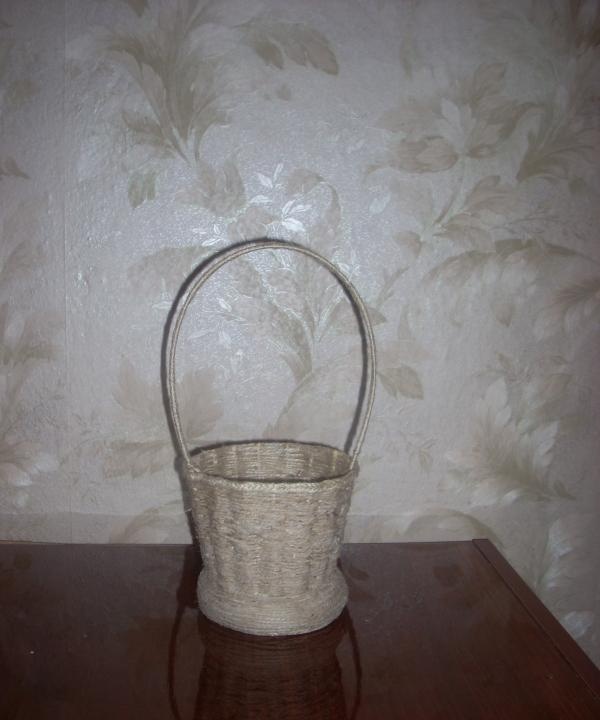
7. Now we need to make a handle for our basket. We take a thick wire and wrap it with threads, periodically securing them with glue. We attach the finished handle to the basket. You can either sew it on or just glue it. The main thing is to make sure that it holds well enough.
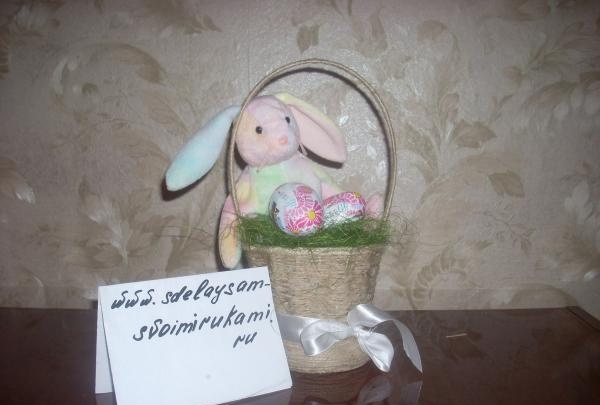
8. All that remains is to decorate our holiday basket. I will use sisal and white wide ribbon for this. You can decorate the basket with a beautiful fabric on which Easter treats will be laid out, decorative flowers, ribbons, etc. In general, everything you like. We complement the composition with Easter attributes. For me it's an Easter bunny and chocolate eggs for little sweet tooths.

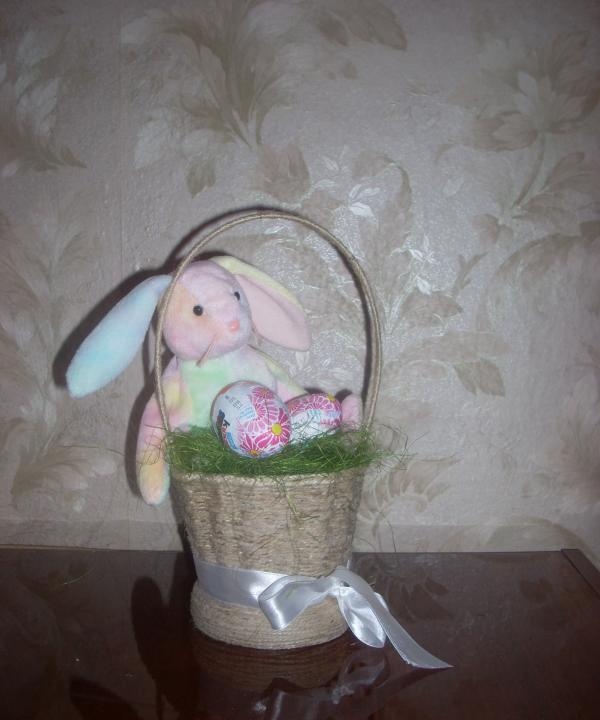
9. Now our Easter basket is completely ready for the holiday.