We will need: a blank for a postcard, colored cardboard, curly and regular scissors, glue. Satin ribbons: green and white 3 mm thick, and blue – 7 mm. Tapestry and regular needles, thin knitting needle or awl, threads, lighter.
First, you need to cut a square out of colored cardboard using curly scissors. It should be about 1 cm narrower than the workpiece. It is in this square that we will embroider.
First, on the wrong side, we mark the places where the needle and ribbon will pass through the cardboard.
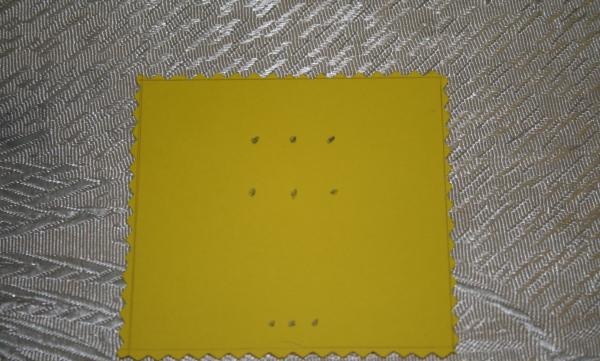
Now we pierce the marked holes with a needle and widen them with an awl or a knitting needle.
It is better to make the central horizontal row of holes wider than the others, because we will have to thread the ribbons through them twice.
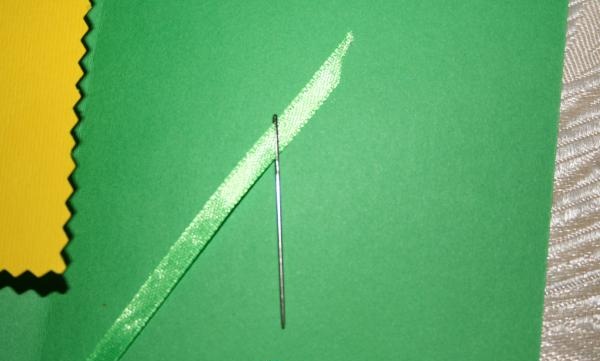
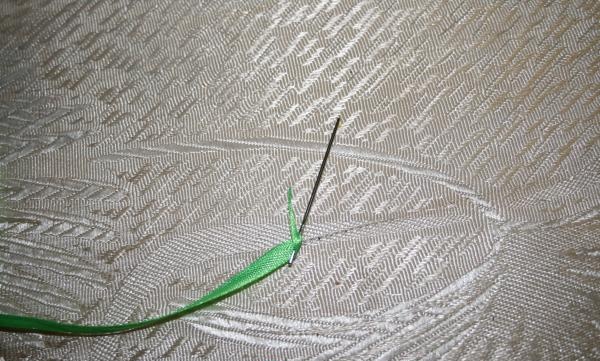
Now let's start embroidering. Cut 20-25 cm.green ribbon. We cut the tip of the tape diagonally, melt it slightly with a lighter and thread it into a tapestry needle.

It is necessary to melt the ends so that the tape does not fray during operation. Now the ribbon needs to be secured so that it does not slip out of the eyelet during the embroidery process: pierce the ribbon with the tip of a needle a few millimeters from the edge, and then pull the longer end.
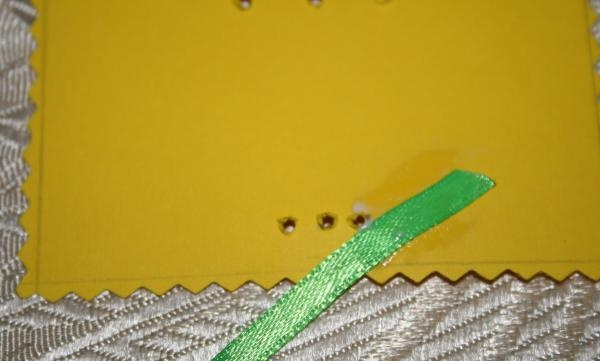
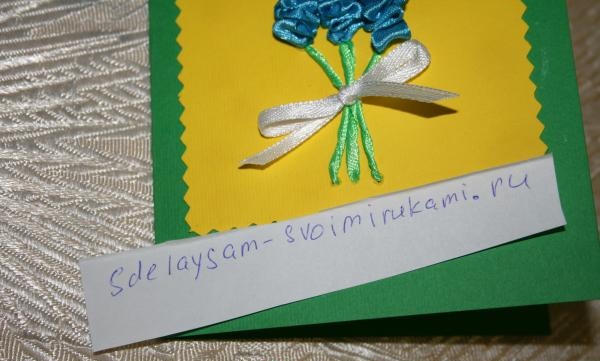
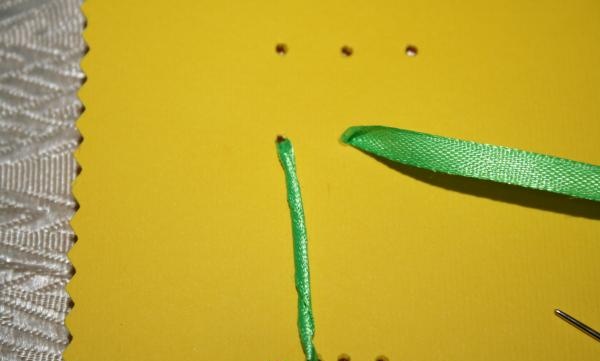
Glue the free edge of the tape to the wrong side of our square. We stretch the needle to the front side, twist the ribbon into a tube and bring it out through the opposite hole to the wrong side. We got a stalk. In the same way we make two more stems. Then we cut the tape and glue the remaining tip from the wrong side.
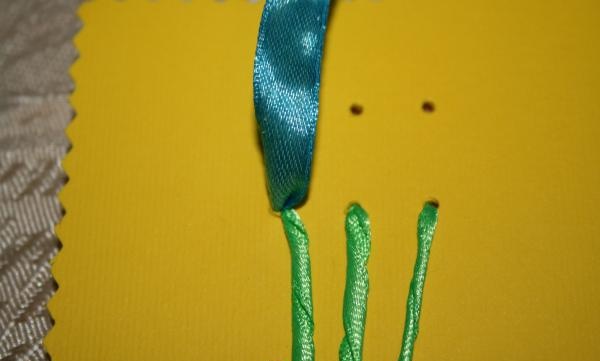
We take the blue tape, fasten it, just like the previous one, and bring it to the “face” through the same hole as the stem. (Fig. 8) Now from the inside out we pass a regular needle and thread through the tape. We gather the ribbon on the front side with a “forward needle” seam. (Fig. 9) Tighten the tape well and turn it inside out. We do the remaining flowers in the same way.
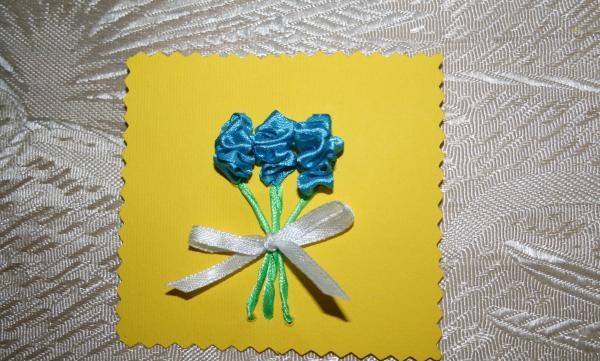
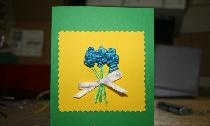
We tie the resulting “bouquet” with a thin ribbon.
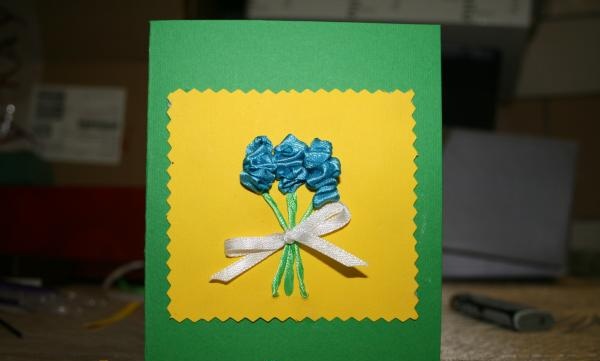
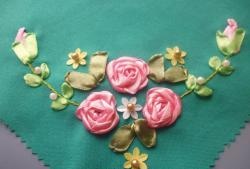
Now all we have to do is glue our embroidery to the blank and the card is ready!