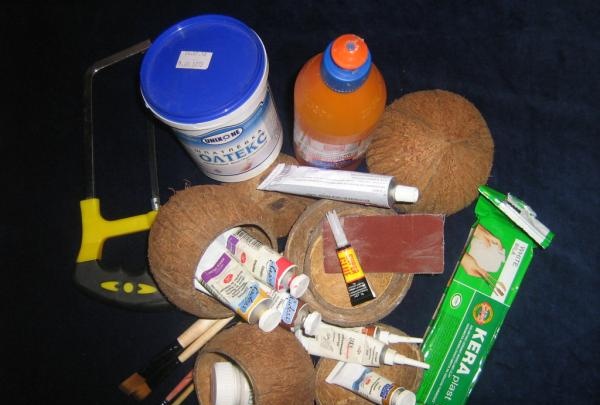
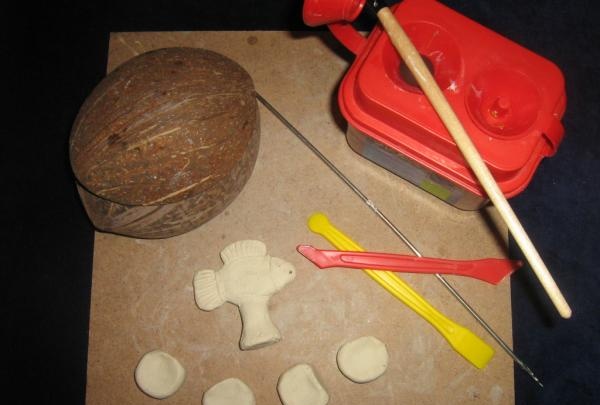
1. coconut
2. hacksaw
3. sandpaper
4. putty
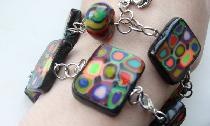
5. polymer clay
6. acrylic paints, brushes
7. glue
8. gold leaf or acrylic metallic
Production time: 1-2 days.
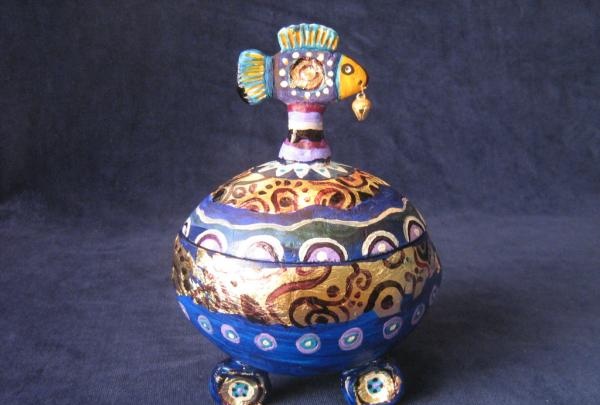
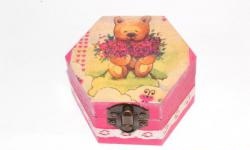
Coconut is a suitable material for various crafts. It produces a lot of interesting and utilitarian products: boxes, maracas, handbags, candlesticks and bowls, ethnic musical instruments. This master class will help you make a coconut box with the addition of polymer plastic elements.
Before you start: It will be easier to make the box if you draw the desired color and design on a piece of paper in advance.
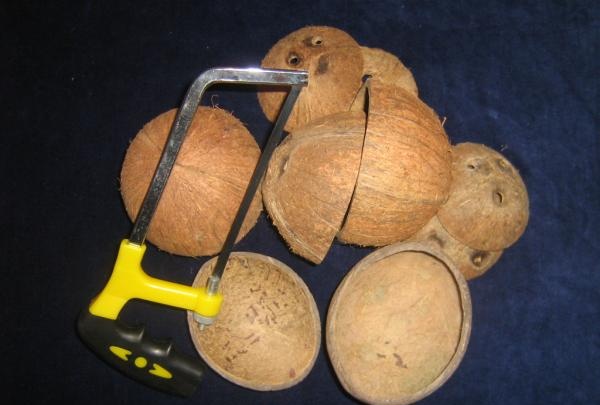
Step one - preparing the coconut
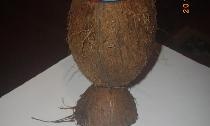
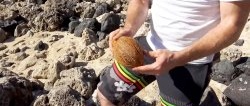
Purchase a coconut of a suitable shape and size (choose which one you like). The box will be horizontal, so the nut must be cut lengthwise, having first drawn a line separating the lid and the base of the future box.
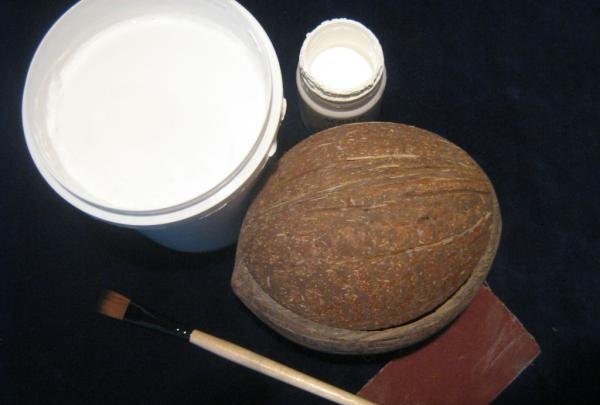
The entire interior is removed from the coconut, it is dried, then carefully processed with sandpaper so that the surface becomes smooth. Small depressions and irregularities are filled with putty.
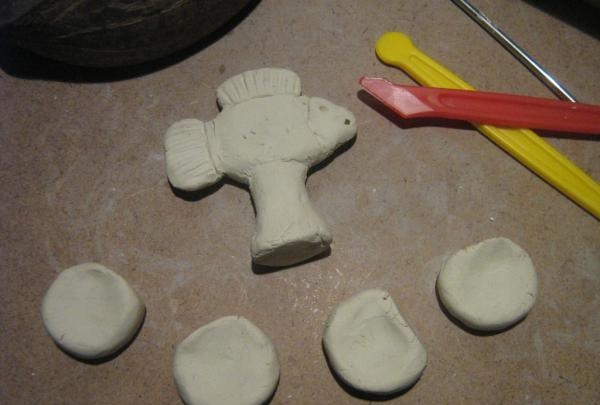
Step two - making the legs
The “legs” and “handle” of the box are made from polymer clay. Clay can be purchased at any art store, and acrylic paints are also sold there. There are many types and colors of plastic, any will do. Tools you may need are a small knife or any ceramic or plasticine stacks. We fashion four “legs”. They can be in the shape of wheels (as in this MK), or small balls, or they can be rectangular. We try on the “legs” to the bottom of the box and press down lightly. This is done for more accurate gluing of parts in the future.

Step three - make a handle
There is room for imagination here. The options for “handles” are unlimited. You can make a “handle” in the shape of a sun, a flower, a bird, a wheel, a star... The choice is yours. For this box, the “handle” is made in the shape of a fish. When all the parts are ready, we leave them to dry for a day, then sand them and bake them in the oven at 150-200°C.
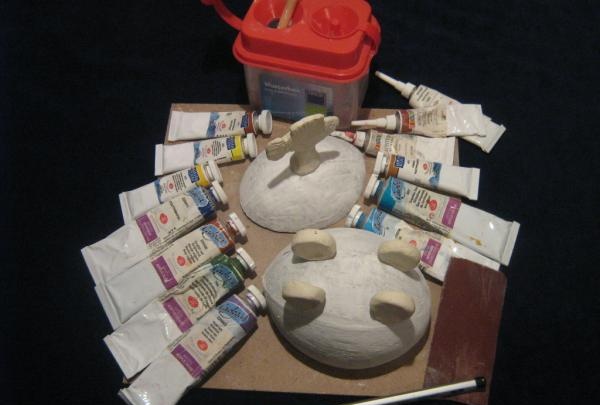
Step four - connecting the parts
After firing, glue the “handle” to the lid and the “legs” to the bottom of the box. It is better to use universal and reliable glue.
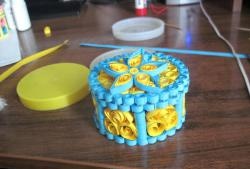
Step five - paint the box
The color of the finished product is an individual matter. Depending on the image you created when imagining your future box, the painting method and style is selected. After painting, the finished product can be varnished, and if you want to complicate the task, you can do decoupage. A sheet of gold leaf was used for the fish box. It can be completely replaced with acrylic that imitates gold.

Completion
When everything is dry, the lid and base can be connected by gluing a piece of leather or durable fabric onto each coconut halves.
Good luck with your work!