First step: cut out the base from pieces of old cloth, felt or woolen drape. You can cut according to existing old insoles or a cardboard template. Use a bar of soap to trace the outline.
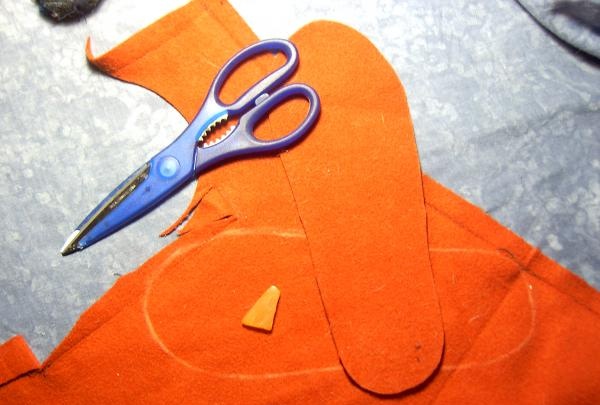
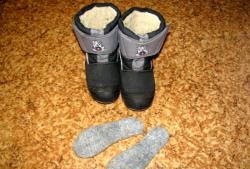
After cutting out the base, make sure that it fits well into the shoes designed for insulation.
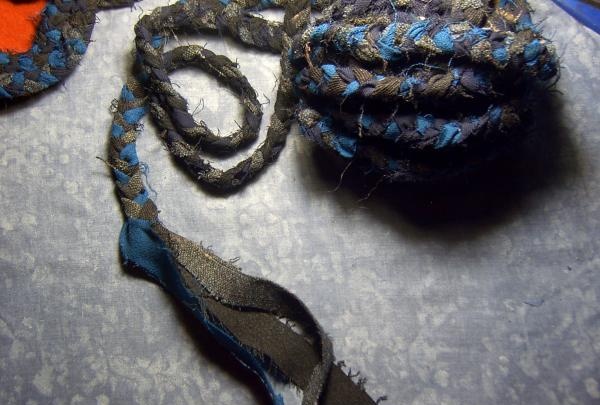
Second step: we cut ribbons 1.5 - 2 cm wide from thin woolen items that are no longer in use (also moth-eaten - it doesn’t matter in this case). We braid them into a regular braid. Fasten the first three ribbons with a thread and a needle (you should also increase the ribbons as they run out).At the same time, it is better to take them of such length that they do not end at the same time - otherwise the braid will be fragile. To make it easy to weave, use a safety pin or clothespin at the beginning of the weaving and use it to attach the beginning of the weaving to any stationary surface. It is very convenient to use the back of a chair for this. As the braid lengthens, simply wrap it around the back. For ease of further use, the braid can be wound into a ball, then it will not get tangled.
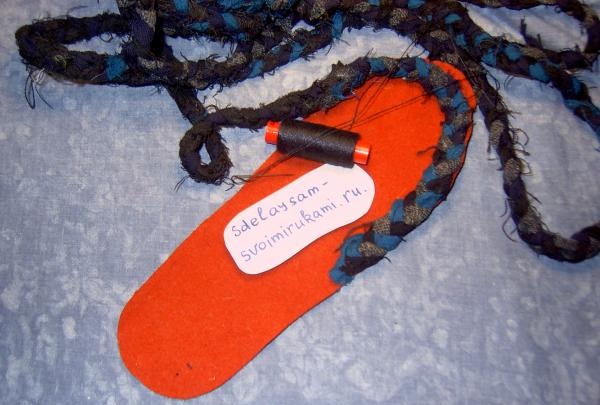
Third step: starting from the outer edge, we sew the braid onto the prepared base, moving in a circle, trying to lay its rows closer to each other.

Make sure that the braid does not turn over. When the rows meet in the center, the insole is ready. Sew the end of the braid properly, taking each ribbon so that they do not stick out. If there is a small gap left, sew in an additional piece of the braid, also carefully grabbing the ends with a needle.
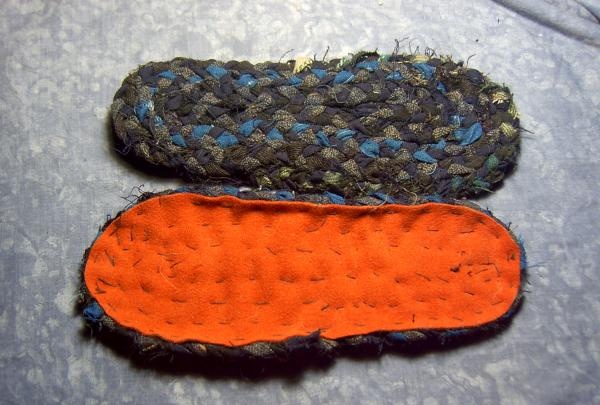
If you have a sewing machine, you can stitch the product for additional strength, but practice shows that this is not required, since when hand stitching a soft product, the thread does not fray, the insole remains intact during use.
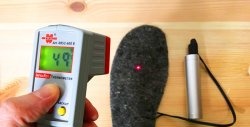
This insole does not wrinkle, does not move under your foot in shoes, it is very soft and voluminous, and takes the shape required specifically for your foot. If you make two pairs at once, you will never walk with wet feet.