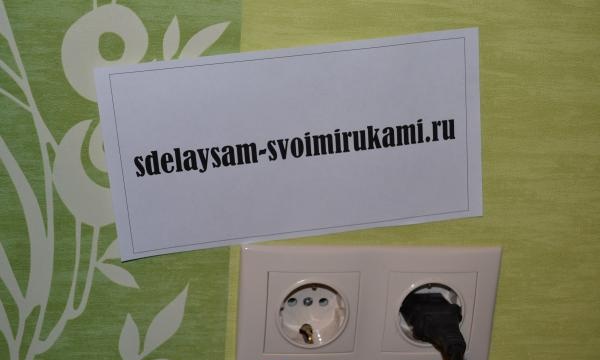
If you decide to renovate a room and put up new wallpaper, then you need to start by installing hidden sockets. After all, you will agree that it is much more convenient when the socket is recessed into the wall, and does not protrude from it; it interferes with installation furniture and spoils the appearance of the interior.
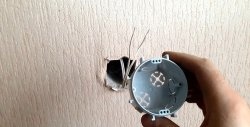
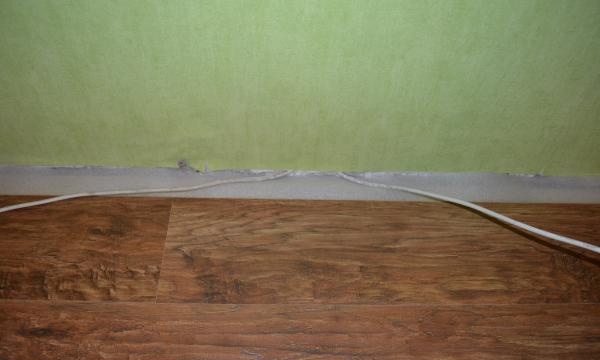
First, you need to turn off the voltage in your apartment by turning off the circuit breaker in the distribution panel. Then dismantle the old sockets and insulate the exposed ends of the wires coming out of the wall. Now you need to determine the location where the sockets will be installed. It is advisable to place them above existing cable ducts or at a short distance from them, then you will not have to ditch the walls to hide several meters of electrical cable. Although you can hide all the extra wires under the baseboard.
Typically, sockets are made at a distance of 30 or 90 cm from the floor, so we mark the surface of the wall using a tape measure and a pencil. Then we circle the plastic socket boxes around the perimeter so that we get several circles touching each other. It's up to you to place the sockets horizontally or vertically.
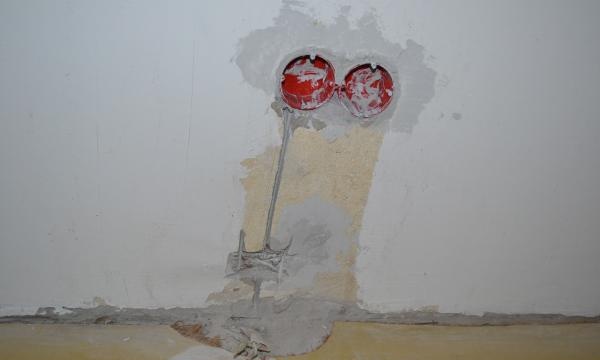
Next, using a hammer drill and a special crown for reinforced concrete, we need to make several holes equal in depth to the thickness of the socket box. It is better to carry out the work in a respirator and goggles, and you can get rid of dust by leaning the bell of the vacuum cleaner against the wall, just below the holes being drilled.
Using a grinder and a disc for concrete (preferably with diamond coating), we cut grooves where the cable will be hidden. The depth of each groove should be approximately 1.5 cm, and if an antenna or satellite cable is required, then 2-3 cm. Then we connect the new electrical cable to the ends of the existing one. Previously, wiring was made mainly from aluminum, but new cables are made from copper, so special snap-on adapters are used to connect them together. To hide them, you will need to make small recesses in the wall using the same diamond disc.
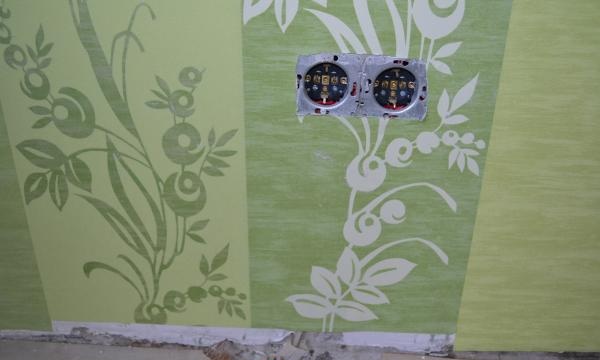

We insert the ends of the cables into the sockets with a margin of a few centimeters. We put the sockets and cables themselves into the wall using putty and leave them for several hours (preferably overnight) so that the material hardens. Then we connect the ends of the cables to the sockets and use two screws to secure them in the socket boxes. Installation of switches for a chandelier or other light sources is done in exactly the same way.

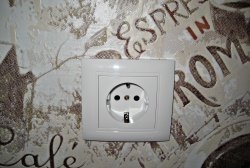
After gluing the wallpaper, we cut holes around the perimeter of the installed sockets or switches, secure the outer frame and sockets. Usually the frame is fastened with special latches, and the sockets with a screw connection.