1. First, we need threads, a shuttle, and a hook.

Threads can be absolutely anything from wool yarn to iris, depending on which product you plan to make.
2. Shuttles are of two types. Classic and hook shuttle.


But although the latter seems more convenient, you need to get used to it, otherwise the hook will cling to the thread.
3. Step 1. Holding the thread between the thumb and forefinger, make a ring of thread, directing the shuttle clockwise, and leave a small crochet.

4. Draw the thread between the yarn and the main thread of the ring, gently tightening. Caution: Do not overtighten. The correct knot will allow the knot to move freely along the main thread.

5. Again we make the yarn as in the first photo, but we carry out the shuttle under the main thread of the ring finger.

6. The resulting node, like all others, should move freely in both directions.

7. We make an arbitrary row of several nodes. For example, about 10. It is important to check that they all move freely along the thread. In case of an error, you need to gently loosen the knot with a hook and repeat again.

8. The resulting row is carefully tightened into the ring, tightening the main thread.


Pico.
1. We collect several nodes, then we make a small indent between them. Usually it is equal to half the width of the nail, and can be more, depending on the type of thread and the idea of the author.

2. Clamp the gap with your fingers and continue to weave the knots. Then gently tighten. The resulting nodule is called pico. It serves as a lace decoration, as well as an element for linking complex products.


3. You can make a few pico in diameter of the ring.

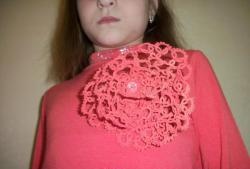
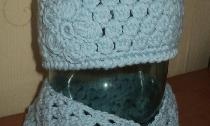
4. Despite the fact that the ring is the simplest element of tatting, you can create many interesting works with it. For example, here is such a brooch. Thanks to the use of multilayer yarns, it seems voluminous. The secret of “fluffiness” is in elongated picot.

5. By combining rings of different diameters, you can make a variety of objects. For example, napkins.


To create larger-scale works in the tatting technique, other weaving methods are also used - the already mentioned coupling, arcs and more. But you should not start studying them without mastering the basic elements.
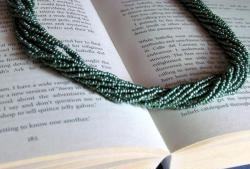
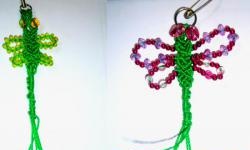
Graceful creations =)