Materials:
So, for materials we will need newspapers or magazines - whoever has what. I twisted tubes from magazines because... This paper doesn't make your hands so dirty.
Glue. You can use regular PVA glue or polymer glue; a glue stick will also work.
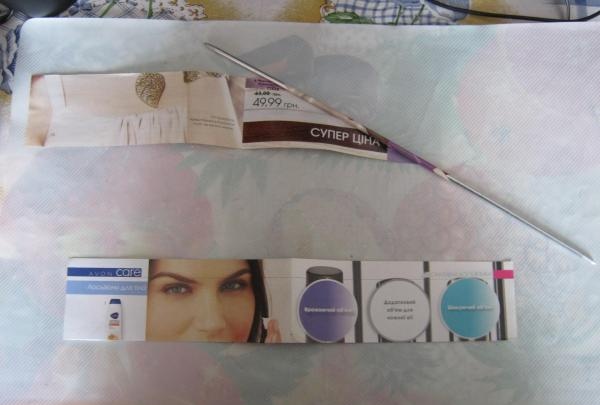
A stationery knife - we will use it to cut strips.
A long knitting needle, it is advisable to choose a thicker one.
Paints. I used Antique Bronze acrylic paint. You can use paint in spray cans, but I want to warn you in advance against using it at home.Of course, the color of the product turns out excellent, but, people, the apartment will smell terribly of acetone! It is best to carry out this procedure outdoors, weather conditions permitting. Moreover, the paint dries quite quickly.
Decorative elements for decorating a candy bowl. In my case, I used ordinary sew-on rhinestones, which I glued with polymer glue at the end of the work.
The manufacturing process looks like this:
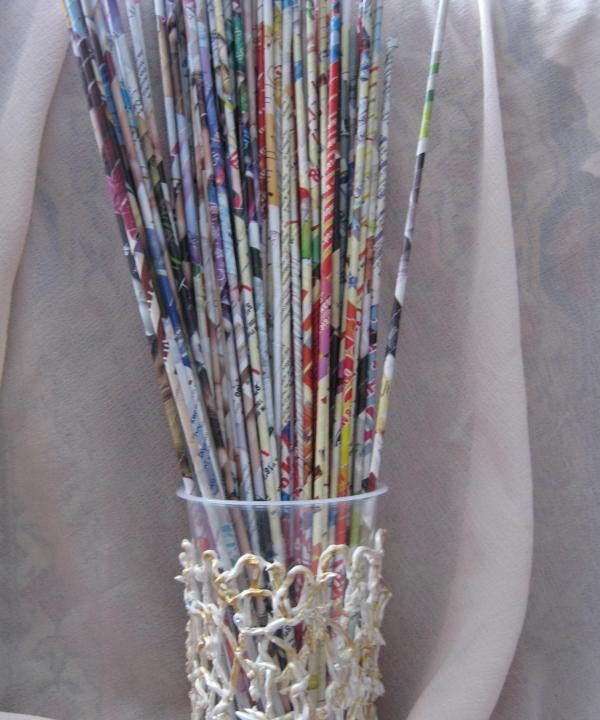
We've finished the preparations, now it's time to start creating newspaper tubes.
The length of the paper can be any - it will depend on what you will be twisting the tubes from. The longer the strip, the longer the tube will be. I made strips 5cm wide. I want to say right away that you need to wind a lot of tubes. So you should be patient, I played it while watching movies - it’s both useful and beneficial at the same time. It is advisable to twist the tubes at an angle (about 30-35 degrees), then they turn out to be flexible and durable.
When you have made a sufficient number of tubes, you can begin the fun part - creating your own masterpiece. Yes, yes, exactly a masterpiece, because you will not find a second vase like this anywhere!
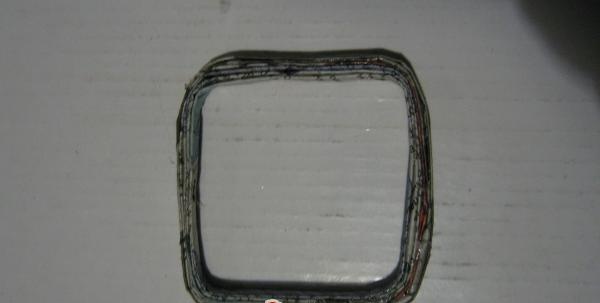
1. First you need to make the bottom of the candy bowl. I used a small flower pot as a blank. For work I needed flat tubes, so I rolled them out with an ordinary kitchen rolling pin. Wrapping the mold in tubes, coat them well with glue. I give it time to dry.
2. Next, I fill out the form. I screw the tubes onto a regular ballpoint pen and periodically coat them with glue. There are a lot of options for filling the middle. It all depends on your imagination and the size of the form.
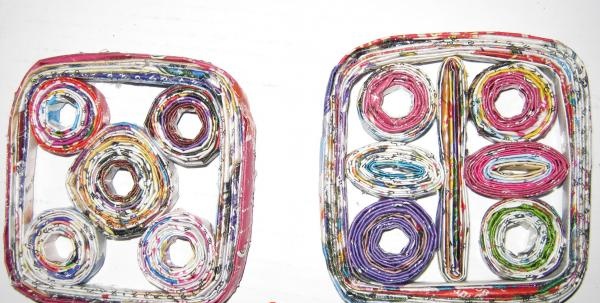
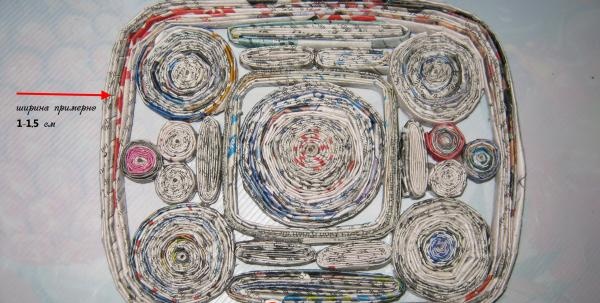
3. I place the blank mold in the center and glue round blanks on four sides.I allow the glue to dry so that later, when the workpieces are fixed, they remain in place. If your version of the vase has voids, you can fill them by twisting circles or ovals; these also need to be glued.
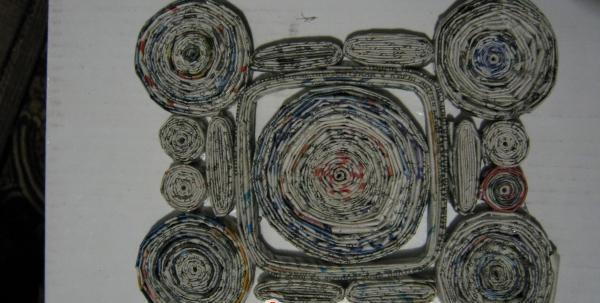
4. Now the entire workpiece must be wrapped in tubes, each layer coated well with glue. The blanks in the form need to be filled. You need to paste the mold in several layers so that the next part can be fixed on it in the future. In my case, its width was 1cm. Everything should dry well.
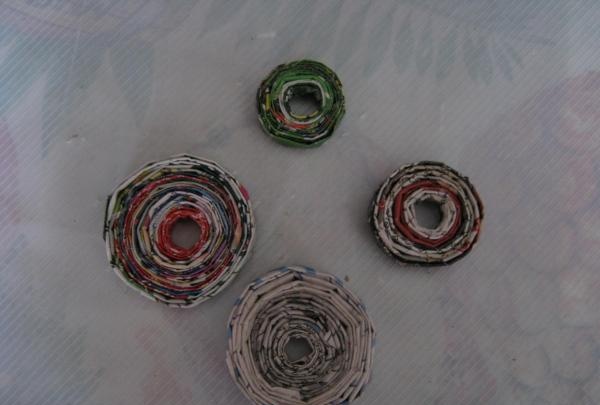
5. Now that I have the base of the candy bowl ready, I can start shaping its walls. The simplest option would be to wind round pieces of different sizes. Let me remind you that I twisted them with a ballpoint pen and coated each turn with glue. If you subsequently decorate the vase with rhinestones, it is better to screw it onto a thin base so that the hole is small, because then there will be nowhere to spread the glue or you will need to choose larger decorative elements.
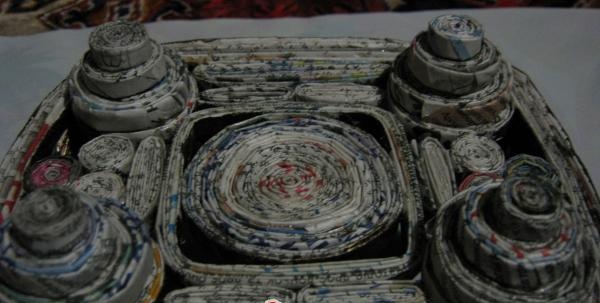
6. When the walls of the vase have dried well, you can think about what kind of legs it will have. Again, from the same round blanks of different sizes we form the legs in the form of a pyramid.

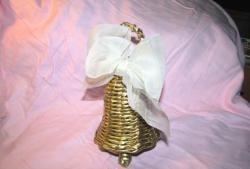
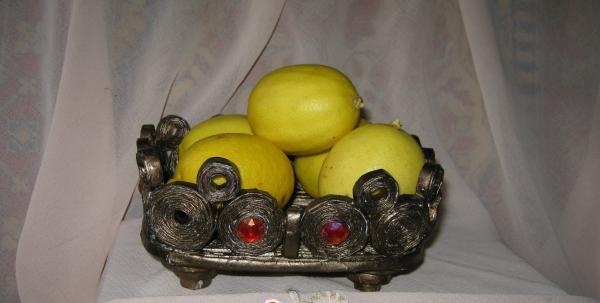
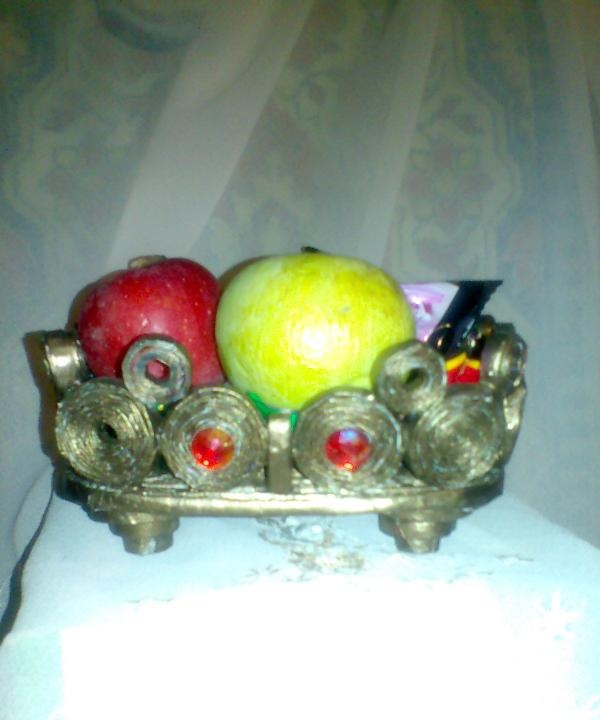
7. When the vase has dried well, you can begin the final stage - painting and decorating. As mentioned earlier, I used antique bronze acrylic paint. As decoration I used rhinestones, which I “planted” on glue.
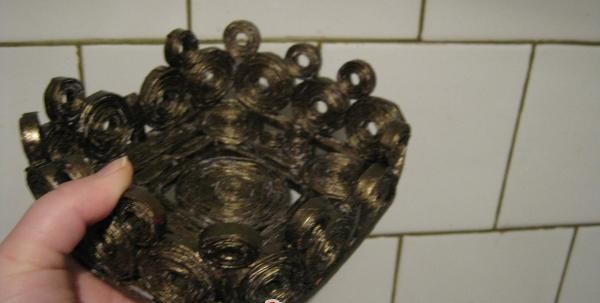
That's basically it. The candy bowl made from newspaper tubes is ready. I wish you creative inspiration and flights of fancy!