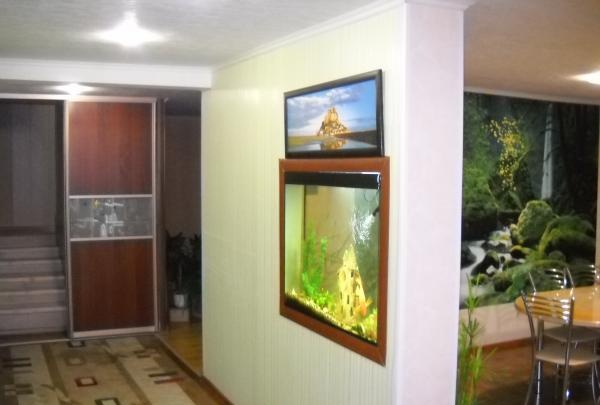
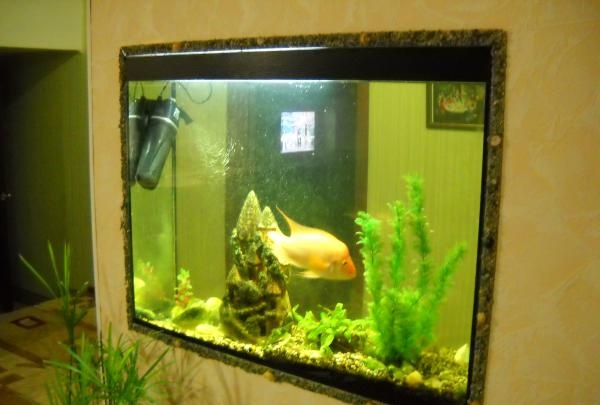
At the beginning, I intended to make the partition of the kitchen room from the corridor a solid structure about 12 centimeters thick, with a doorway. But I wanted to get a light and original partition. Firstly, I increased the opening to the kitchen to almost 2 meters and then decided to make a through niche for the aquarium. I installed the wall using combined materials. I needed not only metal wall profiles, but boards and chipboards. First you need to decide on the size of the niche. Modern aquariums are available in standard sizes and made to order. The standard ones are quite low and wide. They can be made to order in any size and capacity, and the price will be quite reasonable. I proceeded from the following aspects: appearance, ease of cleaning and reliability of the design. The appearance of the aquarium is improved by greater length and height, but the ease of cleaning and filtration will be compromised. Therefore, the height should be a maximum of 0.65-0.7 meters, the length should be about 1-1.5 meters, and the width should be 0.25-0.4. I chose the following length/height/width dimensions - 1.05 m/0.68/0.25 meters.My advice is to increase the length and width and get a capacity of about 300 liters; the aquarium will look more impressive, and its inhabitants will be more comfortable living in it.
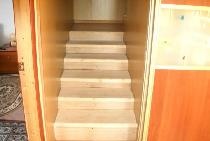
After we have decided on the dimensions of the reservoir, we mount the entire wall. From below and above I used the usual guides for a profile in the form of the letter “P”, 30 millimeters wide. After I secured them from each other according to the depth of the future niche, to get a wall thickness of 25 centimeters, and taking into account the installation of drywall, this is still minus 2-2.5 centimeters. The wall must be transversely fastened in some places to avoid deflection from the heavy weight, because it is about 350 kilograms.
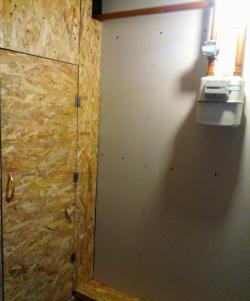
Next to the niche, I used not an ordinary metal profile, but an edged board, and then wrapped the resulting opening with chipboard. Please note that the place where the aquarium is installed must be securely equipped; for reinforcement, I used a continuous sheathing of the walls under the bottom of the aquarium with boards. The bottom piece of chipboard should be checked with a level, and it is better to leave gaps of about a centimeter on the side. For reliability and to avoid kinks from deflection of the base, when installing the aquarium, I placed foam from the ceiling panels, about a centimeter thick, under its bottom. Water was carefully poured in using a hose, constantly monitoring the displacement of the aquarium body.
I was faced with the task of ensuring cleaning and supplying electricity to the aquarium. Since I wanted to integrate the pond into the wall from the corridor and kitchen side, I decided to leave access from the corridor side for cleaning, connecting electrical appliances and feeding fish.
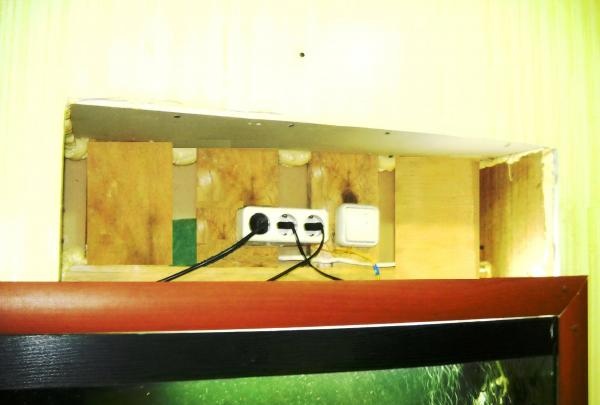
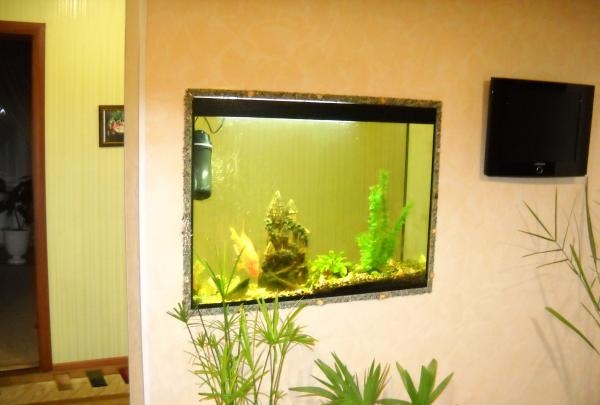
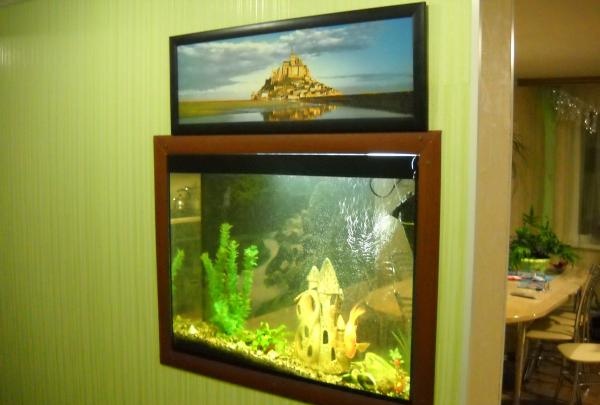
Subsequently, I did not make any hatches, but simply hung a picture in place of the opening.
The drywall was covered with wallpaper, so I sealed the existing gap between the body and the wall using a regular plastic corner. I glued decorative stone chips “Snake” and shells to the corner.

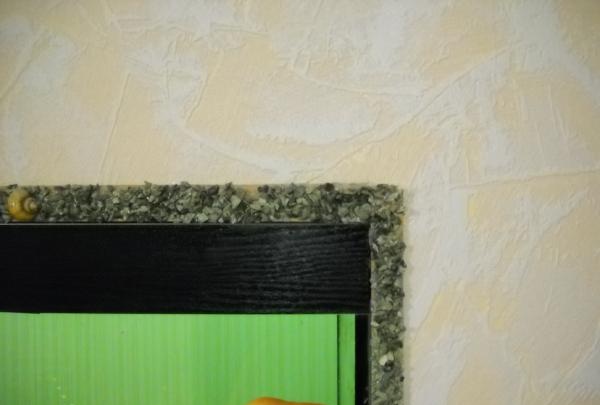
As an alternative design move, there is a more expensive one, which is the use of decorative stone, which can be used to finish the perimeter of the aquarium. I still had the usual door casing, which I used to frame the aquarium on the corridor side.

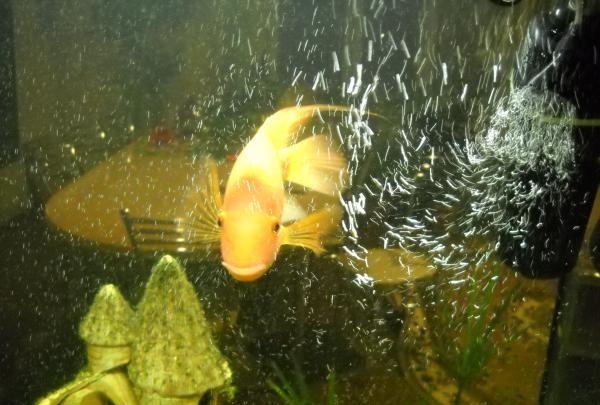
Installation of lighting and filtration depends only on imagination, since the electrical wiring is connected to a closed niche.
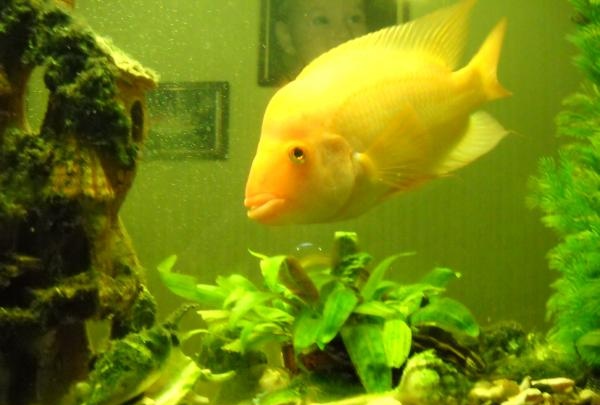
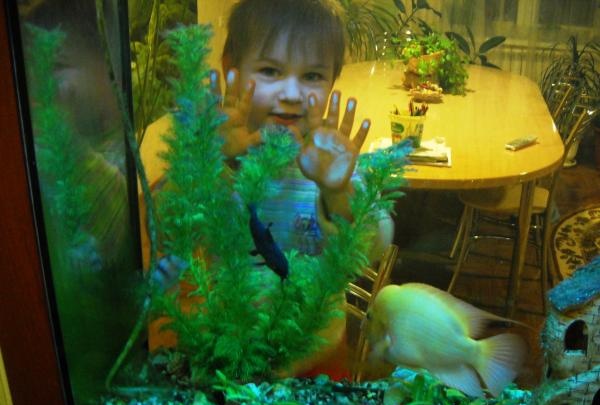
The result of the installation is a beautiful view, the effect of the presence of the inhabitants, lightness and transparency, additional lighting of the corridor and kitchen in the dark.