Do it yourself
Life hacks, master classes, useful tips, recipes.
home » Different » Crafts » As of February 23 » Making a postcard for February 23
The proposed postcard can be made by children of primary school age during labor lessons, and with the help of adults such present Even 6-7 year old kids attending kindergarten can make it. Grandfathers, fathers, and brothers will be pleased to receive such an original craft for Defender of the Fatherland Day. Children's efforts will not be in vain, because the warmth of the soul invested by the child during work will be felt by everyone. Manufacturing is quite simple, but requires patience, accuracy and diligence. It will take 1-1.5 hours.

Making a postcard for February 23


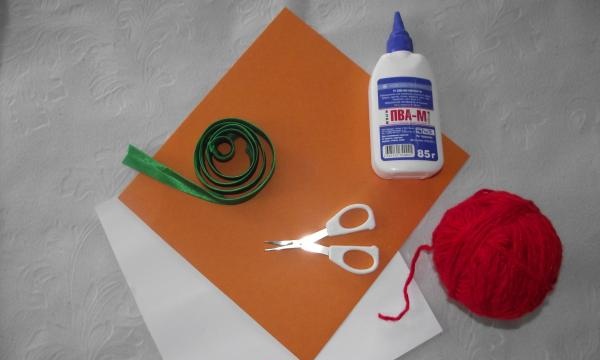
Materials for crafts:
• White and orange cardboard
• To make stars: red colored paper or a colored shopping bag with a star pattern.


• Green satin ribbon for edging
• Red wool threads
• Red felt-tip pen
• PVA glue or “moment” transparent
• Scissors
• Ruler
• Pencil

How to do:
1. Cut out a square measuring 20x20 cm from white cardboard. This will be the base of the postcard.
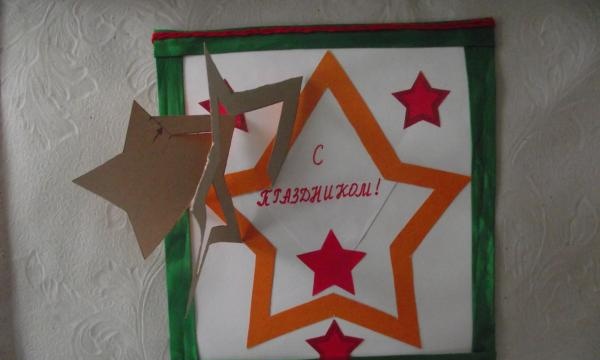
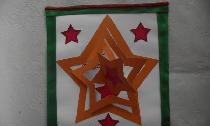
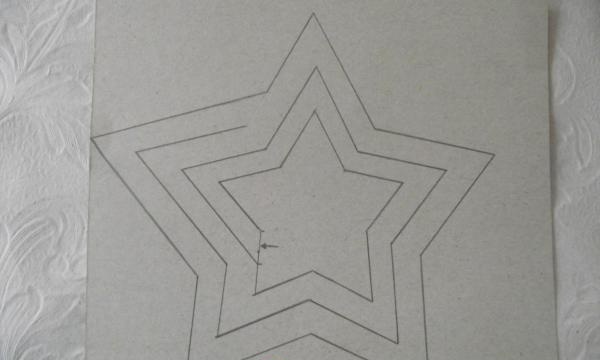
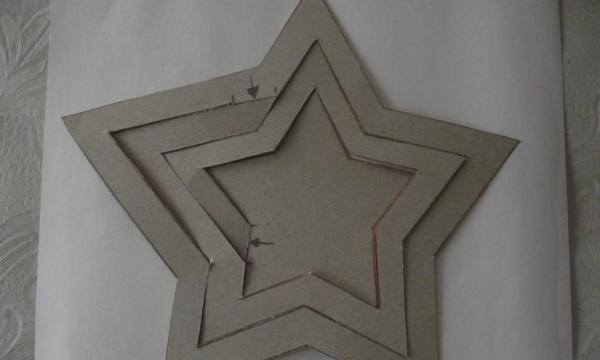
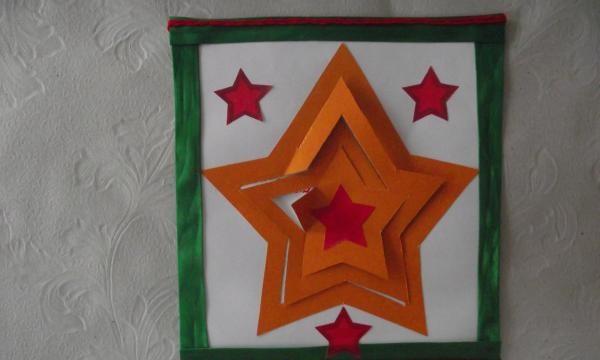
2. Turn the orange cardboard over and draw a star on the reverse side, drawing lines parallel to the edges of the star, retreating about 1 cm and moving in a spiral for 4 circles.The finished star will be approximately 16-17 cm wide at its extreme points.


3. Using small scissors, carefully cut the star along the contour and in a spiral, without cutting in the places indicated by the arrows.


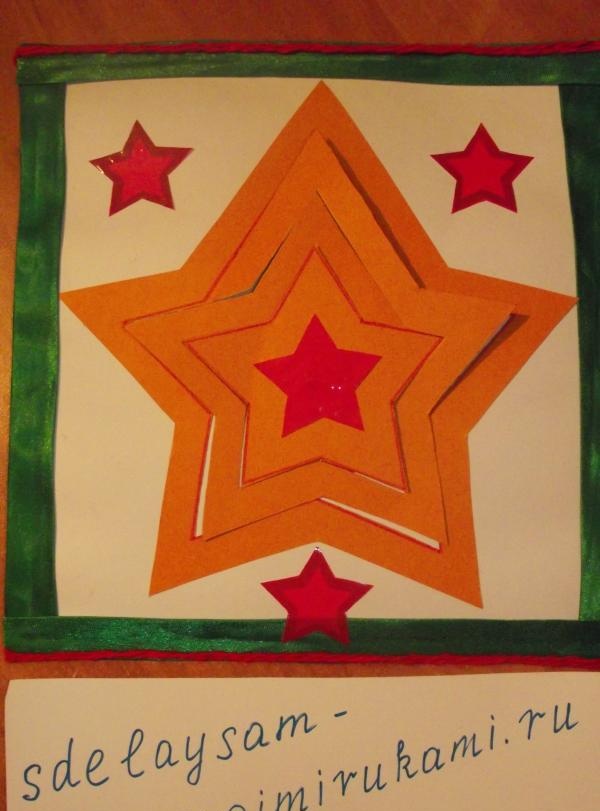
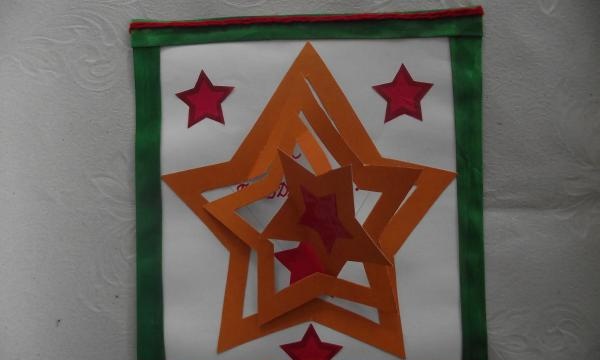
4. We draw up the base. Glue a green satin ribbon around the perimeter of the white square, carefully cutting off the ends of the ribbon.


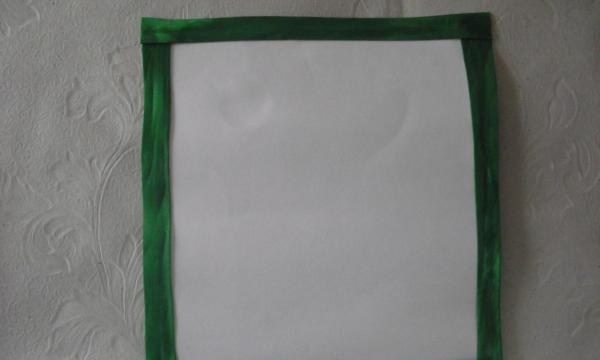
It would be more successful to use “moment” glue, since it dries faster when working with fabric.
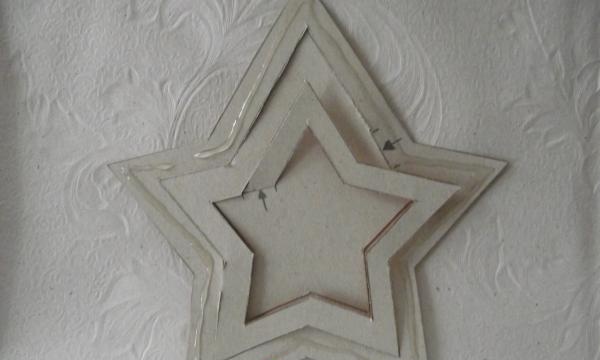
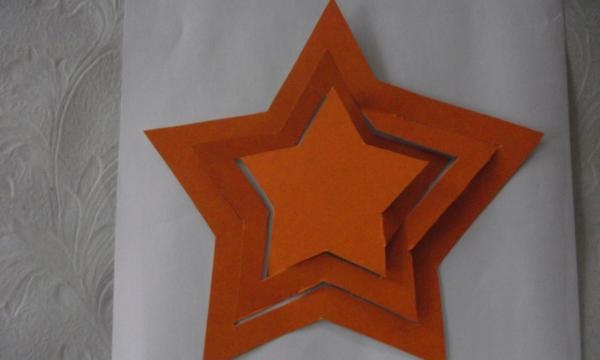
5. Now you need to glue the cut out star to the base. To do this, coat the outer perimeter with glue on the back side of the orange star and glue it in the middle of the white base of the card.


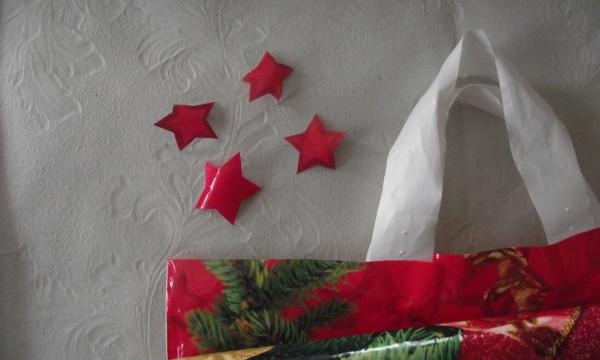
6. Decorate the card. We cut out red stars from red colored paper or from a bag, glue them onto the card on a white background, inside the craft and in the middle of the orange star.


Glue red wool thread along the top and bottom edges of the card on top of the green ribbons.
7. We write congratulations inside the star with a red felt-tip pen.


8. Trace the outline of the outer and inner star with a red felt-tip pen. The craft is ready.
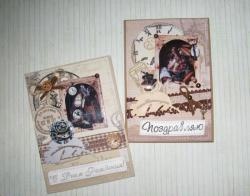
The kid who has completed the work will be very proud of the result, and perhaps will try to create another “masterpiece” again, this time by March 8th.


come back
Comment
  • bowtiesmilelaughingblushsmileyrelaxed relaxedsmirk
    heart_eyeskissing_heartkissing_closed_eyesflushedrelievedsatisfiedgrin
    winkstuck_out_tongue_winking_eyestuck_out_tongue_closed_eyesgrinningkissingstuck_out_tonguesleeping
    worriedfrowninganguishedopen_mouthgrimacingconfusedhushed
    expressionlessunamusedsweat_smilesweatdisappointed_relievedwearypassive
    disappointedconfoundedfearfulcold_sweatperseverecrysob
    joyastonishedscreamtired_faceangryragetriumph
    sleepyyummasksunglassesdizzy_faceimpsmiling_imp
    neutral_faceno_mouthinnocent
5+two=
Comments (1)
  1. Mary
    #1 Mary Guests February 5, 2015 08:32
    0
    wink smile Cool

Tilda the hare | Do it yourself

Easter basket | Do it yourself

Crispy and Tasty Potato Pie

Paving slabs: advantages and self-installation

«Do it yourself - with your own hands» - a site of interesting homemade products made from scrap materials and items at home. Step-by-step master classes with photos and descriptions, technologies, life hacks - everything a real master or just a craftsman needs for needlework. Crafts of any complexity, a large selection of directions and ideas for creativity.

We recommend reading

Washing machine error codes