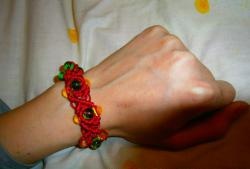
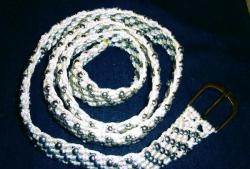
One of the most ancient, but despite this, still relevant technique for creating jewelry is macrame. Today we will learn the basics of this art and try to make a bracelet from threads (or, as they are also called, a bauble).
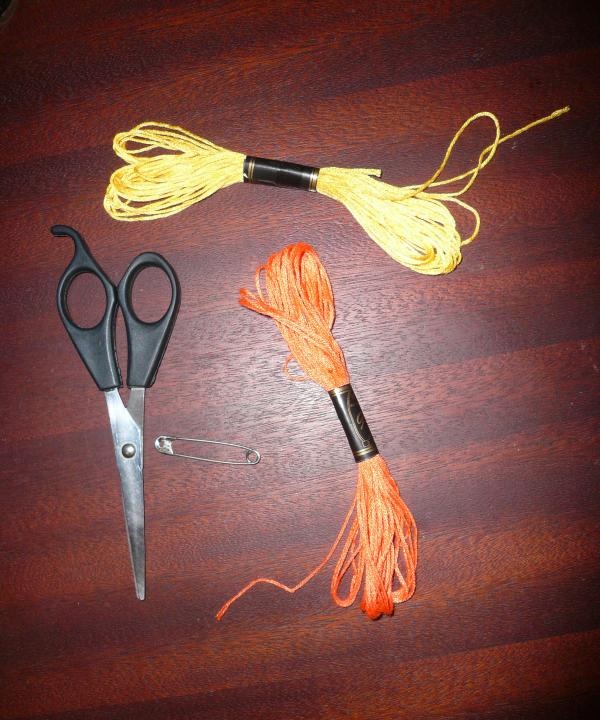
For this we will need: floss threads (I used only 2 colors - orange and yellow, but you can combine more shades), a pin, scissors and a sewing needle.
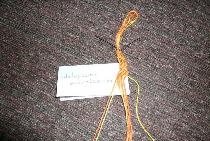
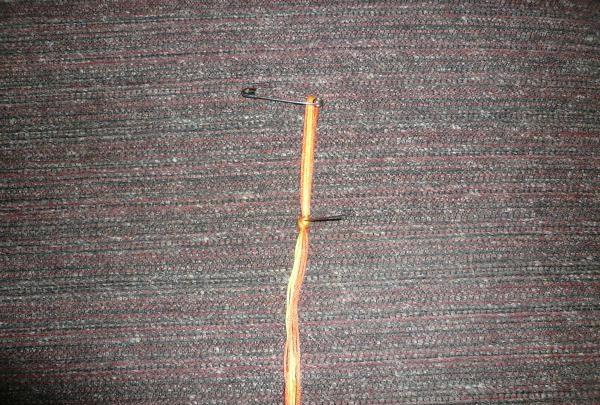
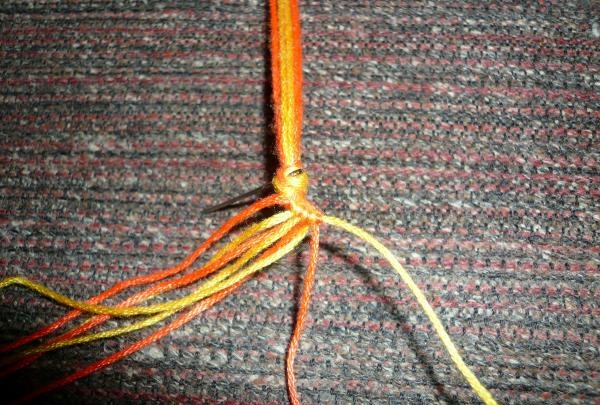
The size of one/each thread should be approximately 50 cm. After you have cut the required number of threads (I have 4), fold them in half like this.
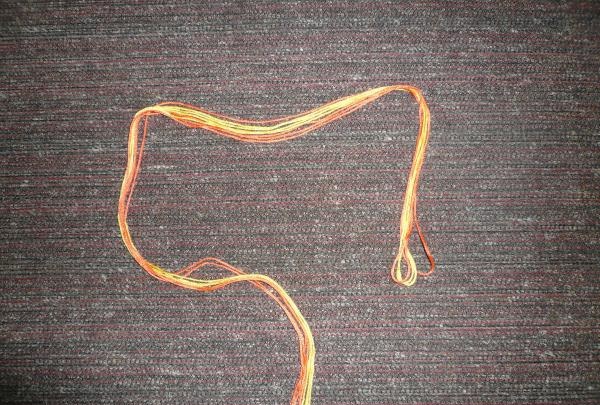
Now step back from the fold about 5 - 6 cm and tie a knot.Then, for the convenience of further work, pin the loop with a pin, for example, to the upholstery of a sofa or carpet.
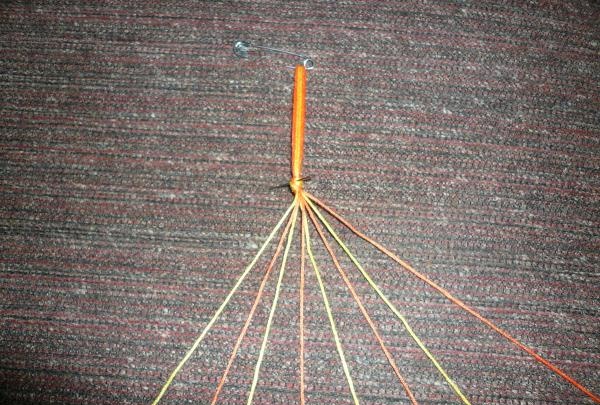
If you use 2 colors, then it is better to arrange the threads through one. When using more colors, you can come up with some other order of alternating colors (for example, “rainbow”, etc.).
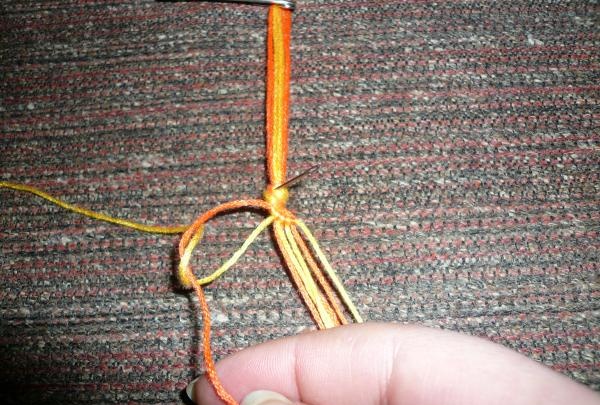
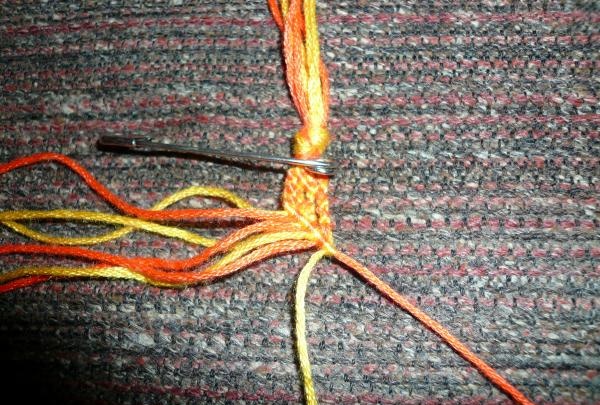
Now take the leftmost thread and tie it twice with the next thread.
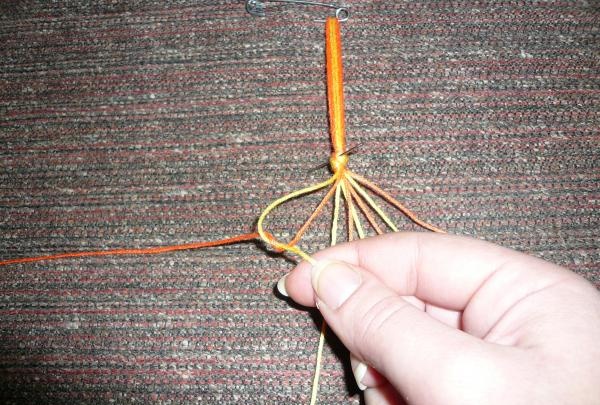
That is, we kind of tie a knot on the first thread, and then repeat it. Next, on the same thread, we tie a knot twice from the next, not yet used, thread, etc. until all the threads are tied around the first one.
In order for the knots to turn out even, it is necessary to keep the first thread in tension all the time, and tie the knots as tightly as possible.
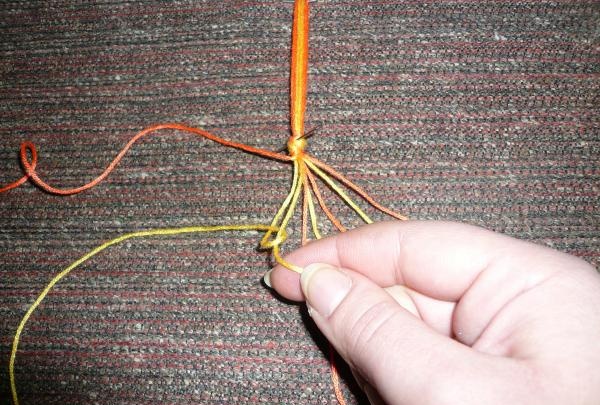
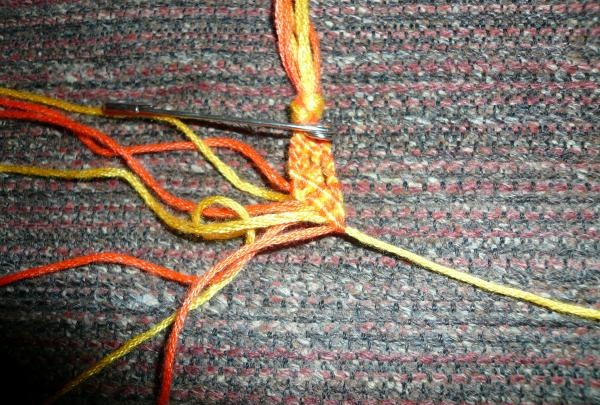
After we have made one row of knots, we repeat the procedure again, using the same principle. We also start with the leftmost thread. Make sure that the colors alternate.
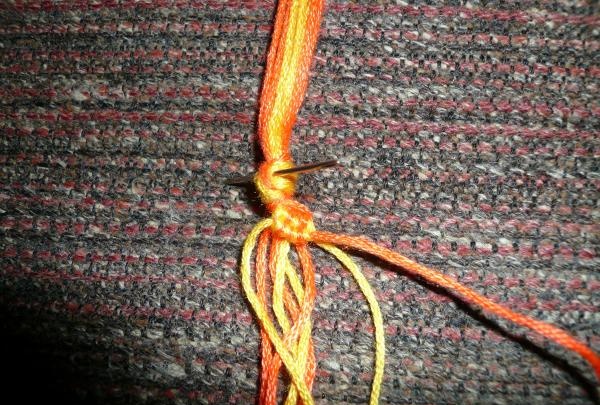
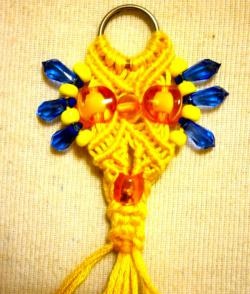
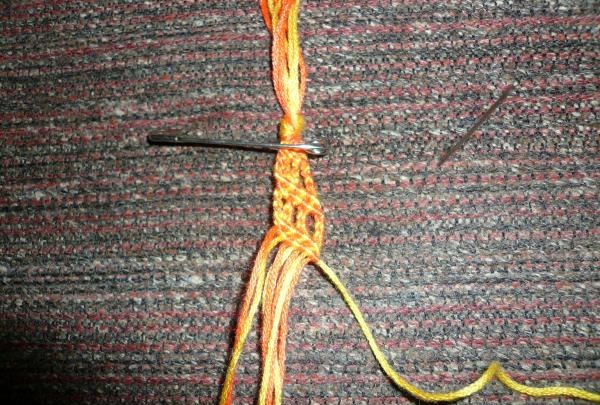
Then from every two threads you need to make chains of knots. For this bauble, I tied five knots on each pair of threads. To make the knots look more attractive, tie them alternately by lifting up the left and right threads.
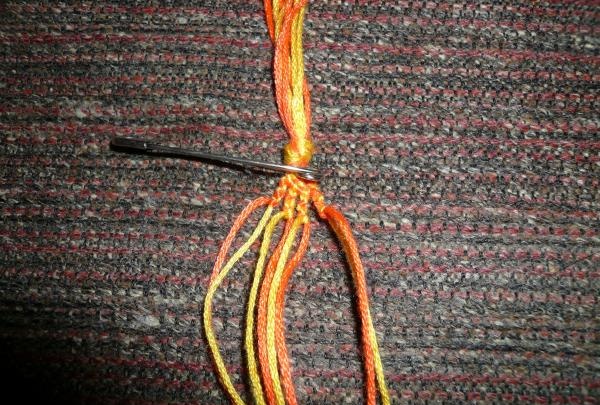
Now we again make 2 rows of knots, starting with the leftmost thread - exactly the same as we did at the very beginning.
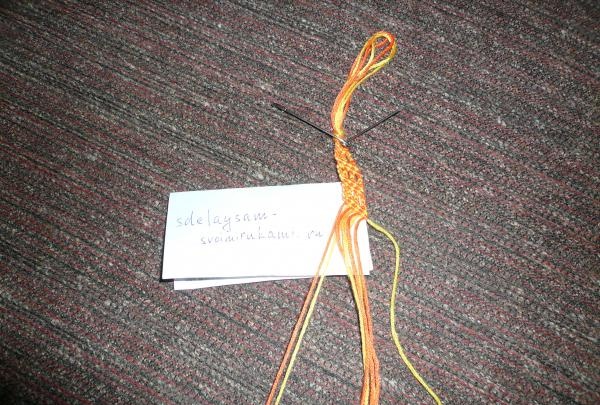
For convenience, you can pin different parts of the bauble to the upholstery or help fix the work with a needle.
In fact, weaving the entire bauble will consist of two stages - knitting a series of knots and knitting chains of knots. Therefore, we repeat these steps one by one until we get the required size.
After the required number of knots are connected, we need to complete the work as follows. At the end, we tie all the threads into a knot, as at the beginning of the work.
After this knot, leave about 5 - 6 cm, and cut off the remaining threads. Cut the top loop, which was pinned at the beginning with a pin, into two parts. This way we get ties on which our dyeing will be held.
As you can see, making jewelry with your own hands is not that difficult. Try it and you will definitely succeed. Good luck!