Do it yourself
Life hacks, master classes, useful tips, recipes.
home » Electronics » Gauss gun » Converter circuit for a gauss gun
The converter is based on the popular 555 series timer. The design of the converter is quite simple and cannot cause any difficulties even for novice radio amateurs.
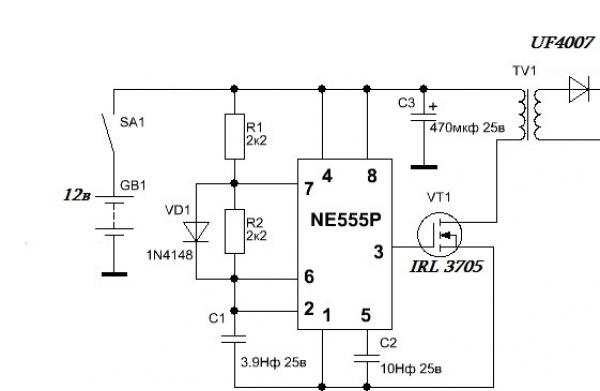
The power of such a converter largely depends on the field-effect transistor used. The main types of field effect transistors used are IRFZ44, IRL3705, IRF3205. The last two work great, but on the first one you can observe a large heat release, although the transistor needs a heat sink.

Converter circuit for gauss gun


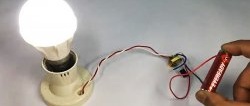
The power of the converter directly depends on the power source; with an uninterruptible power supply battery the power is about 50-60 watts or more.
Such a converter will be able to charge a 400 volt 1000 µF capacity in just one second! and all this thanks to the increased power of the converter.


As you know, the 555 series microcircuit can operate in two modes - 1) as a timer (the main purpose of the microcircuit), 2) as a rectangular pulse generator, in our case, the microcircuit works as a master oscillator.
The pulses generated by the microcircuit go to the gate of a powerful field-effect transistor, as a result, it forces it to open and close at a given frequency (the frequency of the generated pulses), forming a high-frequency alternating voltage in the primary winding of the transformer.


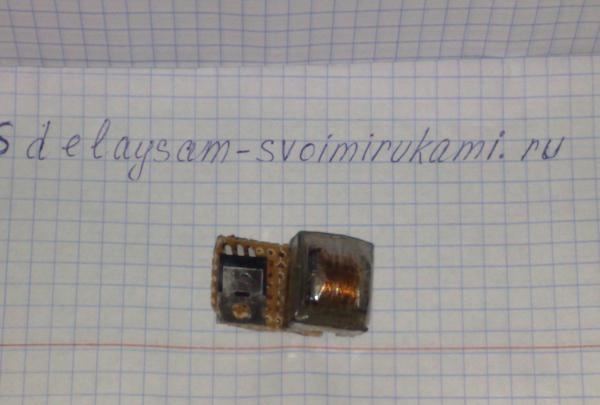
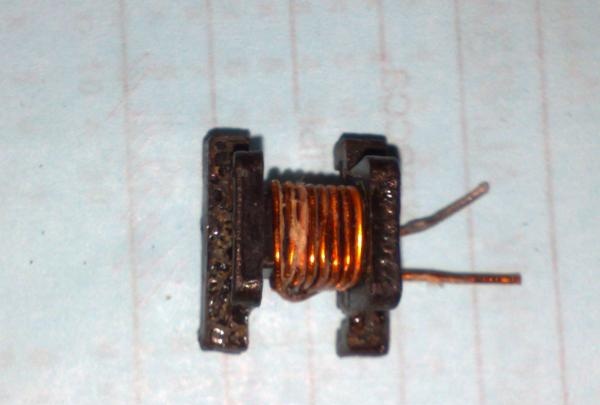
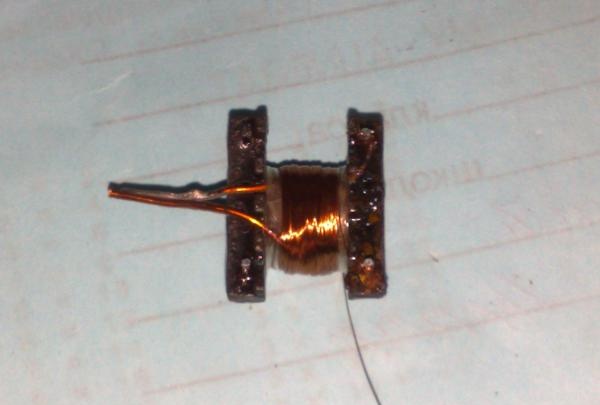
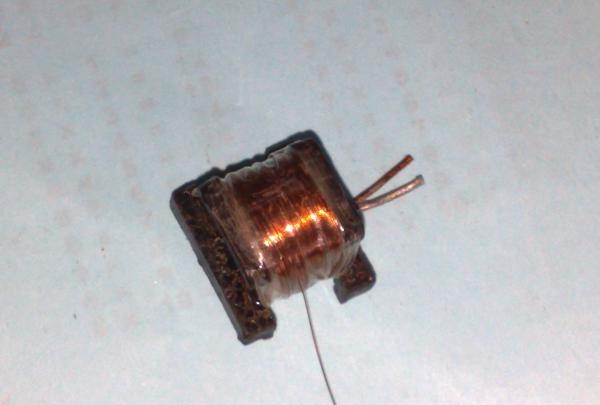
The primary winding of the transformer consists of 7 turns of 1 mm wire; you can also use several strands of thinner wire for convenient winding.


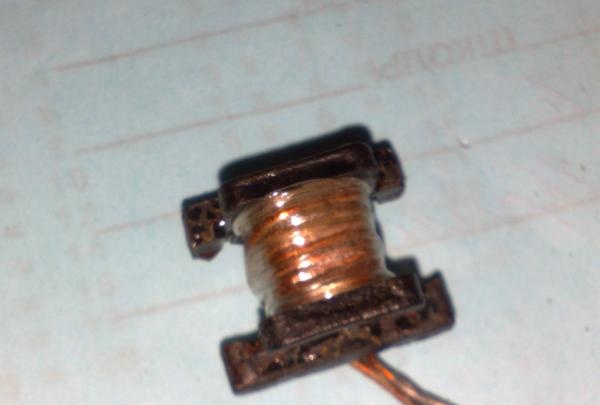
Next, we put insulation on top of the primary winding and wind the secondary. The winding consists of 120 turns of wire with a diameter of 0.2-0.3 mm.
The winding is wound in layers, each layer has 40 turns. Scotch tape, insulating tape, fluoroplastic, etc. can be used as interlayer insulation.


The power of the converter is quite high, so the circuit can be used as a 12-220 volt converter, but in this case the number of turns in the secondary winding must be reduced to 65.


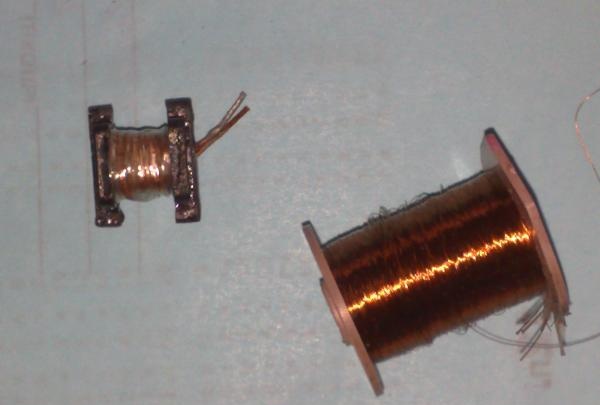
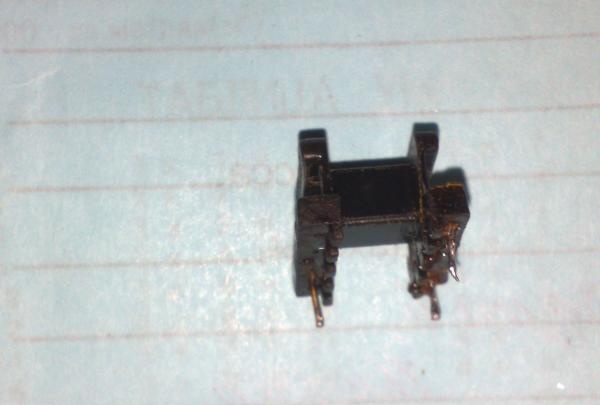
The transformer can be wound on a ferrite ring, armor cup or W-shaped frame (ferrite), the dimensions are not very important, the main thing is that the windings fit.


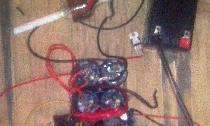
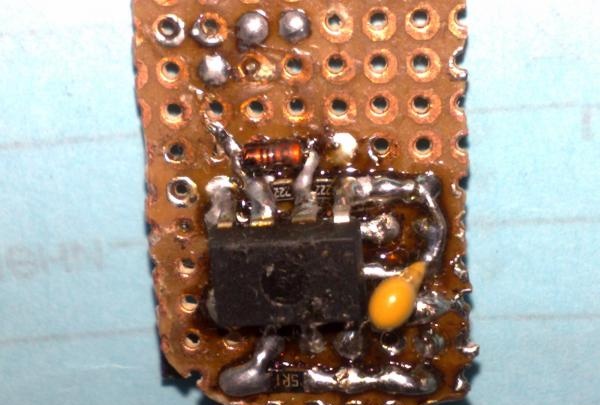
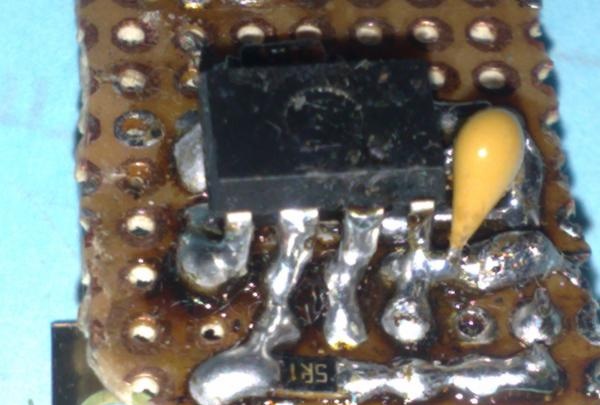
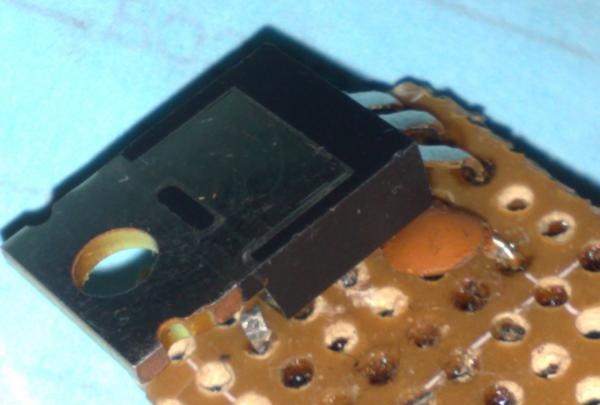
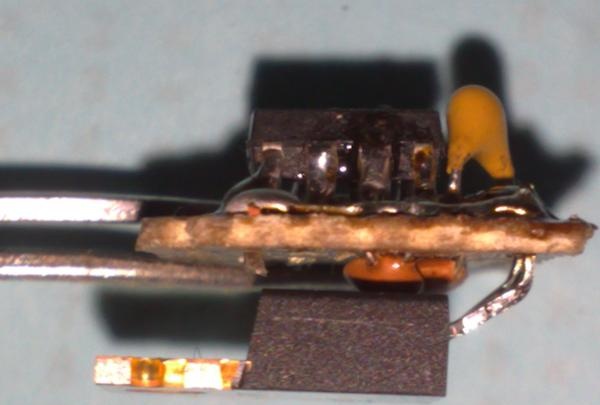
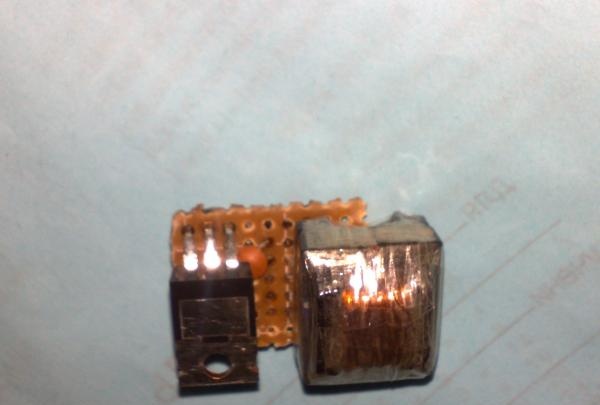
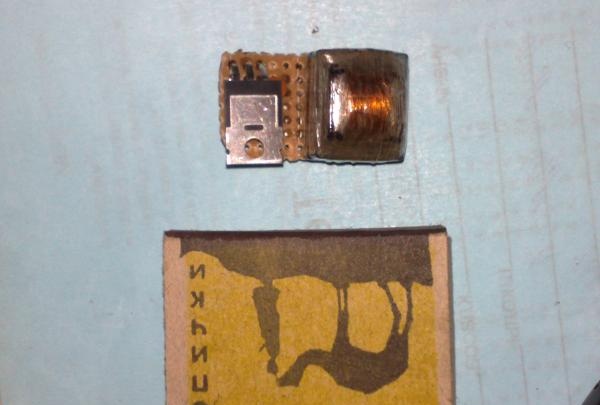
In my case, the installation is done on a breadboard on both sides. SMD components were also used to reduce the size of the board. The transformer was also mounted on the board.


The output voltage of the converter is about 380-440 volts; for rectification, you can use any pulse diodes with a voltage of 1000 volts and a current of at least 1 Ampere (FR107, FR207, UF4007 and others).

come back
Comment
  • bowtiesmilelaughingblushsmileyrelaxed relaxedsmirk
    heart_eyeskissing_heartkissing_closed_eyesflushedrelievedsatisfiedgrin
    winkstuck_out_tongue_winking_eyestuck_out_tongue_closed_eyesgrinningkissingstuck_out_tonguesleeping
    worriedfrowninganguishedopen_mouthgrimacingconfusedhushed
    expressionlessunamusedsweat_smilesweatdisappointed_relievedwearypassive
    disappointedconfoundedfearfulcold_sweatperseverecrysob
    joyastonishedscreamtired_faceangryragetriumph
    sleepyyummasksunglassesdizzy_faceimpsmiling_imp
    neutral_faceno_mouthinnocent
3+three=
Comments (22)
  1. Veent
    #1 Veent Guests 4 January 2013 18:41
    0
    The most worthy circuit of all because the input voltage can be adjusted from 5 to 18 volts, I used this myself only with an HV transformer
  2. Maksim
    #2 Maksim Guests 25 September 2013 18:04
    0
    Okay, cool idea!
  3. Daniel
    #3 Daniel Guests 10 October 2013 13:42
    0
    Who can solder such a circuit, otherwise I really need it and I’m a beginner and don’t understand it well :)
  4. Valentine
    #4 Valentine Guests January 8, 2014 09:29
    0
    what is the output frequency
  5. Daniel
    #5 Daniel Guests 26 February 2014 21:03
    0
    How to connect minus to the circuit?
  6. Daniel
    #6 Daniel Guests 26 February 2014 22:03
    0
    And can it be turned on without load?
  7. NALSUR28
    #7 NALSUR28 Guests 7 August 2014 19:39
    0
    Not bad. A little replacement in parts and dimensions of the device. In the absence of electricity, we can even watch a large LCD TV panel.
  8. Igor
    #8 Igor Guests May 4, 2015 01:34
    0
    I assembled this circuit, but from 2 crowns it produces no more than 160 volts. The capacitor charged for ten seconds to only 36V. Why is everything so meager? Could this be because the 3x40 secondary ones didn’t fit in, and I made 4x30?
    1. Damir
      #9 Damir Guests 11 November 2018 20:19
      2
      I’m actually trying to assemble an automatic rifle there, I’ve already assembled a magazine from plexiglass, I’ve turned out several bullets from a hammered rod, by the way, the pressure spring is the same as on combat Kalash-type rifles, it’s just bent in a figurative manner, then I’m still scratching my head on how to feed a bullet from this magazine myself trunk I don’t have any ideas yet, but I have advanced in the speed of charging capacitors .. with my modified back EMF converter .. I’ll briefly explain how it works ..you take any trans and apply 9-12 volts to the high-voltage side and suddenly turn off the supply all... the main task is how to remove in this short period of time that same voltage in the form of back emf from the same high-voltage side, I remove it with a regular UF diode of the condenser they charge not in seconds or even in a second, but in some fractions of a second, while this amazing converter consumes only some unfortunate miles Amperes
  9. Igor
    #10 Igor Guests 21 May 2015 22:39
    0
    But if you power it from 9V batteries, it produces the declared voltage, although the charging speed is still not satisfactory. I’ll rewind it to a larger ferrite transformer and take thicker winding wires, let’s see what happens.
  10. Igor
    #11 Igor Guests 21 May 2015 22:41
    0
    Quote: Daniel
    And can it be turned on without load?

    Yes, I included it.

Metal crafts | Page 5 | Do it yourself

How to sew a knife sheath

A simple DIY oil filter remover

How to cast high-quality aluminum blanks for a grinder

«Do it yourself - with your own hands» - a site of interesting homemade products made from scrap materials and items at home. Step-by-step master classes with photos and descriptions, technologies, life hacks - everything a real master or just a craftsman needs for needlework. Crafts of any complexity, a large selection of directions and ideas for creativity.

We recommend reading

Washing machine error codes