Do it yourself
Life hacks, master classes, useful tips, recipes.
home » Electronics » DIY electronics » Musical card
Best present, as you know, the one you made yourself with your own hands. What will be described in this article is distinguished by its originality and will delight the one you want to please for a long time. However, such work requires recording skills and equipment. However, for a beginning radio amateur who wants to learn something new, this is a completely solvable task. Now, in order.

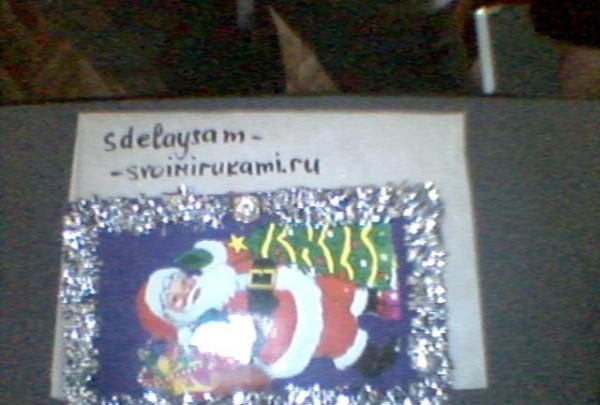
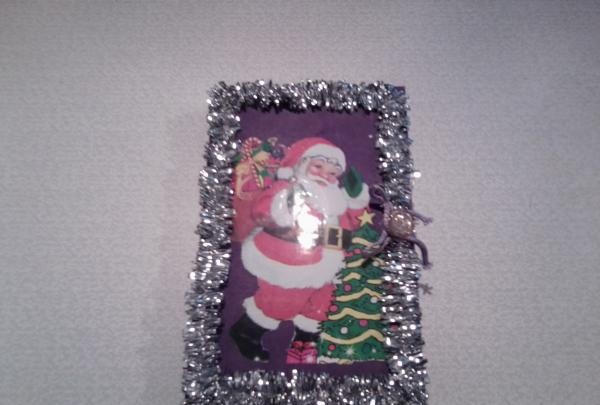
The appearance of the musical postcard is shown in the figure.

Musical card


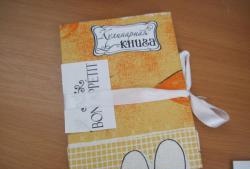
The gift was made to my nephew for the New Year and contains a voice greeting. The design is made in the form of a book. The ribbon that holds the book closed is tied with a button. Having untied the tape, we open the book, and the square button, which is visible in the figure, is pressed.


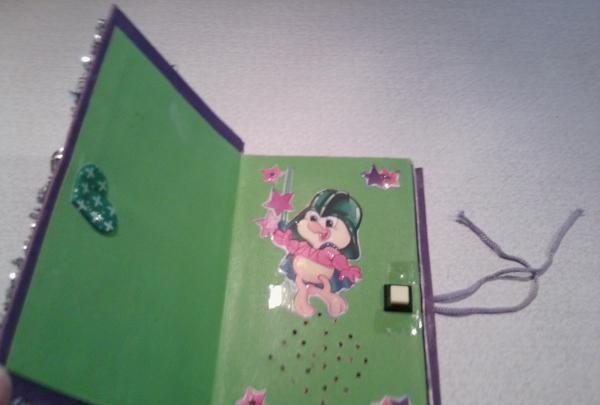
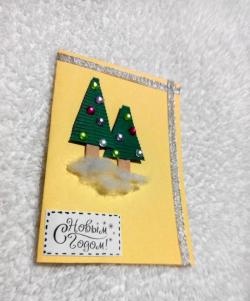
The button, when pressed, turns on the voice message. It could be your voice or just a piece of music from your favorite cartoon. Inserted in the corners LEDs, which, winking at each other, make the gift even more attractive.

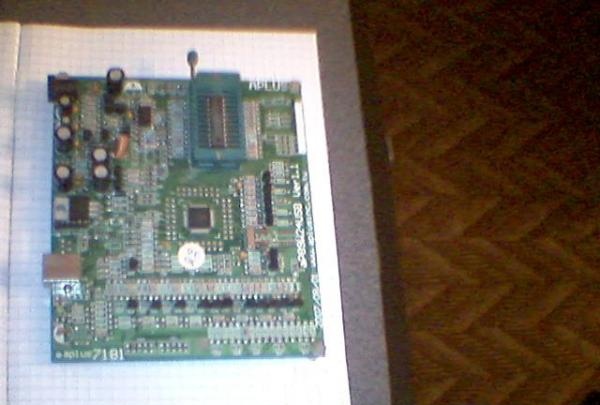
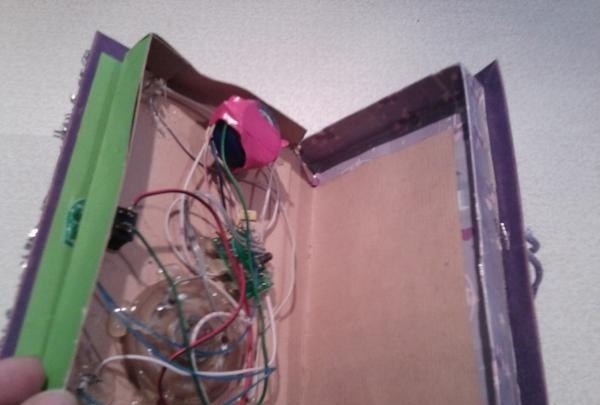
Inside the book there is all the electronic stuffing that is visible in the picture.


The basis is a small board with a one-time programmable sound chip aP8942A.


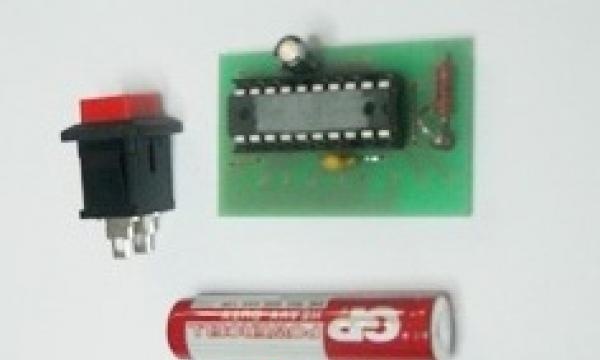
This chip allows you to record up to 42 seconds of audio. Schematic diagram of the entire filling on the circuit diagram.


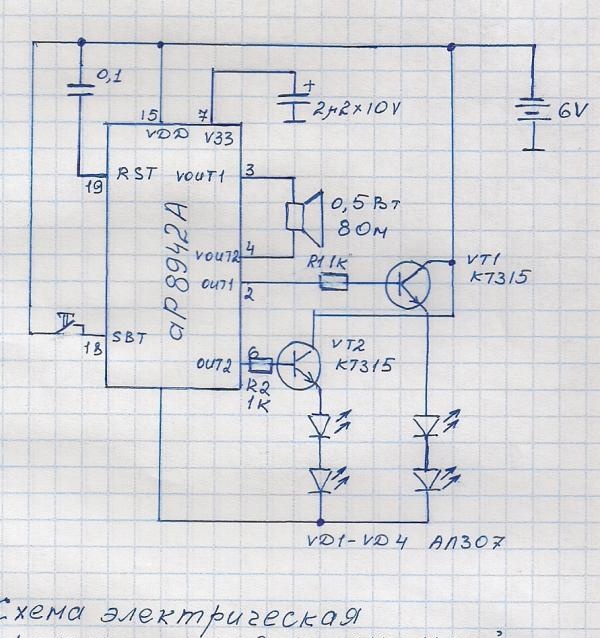
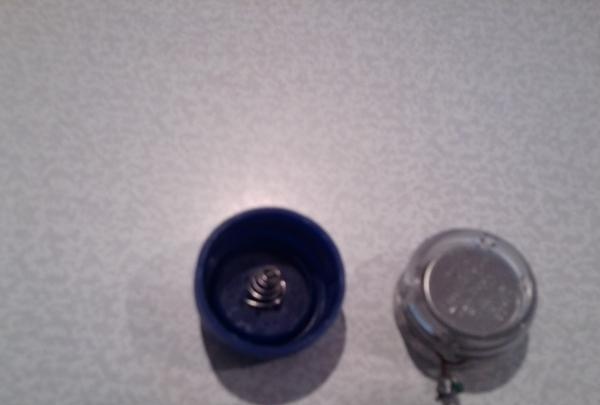
The scheme is quite simple, any novice radio amateur can do it. To assemble the device, you will need, in addition to the sound chip itself, a speaker with a power of 0.5 W and a resistance of 8 Ohms, a normally closed button (one whose contacts open when pressed), two KT315 transistors, four LED different colors of light, two GR2035 batteries or any others with a total voltage of 6V, a socket for batteries and some mounting wire. The power socket for this product, due to the lack of a ready-made one, was made from the neck of a plastic bottle. A spring from an old remote control is installed in the bottom of the plug, and the threaded part of the neck on one side is closed with a mesh of copper wire, which is the second electrode.


The only significant problem is the special programmer aP89W24USB, without which it is impossible to write the microcircuit. But if you consider that such a gift can not only be a pleasant surprise for people dear to you, but also a source of additional income, then you can go broke for several thousand rubles.


come back
Comment
  • bowtiesmilelaughingblushsmileyrelaxed relaxedsmirk
    heart_eyeskissing_heartkissing_closed_eyesflushedrelievedsatisfiedgrin
    winkstuck_out_tongue_winking_eyestuck_out_tongue_closed_eyesgrinningkissingstuck_out_tonguesleeping
    worriedfrowninganguishedopen_mouthgrimacingconfusedhushed
    expressionlessunamusedsweat_smilesweatdisappointed_relievedwearypassive
    disappointedconfoundedfearfulcold_sweatperseverecrysob
    joyastonishedscreamtired_faceangryragetriumph
    sleepyyummasksunglassesdizzy_faceimpsmiling_imp
    neutral_faceno_mouthinnocent
4 minus one =
Comments (8)
  1. tigozawr
    #1 tigozawr Guests 27 December 2012 15:16
    0
    how to flash it? I just want to do it, but I don’t know how to use this stuff :sad:
  2. feelloff
    #2 feelloff Guests December 27, 2012 20:47
    0
    Oh, this electronics :recourse:
  3. Ilya
    #3 Ilya Guests 24 September 2014 12:45
    0
    DIY worthy of habrahabr.
    You can simplify your life a little and make the paper part yourself and order the music module. In St. Petersburg, a module for a musical postcard can be purchased at a musical postcard store.
  4. Yalo
    #4 Yalo Guests 18 February 2015 12:17
    0
    thanks for the instructions!
  5. reruud
    #5 reruud Guests 28 November 2015 17:40
    0
    Can you explain in more detail about the sound chip? And how should all this be secured together on the board? And how to convey the necessary melody to all this?
  6. feelloff
    #6 feelloff Guests 29 November 2015 16:03
    1
    reruud,
    Buy this one
  7. Guest Evgeniya
    #7 Guest Evgeniya Guests 3 December 2017 19:22
    0
    Well, this is a terrible technology
  8. Guest Alexander
    #8 Guest Alexander Guests January 21, 2020 11:01
    1
    How to do it? The picture doesn't explain anything. What to solder where and how to assemble it. In your article you explained only what parts are needed and that’s it, where are the instructions?!

Beaded tree | Do it yourself

French fries in a paper envelope | Do it yourself

How to make a “third hand” from scrap materials with your own hands

How to make a cool lamp from PVC pipe

«Do it yourself - with your own hands» - a site of interesting homemade products made from scrap materials and items at home. Step-by-step master classes with photos and descriptions, technologies, life hacks - everything a real master or just a craftsman needs for needlework. Crafts of any complexity, a large selection of directions and ideas for creativity.

We recommend reading

Washing machine error codes