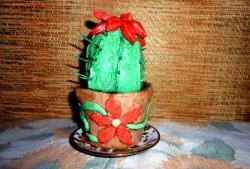
-1 cup flour;
-0.5 cups of starch;
-2 cups of extra salt;
-0.5 cups of water.

All the ingredients must be thoroughly mixed and then I warmed them in a saucepan. Warm until the dough becomes viscous, elastic. Then the dough is thoroughly kneaded, until smooth.

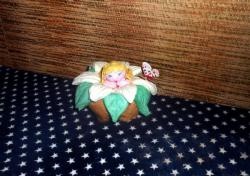
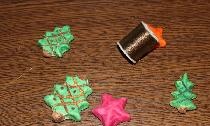
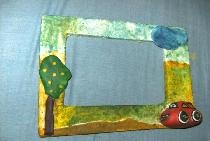
I took a small piece of dough and rolled it to the required shape. Then, from above, pierced two holes with a tube. After that I started to create a picture. I glued the head and ears to the bunny. Then she dazzled roses and daisies. I glued them.
I left the picture to freeze. After several hours of natural solidification, I put the product in the microwave. I chose the minimum temperature and set the time to 2 minutes. Then the product became solid enough, but I still left it so that it froze completely.


For decoration I came in handy:
-brushes of different thicknesses;
-water;
gouache;
-nail polishes with sparkles;
-varnish to complete the work.
Having painted the product, I let it dry a little. After that, I applied varnish with sparkles in order to make the appearance of the product complete. After, let the varnishes dry. When all the paints were fixed, I applied a layer of varnish to the product to complete the work. Then the picture dried for a day. Varnish gave a very interesting effect.
We made this picture with the baby in order to give grandmother a birthday. Therefore, the product turned out to be a little childish so that the grandmother believed in the reality of what his child did. I tried to maximally fit the product under the "baby", I hope that I did it all.

My grandmother was very pleased. After all present made by hand. By the way, a ribbon was inserted into the holes, for which the product was hung on a carnation.