Do it yourself
Life hacks, master classes, useful tips, recipes.
home » Different » beauty and health » Headband with roses made of satin ribbons
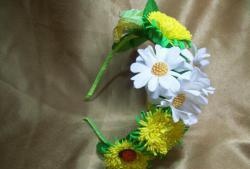
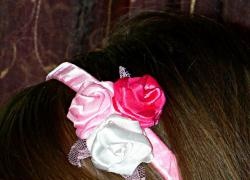
Such an unusual decoration can be created on your own only if you are armed with the necessary materials and, of course, patience. You can give such a headband to a friend, wear it with a bright summer dress, or make it for your daughter.
So, we will need:

1. Satin ribbon of different colors and different widths.
2. Scissors
3. Matches or lighter (to melt the edges of the tape)
4. Glue.
5. Headband.
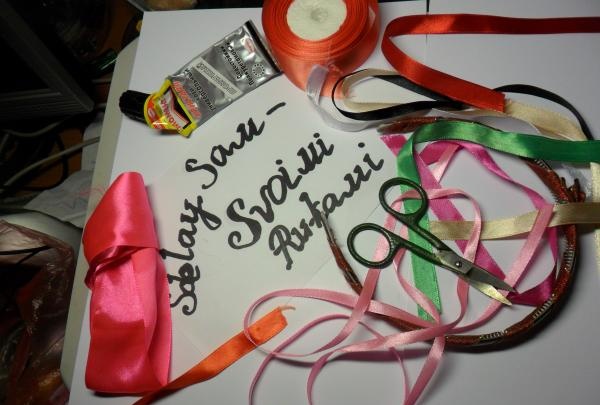
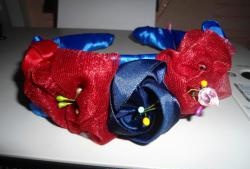
Headband with roses made of satin ribbons


We can start.

First, let's prepare roses for our headband. This can be done in different ways. I'll tell you about the simplest method.
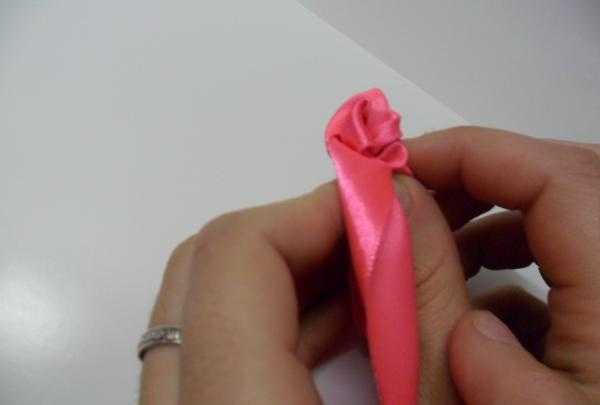
1. Using only tape, glue and your own sleight of hand. At first, the ribbon may unravel several times, turning from a twisted rose into the same ribbon.
To prevent this from happening, it is better to take a rigid tape
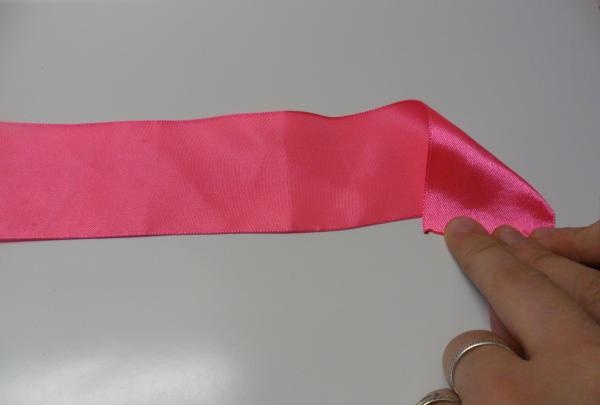


start twisting the edge of the tape
It looks something like this:
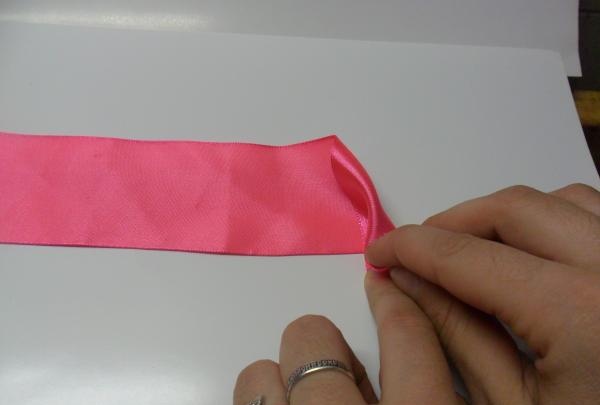


This is the middle of our flower
Take and bend the tape
It turned out to be such a corner
We twist it around the middle
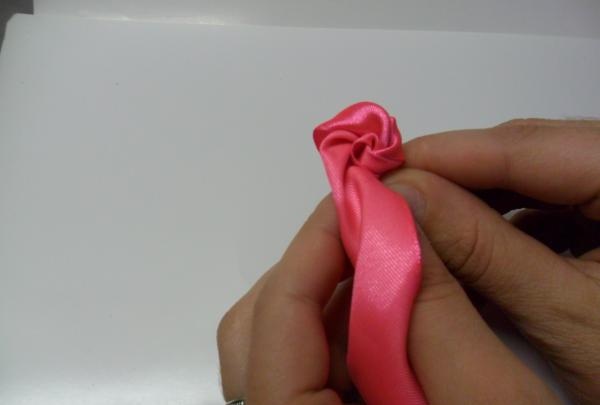
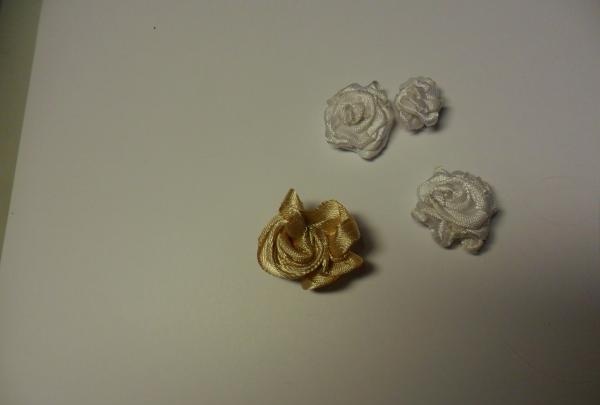
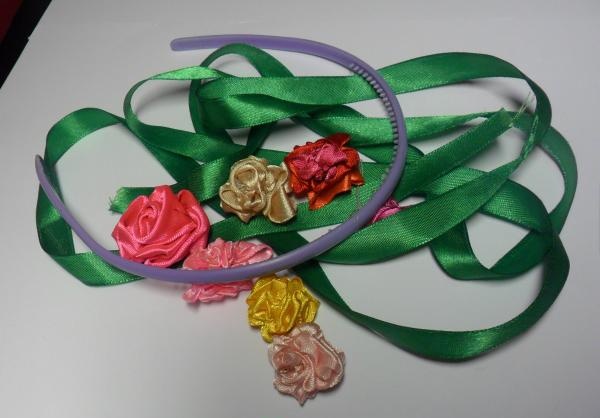


Again we bend the ribbon and press it from below and continue this way until the rose “blooms”, this is the wrong side - we melt the edge of the satin ribbon and glue it.This is the “front side”; we straighten the flower with our hands, straightening the petals.

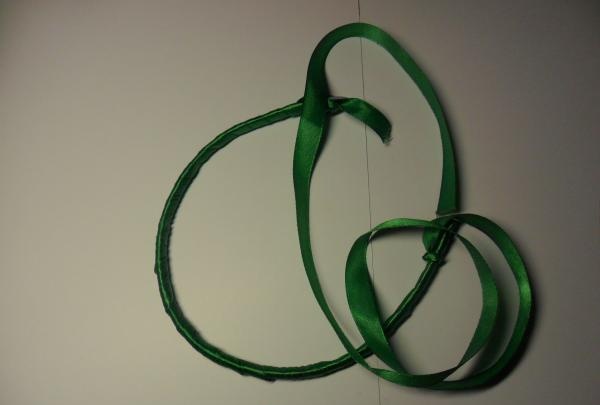
2. Wrap a green satin ribbon tightly around the headband.
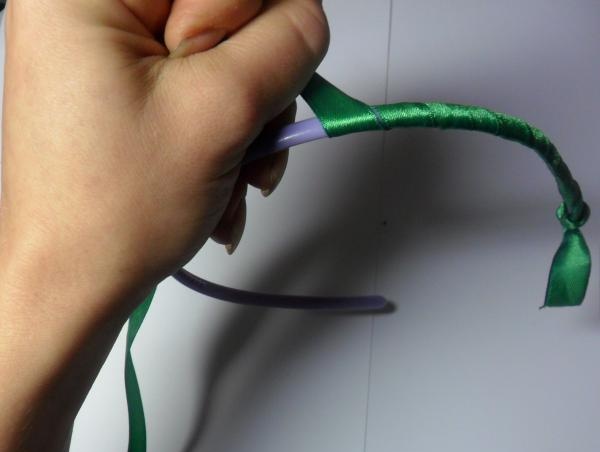


It will hold the roses and at the same time act as a background, creating the effect of leaves. Now we sew the roses to the wound ribbon.
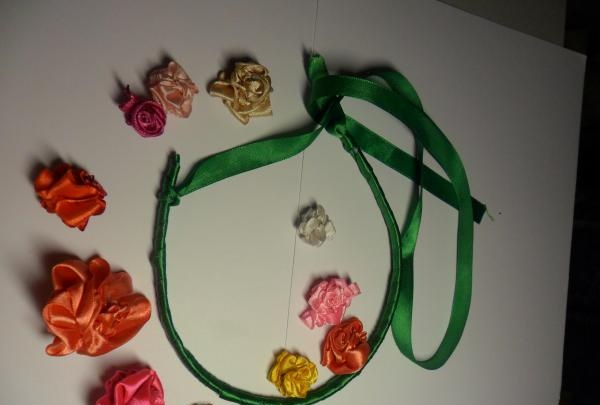


You can create roses of different sizes and sew them in several rows - large, small, or make roses of the same size and sew them in one row, creating a thin bezel. It all depends on your taste, the length of hair on which the headband will “sit”. I made one row of flowers, diluting it in places with larger roses.
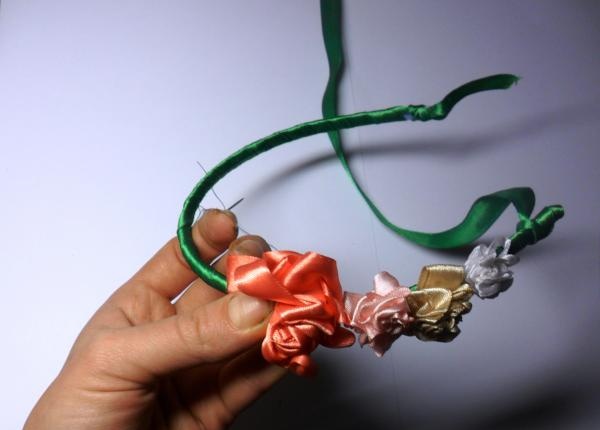
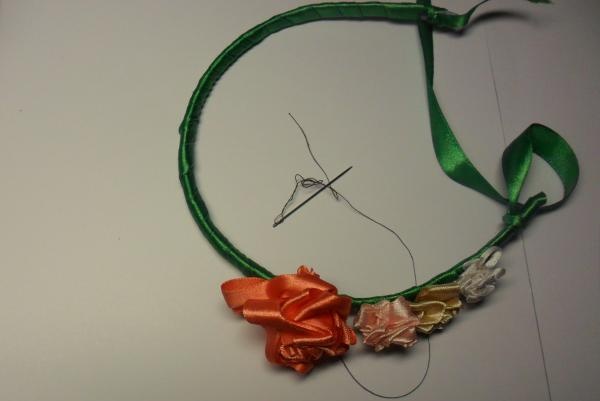
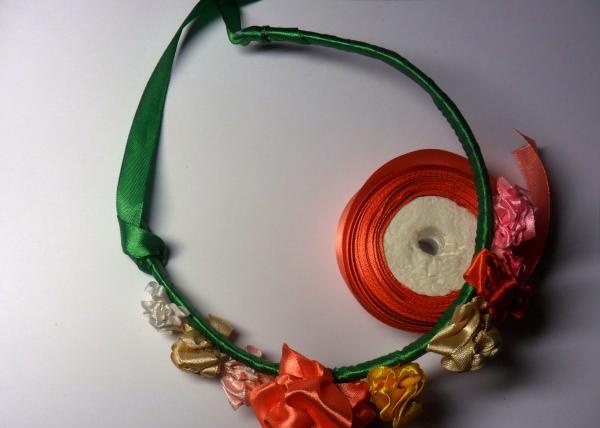
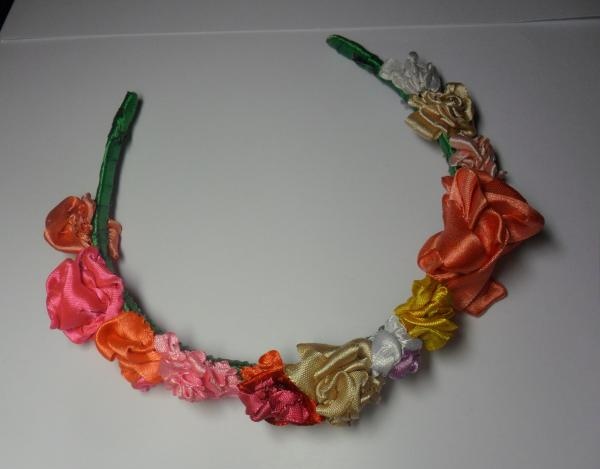


If the edges of the green satin ribbon stick out a little, don’t worry – we’ll secure them nicely in the form of additional sheets, bending the ribbon in several places.
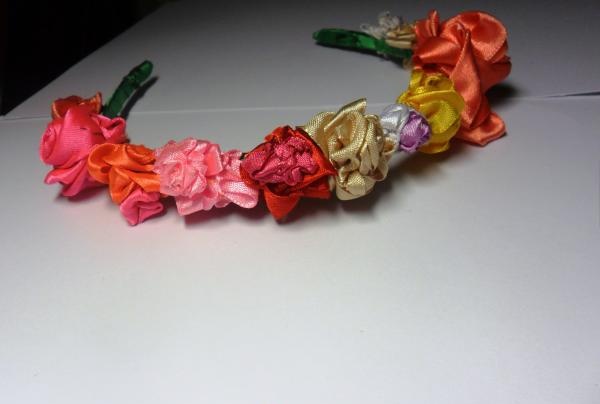
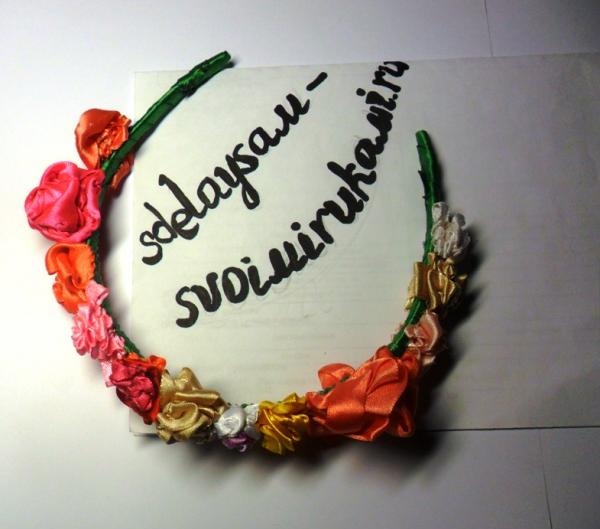
come back
Comment
  • bowtiesmilelaughingblushsmileyrelaxed relaxedsmirk
    heart_eyeskissing_heartkissing_closed_eyesflushedrelievedsatisfiedgrin
    winkstuck_out_tongue_winking_eyestuck_out_tongue_closed_eyesgrinningkissingstuck_out_tonguesleeping
    worriedfrowninganguishedopen_mouthgrimacingconfusedhushed
    expressionlessunamusedsweat_smilesweatdisappointed_relievedwearypassive
    disappointedconfoundedfearfulcold_sweatperseverecrysob
    joyastonishedscreamtired_faceangryragetriumph
    sleepyyummasksunglassesdizzy_faceimpsmiling_imp
    neutral_faceno_mouthinnocent
5+two=
Comments (1)
  1. Tatiana
    #1 Tatiana Guests 26 May 2013 14:36
    1
    It's better to glue with a hot glue gun. And not along the entire perimeter, but just somewhere on the side. Quantity is not always quality))
    But it’s clear that the master tried very hard) Respect!

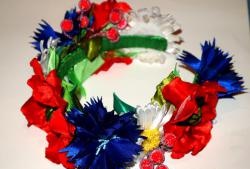
    By the way, if you decorate it as a wreath with ribbons in a folk style, you will get a great thing! With Ukrainian overtones, of course. But you can leave a lot of flowers.

Method for shortening a hacksaw blade for metal

Do it yourself - crafts and master classes | Page 185

Panel “Fire Feather” | Do it yourself

DIY dry alcohol

«Do it yourself - with your own hands» - a site of interesting homemade products made from scrap materials and items at home. Step-by-step master classes with photos and descriptions, technologies, life hacks - everything a real master or just a craftsman needs for needlework. Crafts of any complexity, a large selection of directions and ideas for creativity.

We recommend reading

Washing machine error codes