DIY do it yourself
Master classes, instructions, useful tips, recipes.
» » »Amplifier 4x22 W
Surely many would like to have a 5.1 audio system at home but for the frequent prices of such amplifiers are quite large. I’ll tell you how simple and not very expensive to assemble a 4-channel amplifier for such a system. Rummaging on the Internet, I chose the most simple to assemble and not expensive amplifier of sufficient power. Namely, the amplifier on the rather popular TDA 1558Q chip itself, this chip itself is already a ready-made 4-channel amplifier with a power of 11 W per channel, but this power will not be enough to get high-quality and surround sound, so we will connect it by the bridge method, it's easier saying we pair 2 channels and get a 2-channel amplifier with a power of 22 watts per channel. Thus, we take two microcircuits and as a result we get 4x22 watts. If the microcircuits are separately touched, then one of the advantages is the simplest connection scheme, not a high price and decent power with a small unipolar voltage, protection against K.Z. overheating and wrong power connection. Disadvantages: low efficiency of about 50% (high current consumption and high heating even in idle mode) Also at peak power, the sound is sharply cut off and the rumble turns.
Now we will pass to assembly and for a start we will familiarize with the circuit.
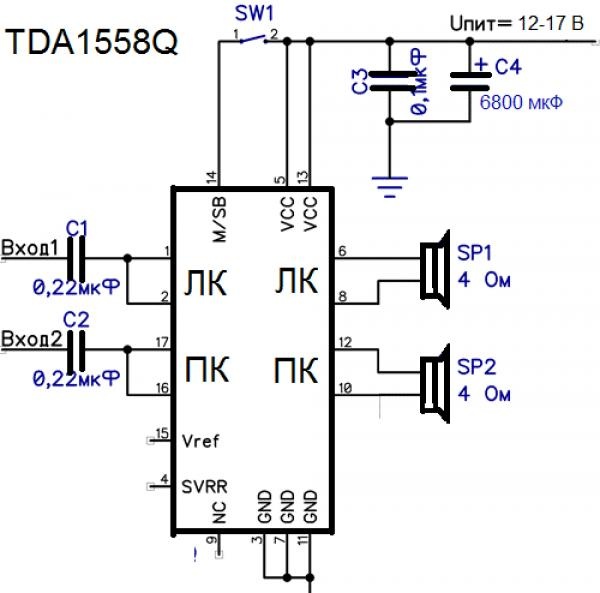
Amplifier 4x22 W


The circuit is extremely simple and can be assembled in 10-15 minutes, its simplicity makes it possible to solder it by wall mounting, it is also worth recalling that the circuit has thermal characteristics of the iron and it requires a radiator of approximately 600 cm2 in area and either an open case or forced cooling in the form of a fan.
Here is the set of parts that I needed to build the amplifier.
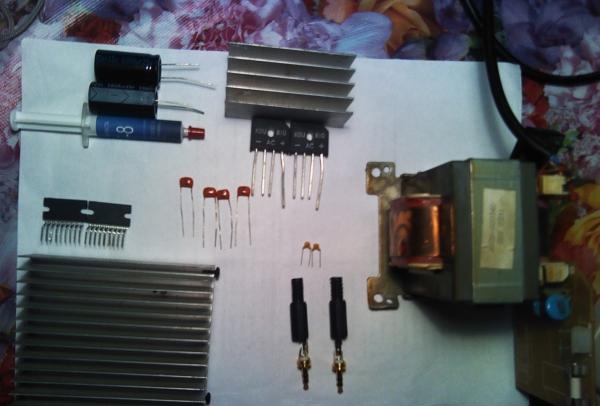
Amplifier 4x22 W


I used two diode bridges for the reason that I used a transformer with two similar windings, usually one of 8 A is quite enough
Two 3.5 plugs were separately purchased for inclusion in the computer's audio card.
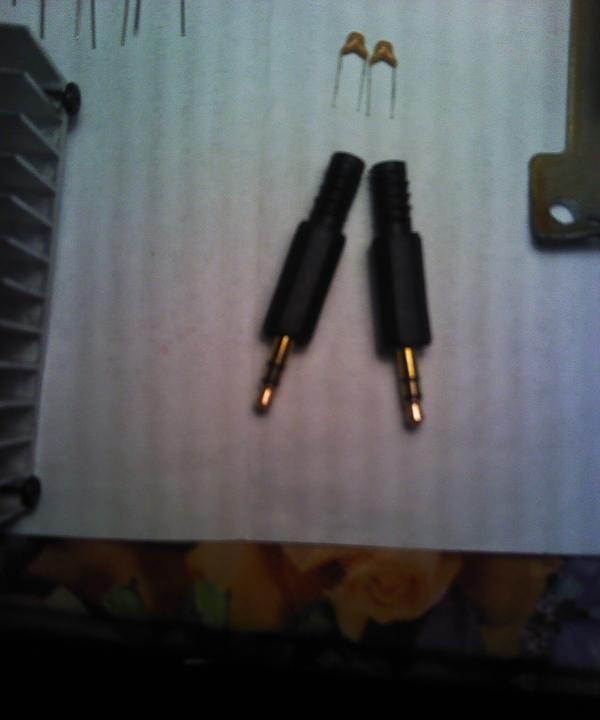
Amplifier 4x22 W


Now I think you can go actually to the assembly of the amplifier. I didn’t have a ready-made power supply unit and I had to assemble it myself, and I recommend that you do the same thing because it’s not easy to find ready-made power supplies with the necessary power reserve, since at a voltage of 17 V one microcircuit consumes about 3 A even when it is “silent”. Also, if you disconnect the 14th contact, the amplifier will go into "Sleep mode" and the current consumption will be reduced to a couple of hundred mA
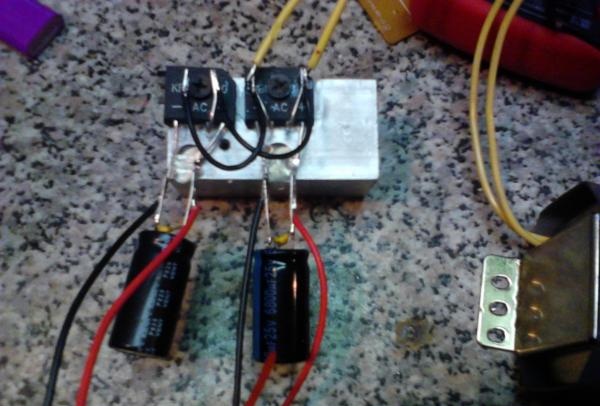
And so for a start we will find a transformer of the required power, then you can solder the rectifier yourself, but I still advise you to take a ready-made diode bridge. We take and install it on a small radiator. (I didn’t have a little one)
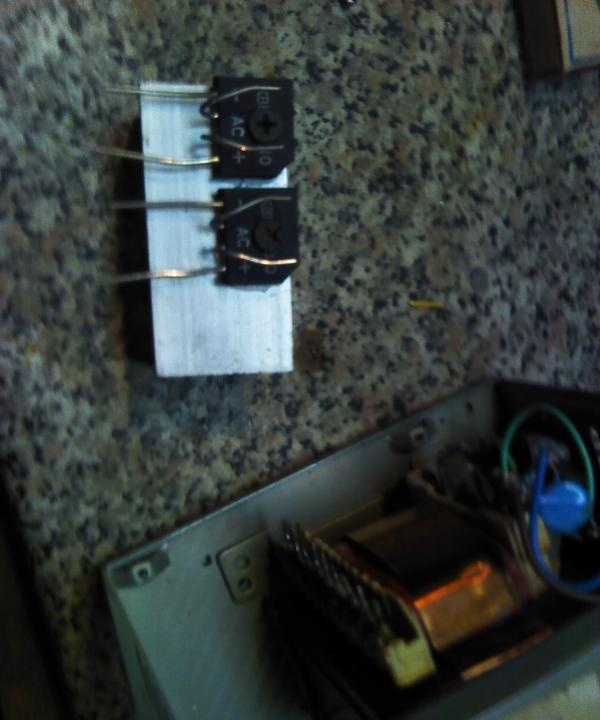
Amplifier 4x22 W


Then solder the capacitors

Amplifier 4x22 W


Since I also needed to install a transformer for another device, I decided to separate the PSU from the amplifier itself.
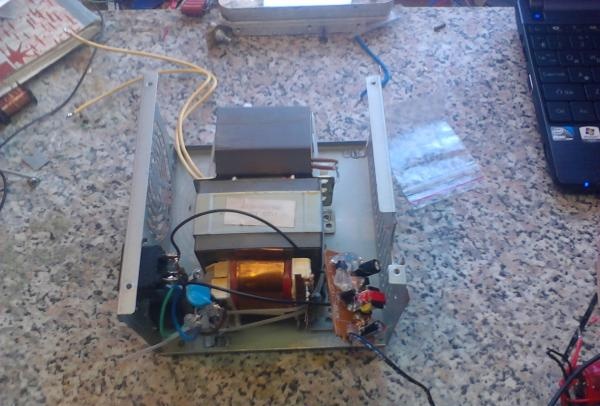
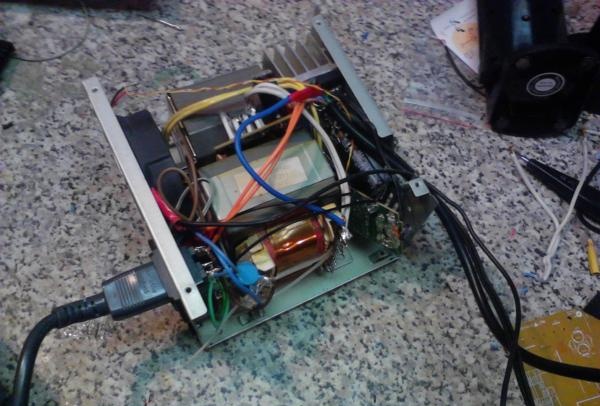
Amplifier 4x22 W

Amplifier 4x22 W


Since I used this amplifier for a home computer, I decided to “connect” the inclusion of the amplifier with the inclusion of the computer, how to do this is described in this article (Automatically turn on and off from computer) I did not go exactly the way that in the article I connected the relay to the yellow and black (12 V) wires coming from the PSU of the system unit and brought the wire out of it to the amplifier PSU. I also want to say that the higher the voltage, the better the sound at high volume but also the heating also increases, the optimal supply voltage of 15 V when the threshold is exceeded by 17 volts, the amplifier goes silent (while the voltage is exceeded), so if there is no sound, measure the voltage.
Now let's move on to assembling the amplifier itself. Since the circuit for switching on the microcircuit is primitive, it probably is simpler and cannot be, I decided to solder everything by wall mounting.
To begin, we fix the microcircuit on the radiator, it is previously recommended to smear the junction with thermal grease
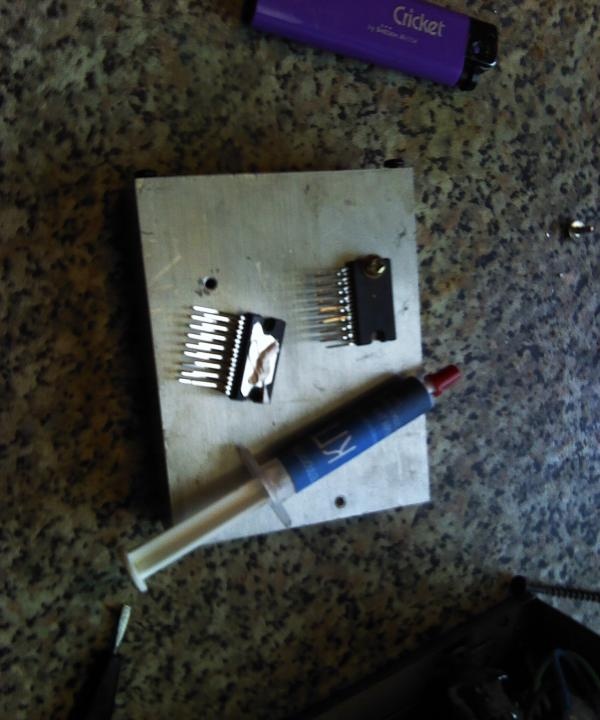
Amplifier 4x22 W


After that, looking at the circuit, we bend the necessary contacts (14, 5, 13 - Plus power.3, 7, 11 - Less power. Etc.) Extra contacts can be bitten off so that they do not interfere.
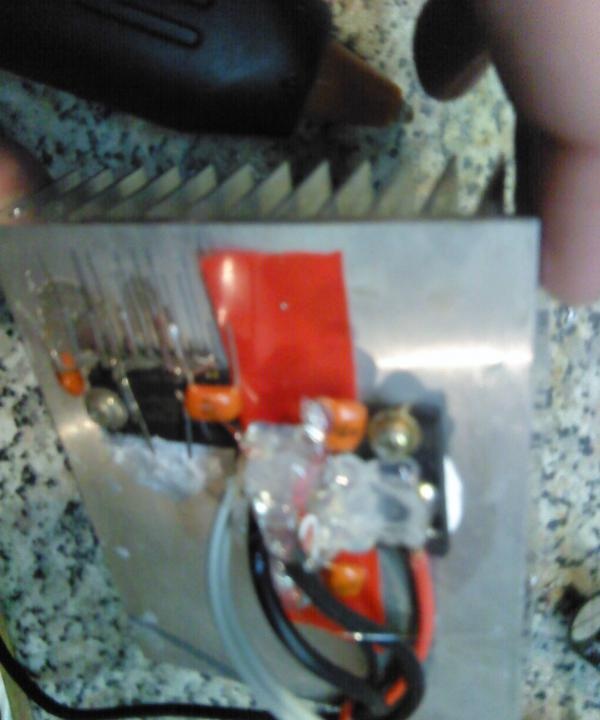
Amplifier 4x22 W


After you have soldered all the necessary wires and capacitors, it is necessary to get rid of the non-reliability of “fragility” (for surface mounting), I recommend using hot glue to carefully fill the contacts in such a way as to avoid a short circuit between them.
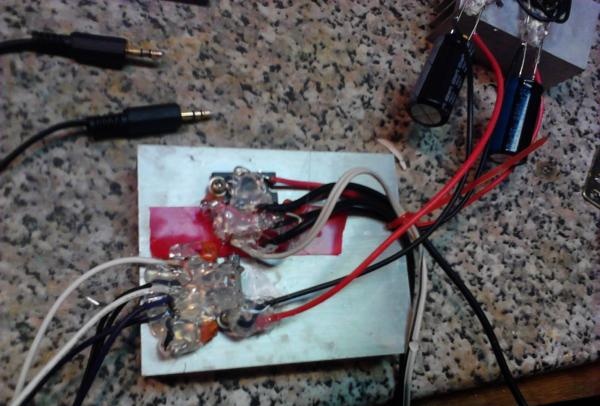
Amplifier 4x22 W


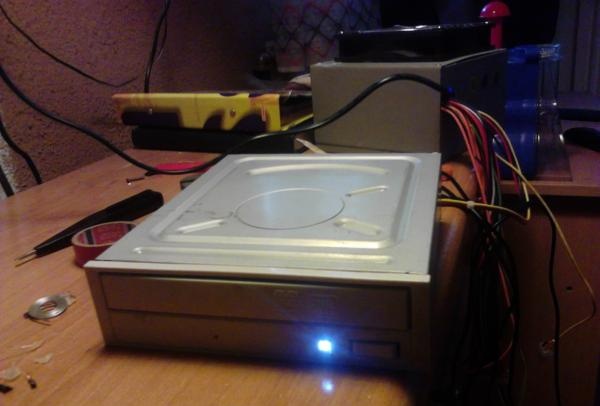
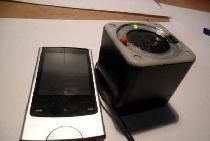
In fact, the amplifier as such is ready i.e. It can already fully function. But I strongly doubt that someone will be ready to decorate their table with such a piece of iron. And so a case is needed, it all depends on your imagination, I just took the case from a broken drive.
To start, with the same hot glue, I fixed the plug from the disc tray and glued my LED.
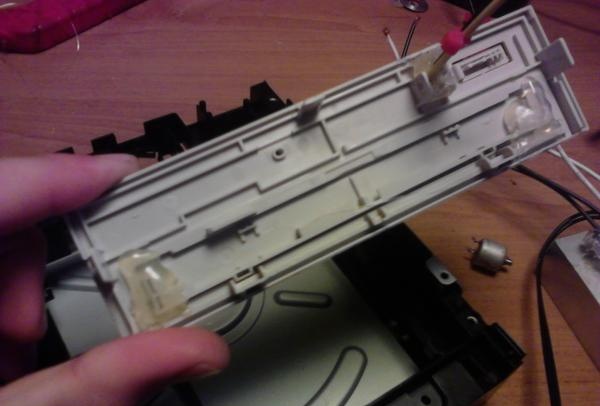
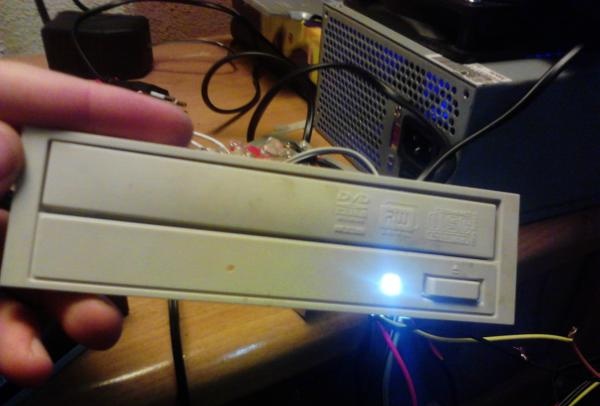
Amplifier 4x22 W

Amplifier 4x22 W


To connect the LED to a 12V power supply, it is necessary to consistently turn on a resistance of 500 ... 900 Ohm (depending on power)
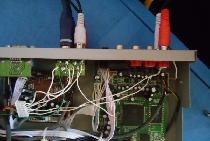
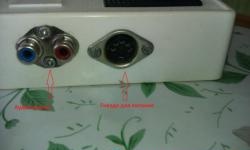
Then we remove everything in the case and output the wires
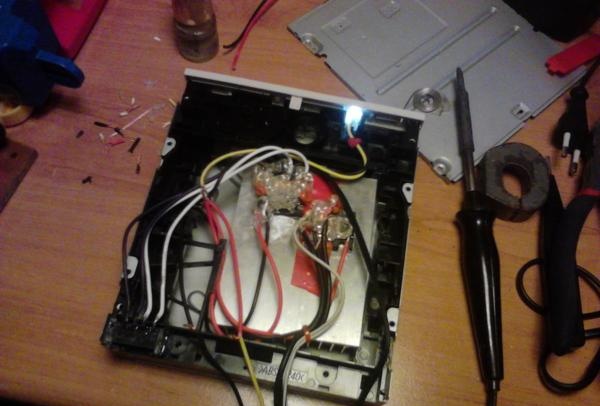
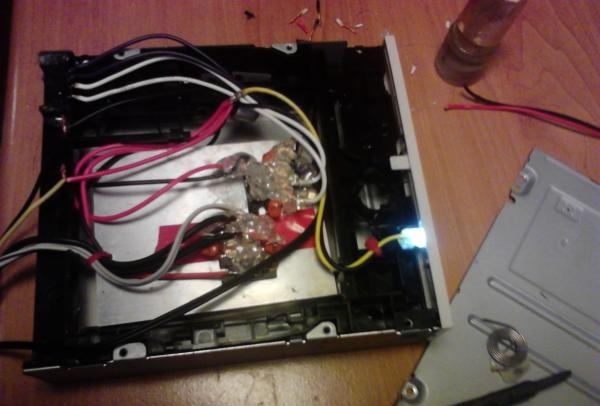
Amplifier 4x22 W

Amplifier 4x22 W

Amplifier 4x22 W


If you use a similar case, you can fix the chips directly on the metal case (inside) then the case will serve as a radiator. But I went the other way, I made ventilation holes and installed a not big fan.
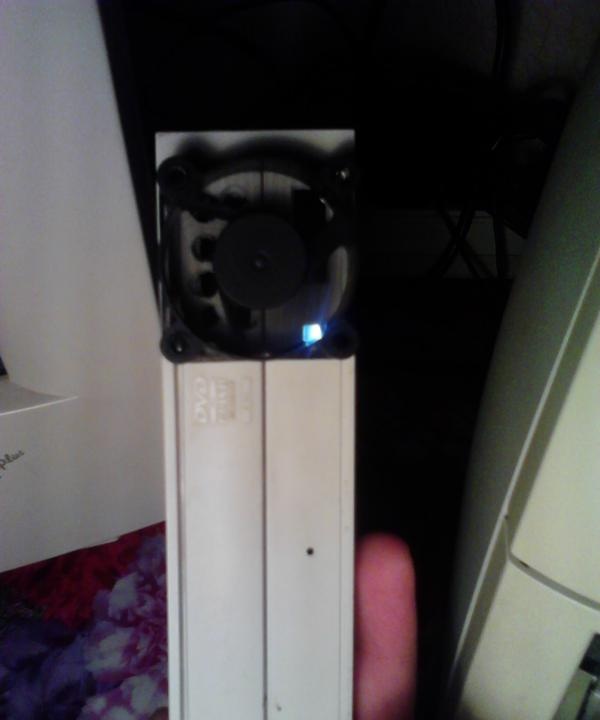
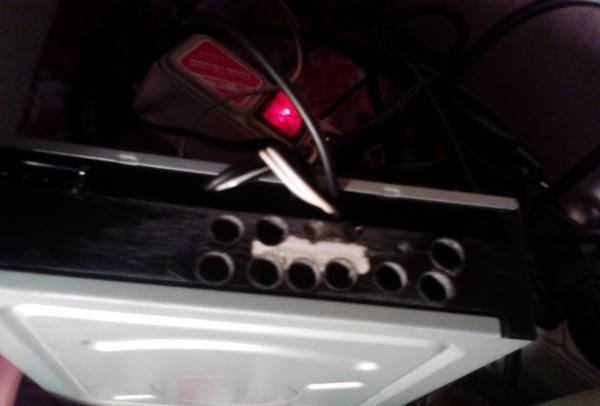
Amplifier 4x22 W

Amplifier 4x22 W


This is quite enough to prevent the amplifier from overheating.
The amplifier is ready. I did not set the volume and balance controls for the reason that now even the most low-cost audio cards are equipped with excellent software for these purposes.
If you touch the price, then everything is not very expensive
1. Chips TDA1558Q - 80 rubles. 1 PC.
2. Capacitors (0.22 microfarads 4 pcs. 0.1 microfarads 2 pcs.) 35 rub. for all
3. Capacitor 25V 6800uF 38 rub. 1 PC.
4. Thermal grease 40 rub.
5. The diode bridge 1000v 8A 20 rubles.
Everything was bought in specialized stores of the radio market.
Wishing to repeat good luck!
come back
Comments (17)
  1. fantas
    #1 fantas Guests February 25, 2012 14:10
    0
    wow it’s like. do not look for enemies: am:
  2. stepan
    #2 stepan Guests April 26, 2012 00:31
    0
    I did 2 channels of 22 watts on the principle of this chip. It’s fine, but it’s phonite (can you advise something?
  3. stepan
    #3 stepan Guests 12 september 2012 21:11
    0
    Much depends on the transformer. Try to put more power and that the level of interference on it was lower. I connected my amplifier to the battery, there was almost no interference!
    1. Andrey Seleznev
      #4 Andrey Seleznev Visitors November 13, 2018 19:12
      0
      It is necessary to filter the power so that it does not fonilo..and plant the ground. And the signal wires are normal shielded to take.
  4. feelloff
    #5 feelloff Guests September 16, 2012 11:22
    1
    toy will go: lol:! : winked:
  5. pxel55
    #6 pxel55 Guests September 29, 2012 03:46
    0
    I’m not bad, but there is a print if I have it. I will be grateful
  6. feelloff
    #7 feelloff Guests October 6, 2012 17:32
    8
    some garbage like this - [center] [img] http://washerhouse.com/3/en/pictures_users/1/2.jpg [/ img] [/ center]
  7. fric1991
    #8 fric1991 Guests October 15, 2012 11:08
    0
    But what if you solder the volume control here? And then I did not find such schemes. and is it possible to make one regulator on all channels? For example, the speaker volume control?
  8. Dmitry Vladimirovich
    #9 Dmitry Vladimirovich Guests January 7, 2013 18:52
    0
    [b] feelloff [/ b],
    Well done, carefully assembled according to the company’s standards, however, the layout had to be done more compactly based on shorter connections.
  9. Bleagher
    #10 Bleagher Guests July 4, 2013 04:23
    0
    use twin
  10. Anton
    #11 Anton Guests November 24, 2014 04:53
    1
    Is it possible to start such an amplifier in bridge mode? Let's say I want to make a subwoofer for 1 channel and not 4?
  11. Afgan
    #12 Afgan Guests February 1, 2015 21:41
    0
    I assembled such an amplifier in the case from an old cd drive, power supply-pulse power supply 12 in 5 a, added 2200 uF25 in power supply, modified the front panel, put a dual 50Kom regulator, a stereo jack for a mini jack 3.5, power indicator (LED), on the rear panel is a power switch and two tulips for connecting speakers, mikruha is installed on the radiator from the computer processor, the sound is clear, does not fonit, the power is quite satisfied
  12. AXA
    #13 AXA Guests November 3, 2015 07:20
    0
    Radiator 600 cm squared ??? Or maybe 10 cm by 10 cm? And then 600 cm squared - it turns out a very large radiator)))).
  13. Vicammon
    #14 Vicammon Guests November 14, 2015 22:41
    1
    Thanks to the author for the work.
    But there is one "But."
    If you wrote a topic for understanding people, then "not an option," in general.
    If for beginners, who only made friends with a soldering iron, then they missed. You did not explain the principle of the bridge circuit, and did not show its assembly. A beginner will not understand how to include 2 chips in a bridge.
  14. Andrei
    #15 Andrei Guests January 29, 2016 08:59
    0
    The author, according to the manufacturer, the amplifier works in class B, for it the value is total quiescent current 80 mA. This is a quiescent current, you write [i] one chip consumes about 3 A even when it is "silent" [/ i]. This does not happen even in class A high-power amplifiers. One of the three - or the microcircuit self-excited, or a fake or tester lies.
  15. Alexander
    #16 Alexander Guests August 9, 2016 20:34
    0
    I gathered at this mikruha, everything is fine, it plays clearly, from the old computer, but one problem - all the metal parts are hammering with electric current. Who will tell you how to get rid of this problem?
  16. mstr.drv
    #17 mstr.drv Guests 12 november 2017 04:10
    1
    add here a board, snubbers on an exit, system of smooth start-up and it will turn out average umchch

Read also

Error codes for washing machines