Will need
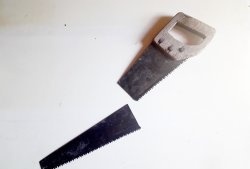
In addition to an old wood hacksaw with worn teeth, we will need for our purpose:
- device for cutting teeth (stapler);
- hammer;
- grinder or emery wheel;
- triangular file;
- clamp for holding the saw while sharpening;
- small thick cardboard.
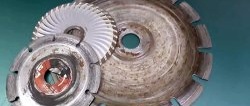
Stapler design
You can do it yourself in a home workshop. The main units that cut the teeth are a matrix with a triangular through slot, in plan resembling the shape of a saw tooth. The punch entering the matrix can rotate around its axis.

In order to cut teeth of different heights, there is an adjustable stop that can be moved to one side or the other, which leads to a change in the depth, and therefore the height of the tooth.This is possible due to the oblong holes and bolts with which the stop is attached to the base of the stapler.
The matrix and the punch must fit into each other with a minimum but guaranteed gap. The working (cutting) edges of these two parts should be 90 degrees.
How to use a stapler
Our tool is extremely simple. However, to check the operation of the stapler, gain skills in using it and confidence in working with it, a little training will not hurt.
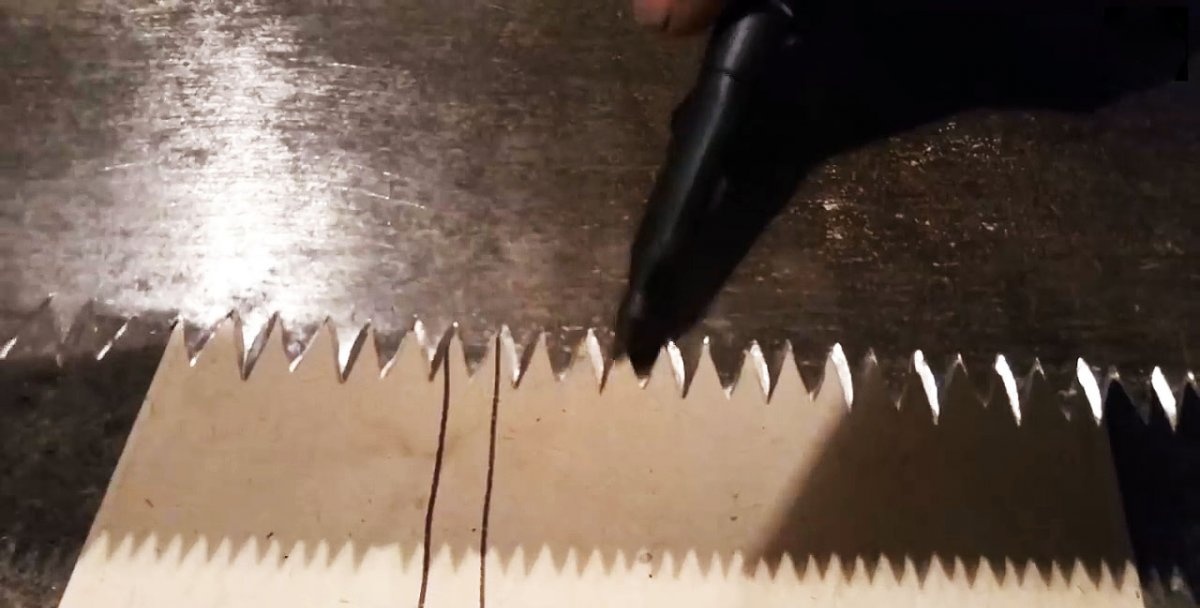
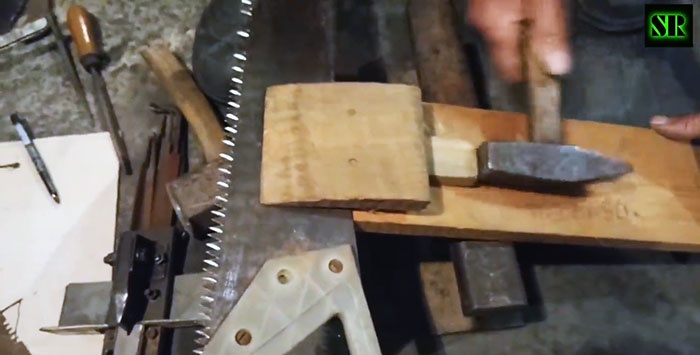
Cutting teeth on a cardboard blank
To do this, install the stapler on a hard and massive surface, lift the punch and place a cardboard sheet under it on the matrix until it comes into contact with the stop. Then we lower the punch onto the surface of the cardboard and apply one sharp blow to the butt of the punch. As a result, a notch is formed.
We move the cardboard to the right or left one step and repeat the operation. We pull out the material from under the working parts of the stapler and see the profile of the tooth surrounded by two recesses. By continuing the cutting procedure, we can obtain the required number of teeth. This concludes our training.
Cutting teeth on an old saw blade
We begin work by removing old teeth. This can be done using a grinder or an emery wheel. The result should be a straight line, which will serve as the basis for cutting new teeth.
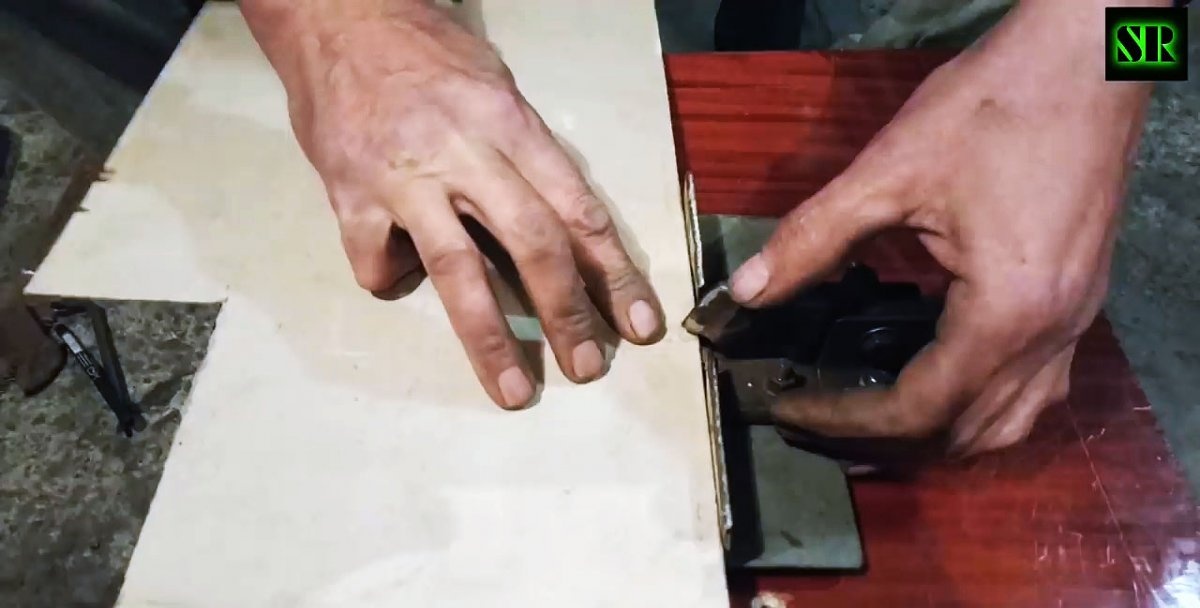
Like last time, we install the stapler on a massive base: a piece of rail, an anvil, a metal pancake, etc. In advance, of course, we set the depth and angle of the cutting, which is determined by the type of saw and its dimensions.
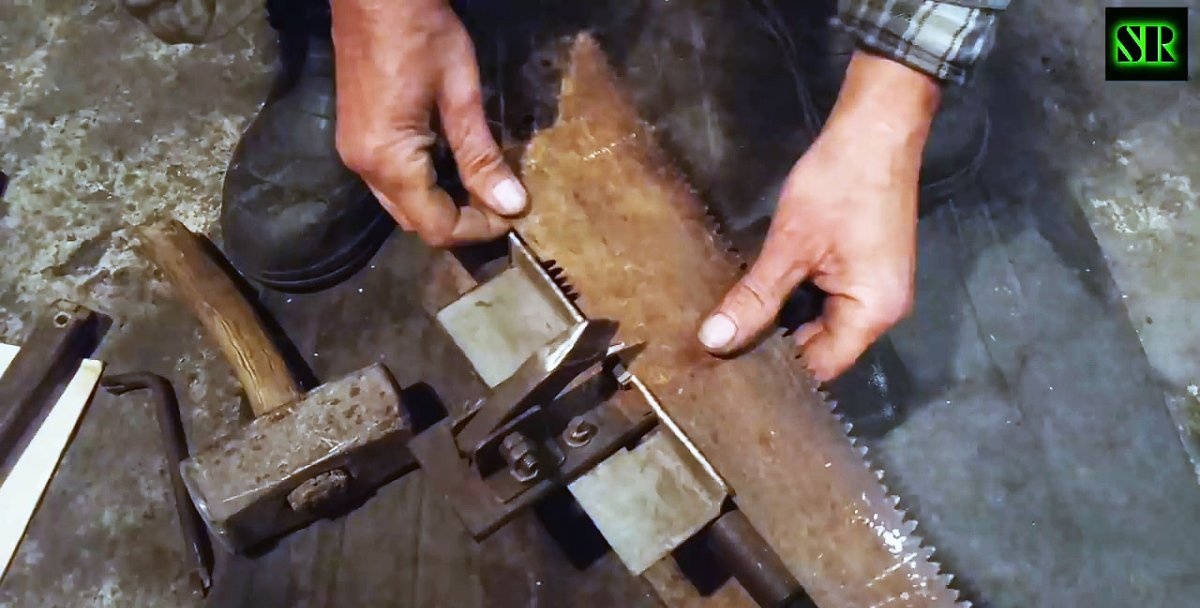
Attention! If we cut the teeth on only one side of the blade, then its metal, which has elasticity, will move in one direction, and by the end of the work it will take an arched shape.To prevent this from happening, it is necessary to cut out 3-4 teeth on one side of the blade, turn it over and cut out the same number of teeth on the other side.
We install the metal sheet between the matrix and the punch until it stops at the stop, and holding it with one hand, with the other we apply one sharp blow to the butt of the punch with a hammer.
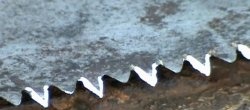
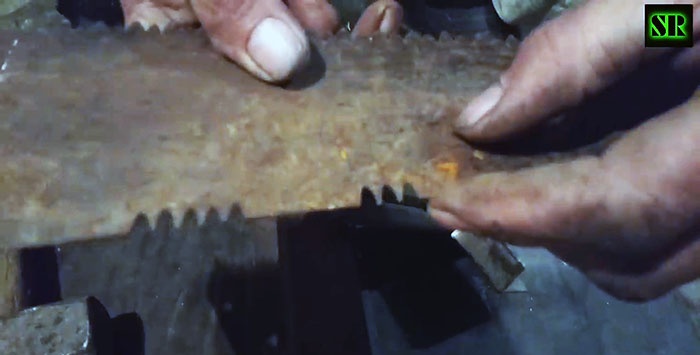
We shift the blade by one tooth and repeat the operation again. Moreover, you should not worry that the bases of the depressions between the teeth turn out to be round: during the sharpening process they will take the necessary shape.
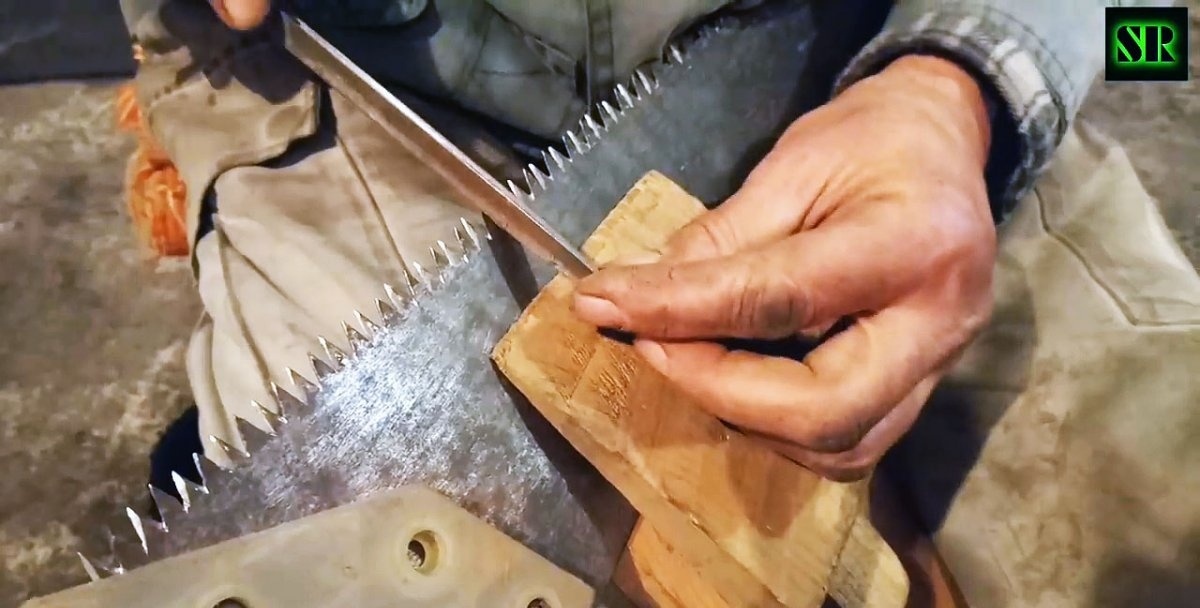
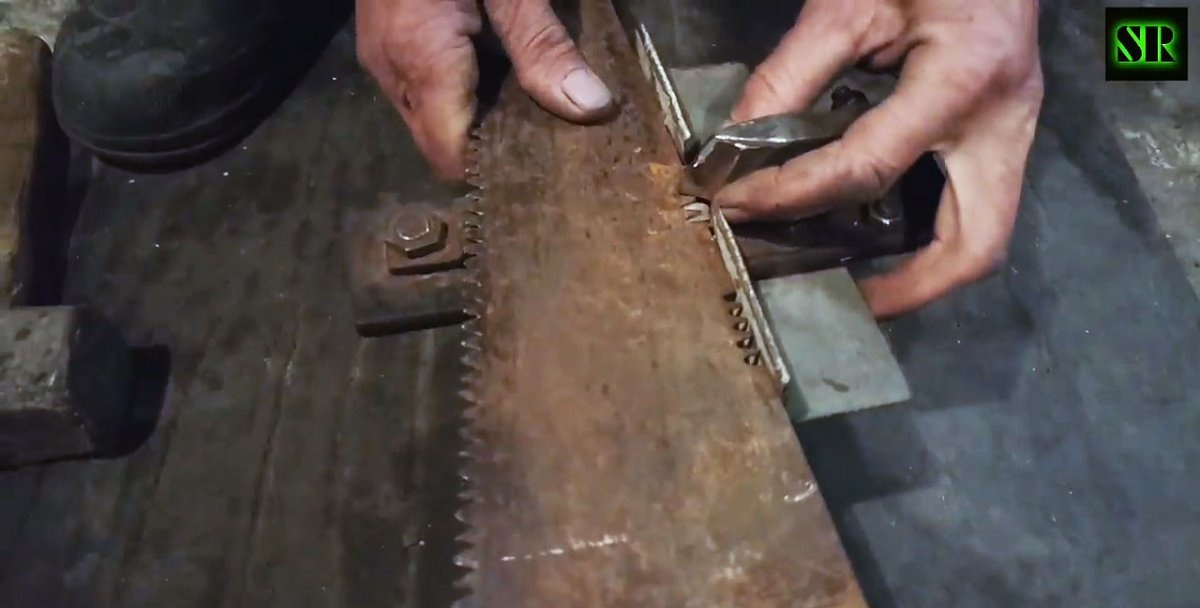
Sharpening new teeth on an old saw
To do this, we traditionally use a triangular file, but in order not to damage the adjacent teeth, we grind down one of its edges using sandpaper. Also, this innovation allows you to form the necessary geometry of the bottom (base) of the cavity between the teeth.
To sharpen the saw, it is convenient to use a wooden clamp, which consists of two wedges - wide and narrow. The wide one has the ability to rotate on two pins. A saw blade is placed under its front part, and a narrow wedge is driven in from the rear edge, thanks to which the wide wedge presses the blade to the base of our device.
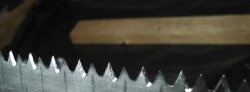
The tooth must be sharpened not from bottom to top, so that the metal does not wrap around the edge of the tooth, but, on the contrary, from top to bottom, then the metal is simply cut off and the edge of the tooth becomes sharp.