Do it yourself
Life hacks, master classes, useful tips, recipes.
home » Handicraft techniques » Modeling » Polymer clay master class » Jewelry made from polymer clay
Every woman is familiar with the situation when it is simply impossible to find a suitable decoration for an outfit! In my case it was like this: I was invited to a party in the style of the 60s. A suitable dress was found quickly, but the accessories were a problem! I didn’t like anything and nothing fit. This is where my ability to make jewelry with my own hands from polymer clay came in handy.

It all started with a simple experiment - we bought clay and tried to sculpt it with my daughter... and for almost a year now I have been making jewelry from this material for myself, my friends and to order. I share my experience.

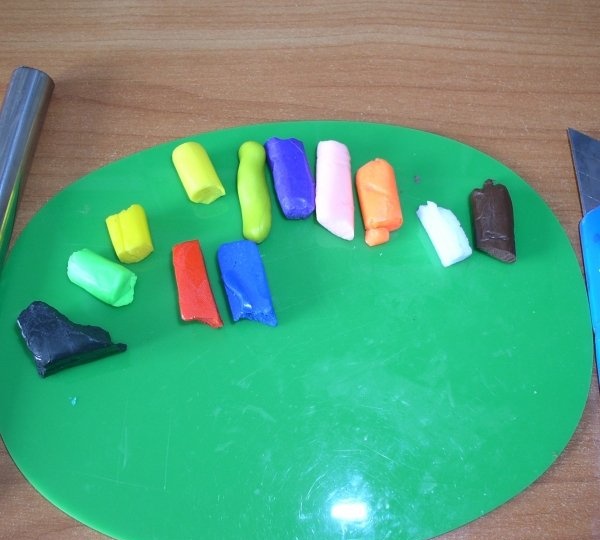
So, you need to take a modeling board and prepare clay of the required colors, a stack and a tube (rolling pin) for rolling. For this bracelet you need clay of the most different, brightest shades - the more varied, the better. (Buying it now is not a problem).

Polymer clay jewelry


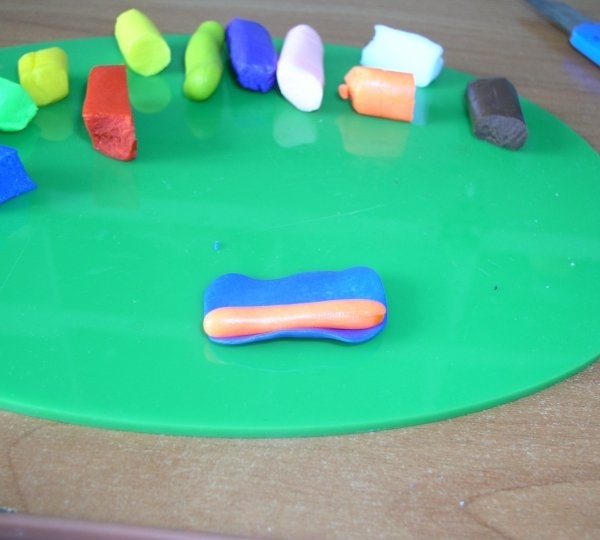
Take a small piece of clay, knead it and roll it into a “sausage”. We knead the second piece and roll it into a flat cake of such a size that we can wrap our “sausage”.


Next, we wrap what we get into a cake made of clay of the third color. You need to make 9 or 12 of these multi-colored “sausages”.


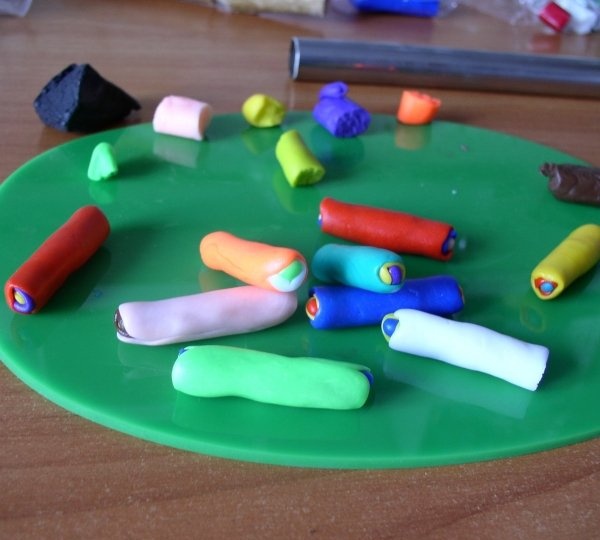
We put all the resulting “sausages” together, in a cube of three pieces in a row, shifting the joints with thin black “sausages”.


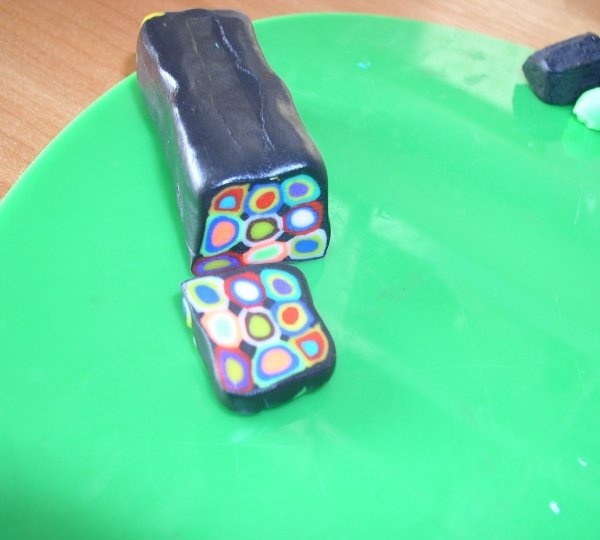
Next, roll out a large piece of black clay so that the entire resulting stack is wrapped on the sides. This is what we get in the end.


Now, this large “sausage” needs to be compressed to the required thickness. To do this, starting from the middle, you need to gradually pull it in different directions, while trying not to put too much pressure. After the workpiece has reached the required size, it needs to be cooled so that it can be cut more evenly. (I just put it on the balcony for 5 minutes!)

Next, we begin to carefully cut rectangles from the resulting workpiece in a stack. I deliberately did not try to give the pieces a particularly even shape - this way they look more “hippie”.


And several beads were obtained from substandard edges and remnants. Next, everything is laid out on a metal form and sent to the oven for 15 minutes for baking at a temperature of no more than 140 degrees. After cooling, you can coat the workpieces with a special varnish to make them look brighter.

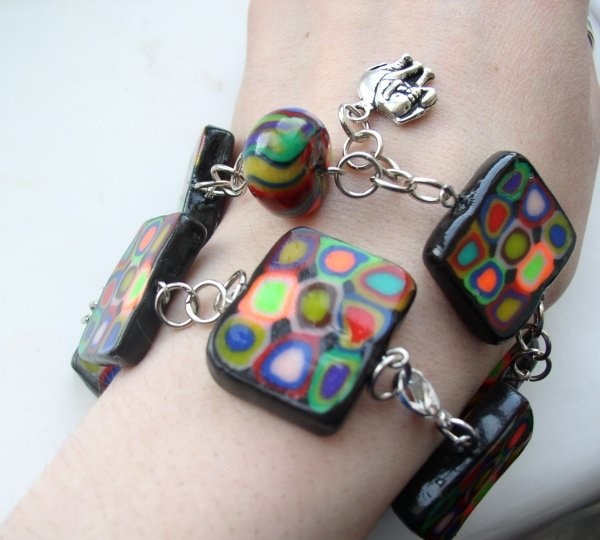
And the last stage: using pliers and special jewelry rings, we connect all the elements into a bracelet.


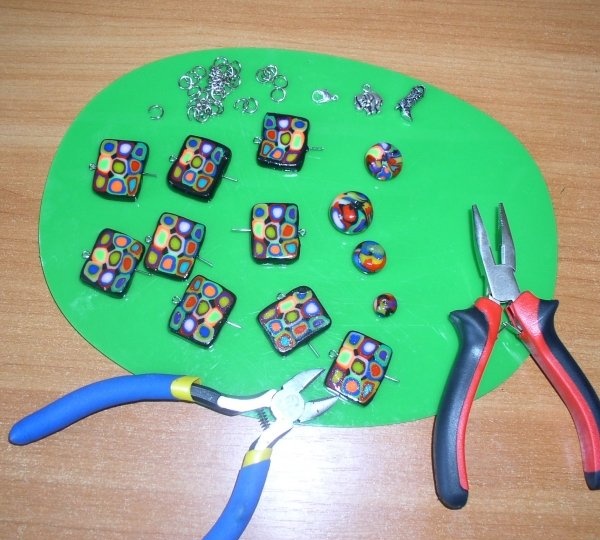
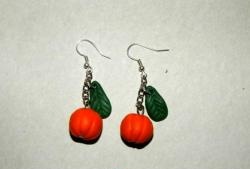
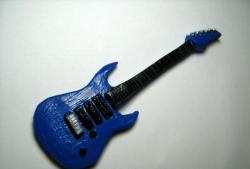
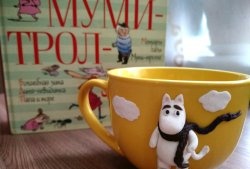
You can add an interesting touch in the form of an original pendant.

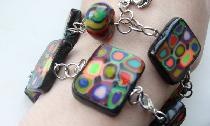
This is a beautiful, bright, and most importantly absolutely original bracelet! This will definitely not happen to anyone else!!!


come back
Comment
  • bowtiesmilelaughingblushsmileyrelaxed relaxedsmirk
    heart_eyeskissing_heartkissing_closed_eyesflushedrelievedsatisfiedgrin
    winkstuck_out_tongue_winking_eyestuck_out_tongue_closed_eyesgrinningkissingstuck_out_tonguesleeping
    worriedfrowninganguishedopen_mouthgrimacingconfusedhushed
    expressionlessunamusedsweat_smilesweatdisappointed_relievedwearypassive
    disappointedconfoundedfearfulcold_sweatperseverecrysob
    joyastonishedscreamtired_faceangryragetriumph
    sleepyyummasksunglassesdizzy_faceimpsmiling_imp
    neutral_faceno_mouthinnocent
3+three=
Comments (3)
  1. Den
    #1 Den Guests 16 February 2012 23:38
    0
    Super! I want one too!
  2. 4ef
    #2 4ef Guests 21 May 2012 04:37
    0
    Yes, you just have talent)) it’s a pleasant pleasure to watch such beauty)) I really really want a couple of these bracelets for both hands)) please reply in PM at least that you’re on the site and let’s connect)) I really want such beauty)) :love:
  3. Currents
    #3 Currents Guests 12 October 2017 13:46
    0
    Hello! Very cool bracelet!!! Question: did you insert the cloves before baking or after?

Flower topiary | Do it yourself

Owl photographer - toy for camera lens | Do it yourself

A way to quickly peel potatoes so that the skin peels off on its own

How to quickly clean the handles of a gas stove from dirt and dried grease with your own hands

«Do it yourself - with your own hands» - a site of interesting homemade products made from scrap materials and items at home. Step-by-step master classes with photos and descriptions, technologies, life hacks - everything a real master or just a craftsman needs for needlework. Crafts of any complexity, a large selection of directions and ideas for creativity.

We recommend reading

Washing machine error codes