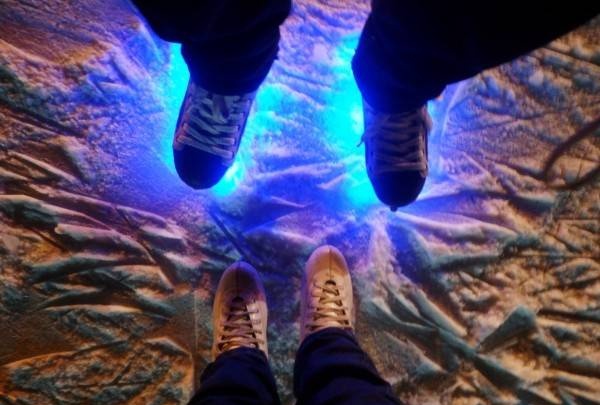
Outside the window is in full swing winter - it's time to do winter sports. And one of the most popular entertainments among both children and adults is ice skating. And you did not have such a desire to become more noticeable on the ice, among the mass of people? I decided to make a bright backlight for this, since it is done quite simply.
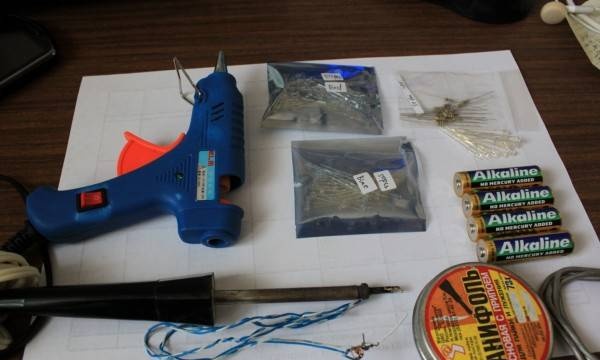
So, to make the highlight on the skates we need:
- 6-20 bright LEDs (preferably with a wide angle of illumination, 3mm diameter), the color is our taste. For red LEDs, 51 Ohm resistors will need to be purchased, for blue, you can do without them, below I will tell you why.
- 2 holders for a pair of AA batteries with switches (optional, but easier to mount and looks more aesthetically pleasing)
- a meter of wires, you can use both a thin stranded insulated wire, and ordinary copper from a “twisted pair”
- hot glue with a "gun"
- soldering iron
- 4 AA batteries, preferably alkaline
- double-sided tape (foamed, for mirrors), 2 screws with nuts and washer.
- pliers, knife, side cutters (optional)
So. We will first deal with the electrical circuit.
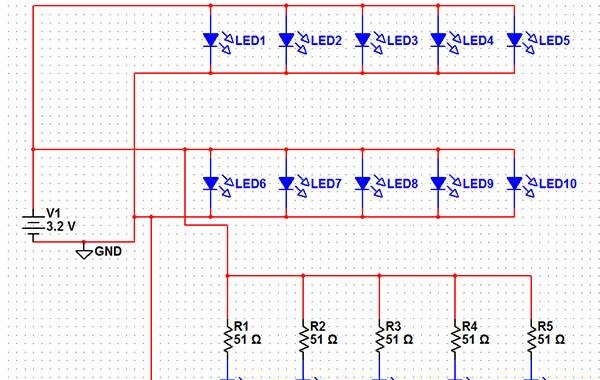
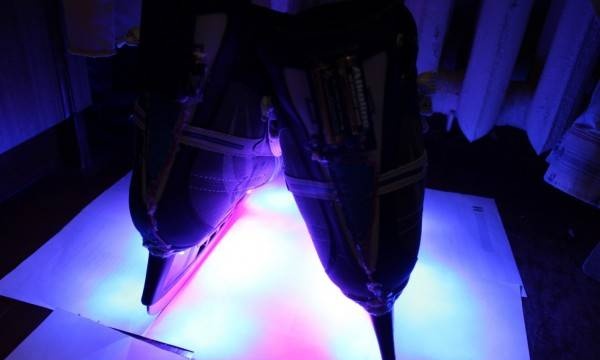
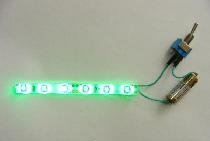
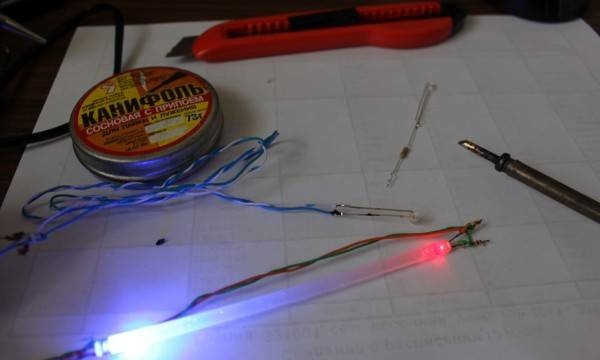
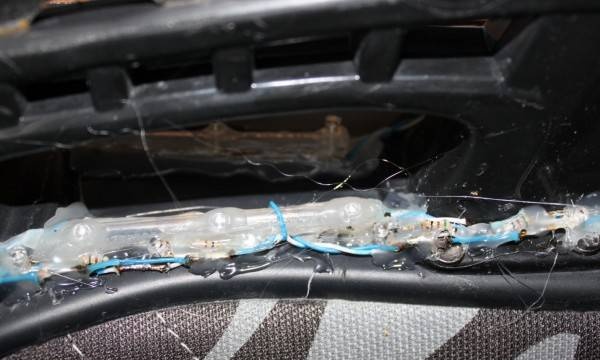
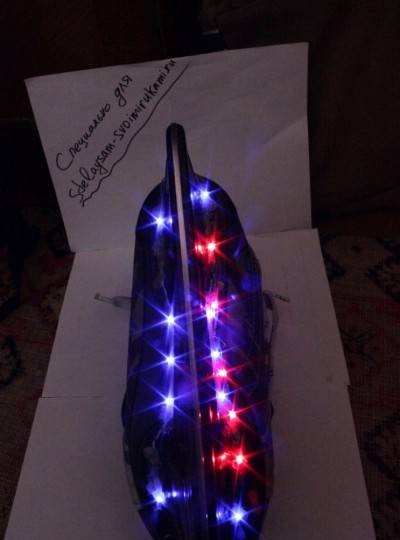
Here I have power from two AA batteries - the new alkaline ones give a voltage of 1.6 * 2 = 3.2 volts. On the outside, there are only 5 blue LEDs, on the inside - 5 blue and 5 red. Such a number of LEDs is even excessive, since the human eye's perception of the brightness of light is described by an exponential law, and an increase in the number of LEDs even by a factor of 2 will not cause the same effect visually.

So most of you can do with 6-10 LEDs for each boot. Remember, the more LEDs you install, the faster the batteries will drain. As for the installation of resistors - they do not need to be soldered to the blue LEDs, because their operating voltage is usually within 3.2-3.4 V, everything is within normal limits. For Reds, this range is 2.2-2.8 V, and when our batteries are connected, the current will go beyond the permissible 20mA, and the LED will burn out. Therefore, I recommend soldering 51 Ohm resistors, they are soldered to the long (positive) output of the LED.
Everything can be considered in the diagram above. Why did I make two different colors? First of all, in order to maximize the use of batteries. On new batteries with such a scheme, a blue glow will prevail, and even when the batteries are almost completely discharged (this process accelerates in the cold), the blue LEDs will turn off, and the red ones will glow quite bright for a while.
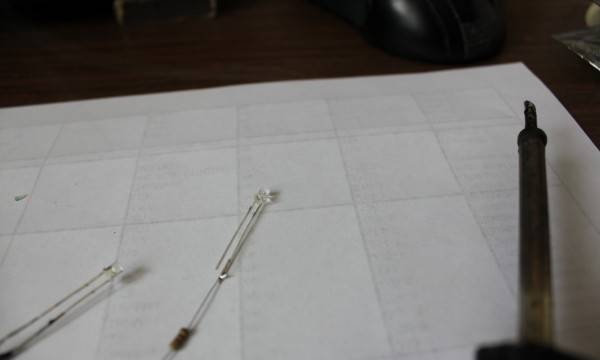
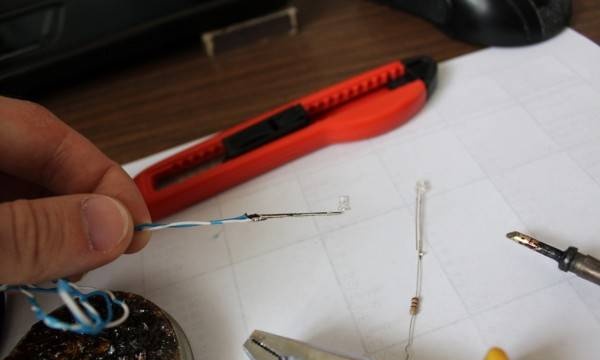
Let's get down to business. We solder the wires / resistors to the LEDs in turn, for the convenience of further location, I did this by trying on immediately on the skates.
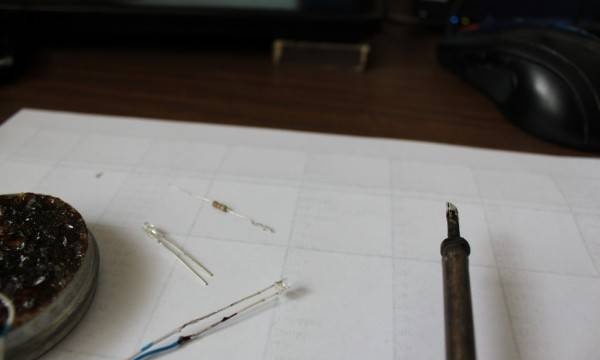
When the LED is soldered, you can immediately fix it on the boot with hot-melt adhesive. What is the plus of hot-melt adhesive - even if something turns out messy, or you want to redo it, you can always warm it up with the same soldering iron and fix the necessary places. We bend the leads of the LED and wire in the necessary way:
Apply and glue:
Next, I took an empty rod from the gel pen, on which I fixed 3 LEDs so that they lay on one straight line and their light was directed in one direction. And I used the conclusions of the LEDs to connect them as conductors.
By the way, the rod can also be highlighted differently by filling it with non-freezing liquid, inserting LEDs at its ends, but I don’t really like this option, it gives little light, and LEDs are needed with directional glow (20-30 degrees).
The places where the resistors are soldered are not very beautiful, but you can think of a more reasonable location. Or use SMD resistors, they are very small in size.
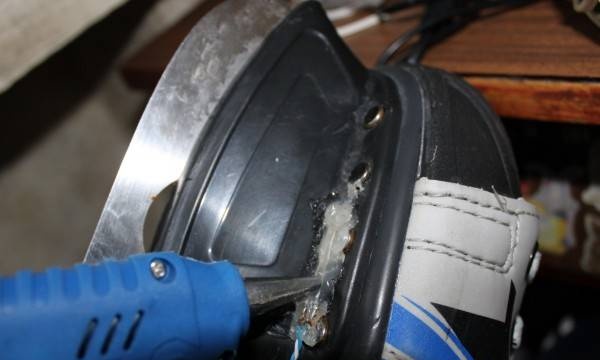
I decided to take the batteries to the top of the boot at the back. The space under the boot made it possible to install there, but there is a very humid and cold place, for batteries these are the most unfavorable conditions. And so they are at least slightly covered by a trouser leg and snow and ice do not fly there.
As for the switch and, in general, the battery compartment as a whole, there are such finished products in radio stores, already with wires and a switch, so as not to rack one's brains. Otherwise, the batteries will have to be connected, for example, with electrical tape, instead of a switch, come up with some kind of make contacts. This is all not very reliable, especially under such "harsh" operating conditions.
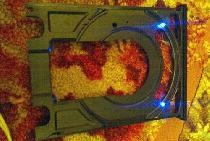
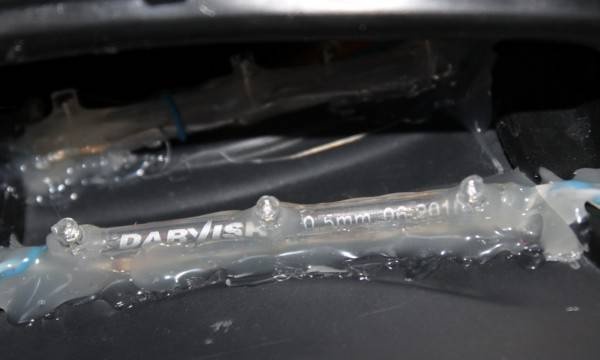
I fixed the switch and the battery holder with one screw, and put it all on a double-sided tape, it turned out, in my opinion, quite firmly. Outside view:
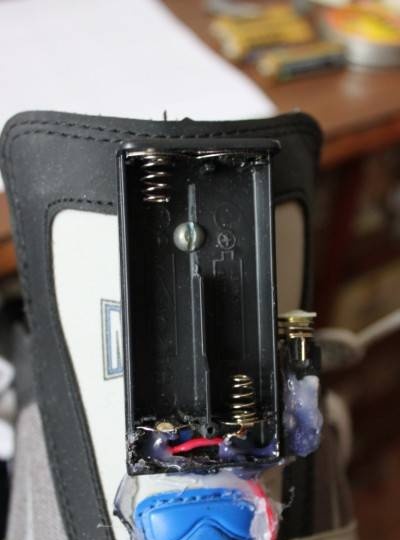
Inside view:
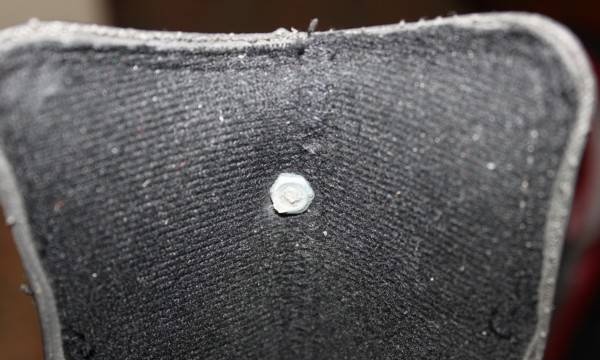
Then it all closes with a lid, and tightens with a small screw so that the lid does not fall off accidentally during riding.
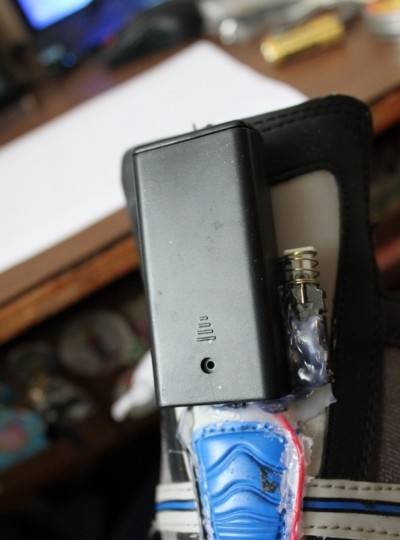
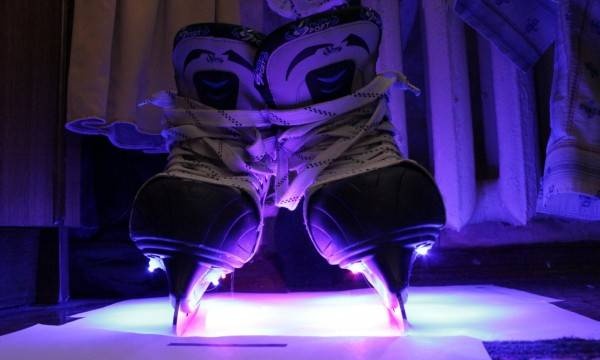
And here is how it looks from the bottom in assembled form:

It is possible to make even more miniature lighting options, on one small battery of size 23A with a voltage of 12 V, while using only 4 LEDs. The decision is yours now, turn on your imagination - and go!
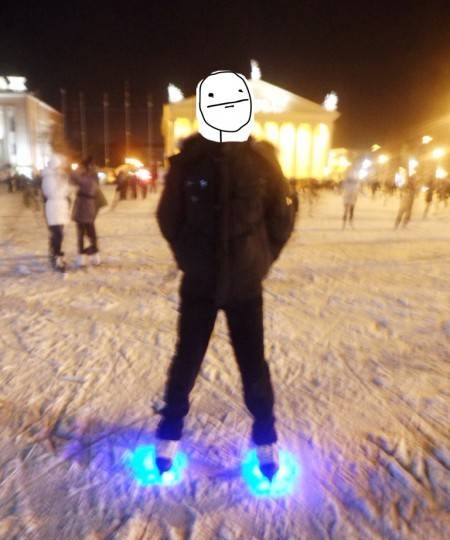
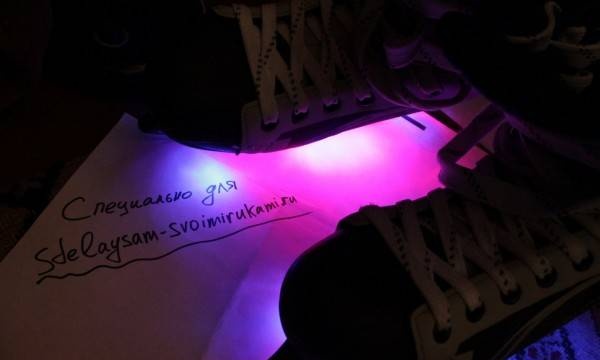
That's all. The skating lights are ready! Now your friends will easily find you among others at the rink!