Materials:
- dry clean cloth;
- any degreasing liquid;
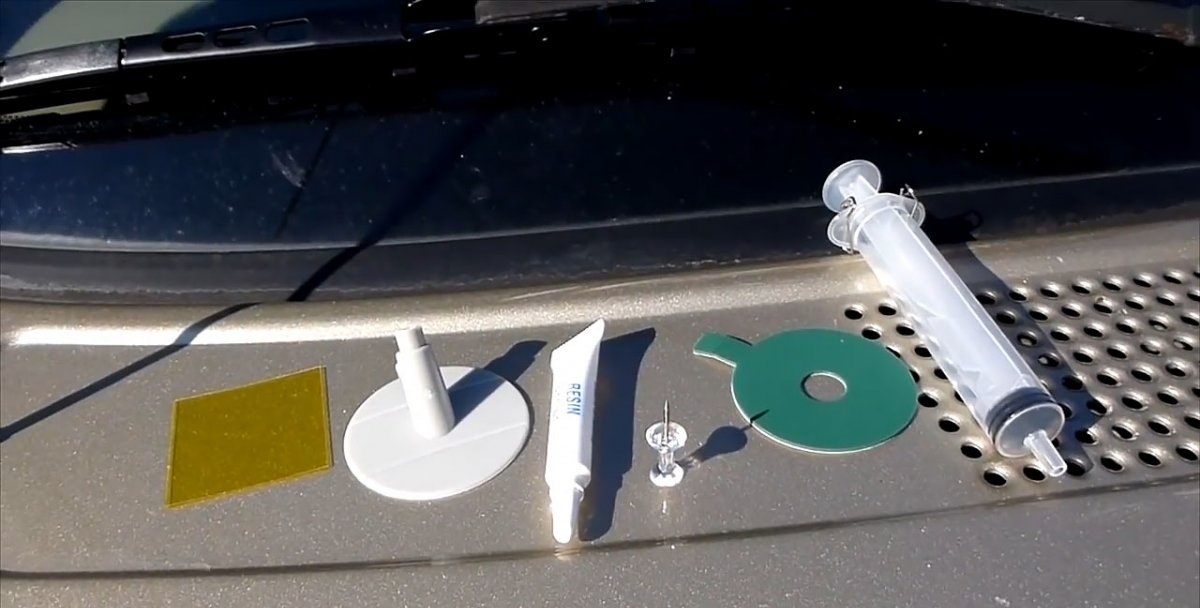
- repair kit for auto glass, can be bought on Ali Express;
- plain, preferably yellowish paper;
- electrical tape or masking tape;
- razor blade or mounting knife.
Repair of chips
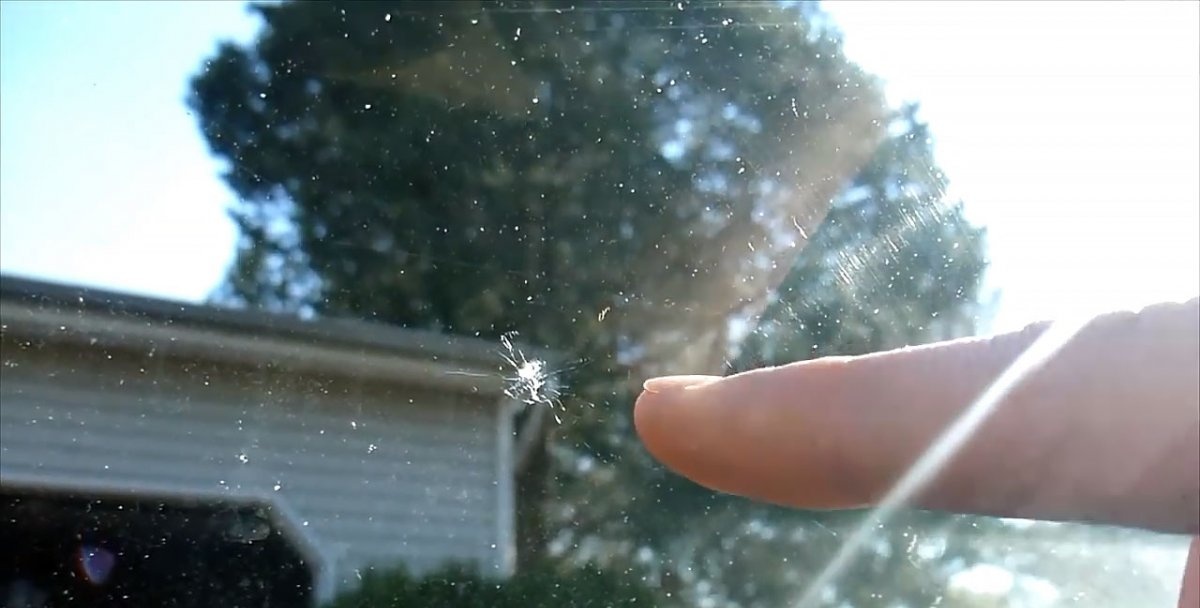
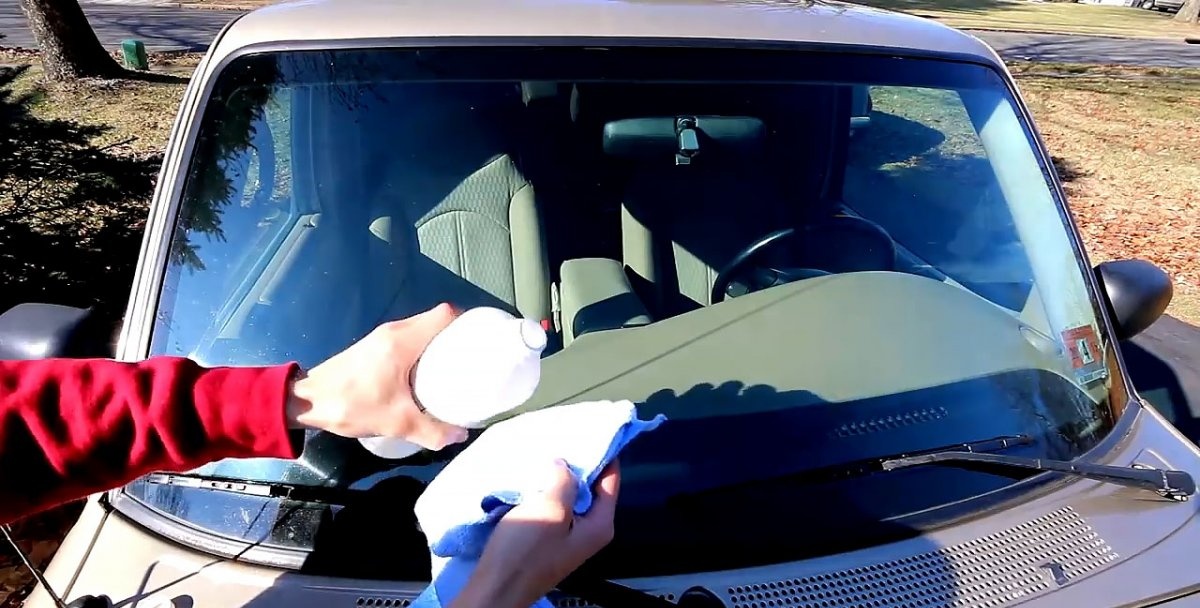
Glass restoration should be carried out in the shade in cool weather, since the active repair composition hardens under the influence of ultraviolet light. The problematic area of the glass is degreased and wiped dry.
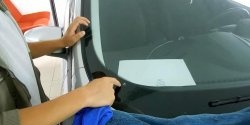
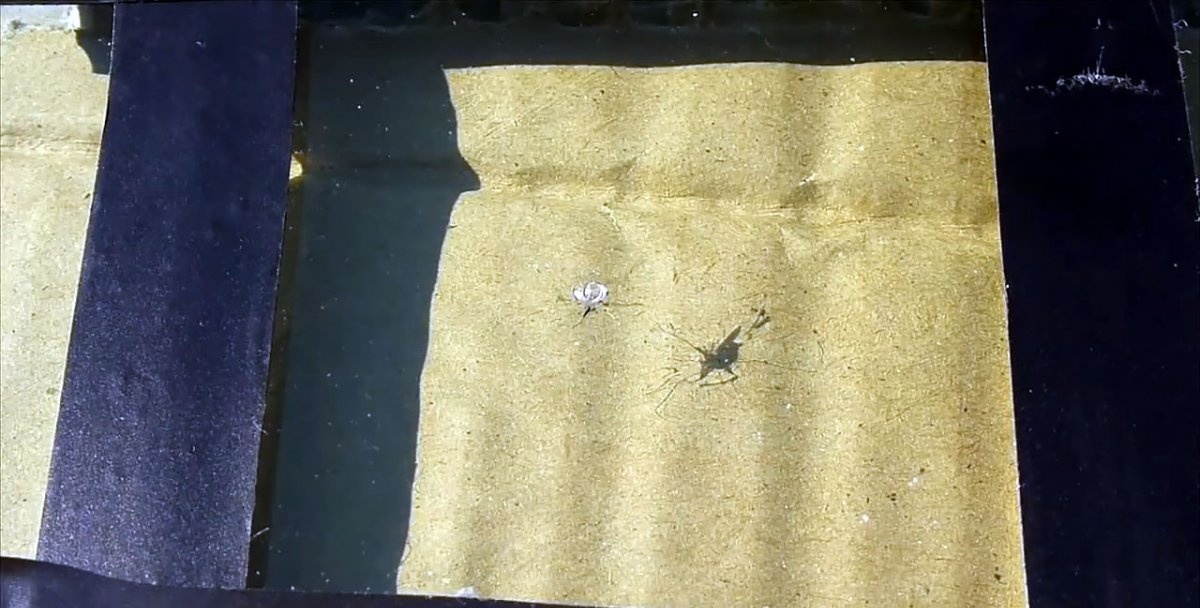
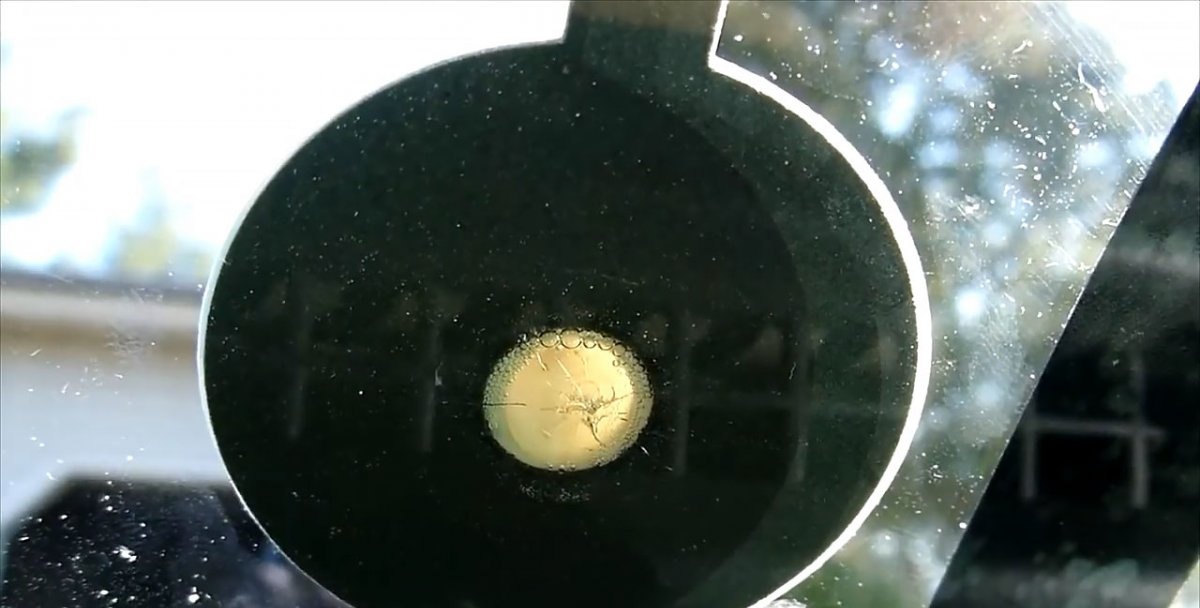
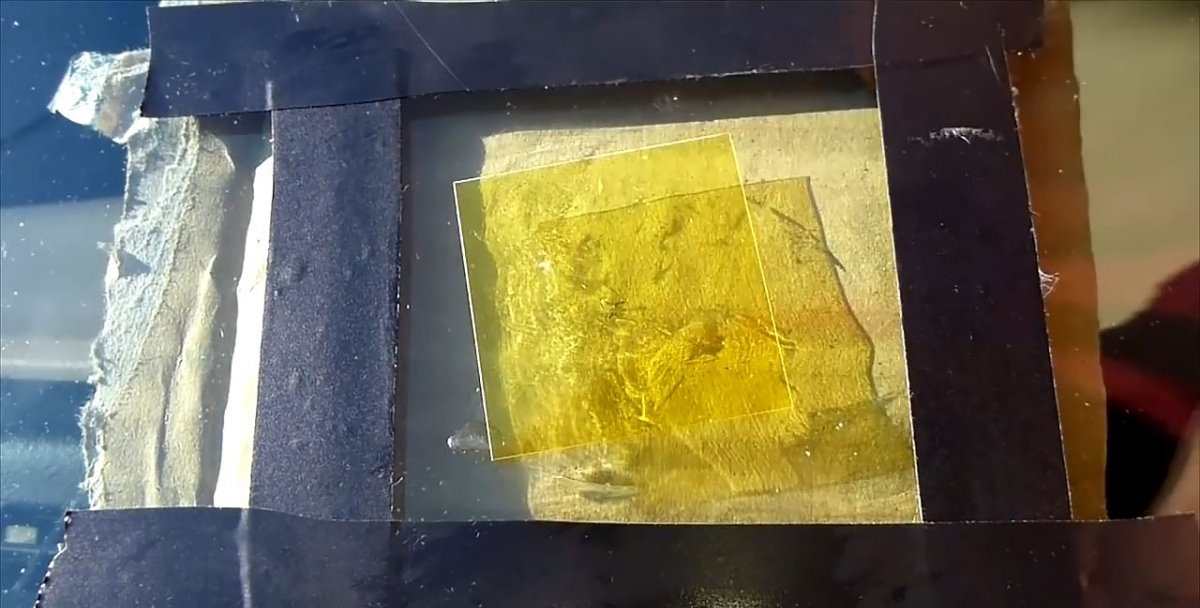
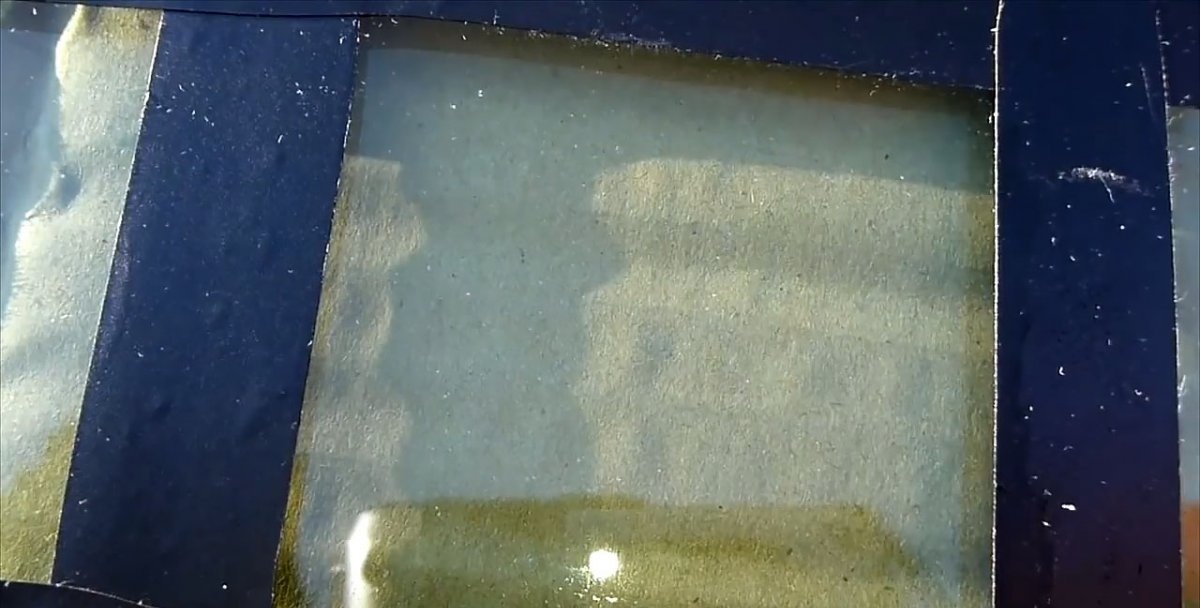
On the inside of the car opposite the chip, plain paper is glued with electrical tape. It allows you to make the defect more contrasting and noticeable. On the outside of the glass around the chip you need to stick an outline of electrical tape to get a 10x10 cm window.It will stop leaks of repair fluid.
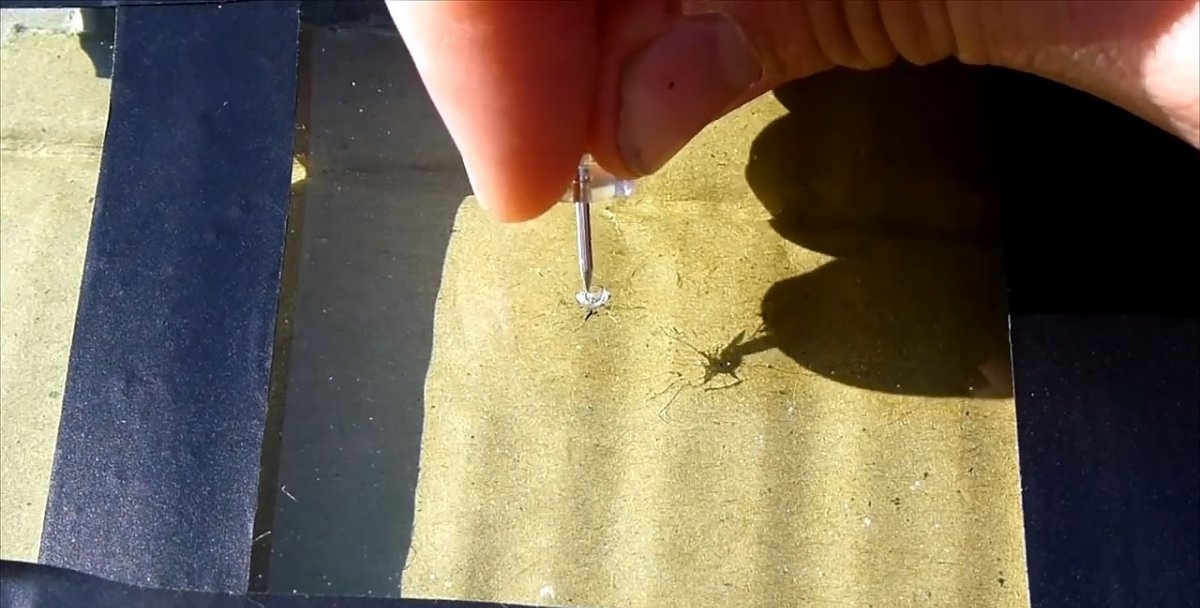
Using the pin included in the repair kit, you need to clean out the chip. Small glass fragments are removed from it.
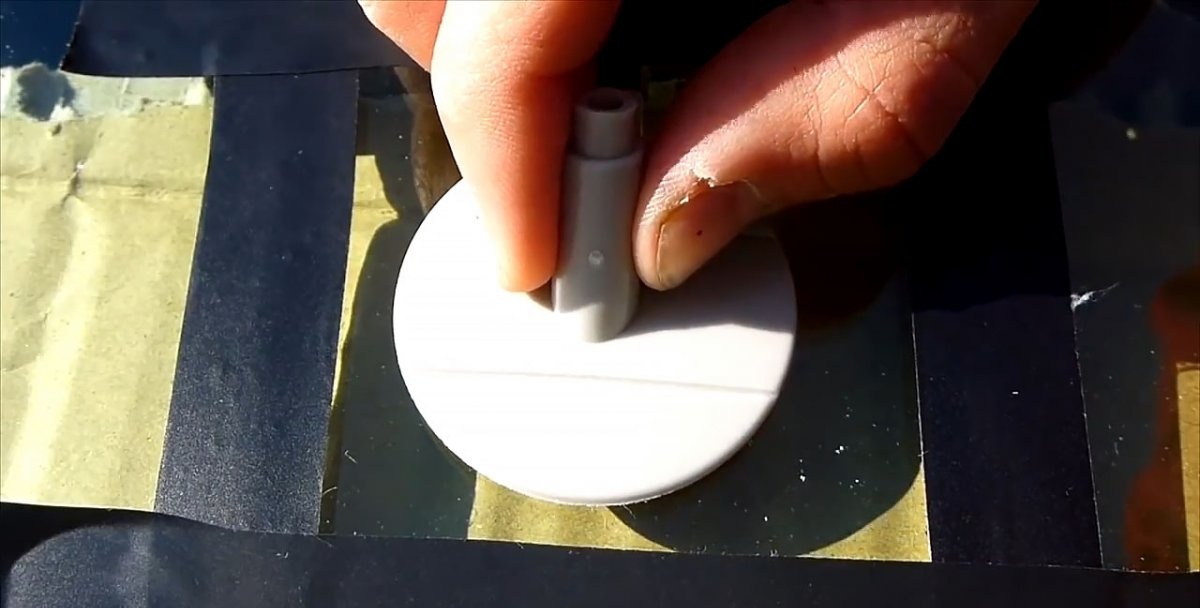
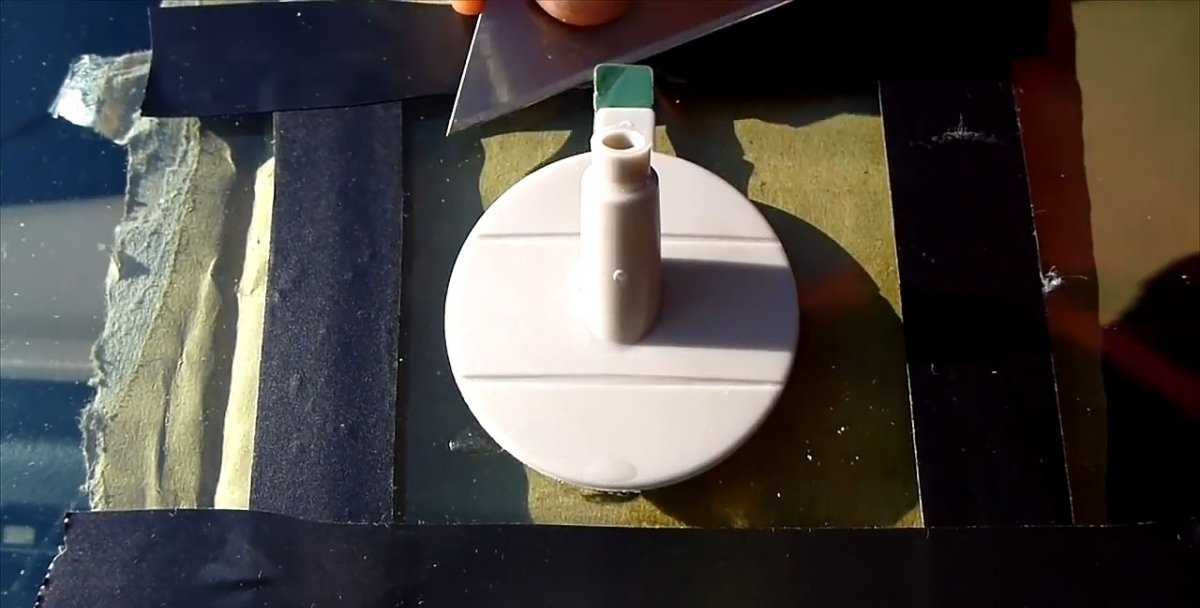
A limiting gasket is glued to the glass around the chip, very similar to double-sided tape. It is important to stick it on the correct side, as indicated in the instructions.

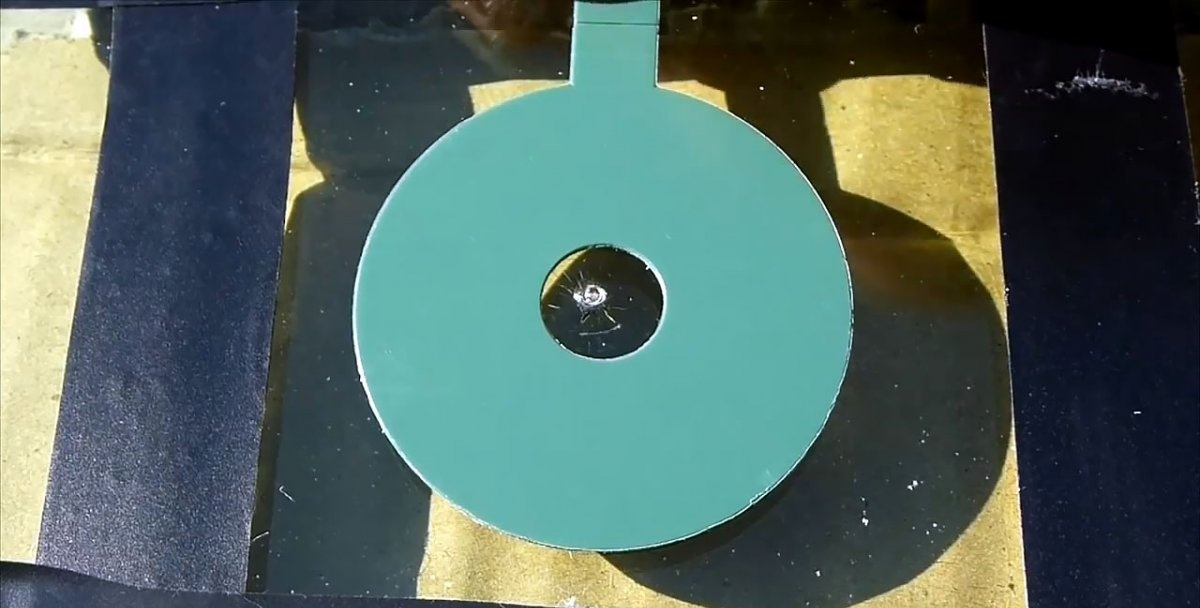
The protective layer is torn off from the top of the gasket and the filler injector is glued onto it.

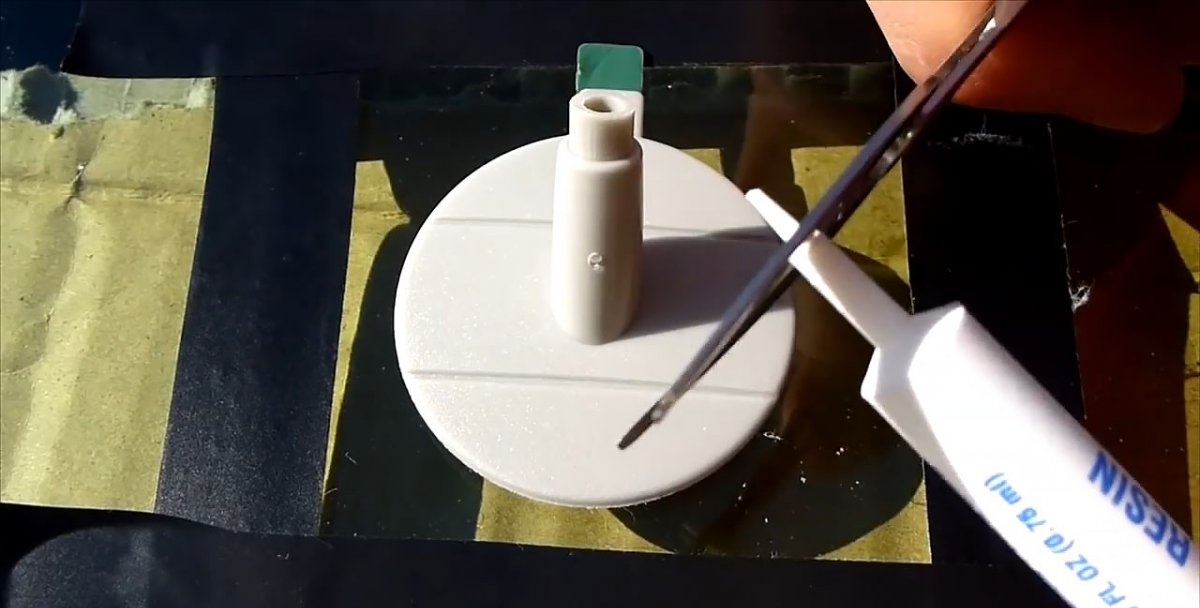
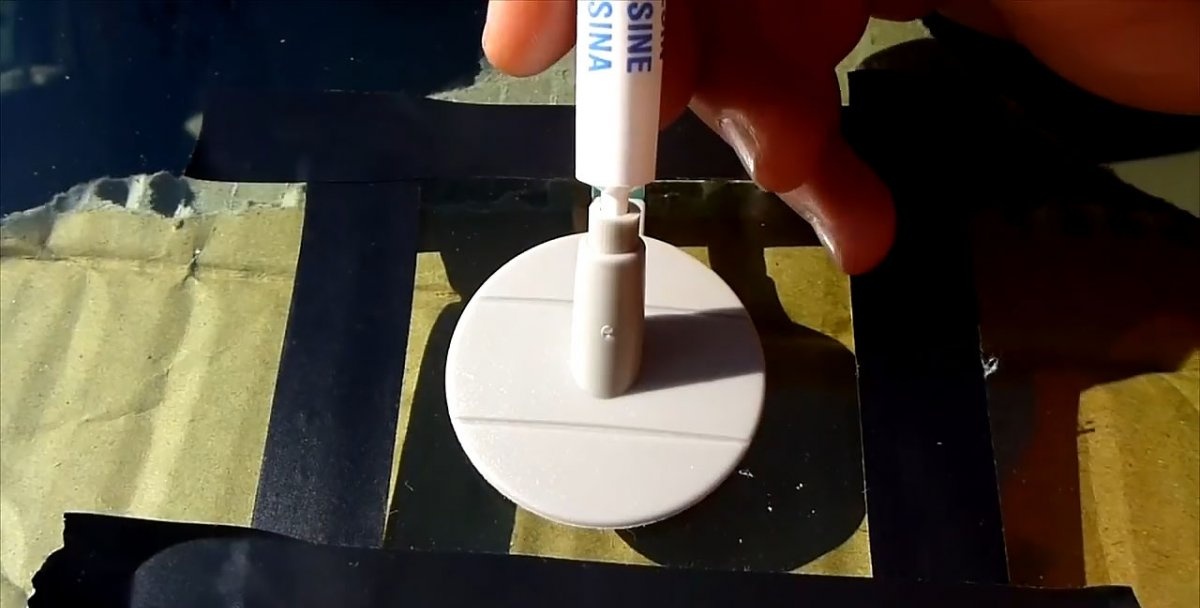
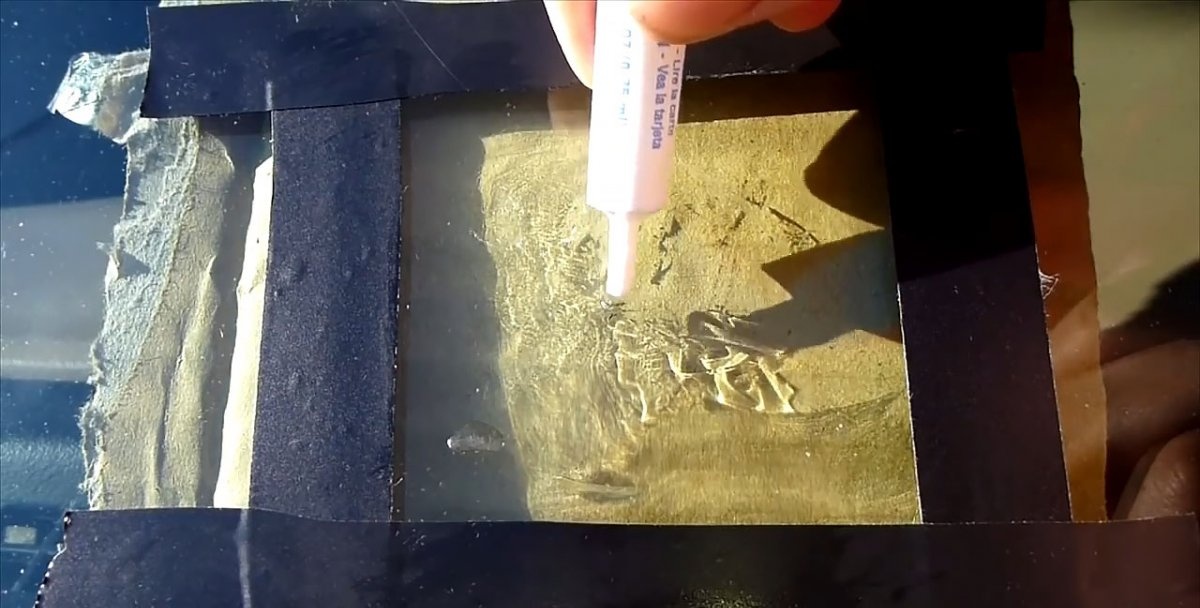
The repair polymer is squeezed out of the tube into the injector neck. Even if the chip is small, you need to fill in almost all the glue.
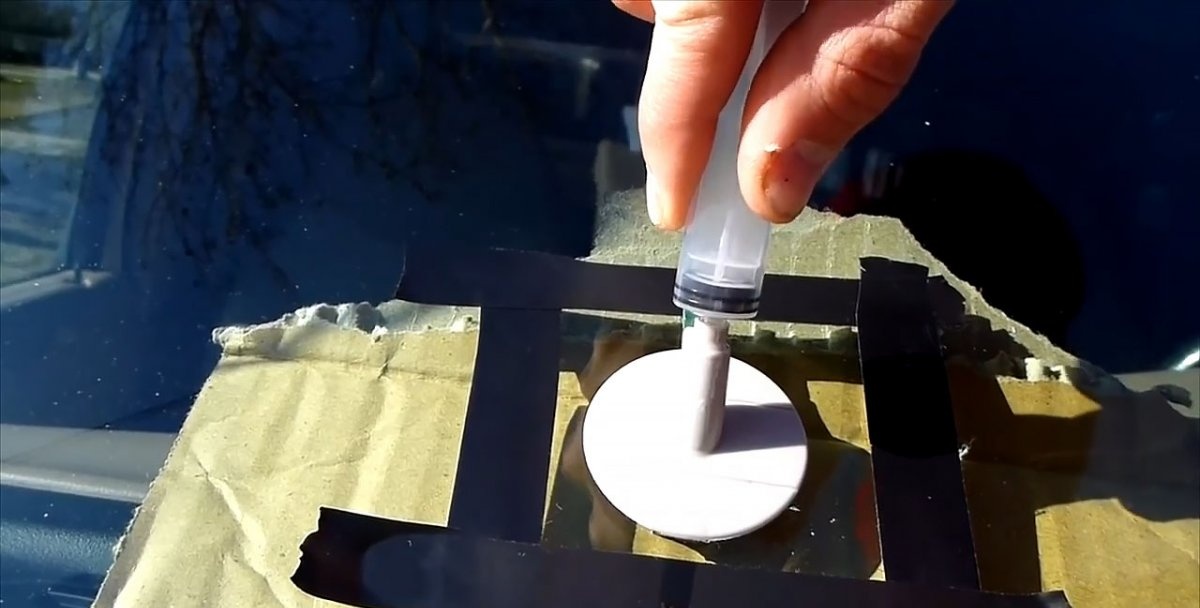
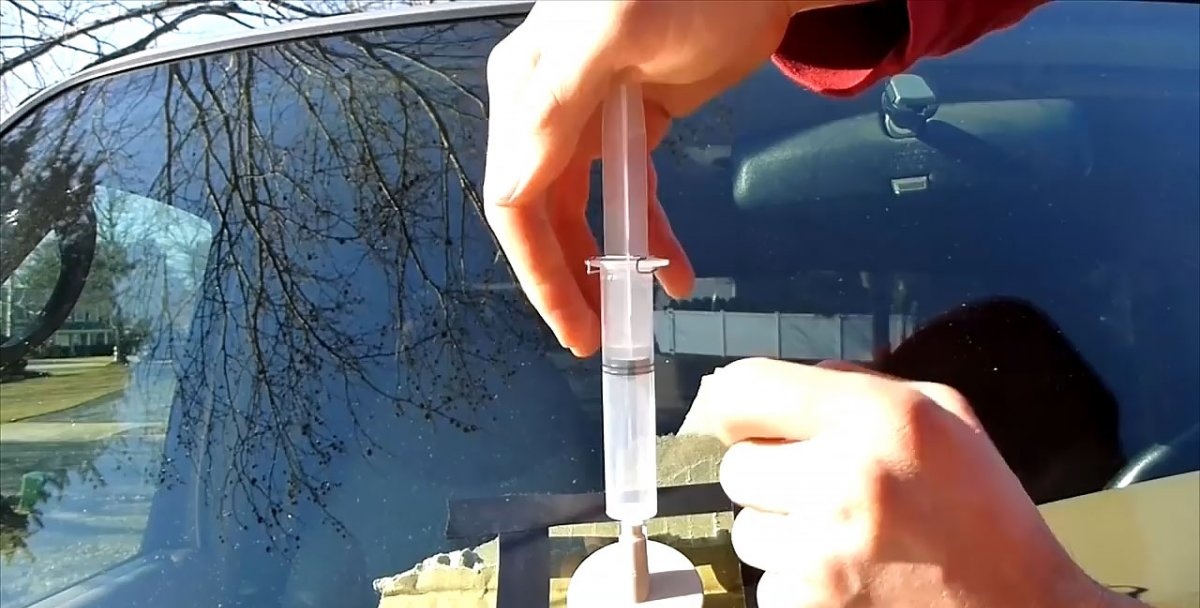
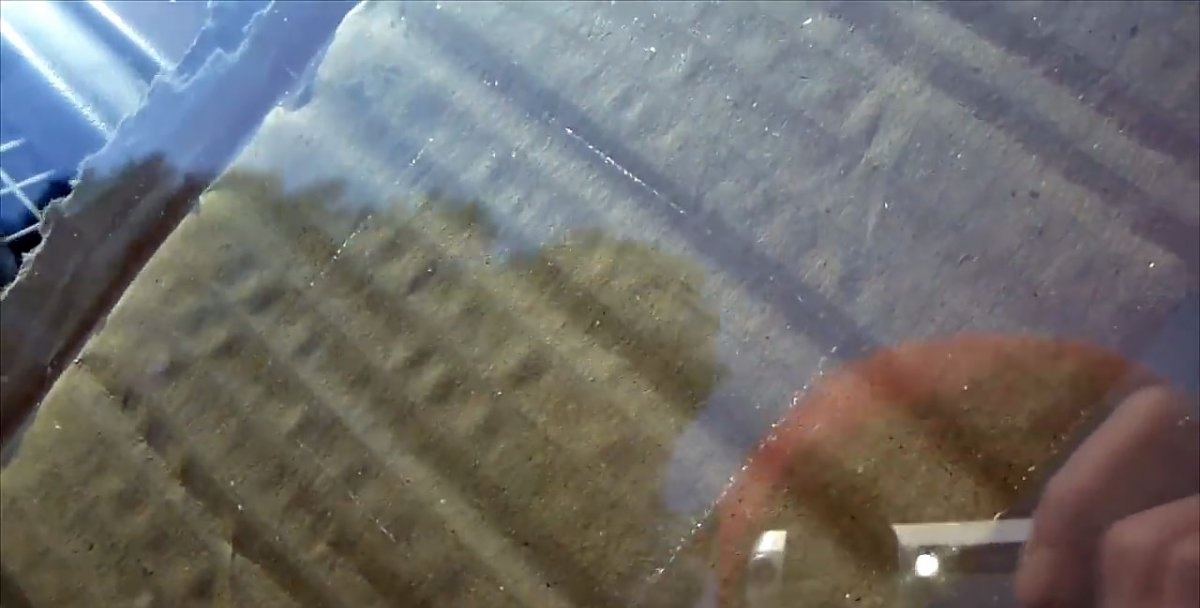
The syringe from the kit is inserted into the injector, and its valve is pulled out to its full length to create a vacuum. There is a metal bracket on the syringe stops that allows you to fix the piston at the far mark so that it does not return back.

If you remove the background paper from the inside of the glass, you can see air bubbles rising from the chip. To improve their release, you need to lightly tap the glass in the area of damage. The bubbles should come out in about 10-20 minutes.
After this, the syringe is removed to release the vacuum and returned to the injector. Its piston is pressed down and fixed with a bracket at the first mark. This creates pressure that forces the polymer into the cavities of the chip. It is enough to hold the syringe for another 10-20 minutes.
The syringe, injector and gasket are removed from the glass using a blade.
A little of the remaining polymer is added to the cracks that diverge from the chip.
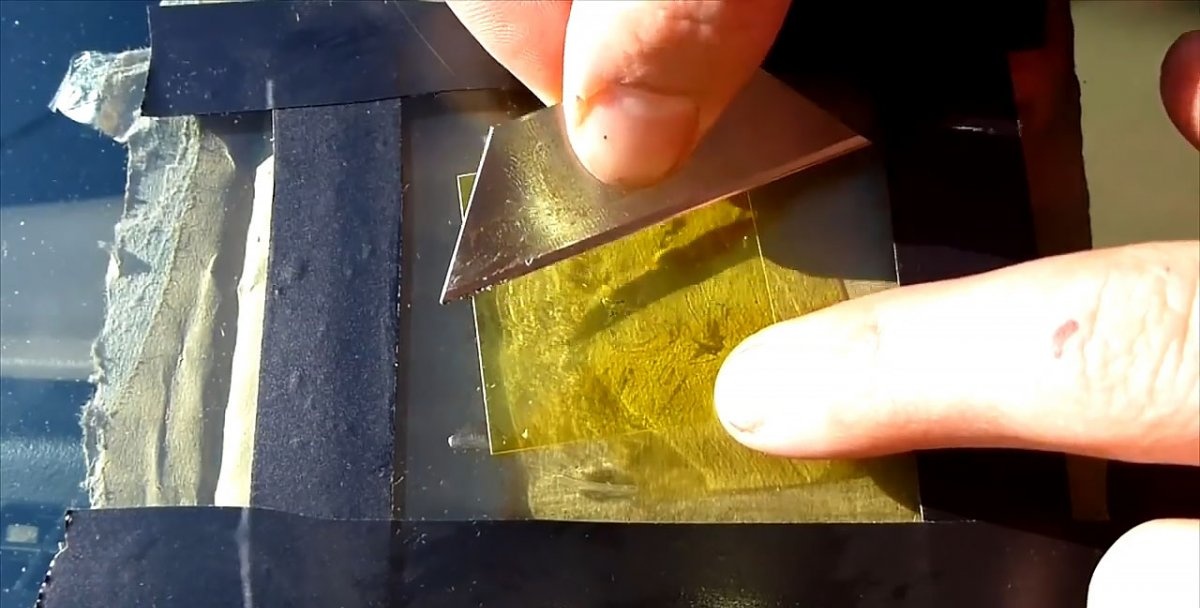
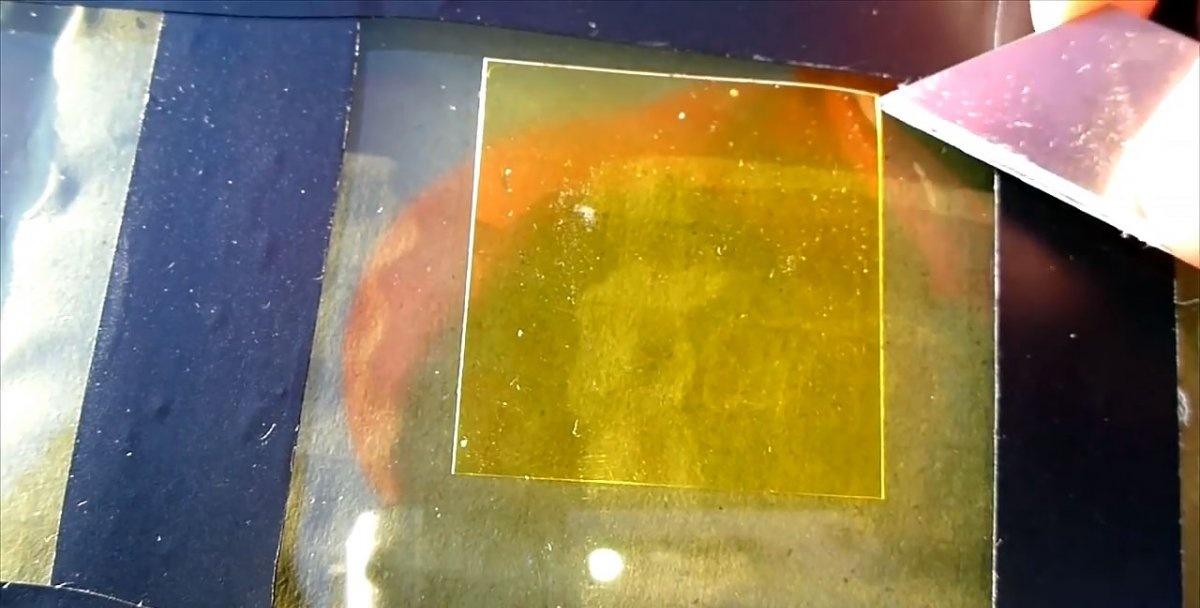
A transparent film from the kit is placed over the chip.
Squeeze out the remains with a blade.
The car is rolled out into the sun, where the composition polymerizes under the influence of light passing through the film. Usually the instructions recommend drying for 15 minutes, but it is better to wait 1 hour.
After the polymer hardens, the film is cut off along with the glue beads.
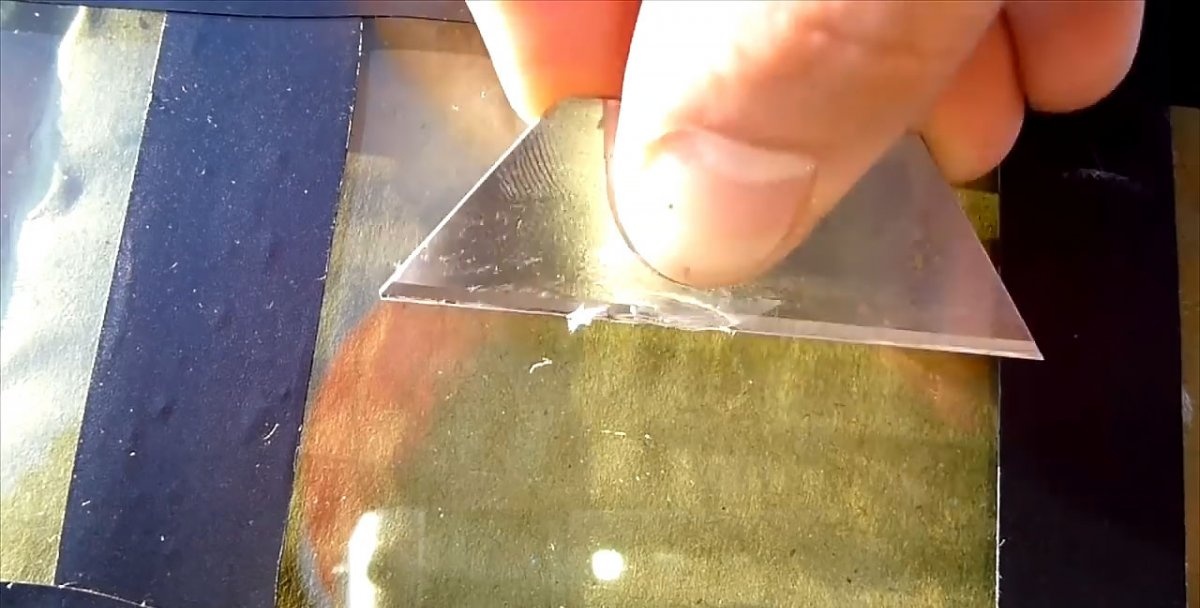
The composition should remain only in the chip itself. Next, the restored glass is polished.
Using a repair kit allows you to almost completely hide the chip. If you don’t know where it was, then the defect is completely invisible.