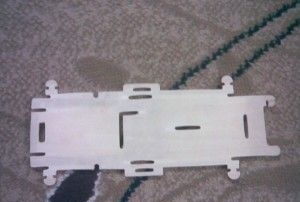
 | Do you like working with wood? Then it is especially for you! Today I will show you how to assemble an old car model from plywood. So, let's begin. First you need to saw the following workpieces with a jigsaw: This is the foundation of the whole car. The left side is the front. |
 | Here we add a roof so that you are roughly oriented with the proportions. |
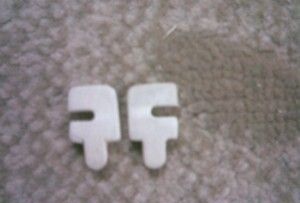
 | This is the left and right side of the car. |
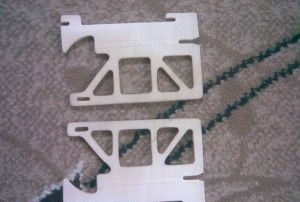
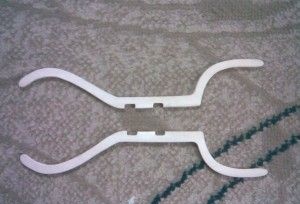
 | These are the wings. They also need two pieces. |
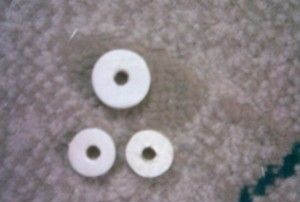
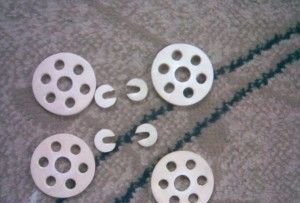 | Four wheels with stoppers. |
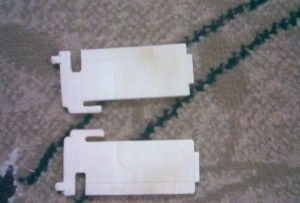 | Lateral surfaces of a motor compartment. |
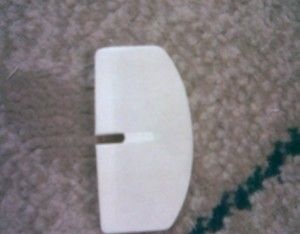
 | The back of the car. The so-called back. Performed in a single instance. |
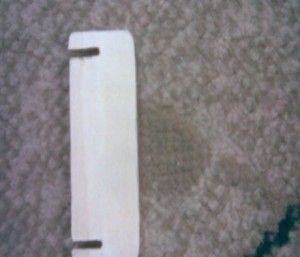
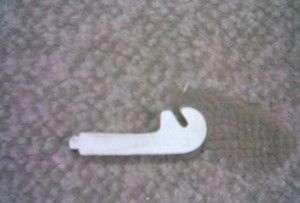
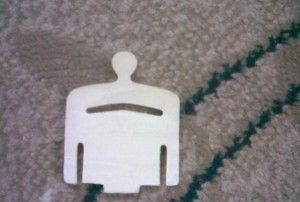 | This, I do not know what to call. It is installed right behind the radiator lining. In general, you will see |
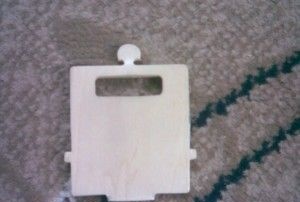
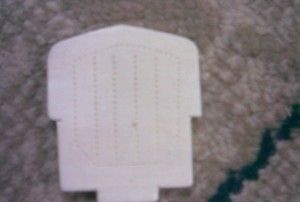
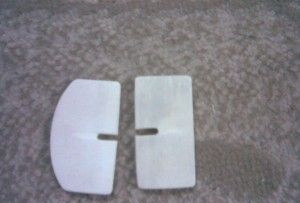
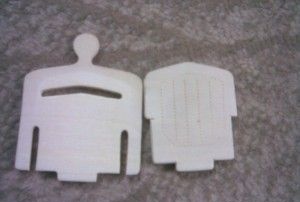
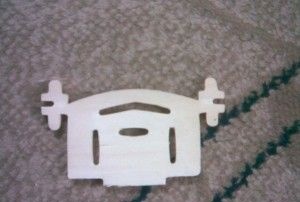 | This is the panel between the passenger compartment and the engine compartment. All slots need to be done very carefully! |
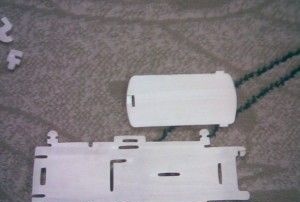
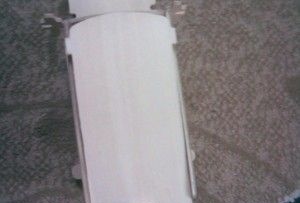
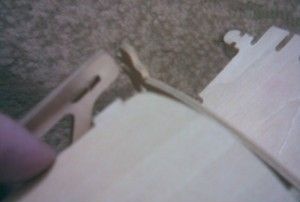
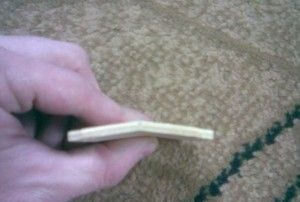  | This is the engine compartment cover - the hood. It is necessary to carefully bend the plate, as shown in the photo. |
 | And this is two headlights and a steering wheel. The steering wheel is a bit more headlights. |
 | These are the outer decorative wings. Without them, the model will look unfinished. |
 | This is the grille trim. To give a better look - you can apply a picture. |
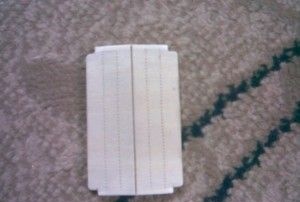
   | This is a set of seats, in order: the upper part of the front, the lower part of the front seat, and the rear seat. |
 | Headlamps located on the partition between the passenger compartment and the engine compartment. |
  | These are the two parts necessary to give a good look to the interior. |
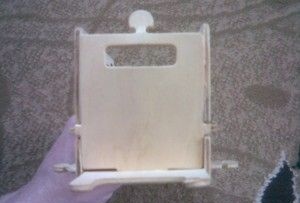
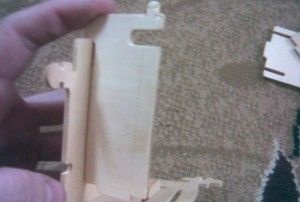
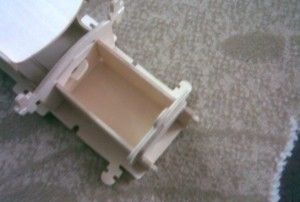
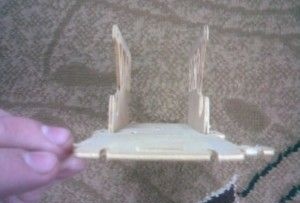  | Getting to the assembly of the car. We take the base, and fasten the sides on it. After assembly, we should get the following |
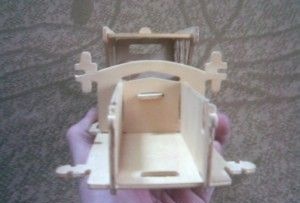
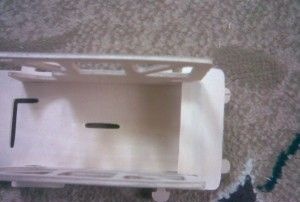  | Install the rear seat in the grooves in the sides. |
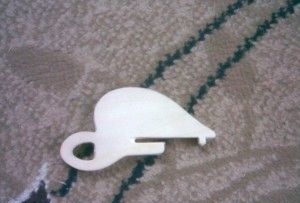
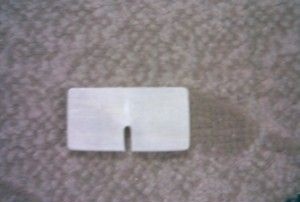
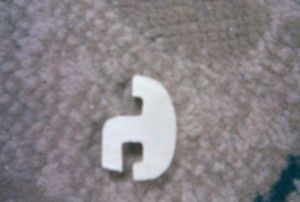
  | This part is necessary for us for fastening the front seats. |
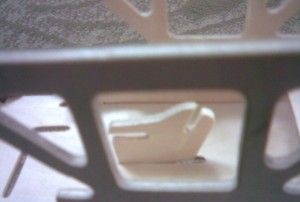
 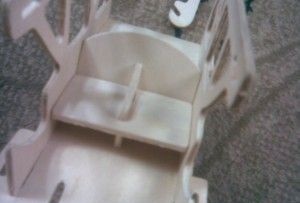 | Fasten the front seats. We fix the even part horizontally, and the part with the bulge, vertically. |
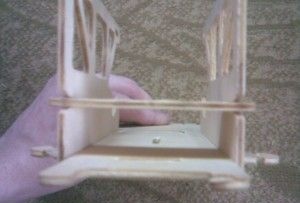
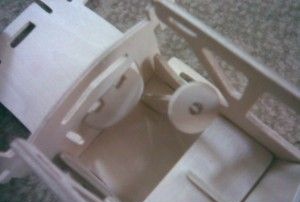
  | Next, fasten the steering wheel, and put on the “steering ring” |
 | Next, insert the back wall into a special groove |
  | We insert the "dashboard" into its rightful place. |
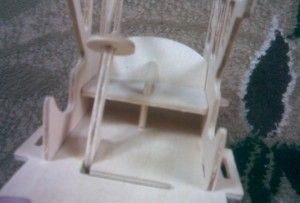
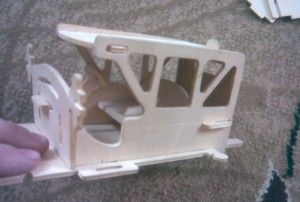
  | Now we put on the roof. It is necessary to get into special holes. |
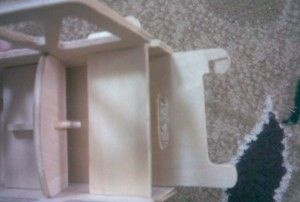
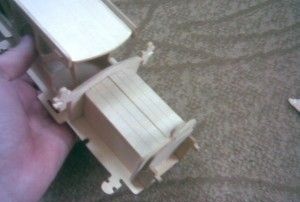
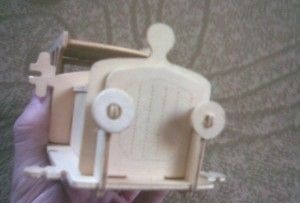
 | Next, we install a partition between the passenger compartment and the engine compartment. |
  | Next, install the side covers of the engine compartment. |
  | Next, add the sandwich. And put it in the right place |
  | Next, install the hood. |
 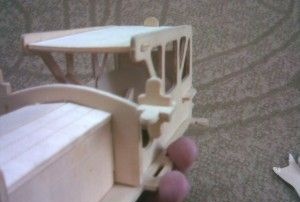 | Next, we catch the lights, and the dimensions of the partition |
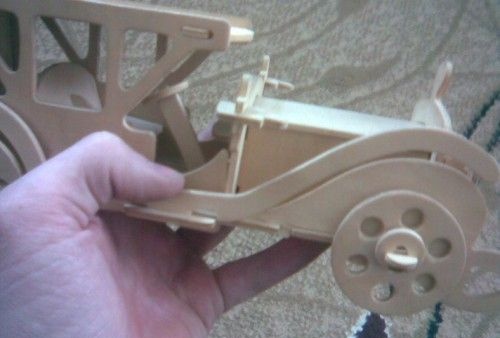
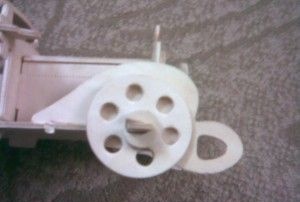 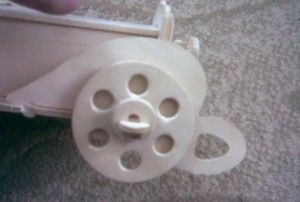 | After that we put on the wheels and fix them. For fixing it is necessary to turn the plugs as shown in the photo. |
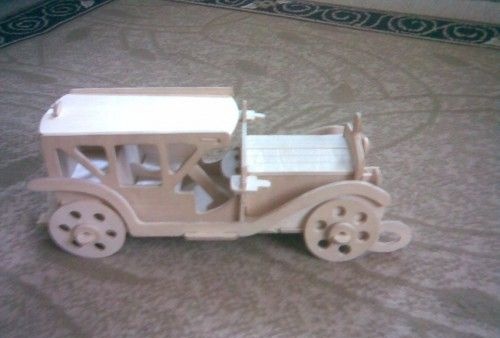
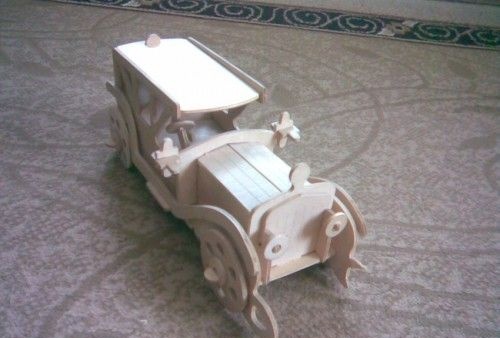
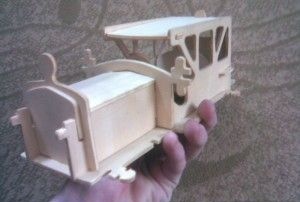
| Then we fasten the outer wings. The car is assembled! | |