DIY do it yourself
Master classes, instructions, useful tips, recipes.
» »How to disassemble and lubricate the drill chuck
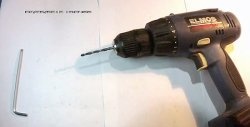
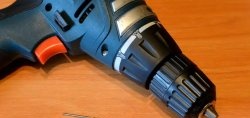
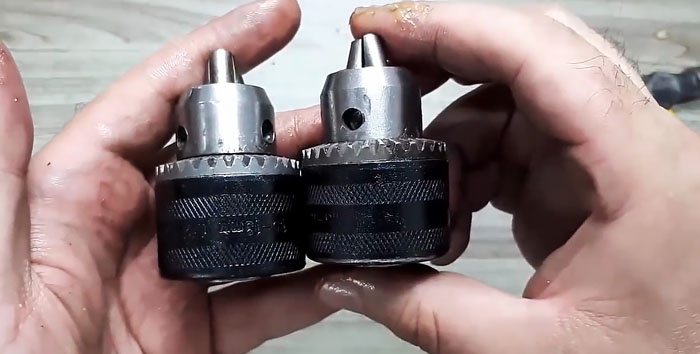
The usual turnkey cam cartridge on drills and screwdrivers after prolonged use often starts to jam. It becomes more difficult to tighten and release the drill, which is caused by corrosion of the internal clamping mechanism and its subsequent deformation. To save from this or even restore life to the old cartridge, you can lubricate it from the inside.
How to disassemble and lubricate a drill chuck

Materials and tools:


  • crosshead screwdriver;
  • hammer;
  • solid oil or other grease.

Cartridge disassembly and lubrication

How to disassemble and lubricate a drill chuck

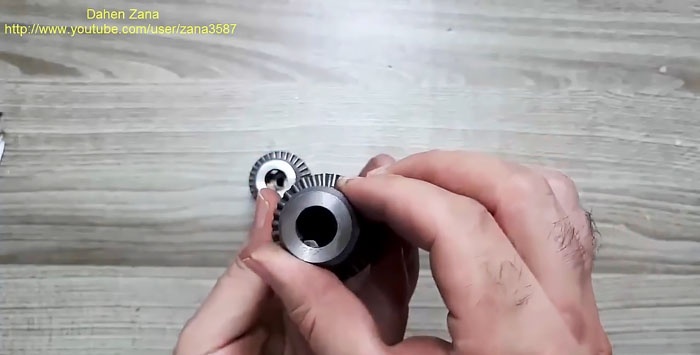
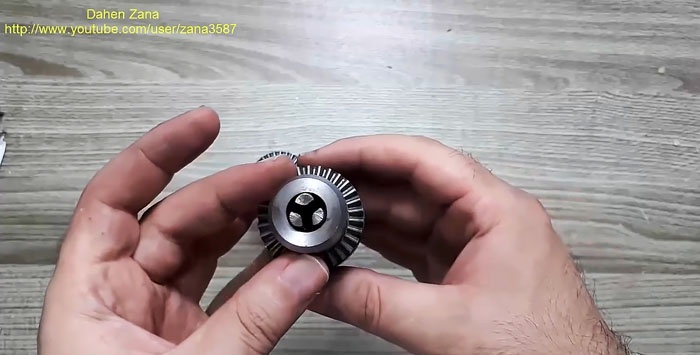
First you need to remove the cartridge from the drill or from the drilling machine. His fists are divorced, after which a Phillips screwdriver is inserted between them.
How to disassemble and lubricate a drill chuck

How to disassemble and lubricate a drill chuck

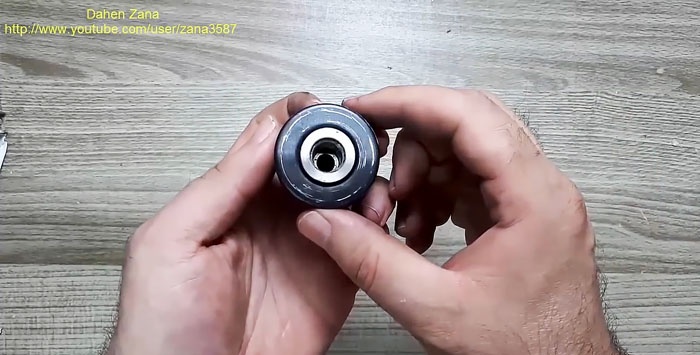
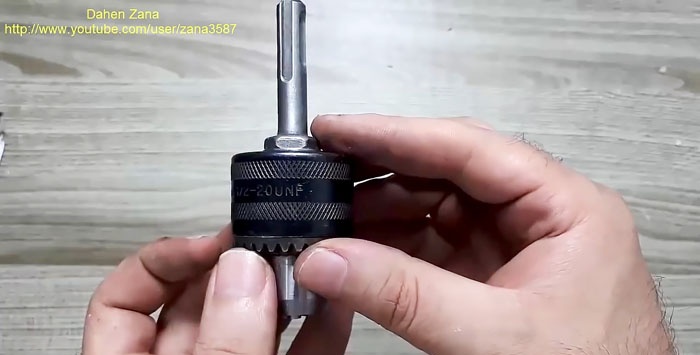
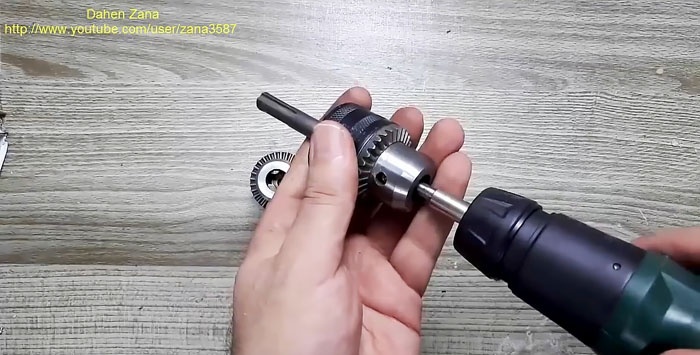
The cartridge is held by a screw with a left-hand thread. To remove it, you need to rotate the tool clockwise. Sometimes there are screws with slots under the asterisk, so an appropriate screwdriver will be required.
How to disassemble and lubricate a drill chuck

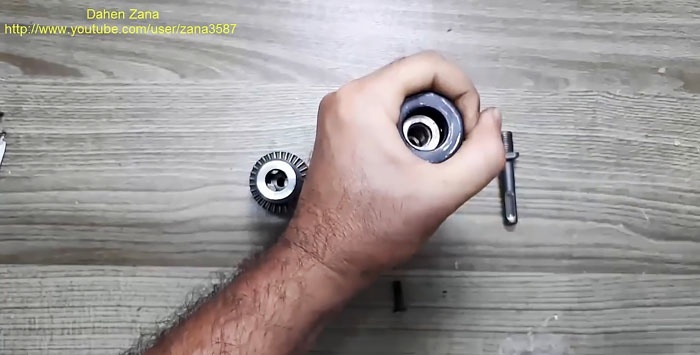
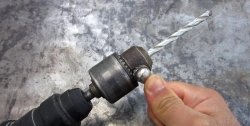
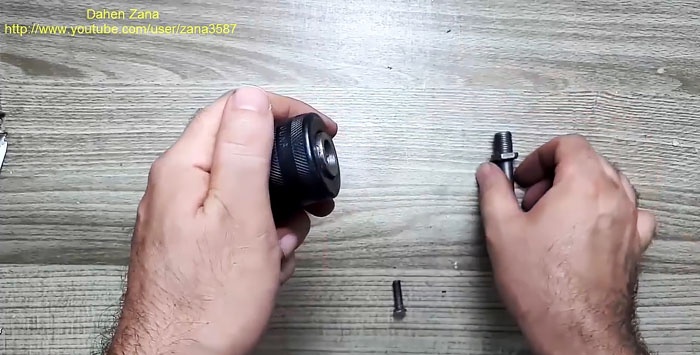
Having removed the screw, you need to unscrew the cartridge itself from the drill shaft. This is already done counterclockwise. If the drill is used for a long time, then twisting with your hands is not so simple. Have to fix the shaft. Often there is a chamfer under the open end wrench on the cartridge, which will facilitate the removal process. If it is not, then it is better to tear off holding the cartridge with a pipe wrench.
How to disassemble and lubricate a drill chuck

How to disassemble and lubricate a drill chuck

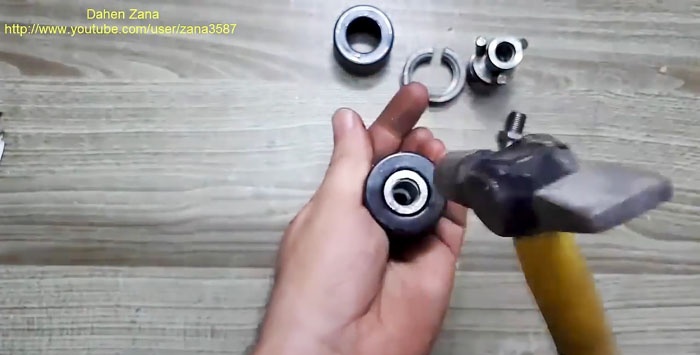
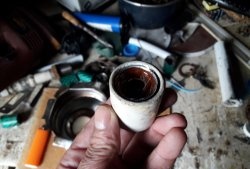
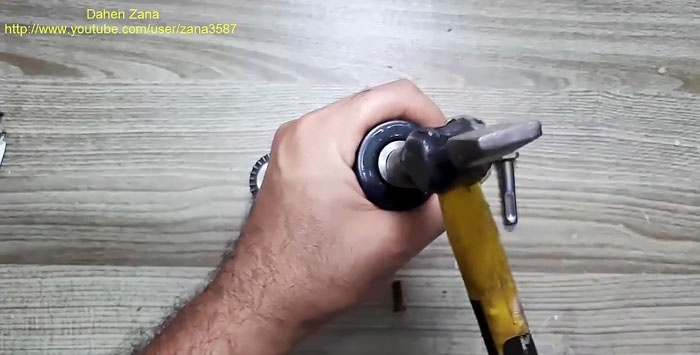
After removing the cartridge, you need to deploy it with the cams down and hit with a small hammer in the center of the back. This is done on weight. You need to compress the outer clip of the cartridge with your hand and aim strikingly with strikes. It will not work against the bottom because the clip does not have a protruding end. If the inside of the cartridge is rusted and does not come out, it is worthwhile to first apply penetrating lubricant such as WD-40.
How to disassemble and lubricate a drill chuck

How to disassemble and lubricate a drill chuck

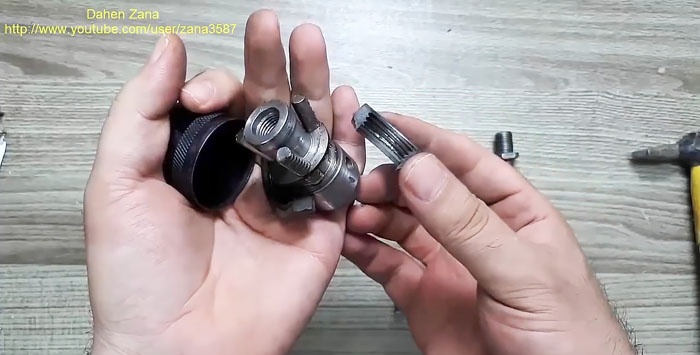
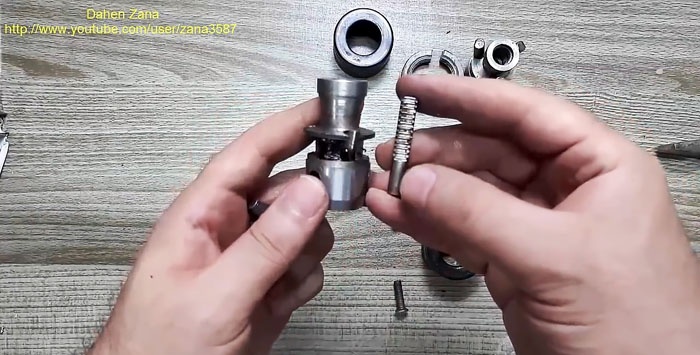
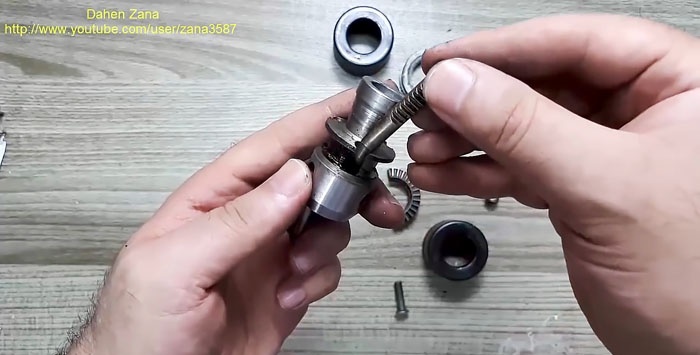
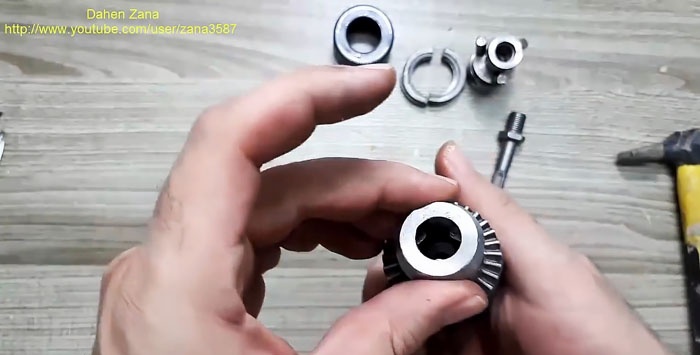
As a result, a clamping mechanism consisting of a base, 3 removable cams and a nut cut in half with slots for a special key should come out of the cage.
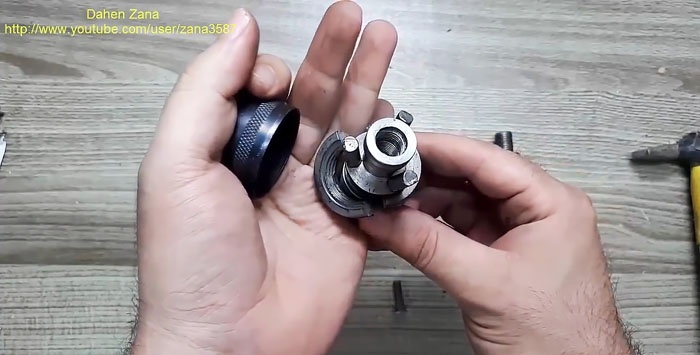
How to disassemble and lubricate a drill chuck

How to disassemble and lubricate a drill chuck

For ease of lubrication, the two-piece nut is set aside.
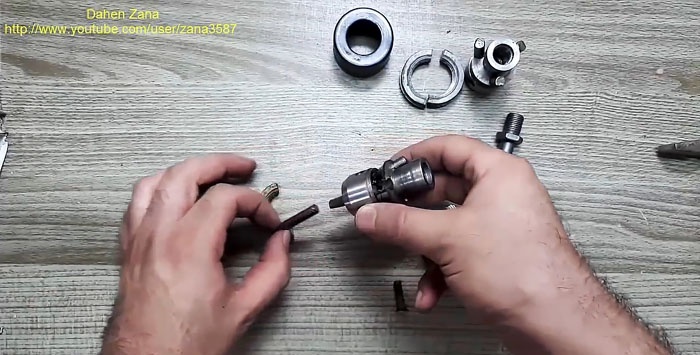
How to disassemble and lubricate a drill chuck

How to disassemble and lubricate a drill chuck

How to disassemble and lubricate a drill chuck

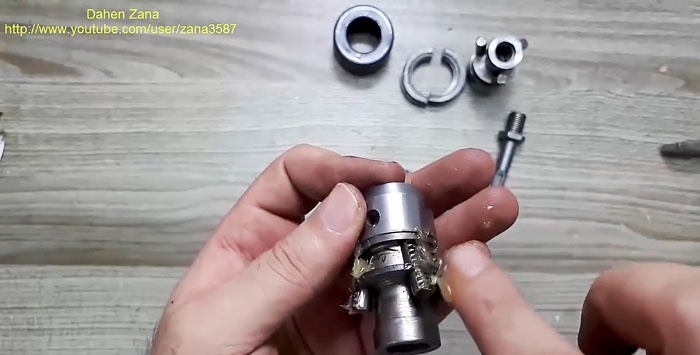
Solid oil is applied only to the splines of the cams.
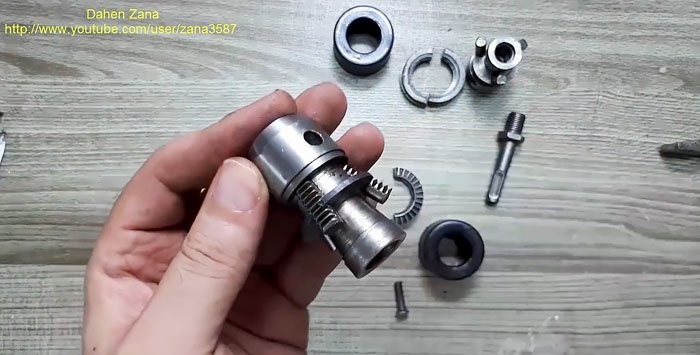
How to disassemble and lubricate a drill chuck

How to disassemble and lubricate a drill chuck

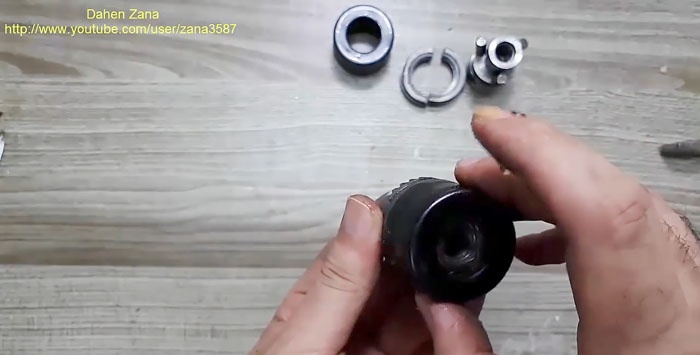
Next, the halves of the nut are installed in place, and the mechanism returns to the cage. To assemble it to the end, you need to hit with a hammer on the clip until it sits down. This is also best done on weight.
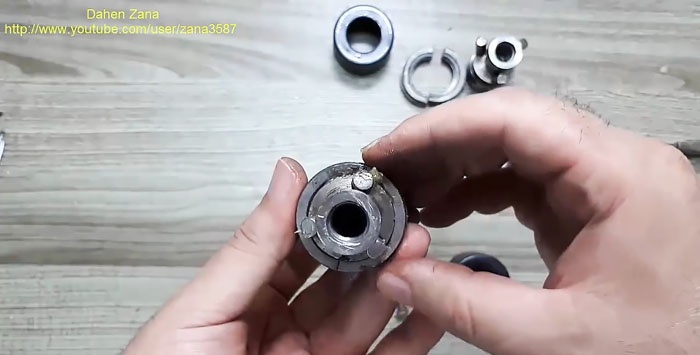
How to disassemble and lubricate a drill chuck

How to disassemble and lubricate a drill chuck

How to disassemble and lubricate a drill chuck

The greased and assembled chuck is screwed clockwise onto the drill shaft, after which the fixing screw is screwed.
How to disassemble and lubricate a drill chuck

It happens that during dismantling, the slots of the screw are erased, then it is better to replace it or to cut a new notch on it with a hacksaw. If the cartridge is lubricated from the very beginning after the purchase of a drill, then it is disassembled very easily and lasts much longer, so it is better not to postpone this procedure.
How to disassemble and lubricate a drill chuck

Watch the video


come back
Comments (6)
  1. Alexey
    #1 Alexey Guests June 28, 2019 8:14 p.m.
    3
    maybe it’s easier to put in boiling solidol for 1 minute
  2. Vyacheslav
    #2 Vyacheslav Guests June 28, 2019 10:15 PM
    1
    Something this cartridge does not correspond to reality. Such cartridges, with a ring gear, tend to collect from the opposite side as indicated in the description. They have a thermal fit and are disassembled with half-cleaned sponges. To remove the cage, it is necessary to have a mandrel having the form of a cylinder with an inner hole about 3-4 mm smaller than the outer diameter of the cage. and depth equal to the length of the clip.Now having at hand a steel plate, a mandrel, a hammer of about 1 kg and the help of a certain person, setting the cartridge on the plate with its lips facing down (the lips should not stick out), setting the mandrel on the cartridge (without distortions), applying a “light” blow to the mandrel ) or using a press, with a force of 7 -10 tons of force, we shift the clip from the nut (split during the manufacture of the cartridge). So with the help of a hammer and some kind of mother, the old Soviet cartridge is disassembled, but only if it has not gone through the rolling of the clip, which, as a rule, was done on PS-13 and larger cartridges.
  3. Guest Maks
    #3 Guest Maks Guests June 29, 2019 07:47 AM
    2
    I immediately throw this garbage and put the self-clamping chuck. Since constantly twist the key in my scrap, but let them negro twist.
  4. Nikolay.
    #4 Nikolay. Guests July 2, 2019 8:29 p.m.
    2
    Turning and drilling chucks are NOT LUBRICATED.
  5. Ivan
    #5 Ivan Guests July 3, 2019 08:30 a.m.
    0
    Given that such a cartridge is still a complex mechanism, not even all hand-made homemade ones will be able to assemble it back without busting. And how much time will you lose on this bulkhead for the first time ??? Yes, and the second time may not be. If such a problem has arisen, I think it is better to contact the workshop. But at least some guarantees. And even easier to buy a new cartridge assembly and put in a drill ...
  6. Guest Leonid
    #6 Guest Leonid Guests July 8, 2019 16:28
    1
    It is imperative to mark the cams and their location, when assembling, place them in the "native jacks" so as not to get extra after assembly. beating.

Read also

Error codes for washing machines