For homemade work we need
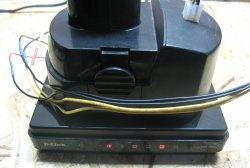
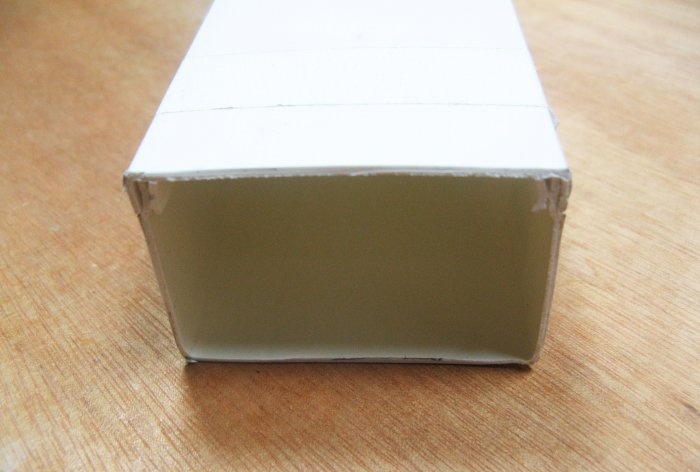
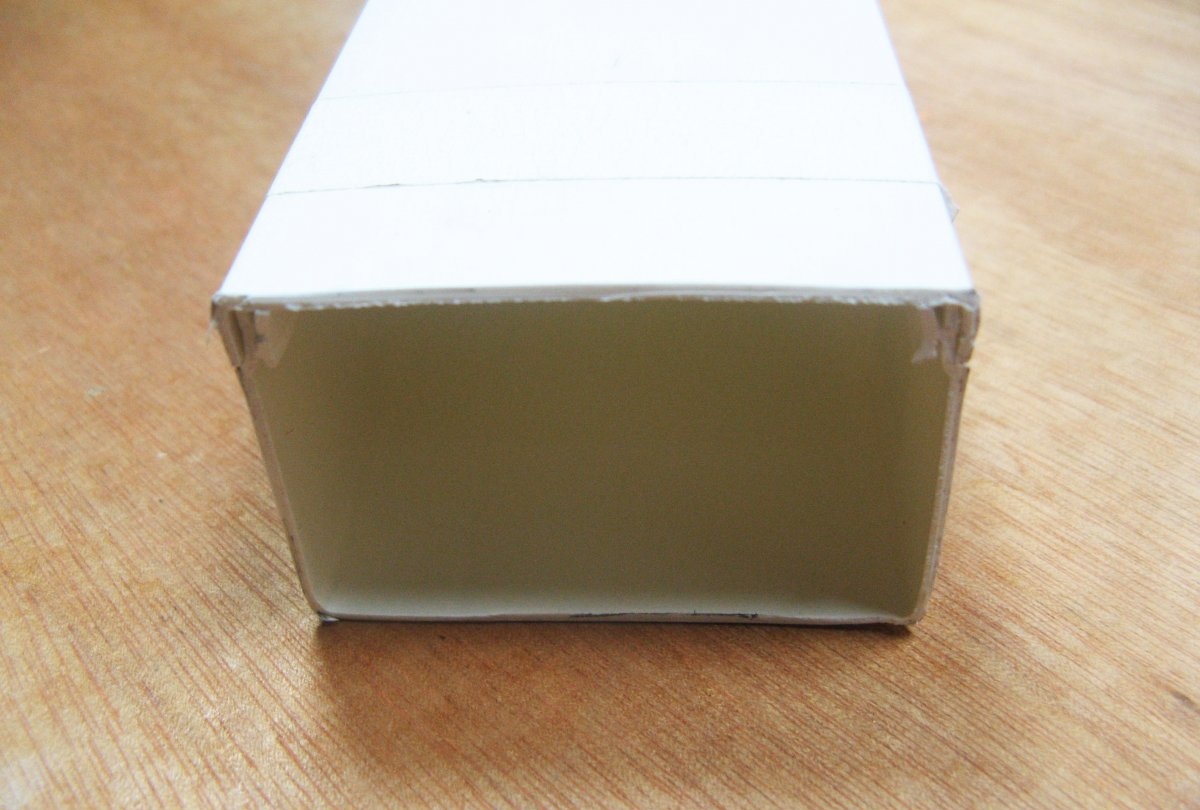
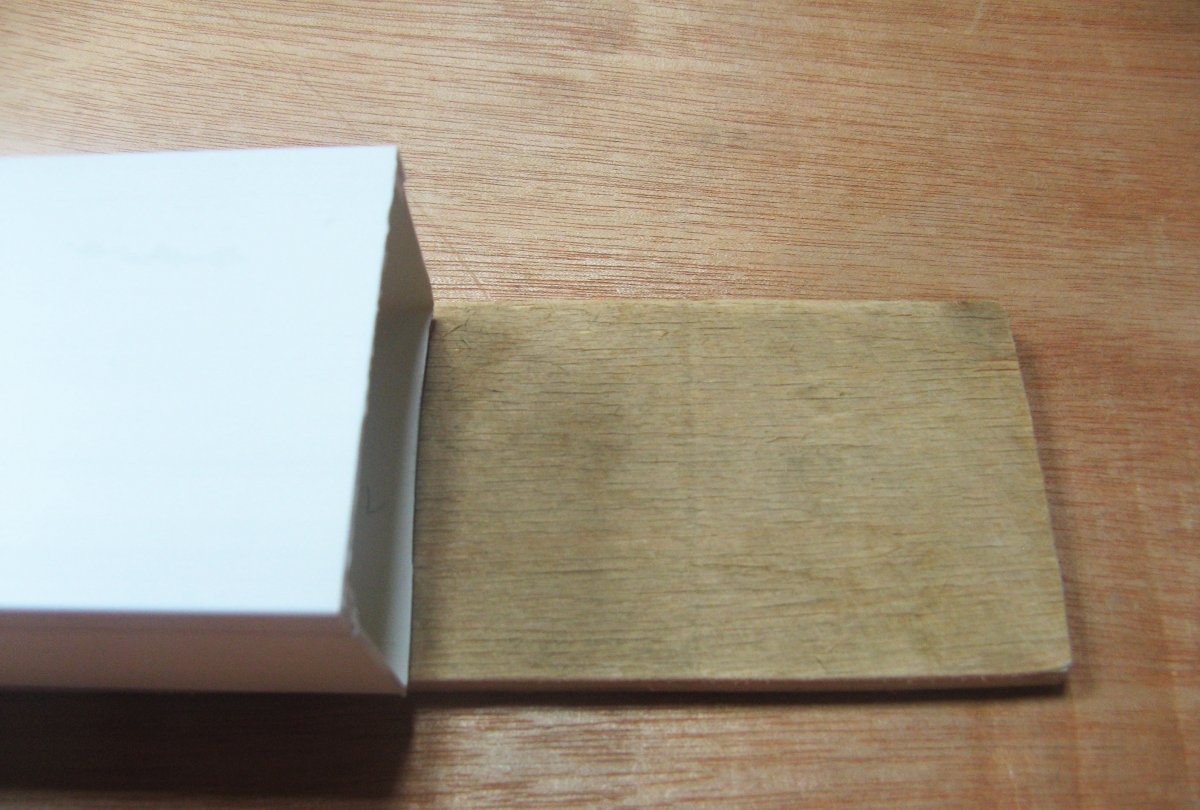
- To install the device, I chose a box for wiring. The dimensions of the casing are 4 * 6 cm. It took a segment of half a meter.
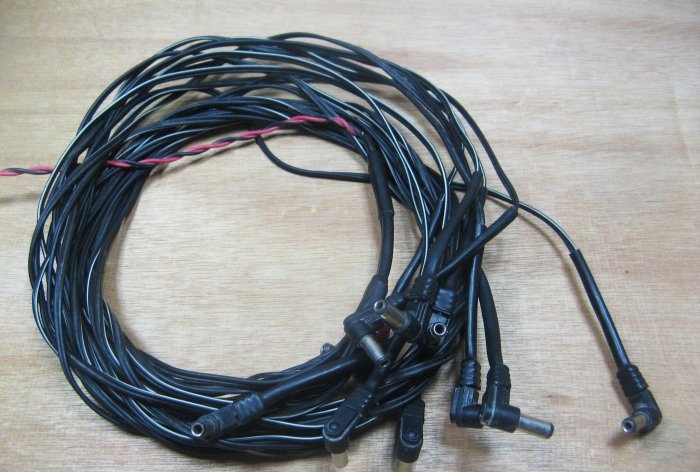
- Since they gave me the old connectors, I will install them in a new design.
- You will also need double-sided tape. I took on a foam basis.

- For the plugs of the casing, I took a soft plastic. It seems like there are factory plugs, but I have not found such.

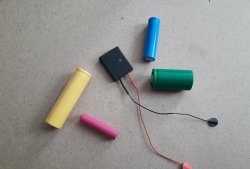
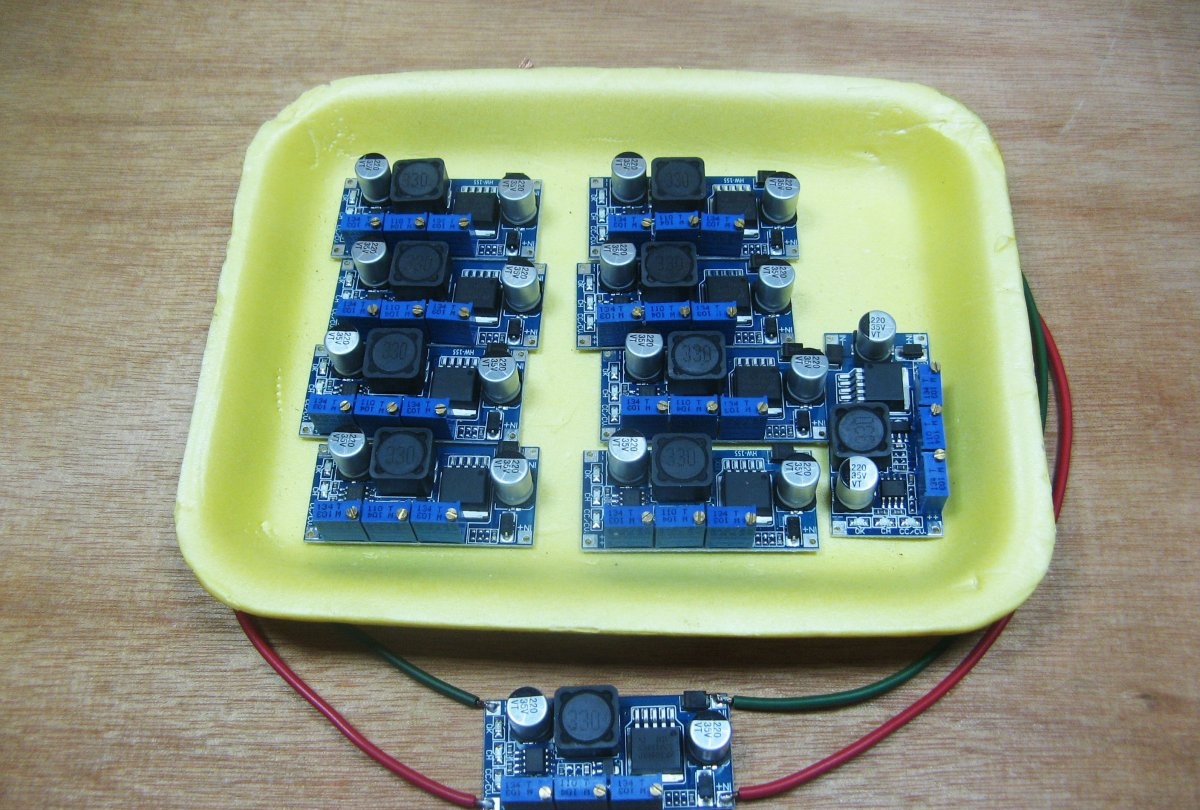
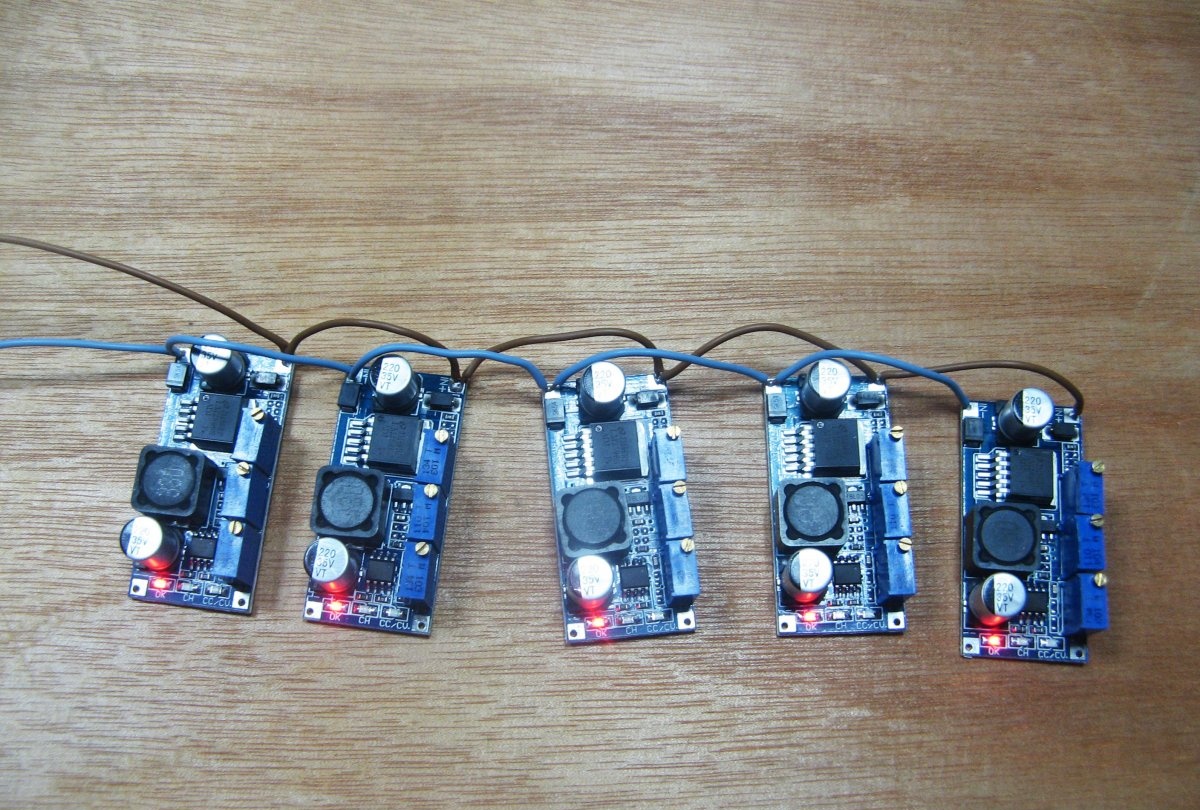
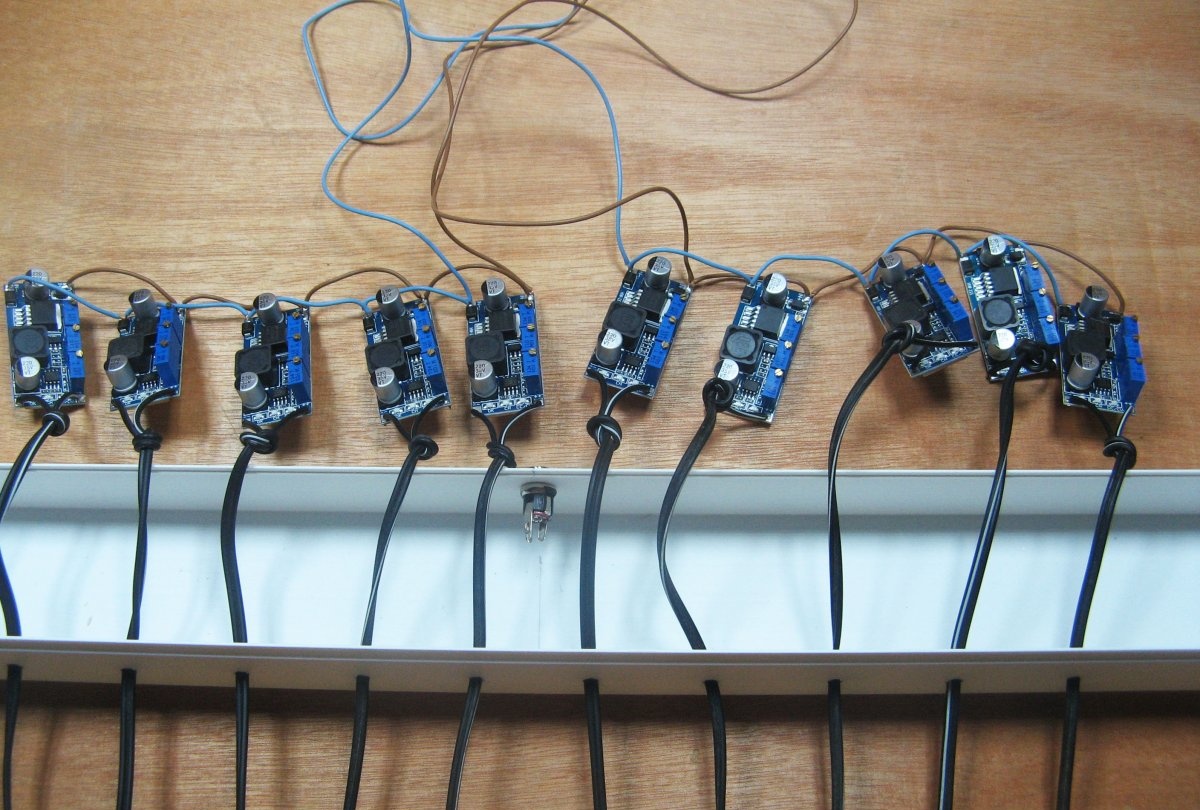
- The basis of our charge are (#l). They have resistors to adjust voltage and current. There is also a resistor for setting the indication of the end of charge.

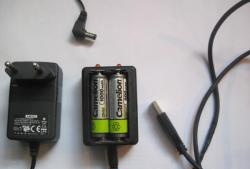
- You also need a connector to connect an external power supply. At the time of assembly. Its type has not yet been determined.


Assembly assembly
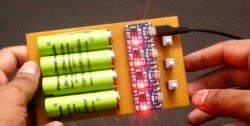
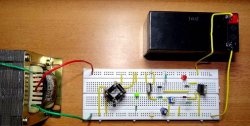
It is necessary to connect all the boards together. I applied a soft wire. We connect all the pluses among themselves, we also connect all the minuses. Having soldered 5 boards, I checked them. They work.
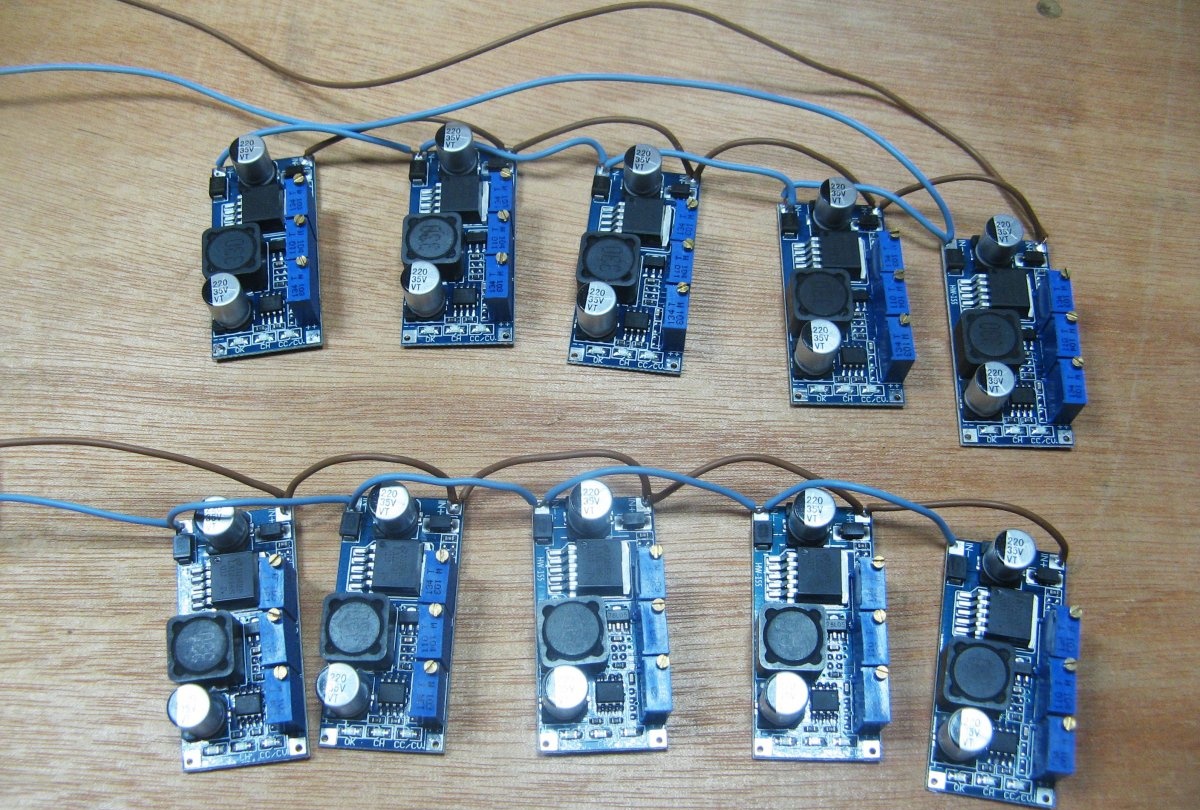
We connect all 10 boards in parallel to each other.
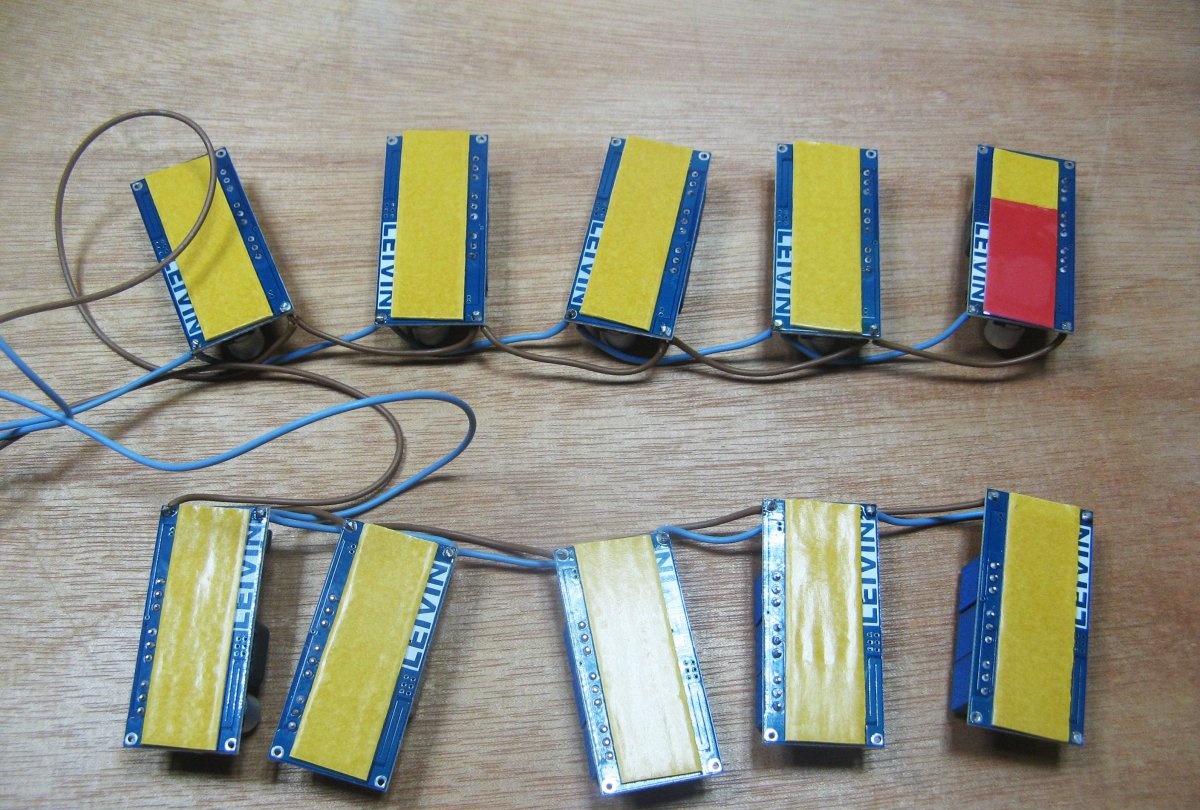
Glue double-sided tape. Its thickness is about 1 mm.
I cut these stubs out of plastic. They will be attached to super glue, there’s nothing military. Lean against the box and smeared with glue.
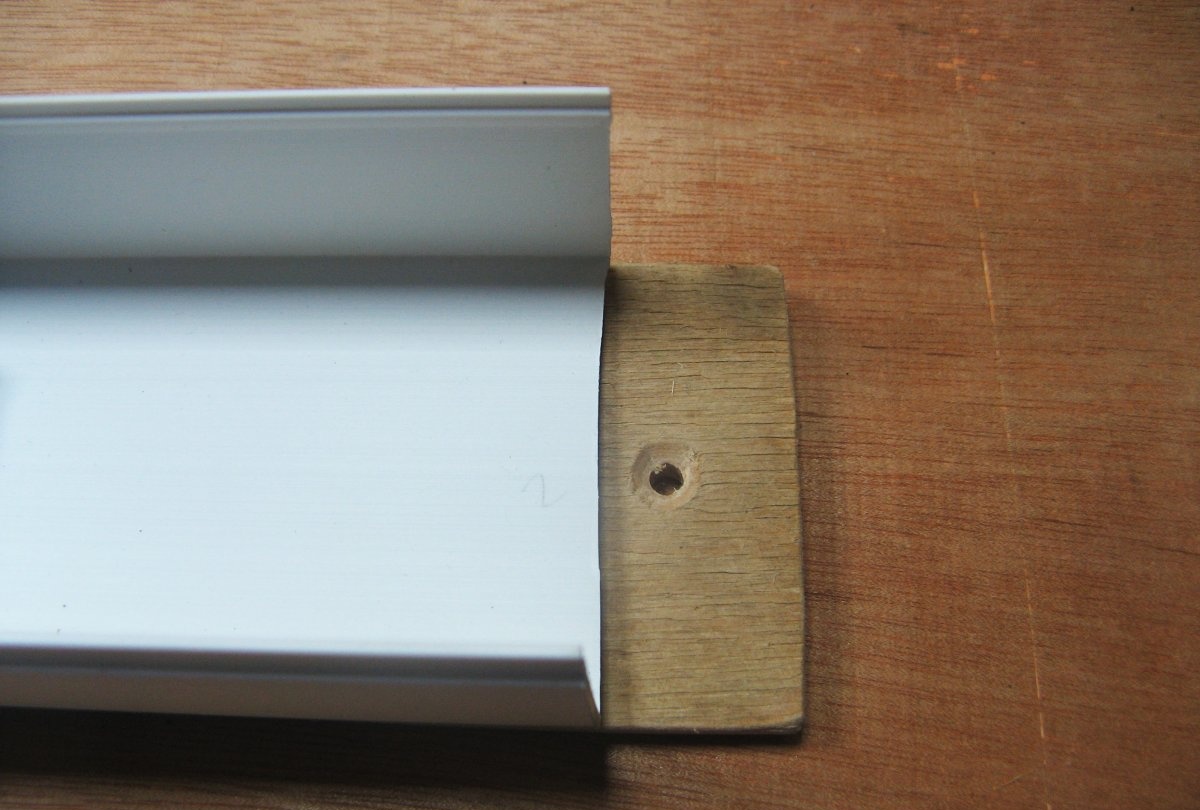
For reliability, I took a piece of plywood. I will fasten the box to it.
I made holes in the plywood, on the sides, to fix the device to the wall.
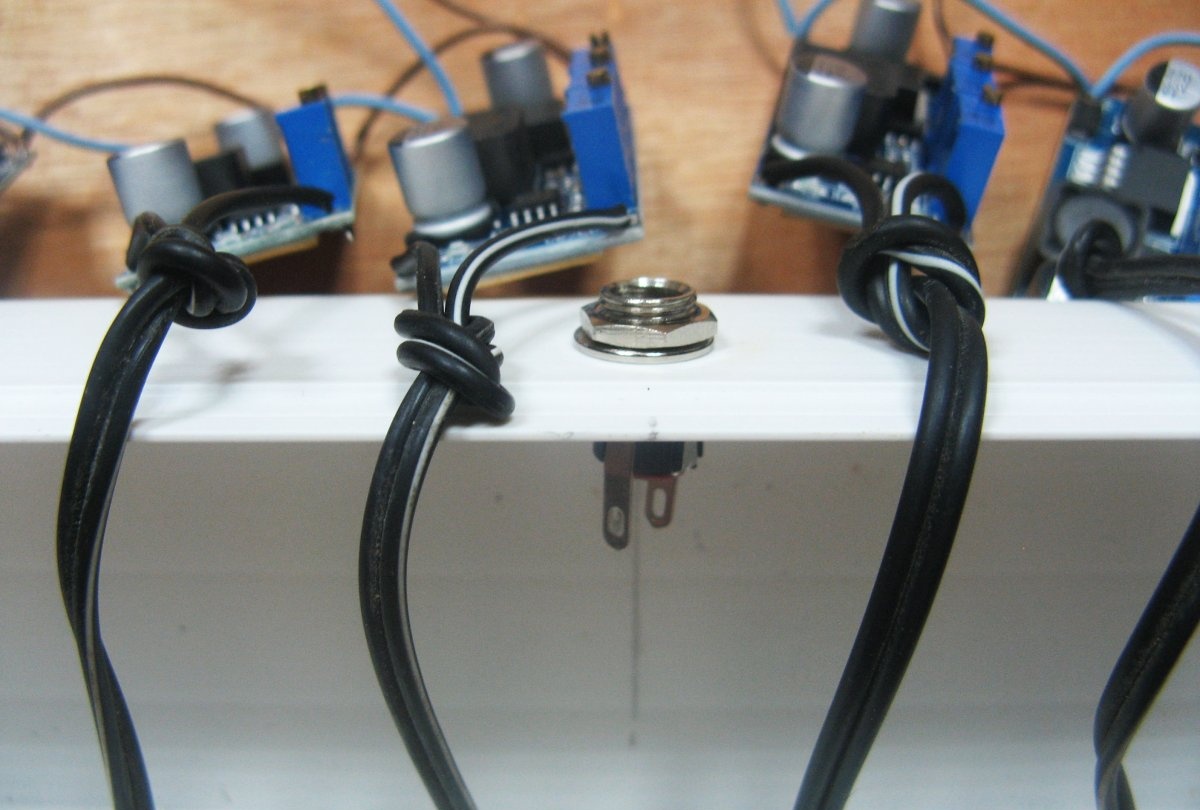
I make holes for wires in the side of the box.

Through the holes in the box, I turn on the wires, tying knots on the wires. I solder the wires to the boards, respectively polarity. In the center is plus, the outer cylinder is minus.
I installed a connector on the box. An external power source is connected through it. I connected 12.6 volts. You can do more, but this device can be connected in the car.
I solder the external connector.
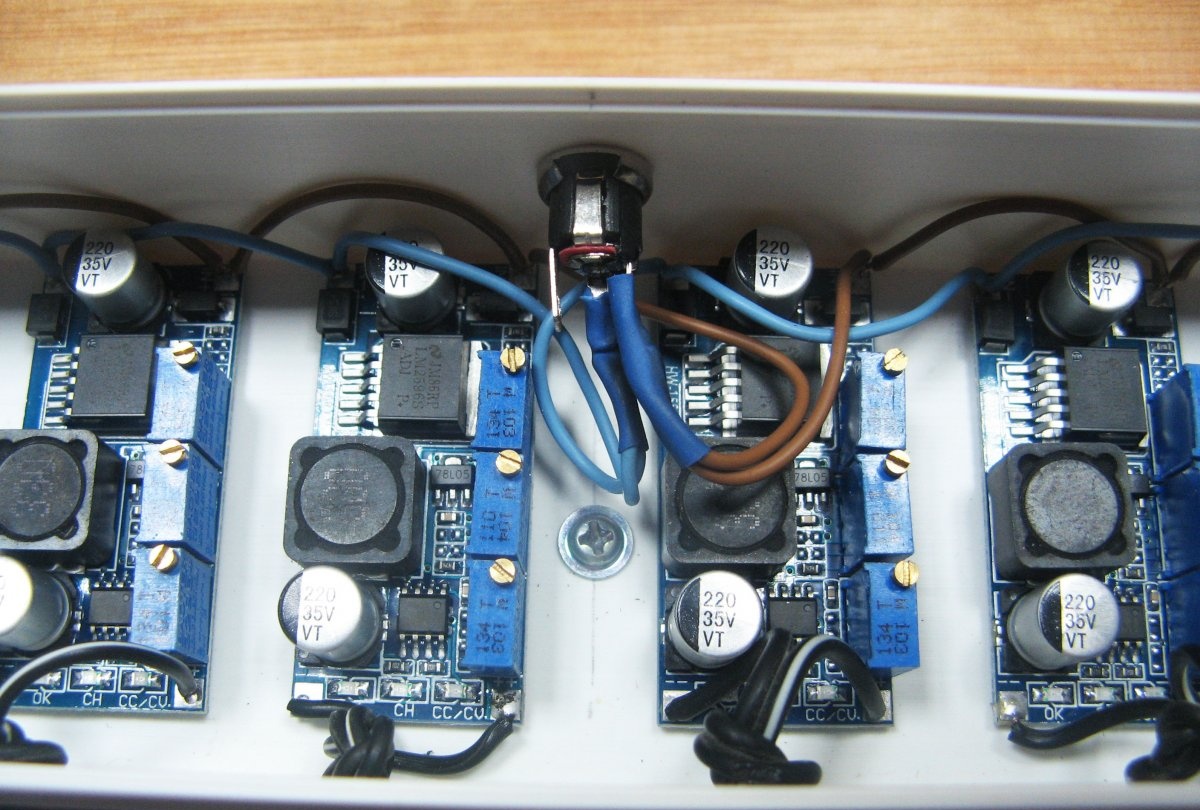
I almost forgot the main thing. Batteries in automatic machines at 6 volts. The boards are configured at 7.3 volts, with the resistor closest to the incoming connector. The current is set to 0.12 amperes. Resistor closest to the output connectors. I did not wind up the charge control indication, it was not necessary. I turn it on. Everything is working.
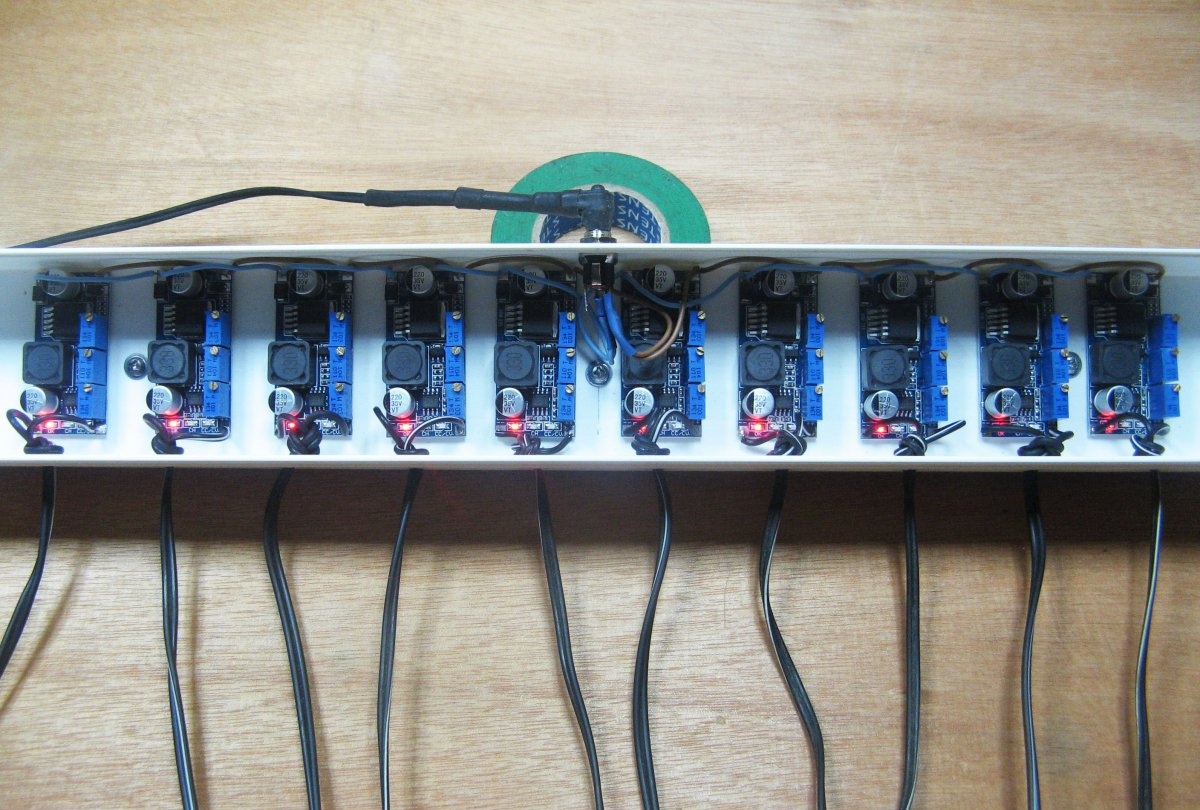
This is how the finished device looks. So far, I installed 10 boards. As necessary, you can add four more, a place for them is calculated. Close the lid.
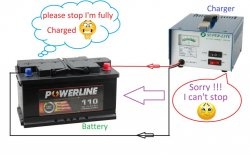
Such a simple charger turned out. People were satisfied with the result. This device can charge any batteries. The main thing is to configure the necessary parameters.