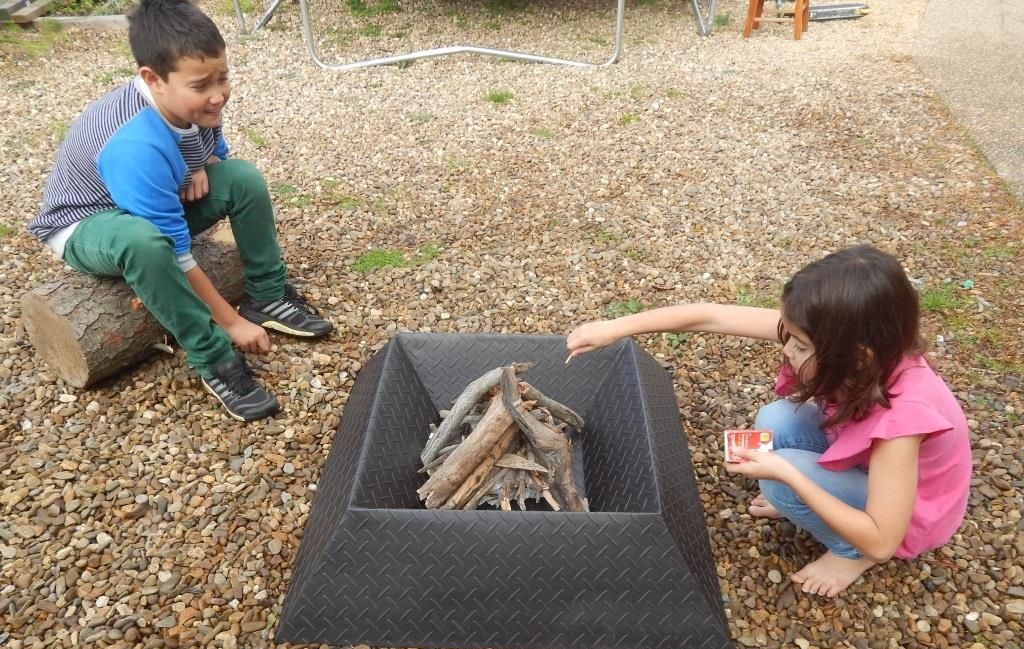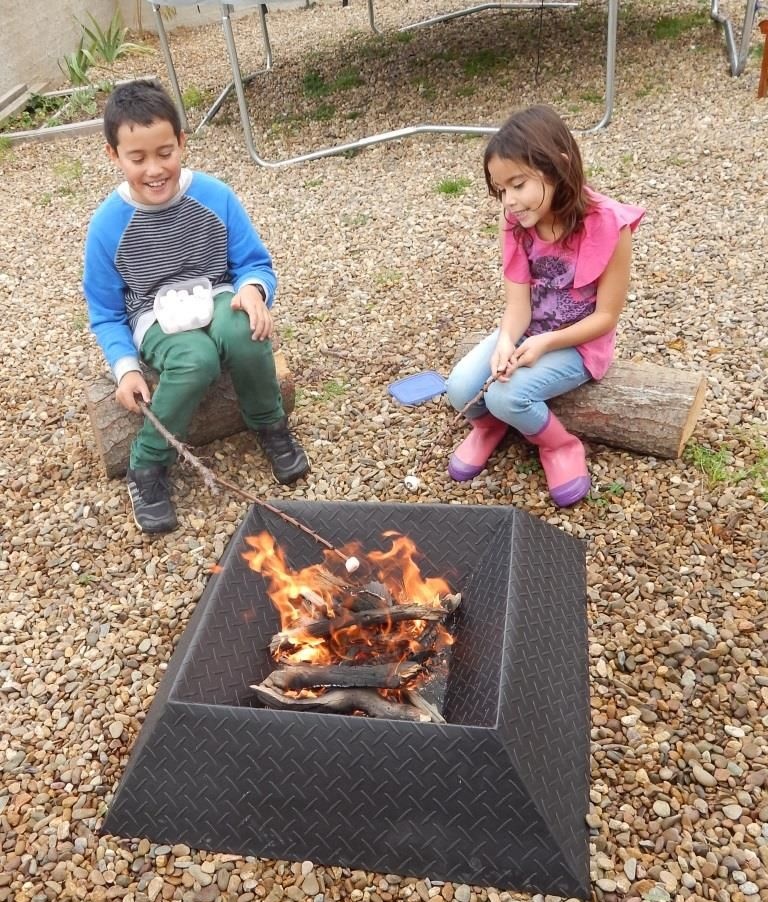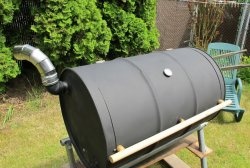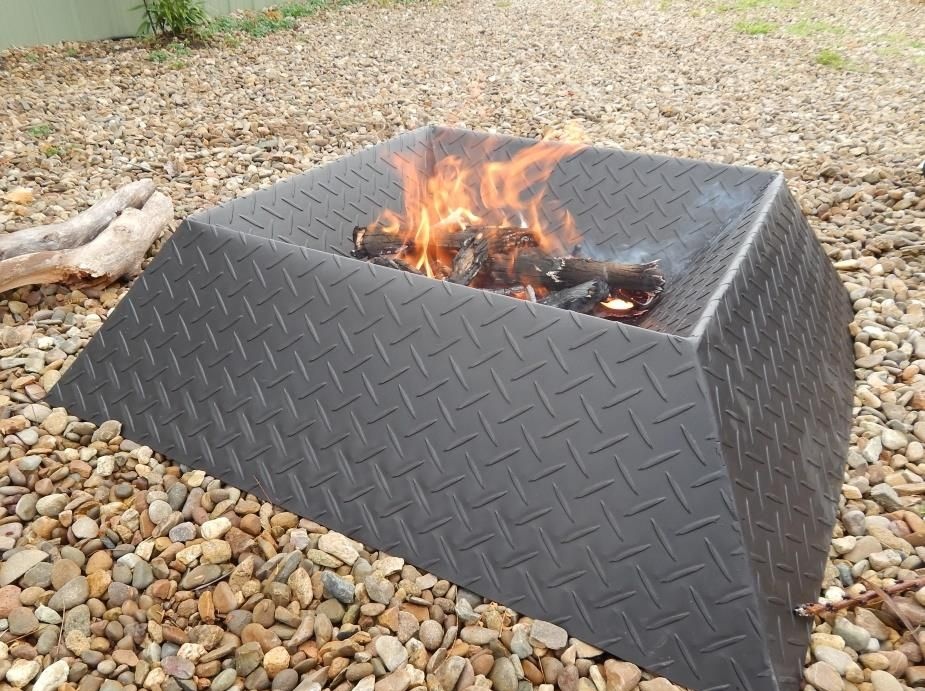
When a bonfire is lit, a burnt place remains on the site, on which grass does not grow for a long time. To avoid this, you can make a bonfire bowl of sheet metal. It will also be useful in outdoor recreation, as it will prevent the accidental burning of dry grass or leaves. It is convenient to extinguish the heat in a bowl by pouring it with water. You can lay a barbecue net on it and cook meat or fish.
Materials and tools:
- sheet of metal 120x120 cm 2.1 mm;
- fire resistant paint;
- Bulgarian;
- roulette;
- electric welding;
- hammer;
- anvil or rail;
- drill;
- bench clamps.

Bowl welding
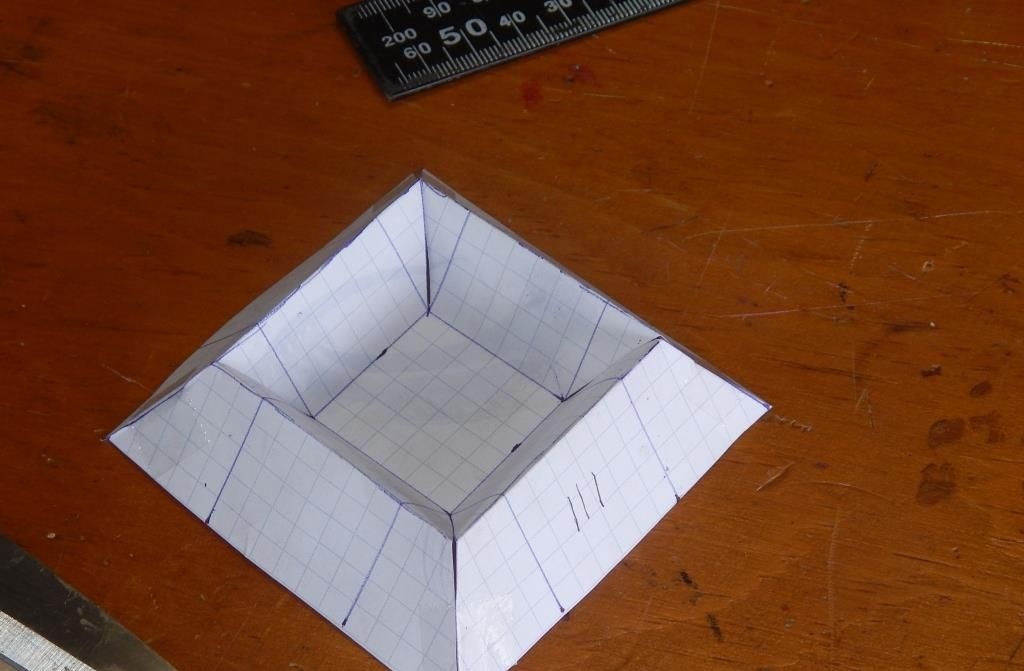
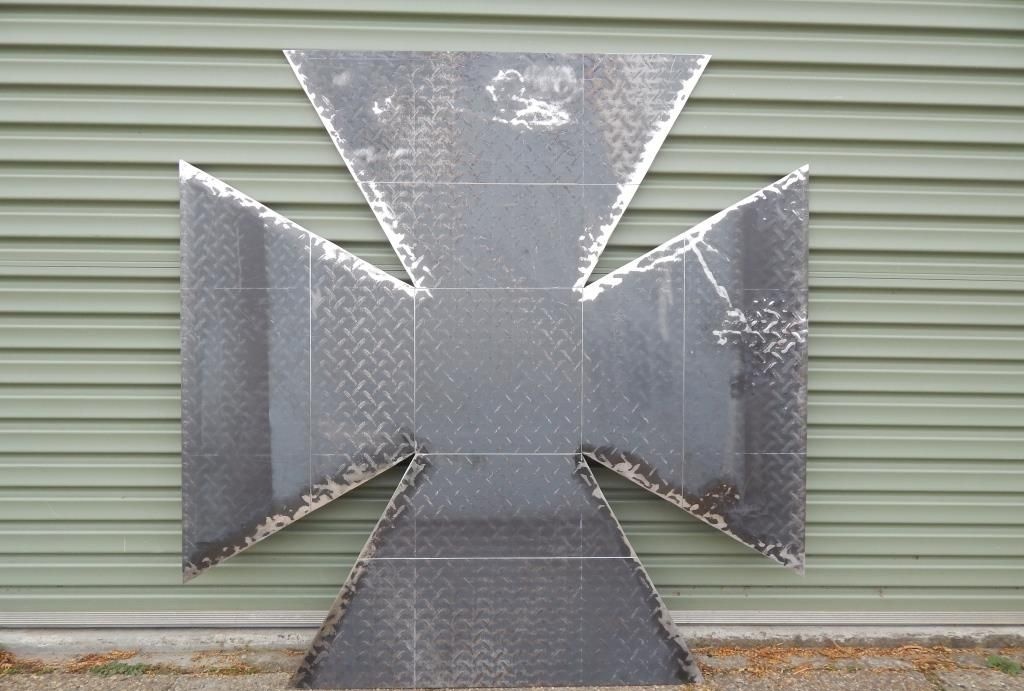
The bowl will be made from one sheet of metal. It will need to be cut and bent in places. On the blank 120x120 cm, you need to draw a kind of cross, as in the photo.
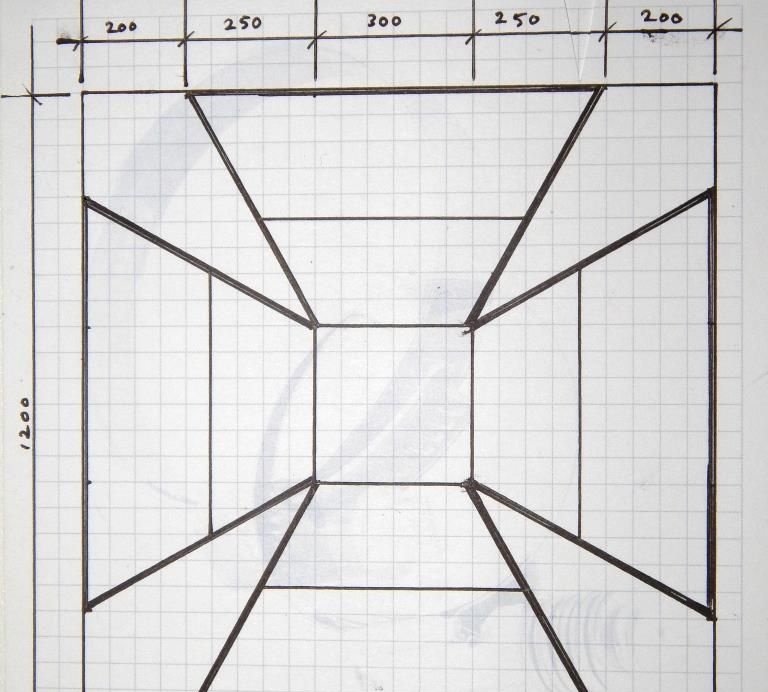
Bold lines in the drawing indicate sections, and thin places for bending. To understand the manufacturing process, you can first make a mini model of paper.
Transferring the drawing to a sheet of metal, 4 wedges must be cut using a grinder.
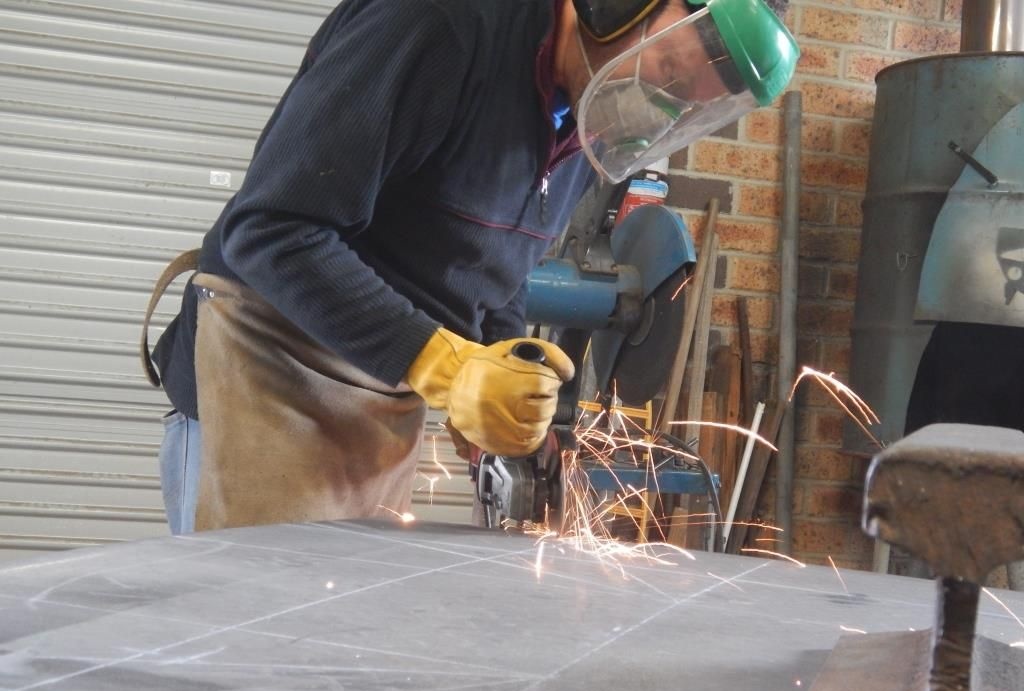
Along the fold lines, you will need to cut the sheet to half the thickness to facilitate folding the workpiece. Having installed the grinding disk on the angle grinder, it is necessary to correct the edges of the workpiece, preparing them before welding.

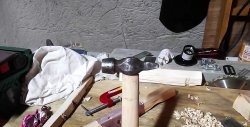
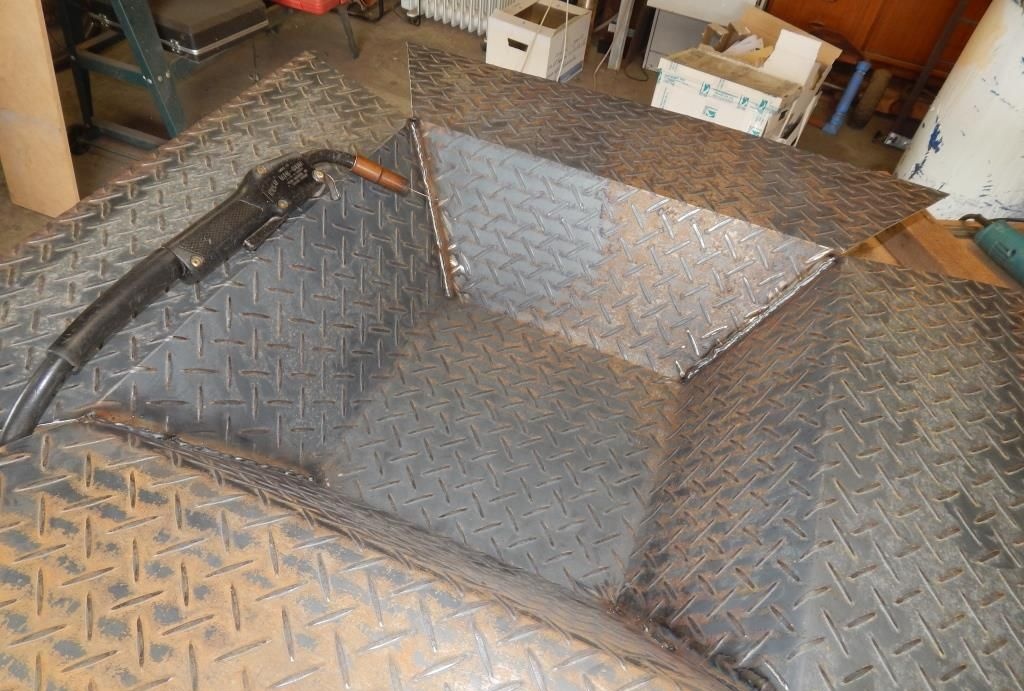
Next, the cross bends along the notches, as previously a model of paper. To do this, you can use bench clamps and a board, push it against the rail and hit with a hammer, or use other available devices.

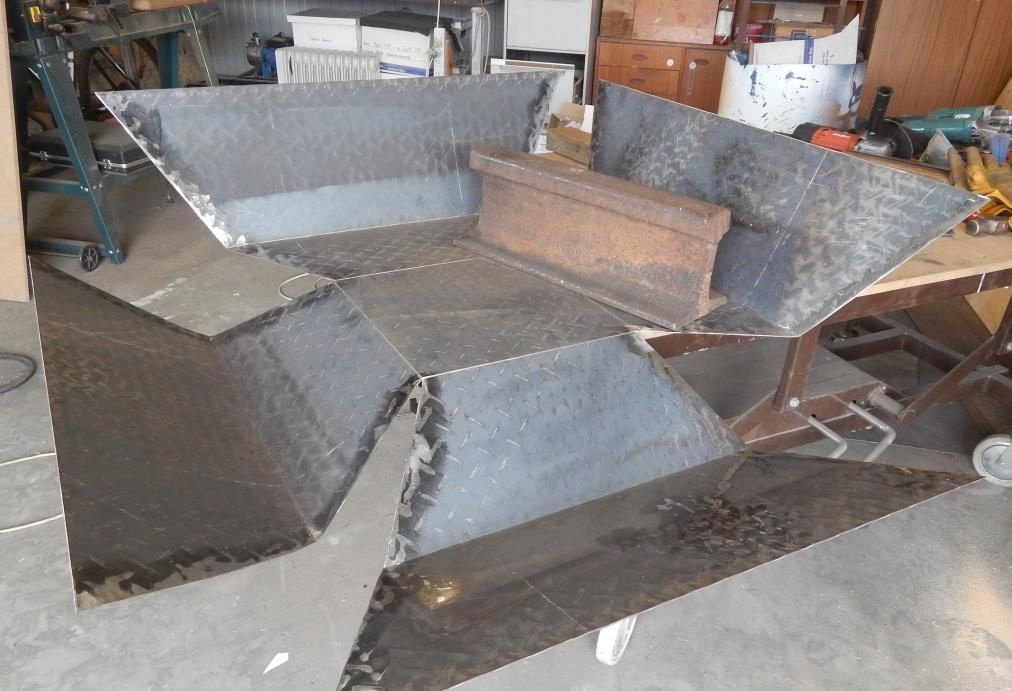
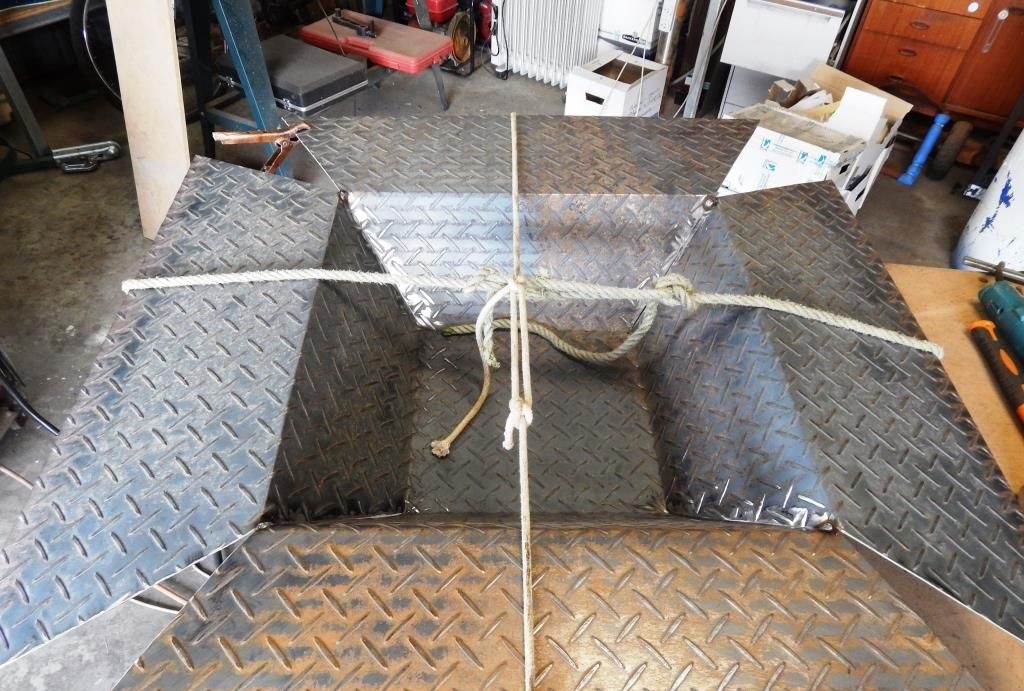
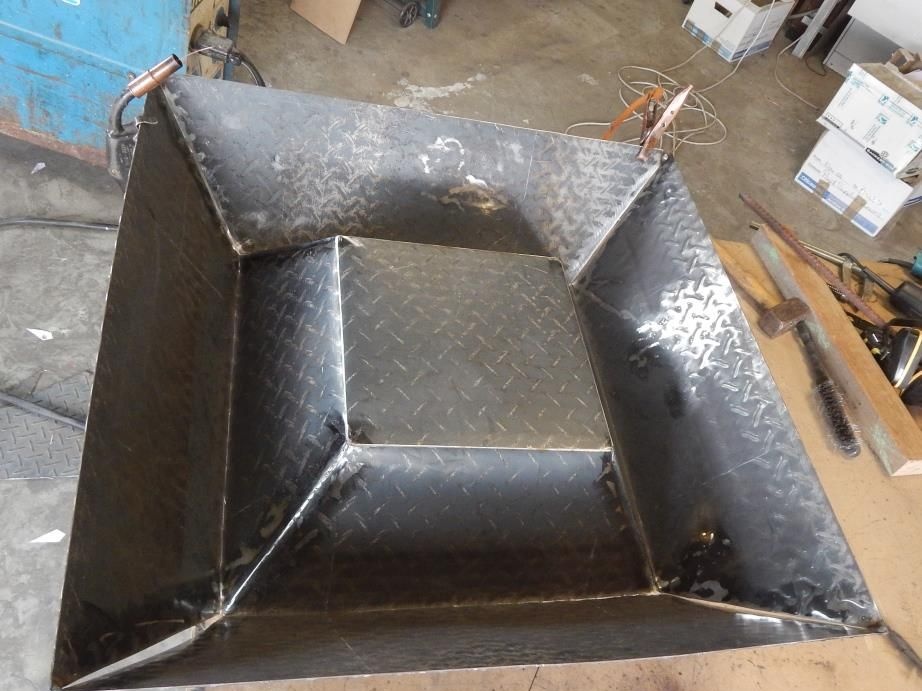
After bending the workpiece, you need to weld the inner corners of the bowl. Before that, they will need to be fixed. To do this, the bowl can be pulled together with ropes.
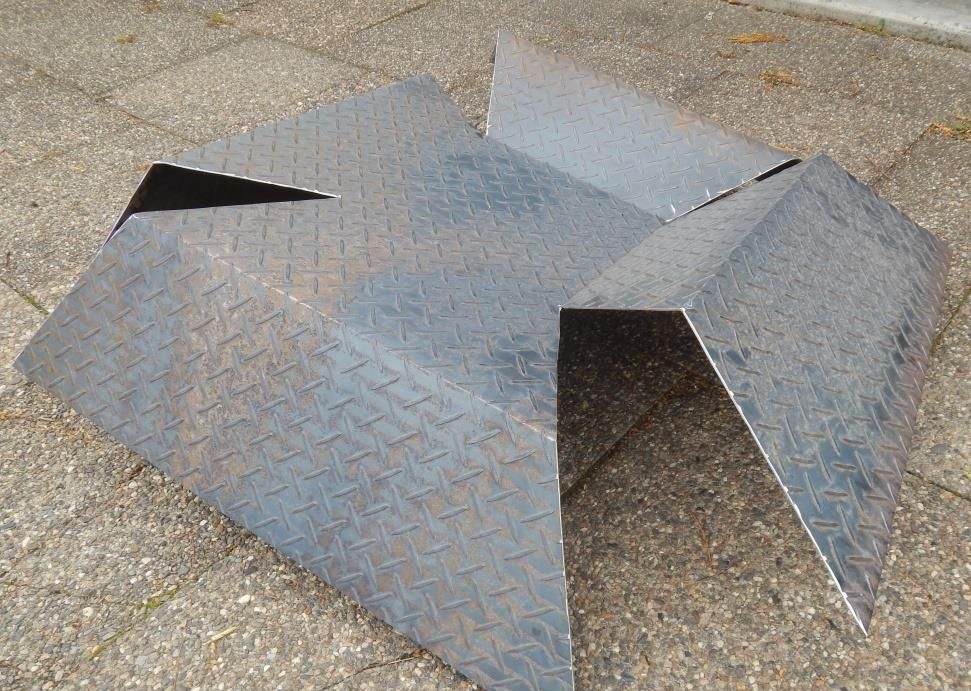
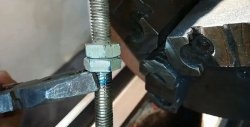
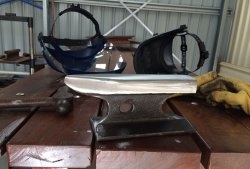
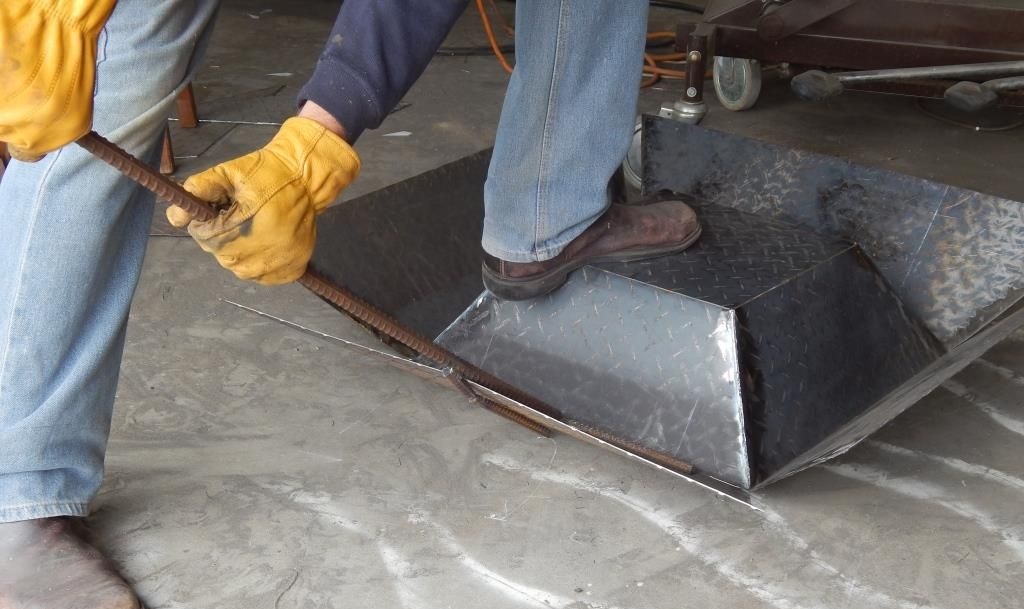
After fixing the internal corners, you need to bend the outer sides of the bowl to the end. A homemade instrument made of fittings will help well in this, as in the photo. With it, the sides of the workpiece can be reduced evenly.
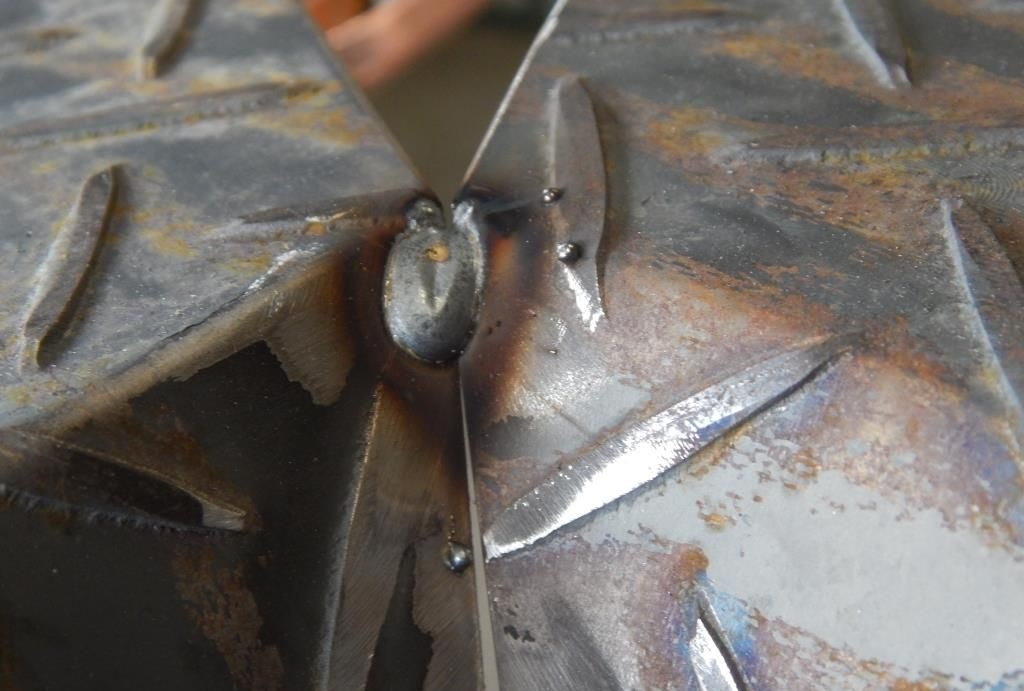

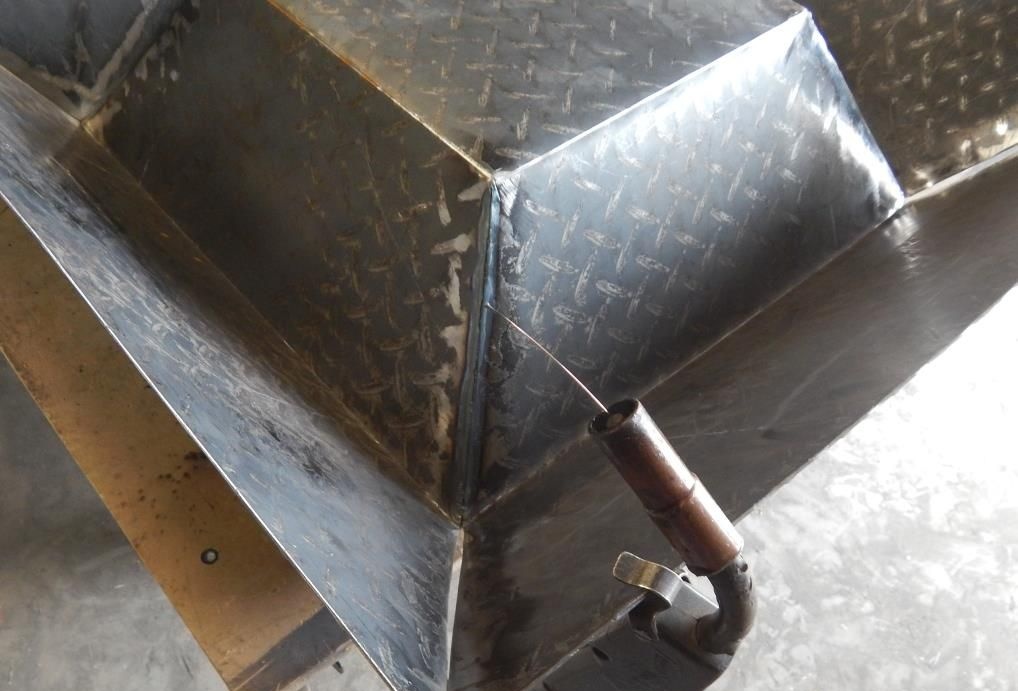
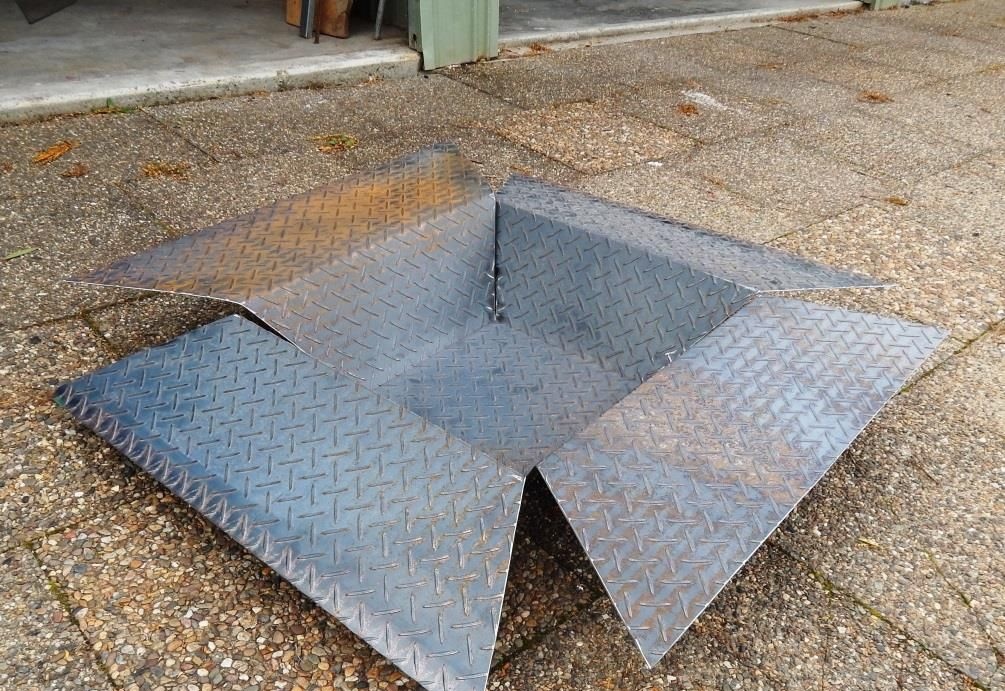
Next, you need to weld the remaining corners of the bent bowl. Since stress remains in the places where the metal is bent, you need to cook very carefully. At the end, the seam is sanded from scale.
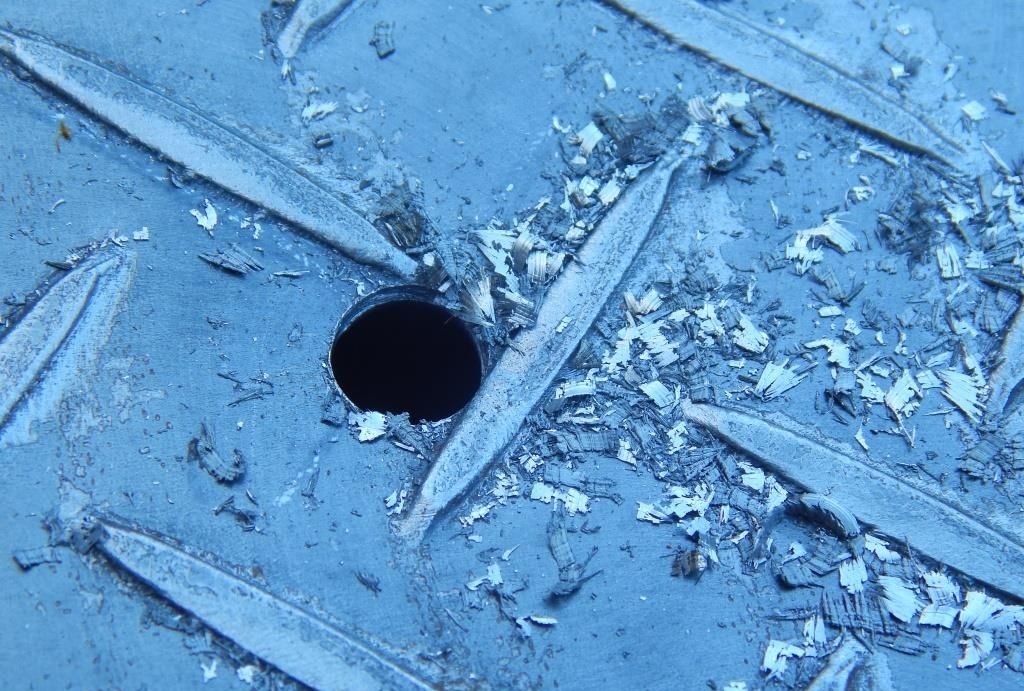
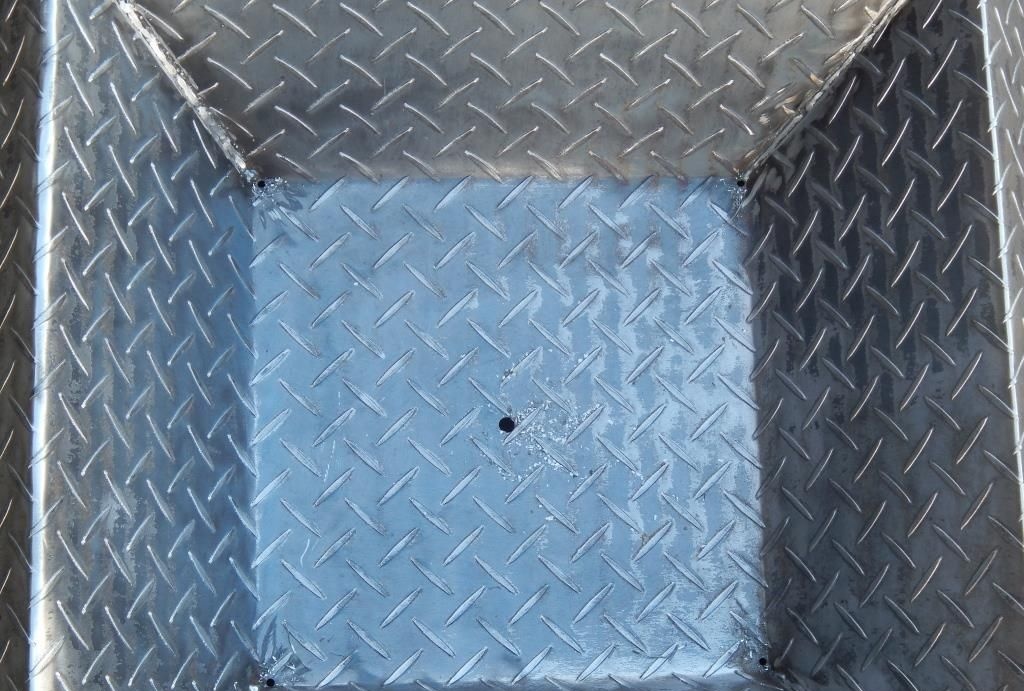
In order to allow water to escape from the bowl that enters it when extinguishing coal or in the rain, a couple of drainage holes should be drilled in the bottom.
For beauty, it does not hurt to paint the bowl with heat-resistant paint.
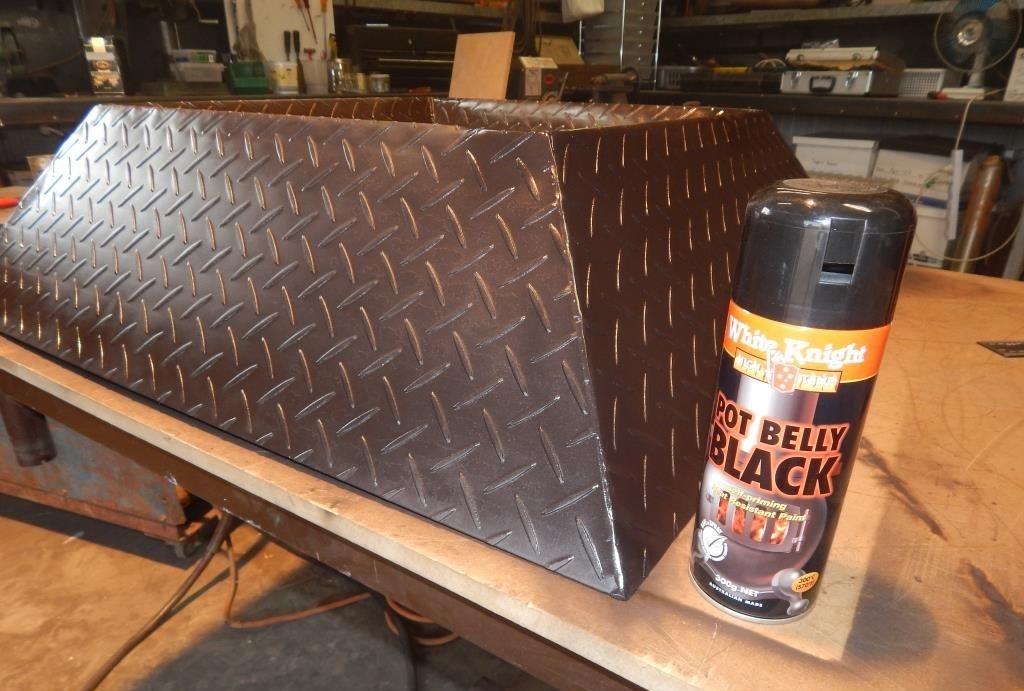
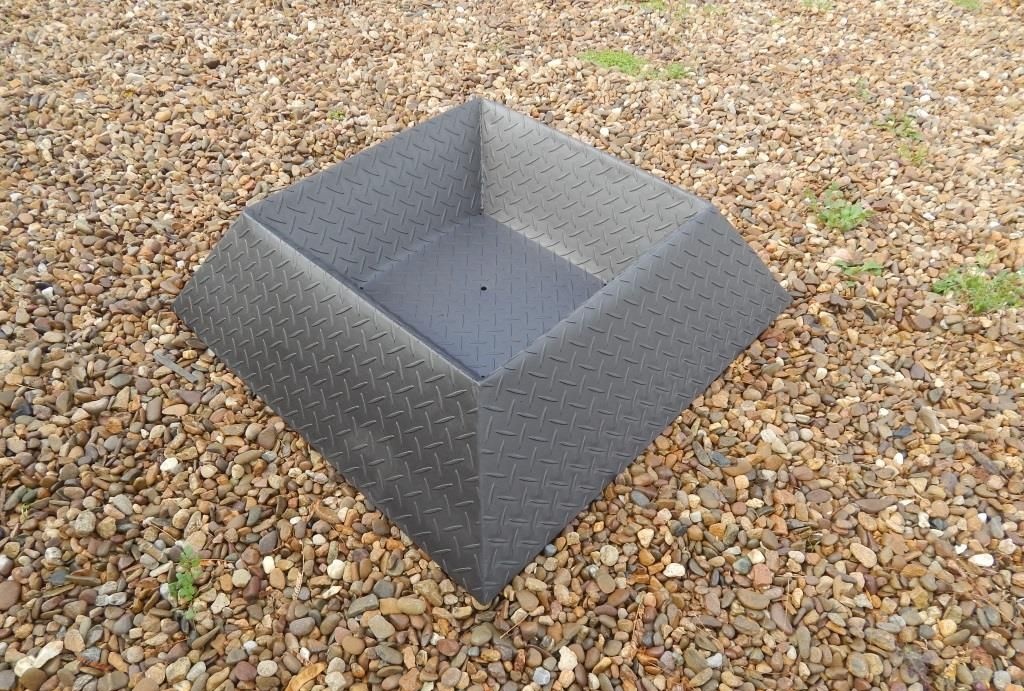
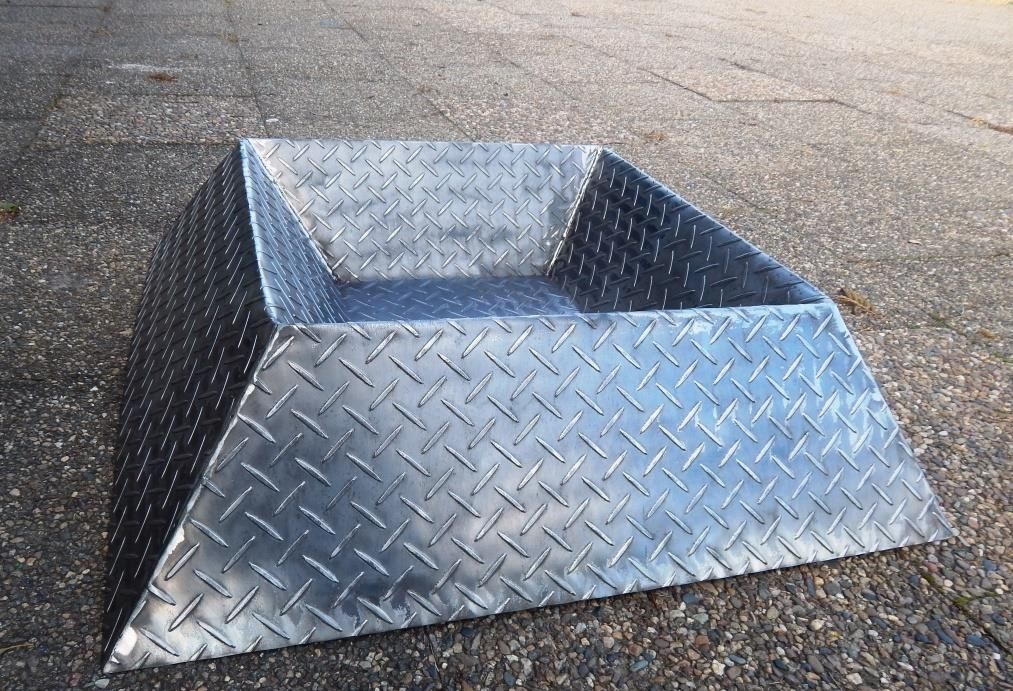
This homemade product is much more compact than the barbecue, and the bonfire in it looks more natural. Although the bowl is not light, it is quite lifting and can easily be transported to picnics. A lattice is well laid on it. Just hang the pot over the bowl. You can simply cook foil-wrapped products in its coals. The shape of the bowl allows you to quickly accumulate heat, and thanks to the slopes of the walls, all firewood burns to ashes.