The head of an ax begins to stick weakly to the ax over time, mainly due to its drying out and reduction in volume. Driving extra wedges is not enough. It is necessary to disassemble the ax and reassemble it, having previously removed the old wedges.

Then, using a file on a tree, we slightly extend the seat on the handle. We push the head all the way. We make a new wedge of wood of the required size and hammer it into the old slot at the end of the ax. We install metal wedges. The fit of the mating parts is again restored to its original strength. Consider the process in more detail.
Removing old wedges
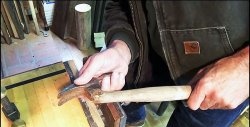
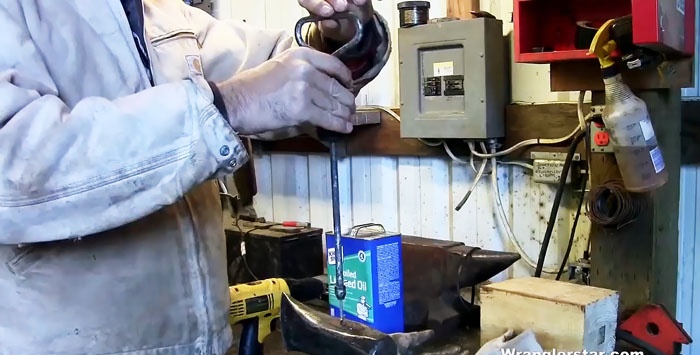
Clamp the ax in a vice.
And try using a punch and a hammer to move a metal wedge from its place.
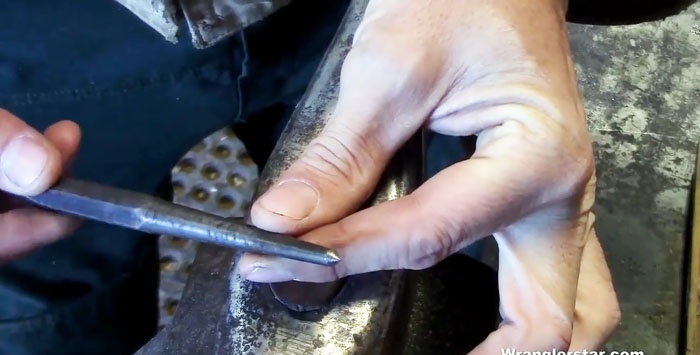
Alternately striking it from two sides in the longitudinal direction, holding the tool at an angle to the edge of the ax.

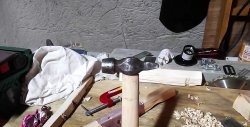
As soon as the wedge moves, you can use a fairly simple tool in the form of a metal rod with a diameter of about 10 mm, which is bent from above into a closed handle. Directly below it, the rod is firmly gripped by a metal ring-stop.
On the other side of the rod, an elongated nut is screwed onto the thread, the threaded hole in which at some depth passes into a smooth through hole of a smaller diameter. A screw is inserted into the nut from above, the head of which lies on the annular ledge at the place where the threaded hole passes into the hole without thread.
When screwing the nut, the screw head abuts against the end of the rod and is firmly fixed there. Between the thrust ring and the nut, a massive load with a central through hole freely moves along the shaft.
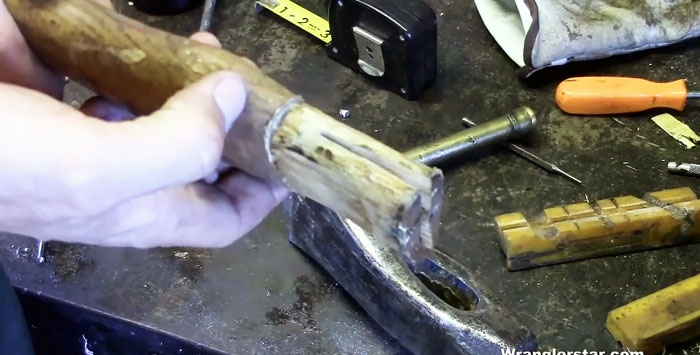
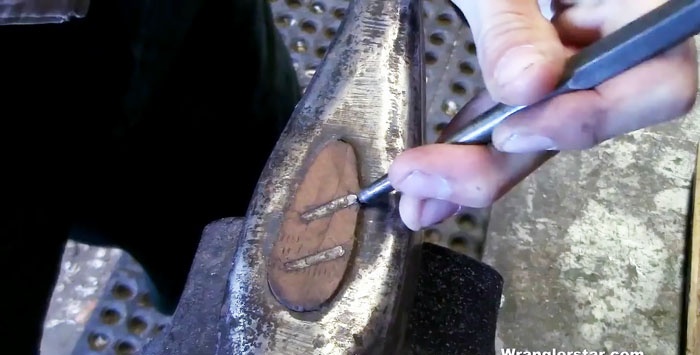
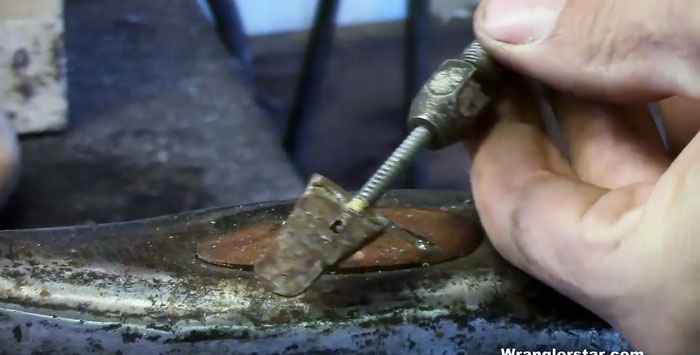
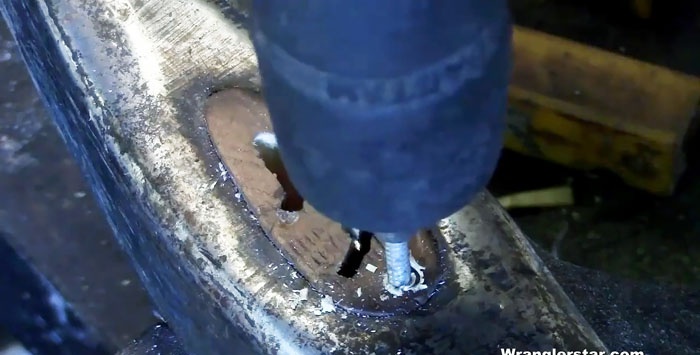
To use this tool, it is necessary to make a hole with a depth of 12-15 mm in the wedge, using a punch and a drill with a drill.
Next, in the drilling made in the wedge, insert the screw of the above-described tool and screw it until it starts to turn.
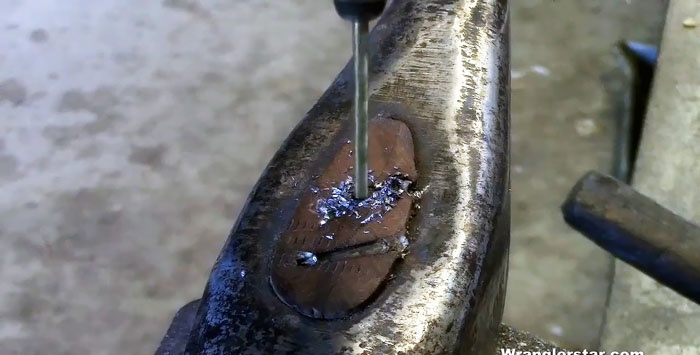
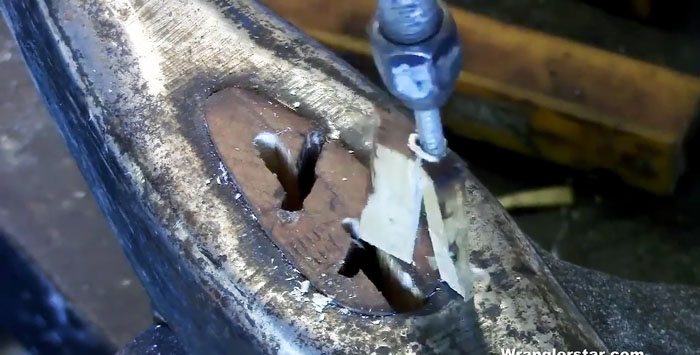
Then, holding the tool with one hand by the handle, with the other several times we accelerate the load from the nut and hit it in the upper stop ring until a metal wedge comes out of the ax with the screw. We do the same with the second wedge.
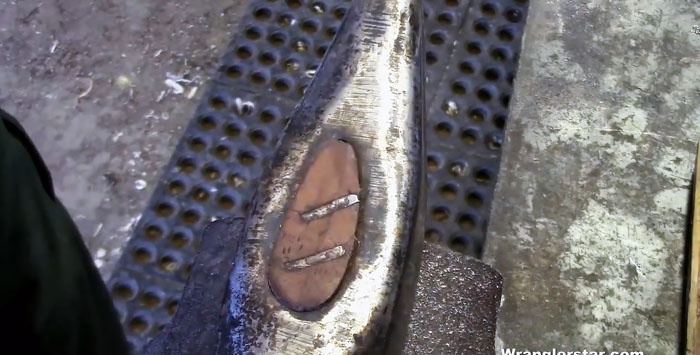
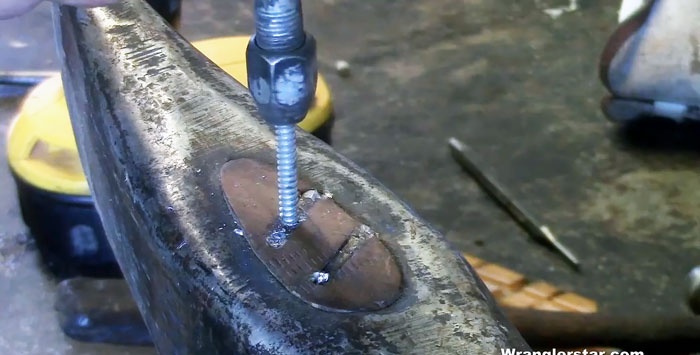
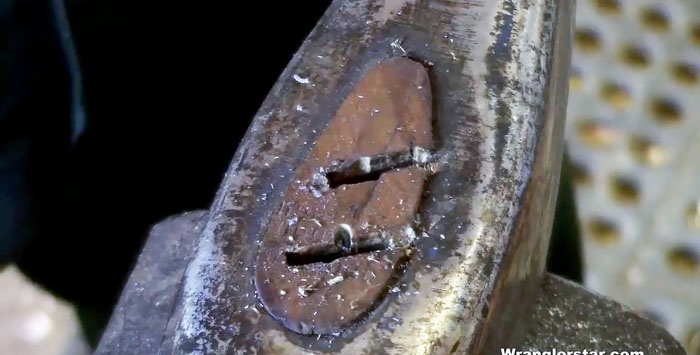
A wooden wedge, once driven by a whole, then was divided into three fragments by metal wedges. We take them out one by one with the help of our device.
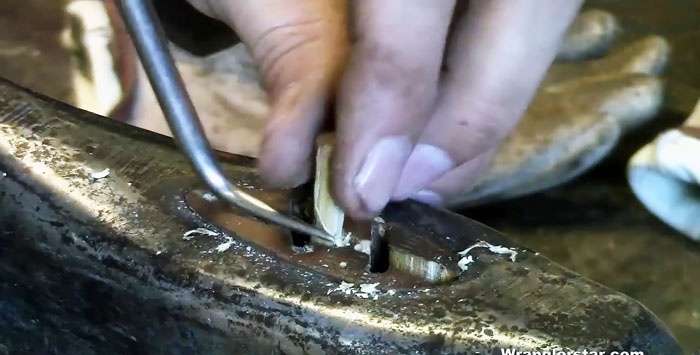
To do this, we put the screw with the tip in the center of the fragments and, alternating rotation and impacts with a load on the nut, screw the screw into the thickness of the parts of the wedge until it is firmly fixed.

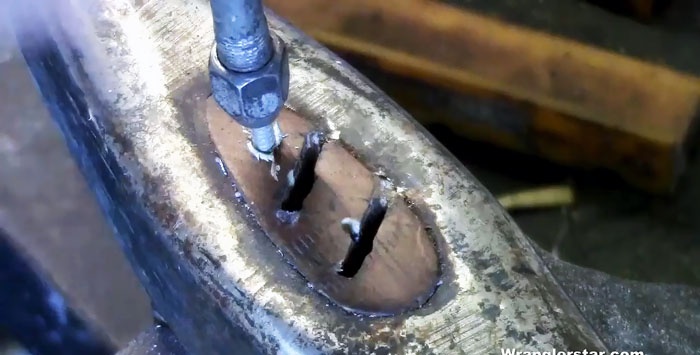
Then, striking the load in the emphasis ring, we pull out the fragments of the wooden wedge in turn. The central fragment and, possibly, the remains of the side parts can be removed using the pointed end of a small mount.
New nozzle
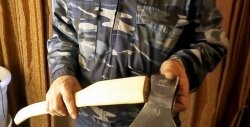
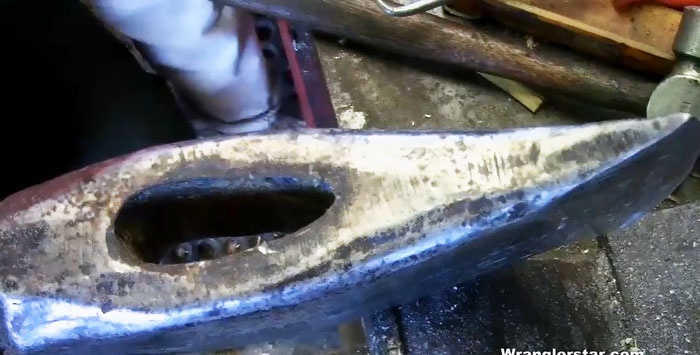
Using a tip and a hammer, knock the handle out of the hole in the ax head and visually evaluate the seat. It is possible to extend it a little (by about 10 mm) by processing the girdle on the ax with a file on a tree, aligning it with the existing footprint in profile. This solution will clearly strengthen the head mount on the ax.

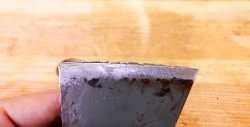
It remains only to put the head of the ax on an elongated seat, drive a new wedge into the slot at the end of the ax, hitting it with a hammer through a suitable wooden block until it finally sits in its place. The ax is ready for work again.