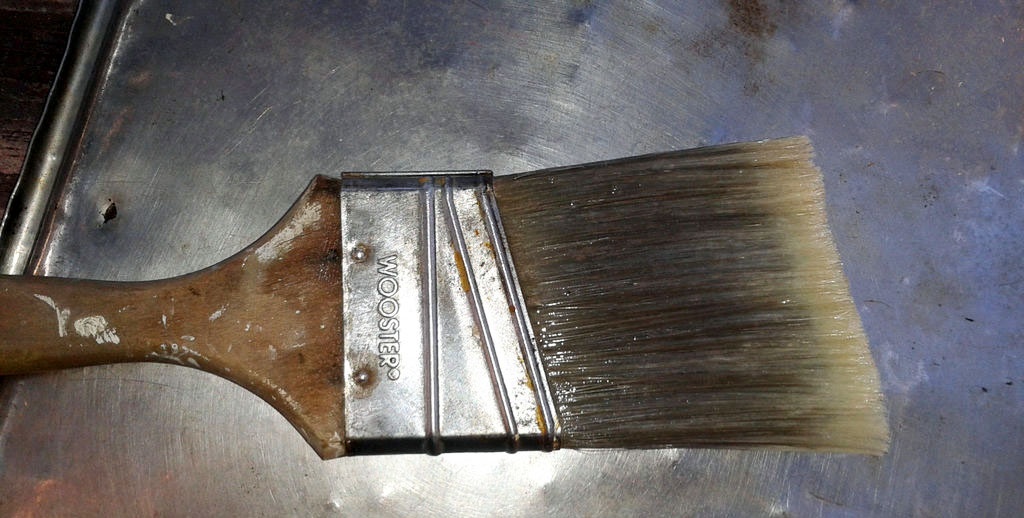
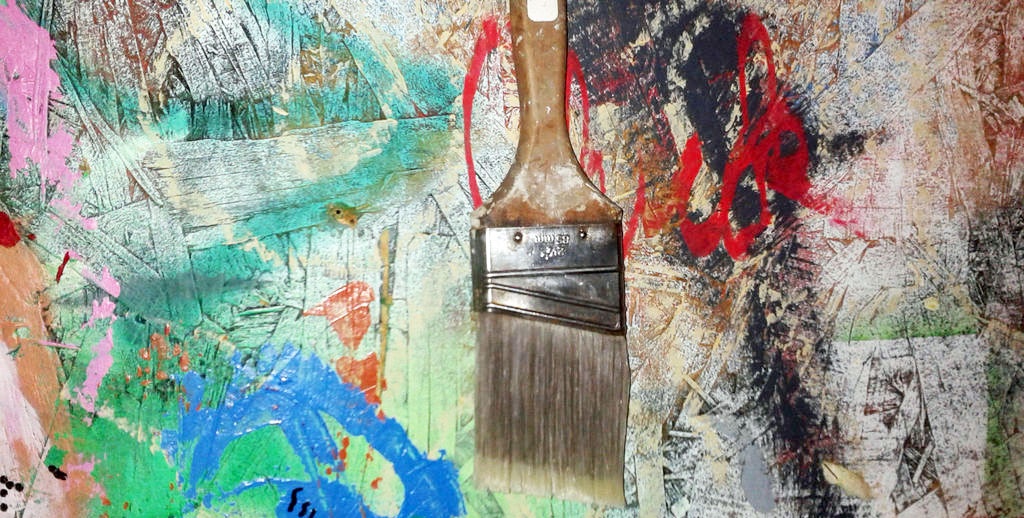
Removing dried paint
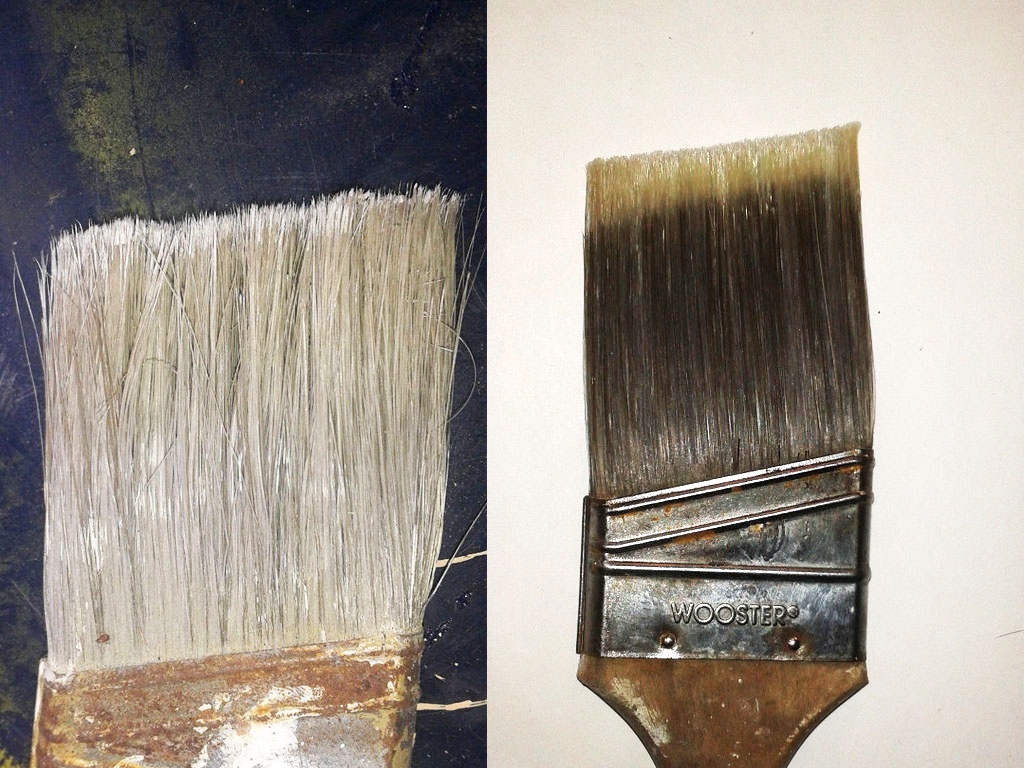
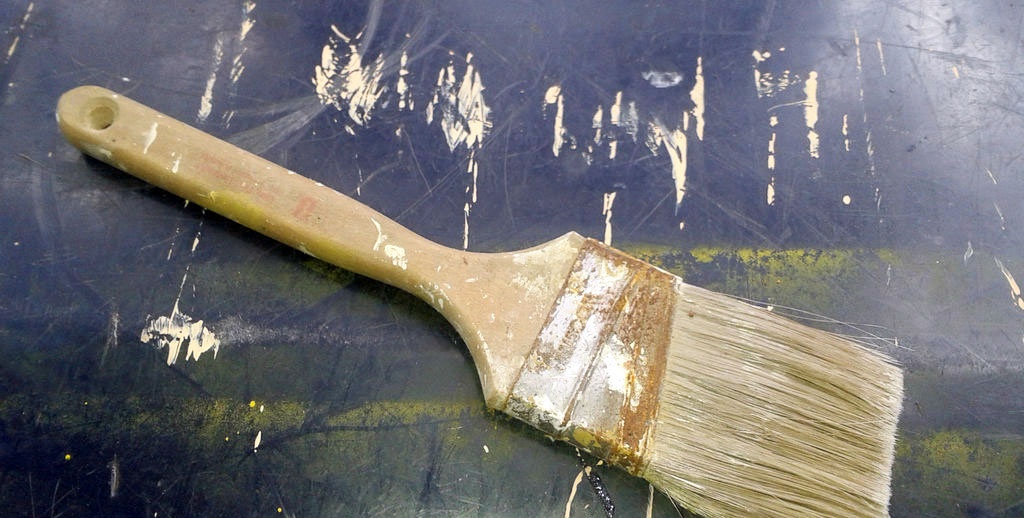
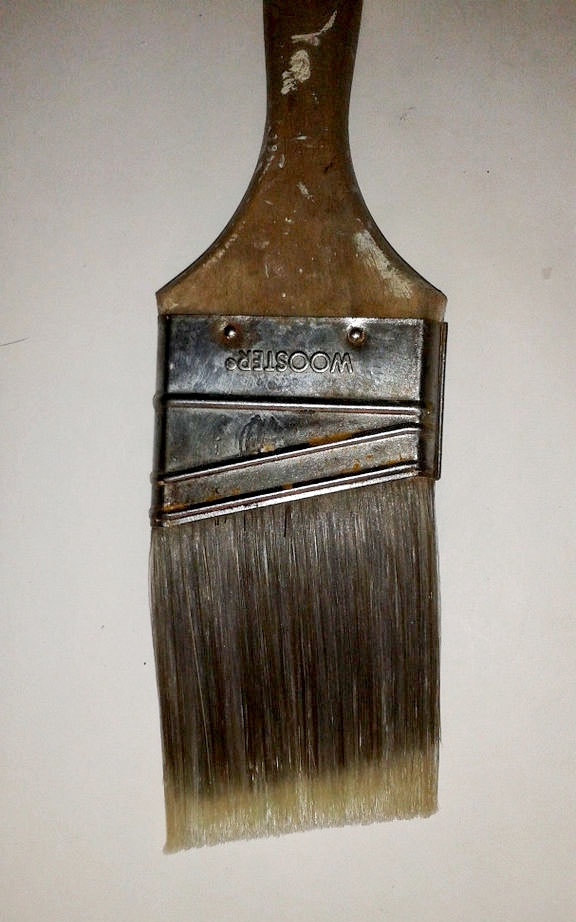
No matter how thoroughly we clean our brushes after each use, over time, dried paint accumulates inside the bristles, on the crimp base and on the handle. The bristles of the brush become stiff and the bun loses its shape. It becomes inconvenient to work with such a tool, and achieving high-quality painting with its help will not be so easy.
The first thing to do in this case is to try to loosen the dried paint by soaking the brush in water if it is adhesive or water-soluble paint. For oil paints you will need mineral solvents.
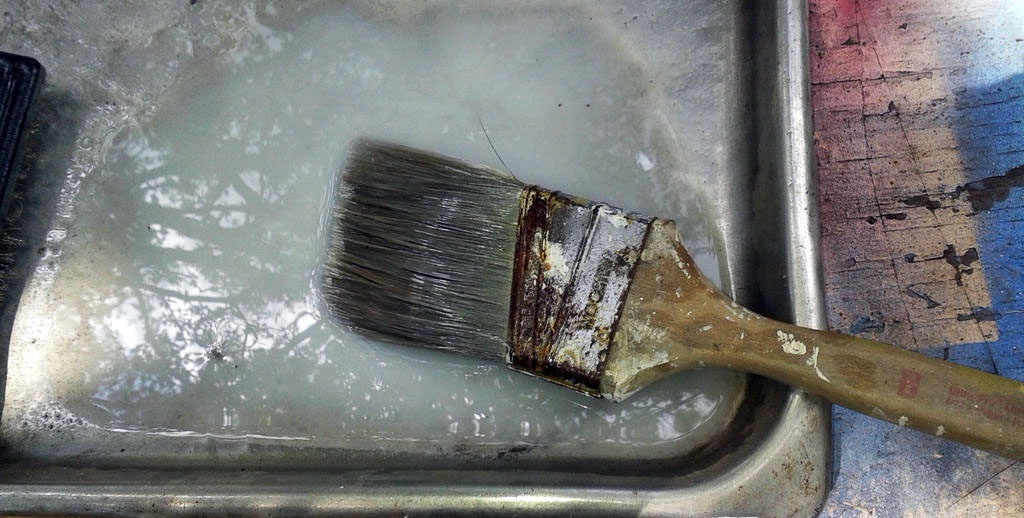
Moreover, it is not necessary to fill the entire bundle with this liquid. It is enough that only the lower end of the brush is in it. Soon (after 30-60 minutes) it will rise through the capillaries to the very top of the bristles.
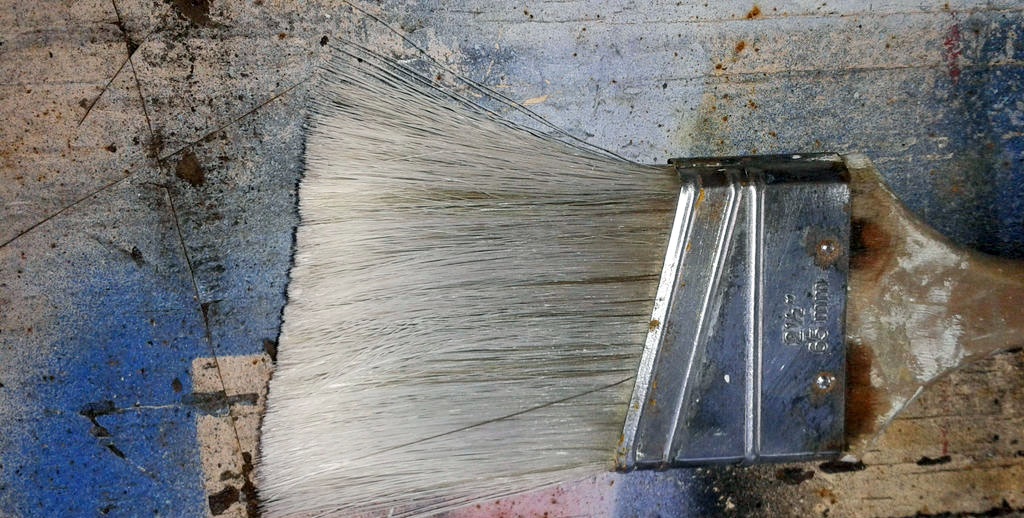
After the bundle is completely saturated with solvent, you need to use a spatula and a wire brush.
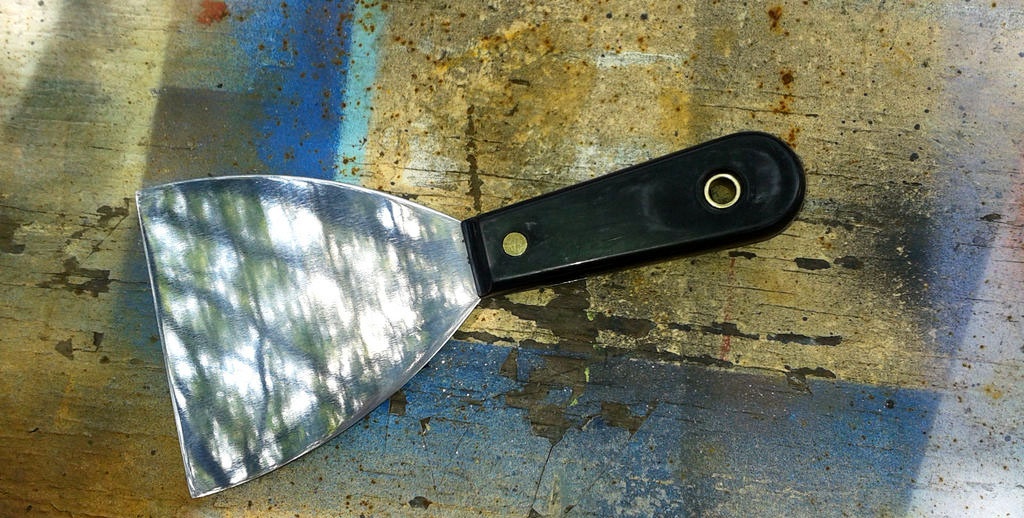
First, we place the spatula directly under the crimp base and, holding the brush by the handle, with the other hand we move the spatula down, pressing it against the brush.
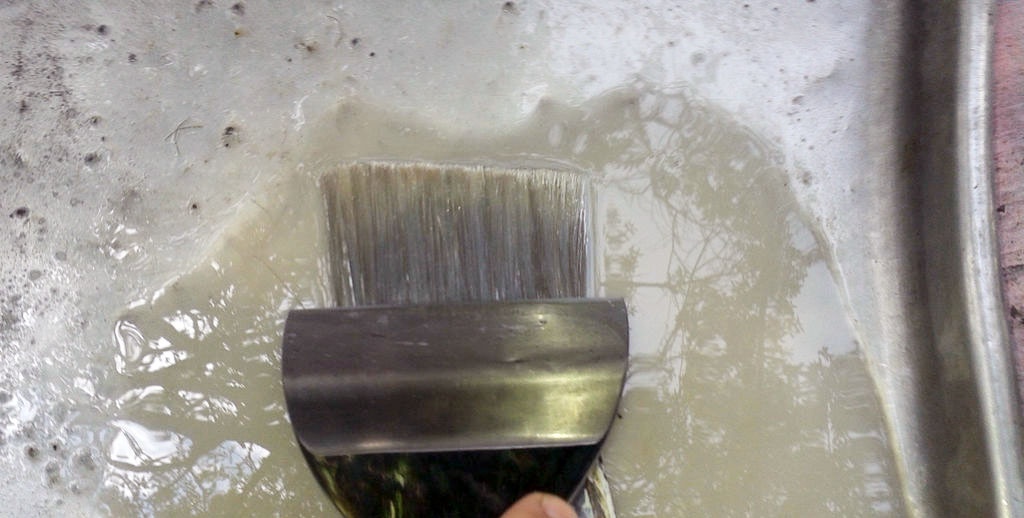
We perform this operation several times for one side and the other. Then we carefully “comb” the brush with a wire brush, also several times and on both sides.
When working with a spatula and a wire brush, it is necessary to move them only in the direction from the crimp base to the edge of the brush and in no case back. This will lead to mechanical damage to the bristles.
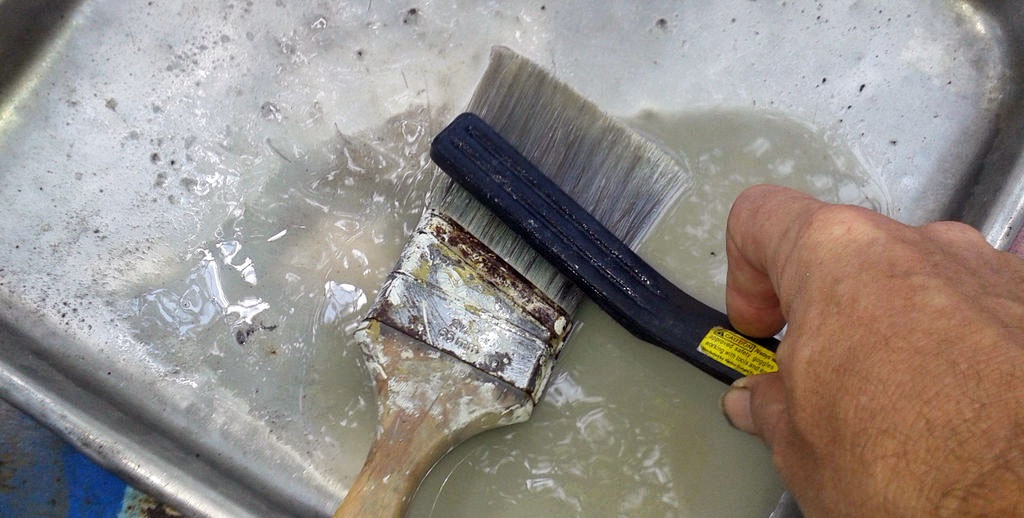
After these two operations, it does not hurt to rinse the brush in solvent poured into a shallow but wide bowl, pressing on the handle and holding it at an angle. At the same time, the bunch of bristles, bending first in one direction or the other, intensively gets rid of the remnants of the old dissolving paint.
Using a spatula and a wire brush, the paint can be easily removed at the base of the bristles, since they are tightly pressed together and are not deformed. Pressing these tools on the lower ends leads to their lengthening without removing the paint.
We rinse again.
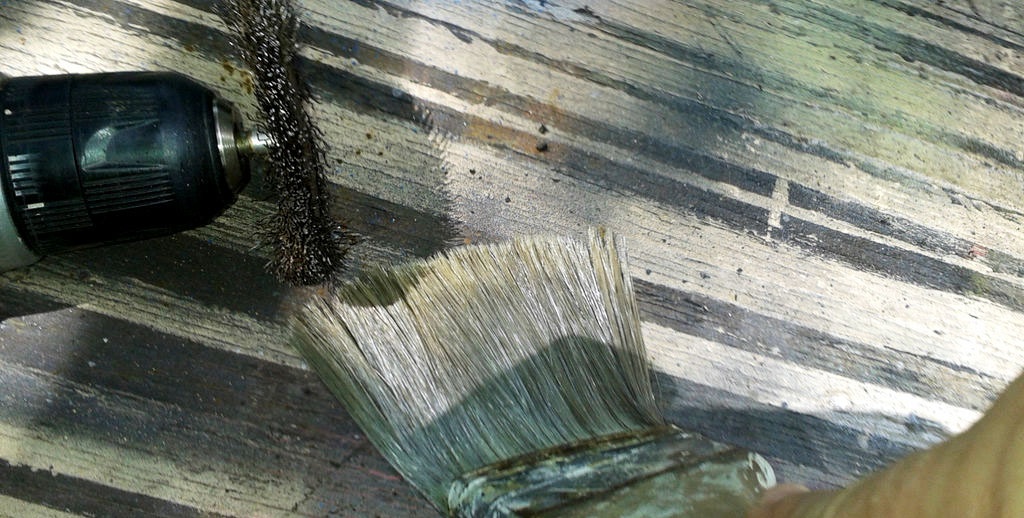
To remove paint from the tips of the bristles, it is better to use a wire disk with a diameter of 100 mm, mounted on the drill spindle. You need to move the nozzle along the painting tool from the base to the end, and its rotation should, as it were, stretch the bristles, but not compress them. The same wire disk can also remove paint from a metal crimp base.
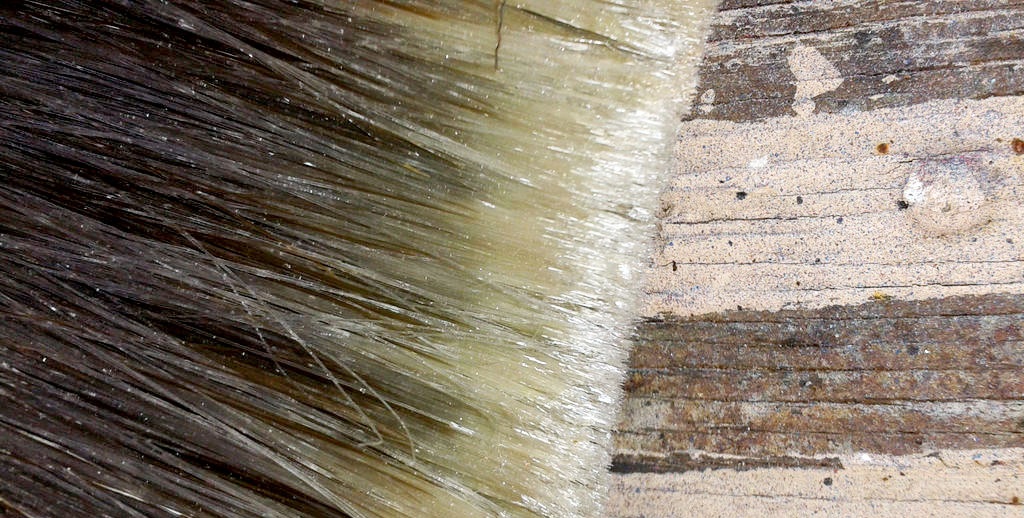
We finish the first stage of cleaning the old brush from paint by striking a bunch of bristles on the bark of an old tree while swinging the brush from right to left and from left to right. As a result, residual solvent is removed from the old painting tool, which will greatly help in the second stage of cleaning it.

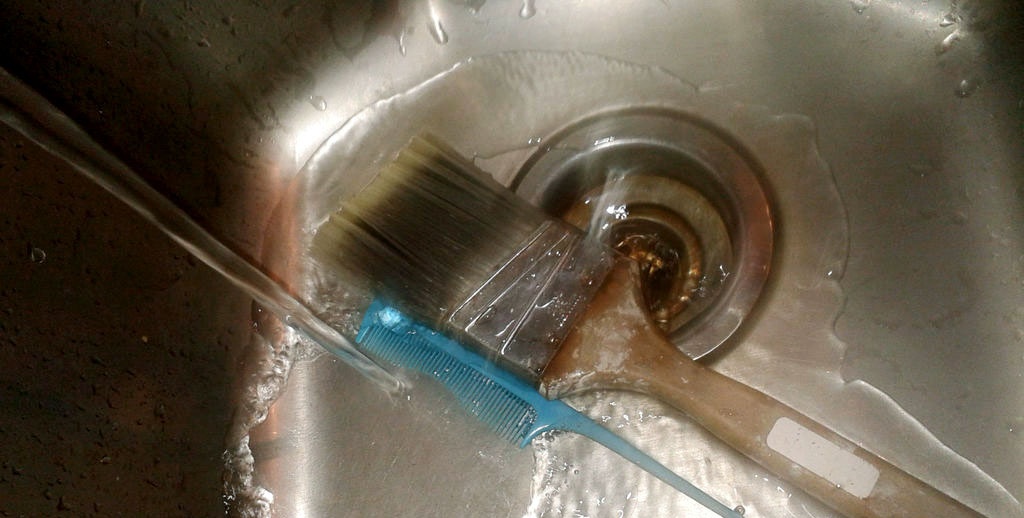
Washing the brush
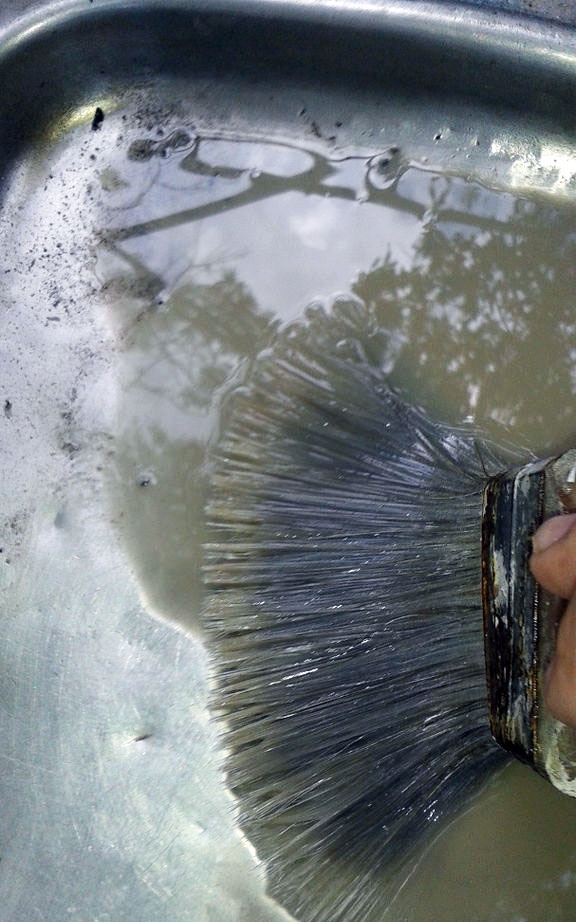
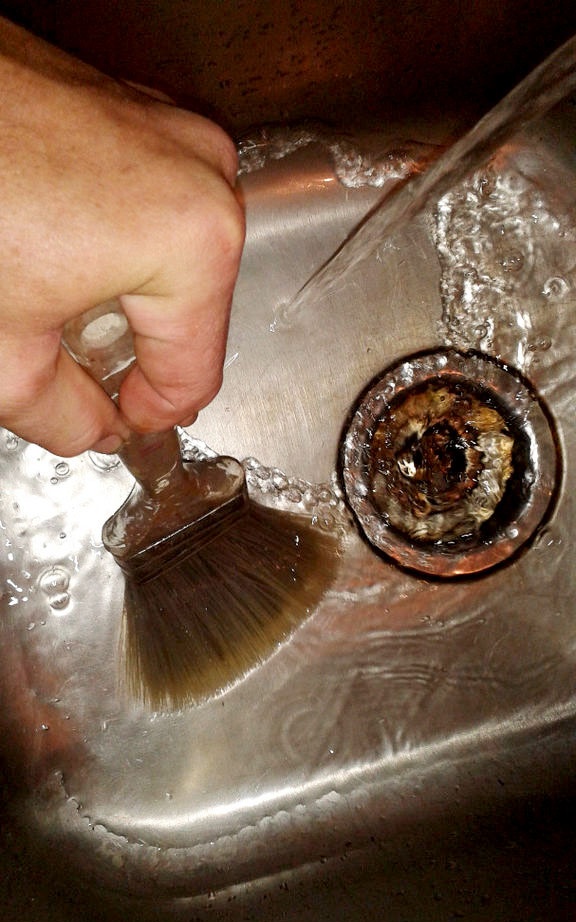
After the first stage of cleaning, there was practically no old paint left in it, but traces of it, as well as the solvent, were still preserved. Rinse the brush generously in the sink with warm water.
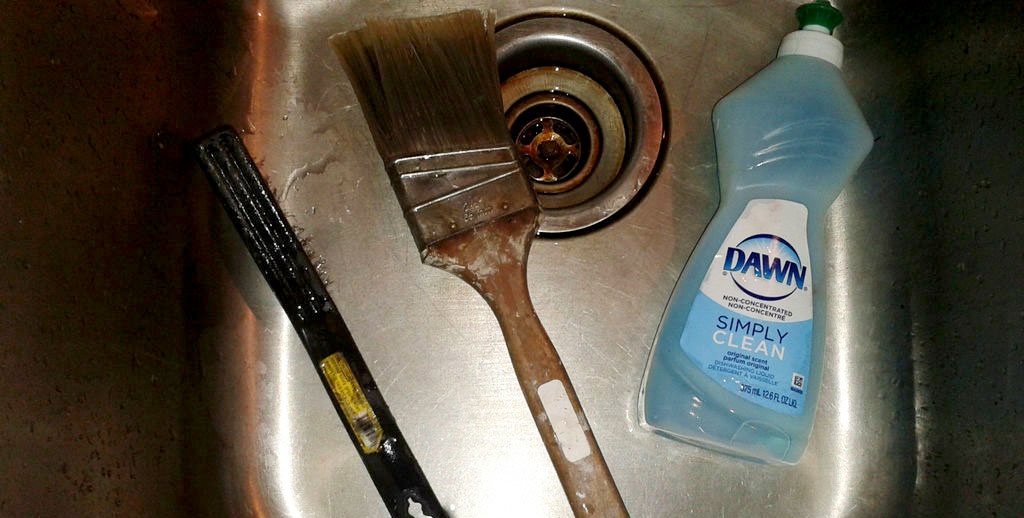
Then we add a small amount of detergent to the bristles and begin brushing with a wire brush, removing the last remnants of old paint and solvent.
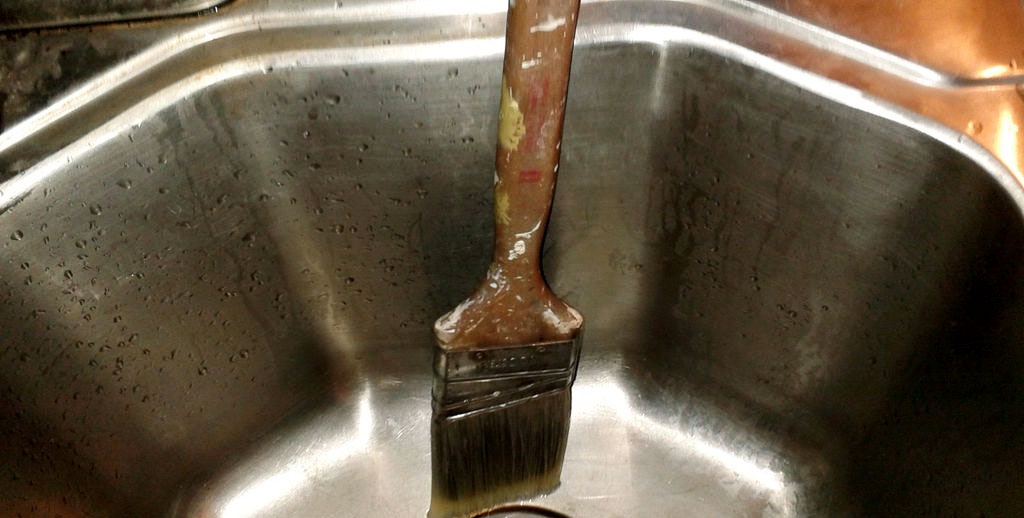
Again, intensively rinse the brush in plenty of warm water. Shake it several times, arranging and aligning the bristles along the length. We leave the brush in the sink for a while so that the water drains from it, and then dry it.
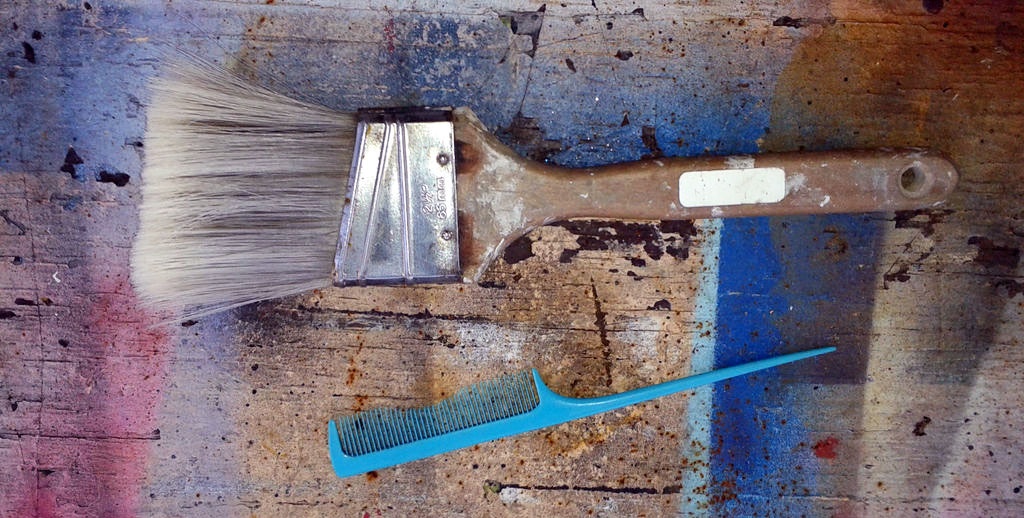
Giving the tuft of bristles the desired shape

After waiting for the tuft of bristles to dry completely, make sure that they are straightened and fluffed up a little. Next, comb the brush with a special metal comb, but you can get by with an ordinary plastic comb.
At the end, soak the bristles of the brush with some oil soap (glycerin soap is possible) and comb carefully so as not to create foam.
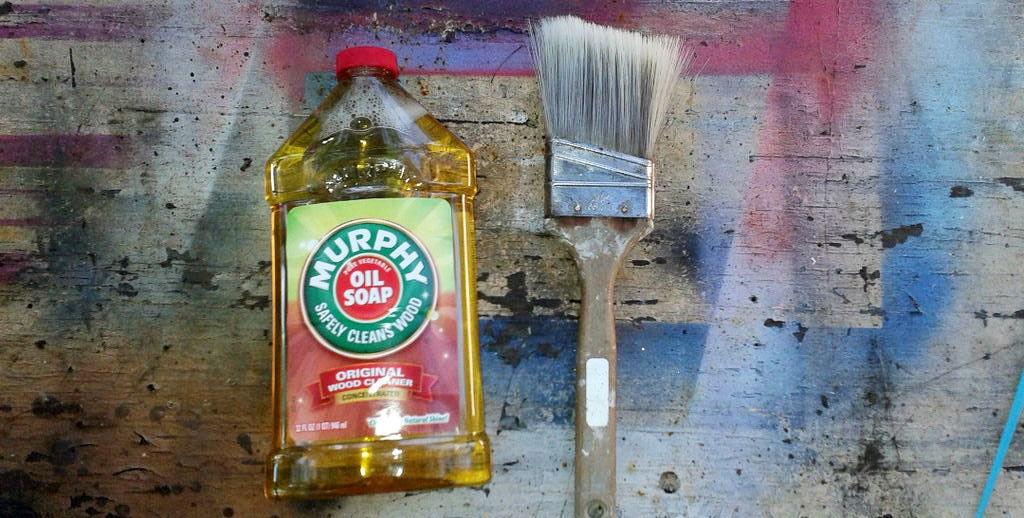
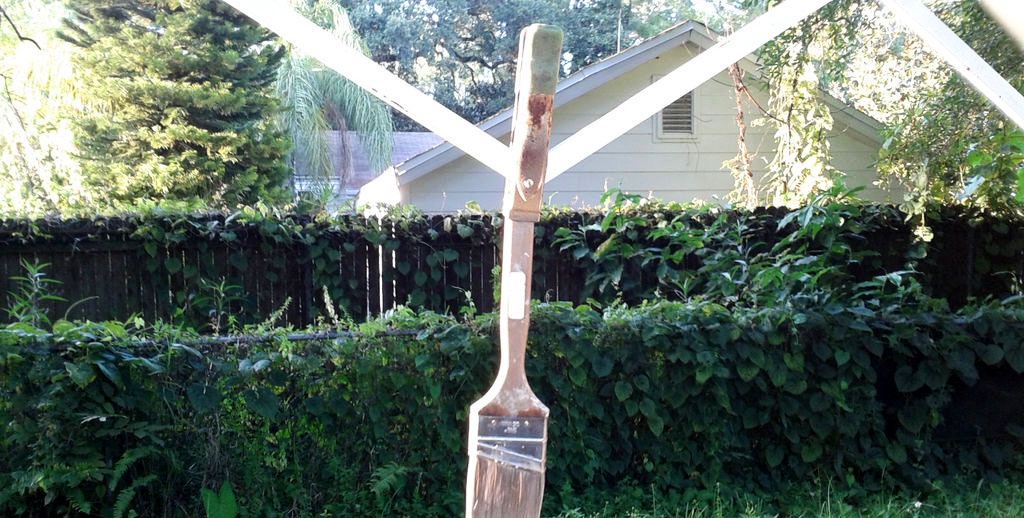
The thick soap acts as a hair gel and gives the stubble the desired shape. It also moisturizes, conditions and leaves it soft. The brush should then be hung out in the sun for several hours to dry.
Final steps
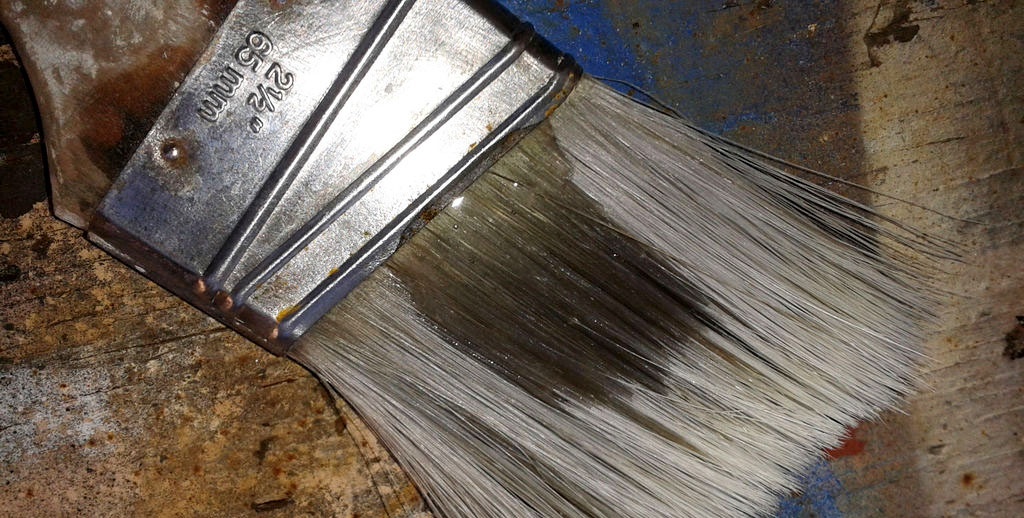
When the oil soap dries completely, the bristles feel dry and hard to the touch. Now you can rinse it generously for the last time in warm water, comb it at the same time and hang it up to drain.
You may notice a few damaged bristles that are sticking out to the sides. They must be carefully cut with a sharp knife or scissors closer to the crimp base. After this, the brush must be hung overnight to dry completely. In the morning it should be packed in a cardboard box and stored until next use.
All work, if properly organized, takes no more than 15 minutes, but as a result, you can save a hundred or more rubles on one brush.
Original article in English