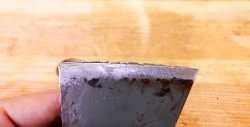
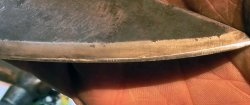
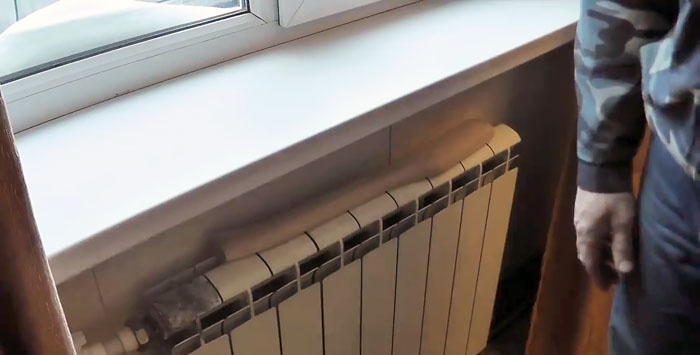
Working with an ax with such a defect becomes uncomfortable and, ultimately, impossible, and also simply dangerous. After all, a heavy metal head flying off the handle with a sharp cutting edge and corners can injure someone who uses a faulty ax, or people nearby.

What are the “roots” of this defect? Why does the nozzle weaken? After all, once it was produced according to all the rules, very tightly, and at the time of weakening, the wedges remained in place, did not fall out, which could be “blamed” on the flaw.
The reason is that the wood gradually loses moisture, the fibers dry out and become smaller in volume. The density of the nozzle decreases and eventually disappears completely.
Below we consider a method of mounting an ax head on a handle in order to exclude or at least postpone the period of weakening of the nozzle of parts of the cutting tool in the distant future.
How to plant an ax tightly on an ax
For the success of the upcoming case, it is necessary to take into account that the ax has an outlet larger than the inlet. This is done with the aim that after fitting and installing the handle, it was possible to wedge it with a few wedges.
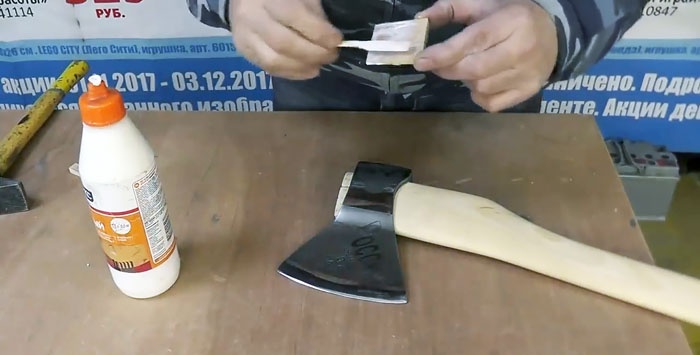
It is very important to choose the right handle for this tool. To do this, attach the eye of the ax to the sheet of paper with the output side and circle its inner perimeter with a pencil or marker.
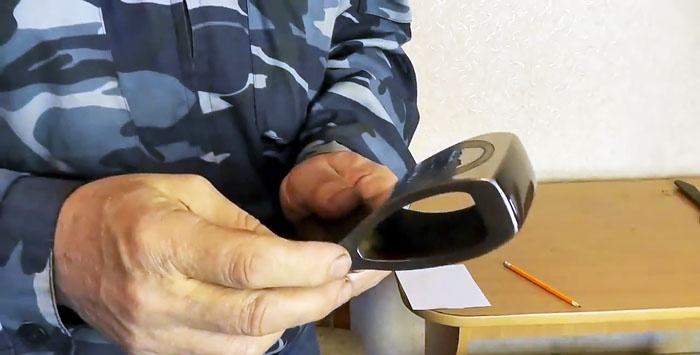
Then, along the contour, we simply cut out the resulting figure with scissors, which in shape and size is a copy of the exit hole of our ax. She will serve us as a template for choosing an ax in the market.
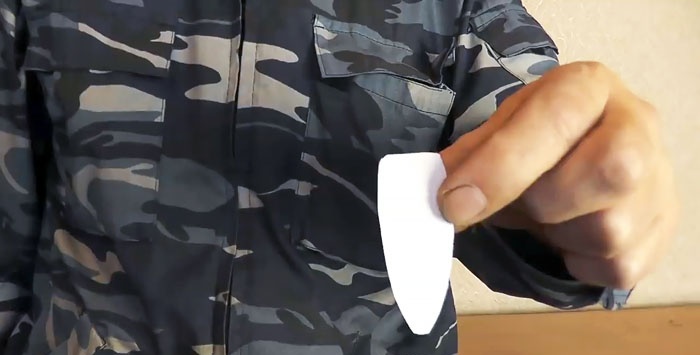
To do this, apply a paper measurement to the end and select the one that most closely matches our template. This approach, in addition to making the right choice, will minimize fitting work.
The selected hatchet should be put on the heating battery (in winter) or in the sun (in summer) for about 2-3 days, turning over from time to time so that it finally dries.
After the wooden handle has been completely dried, you can proceed with its final adjustment to the ax.
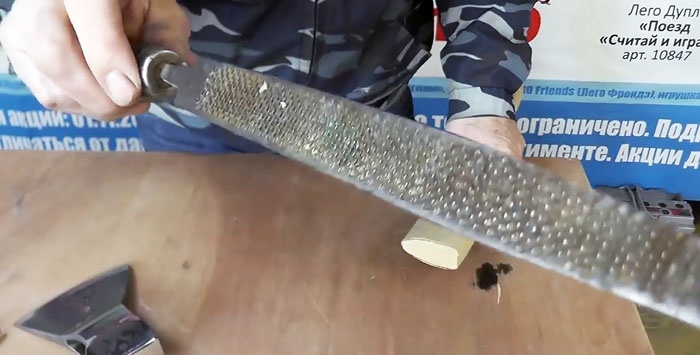
To do this, we lay the head on the ax, departing from its end by 5-7 mm, and draw a line on the other side with a pencil that will indicate the border of the head nozzle on the handle.
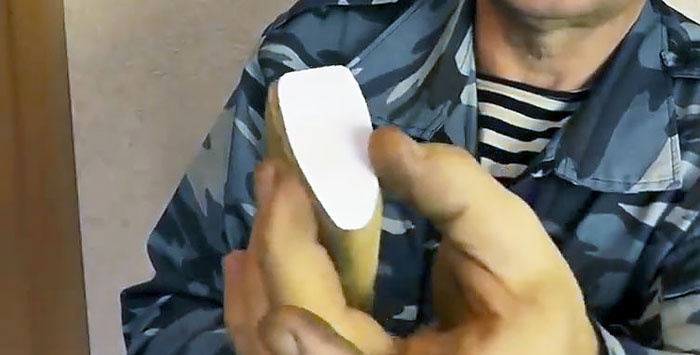
We apply, previously cut out, a paper template to the end of the handle and circle it around the contour with a pencil.
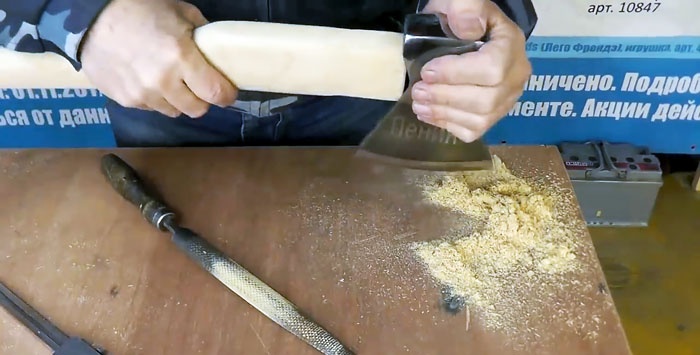
Using a large rasp on wood, we process the ax from all sides within the nozzle zone, focusing on the contour applied to the end of the handle.

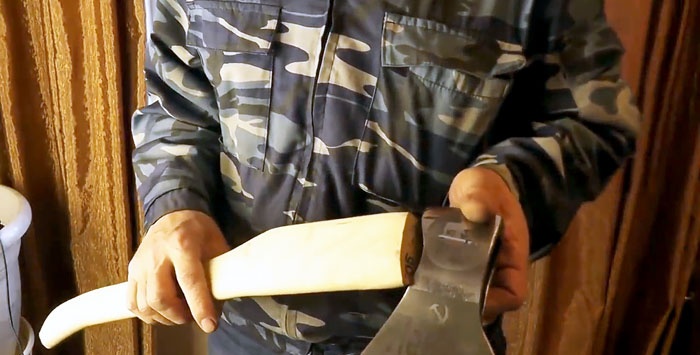
After turning the handle along the contour in accordance with the template, we begin to try on it (attention!) To the outlet of the ax head.
Carefully, so as not to loosen, we handle the handle until it enters the head inlet by about 10 mm.

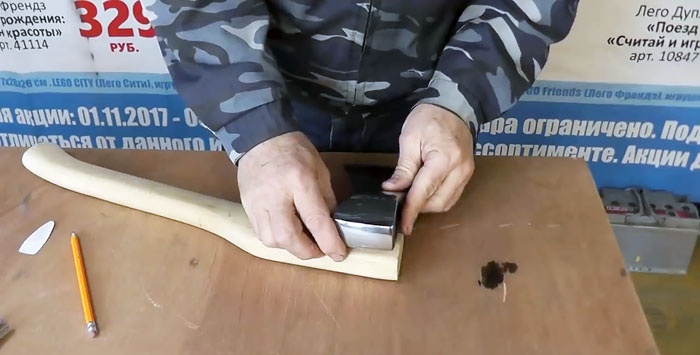
Using a caliper, measure the inlet and fix it on our measuring device.
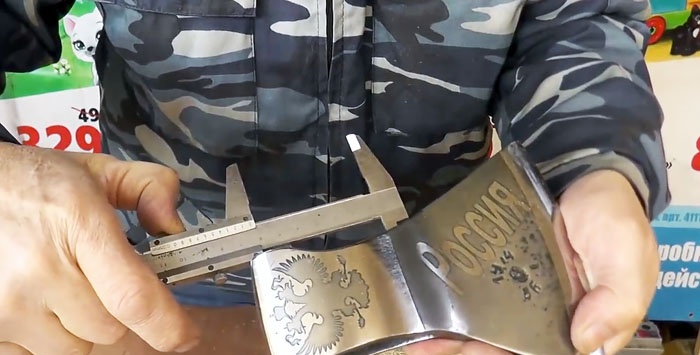
Then we compare the size fixed on the vernier caliper with the reciprocal size on the ax. We make sure that the meter does not fail on it. If we now remove the excess on the handle, we get a reverse cone (like a cork in a bottle of champagne).
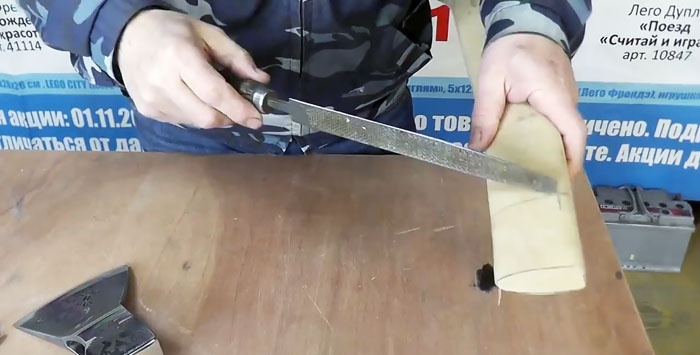
We carry out the plan with the help of the same rasp, which we already used before, fitting the end of the ax to the exit hole of the ax.
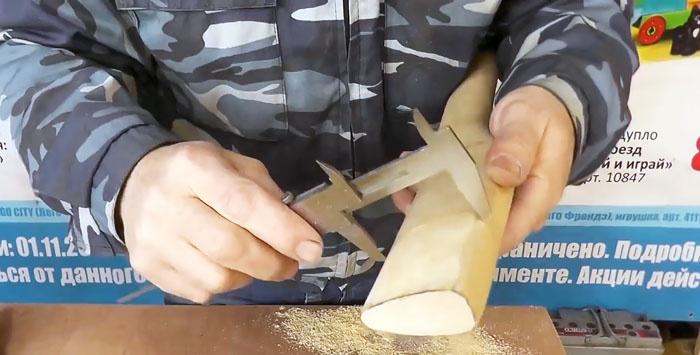
Timber removal is controlled by measurements, so as not to weaken it.We measure the outlet of the head in height and compare with the inlet of the ax. They should be equal to each other or the handle is slightly smaller.
The size at the far boundary of the nozzle must be deliberately smaller than at the entrance. This is the so-called inverse cone.
We control the thickness of the ax at the inlet and outlet. And in this parameter, a clear inverse taper should be felt.
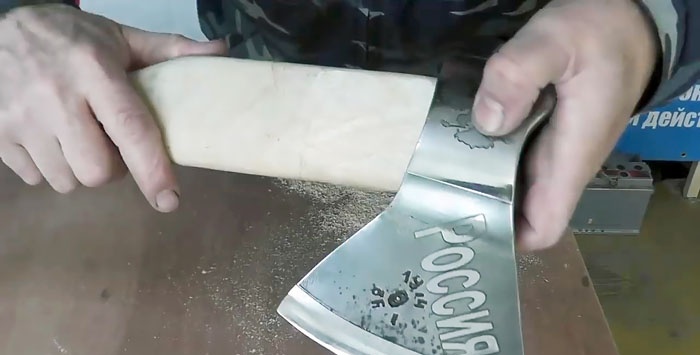
We remove along the perimeter of the end part of the hatchet a small chamfer to ensure its initial entry into the inlet of the ax. To do this, use the same rasp. This operation will be considered completed if the head after the nozzle by hand, stably holds on to the handle.
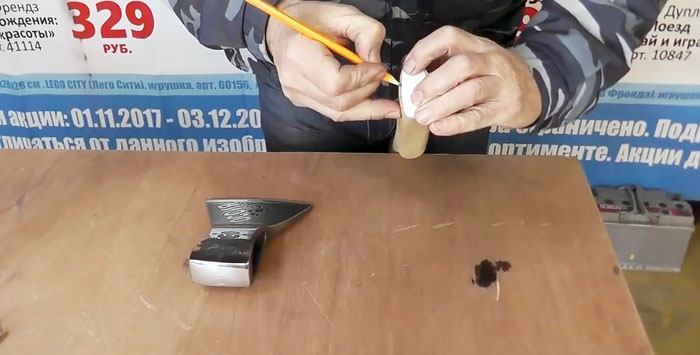
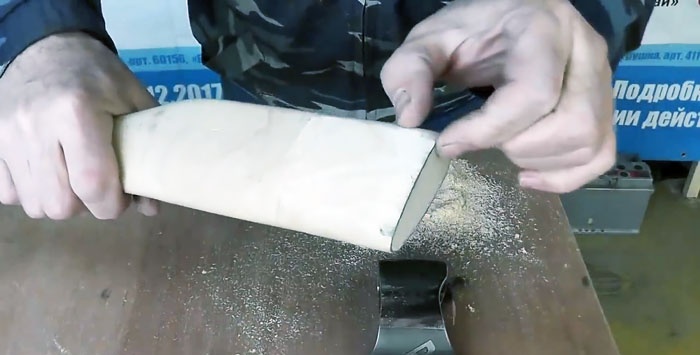
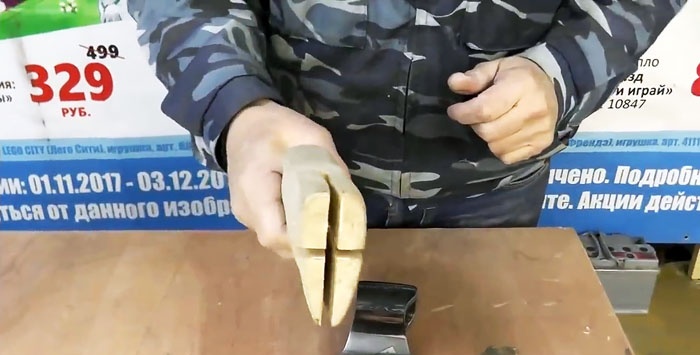
In the center of the butt end of the ax, draw a longitudinal line with a pencil, the other - perpendicular to the first and slightly higher than the geometric center of the end section.
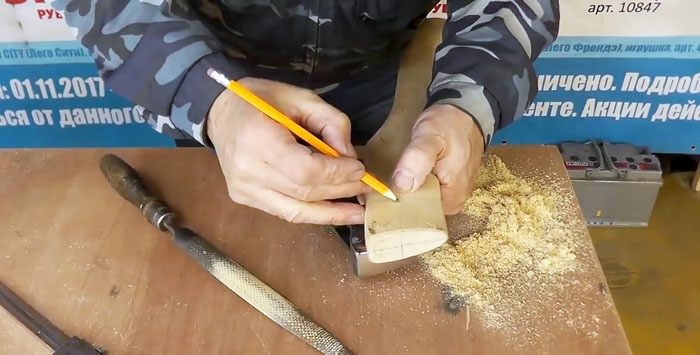
By marking, we make cuts under three wedges, not reaching about one centimeter to the rear border of the head nozzle on the ax.
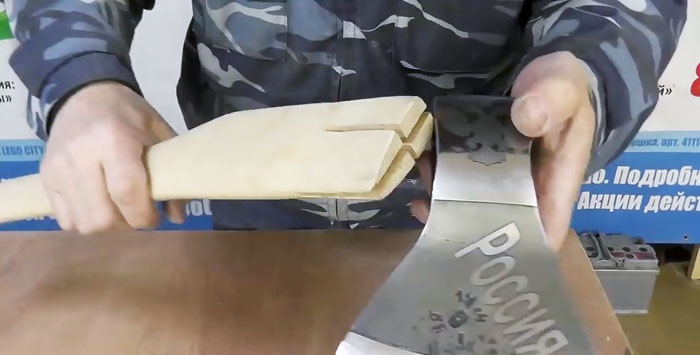
Once again we are convinced that the handle freely enters the outlet and only slightly into the opposite.
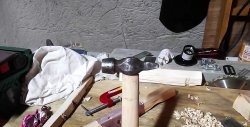
Set the ax in the inlet of the ax head and several times vigorously strike on the other side until it occupies the required position.
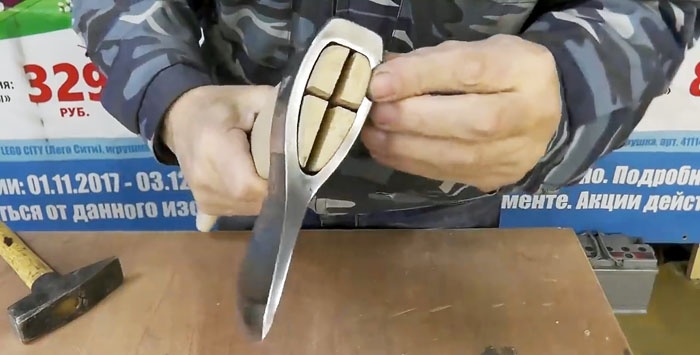
We can only install pre-prepared wooden wedges on the glue. First we install a longitudinal (large) wedge, then transversely - two small ones.
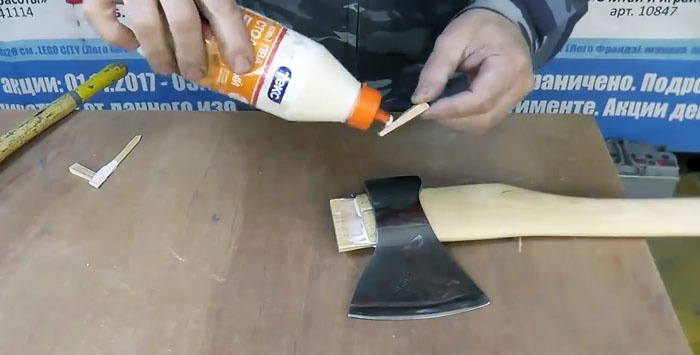
To do this, grease their side surfaces with glue and insert them into place, slightly knocking out with a hammer.
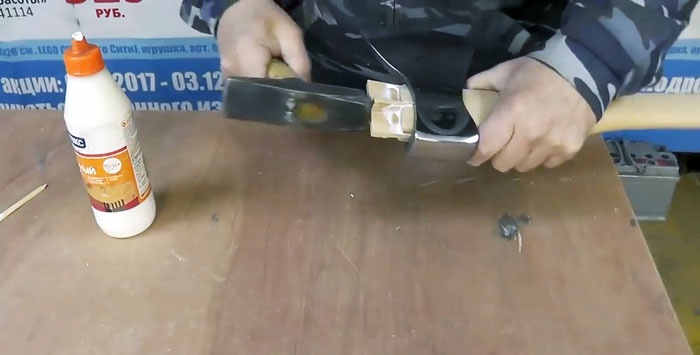
After installing all three wedges, hammer them together with vigorous blows of the hammer, while it is possible.
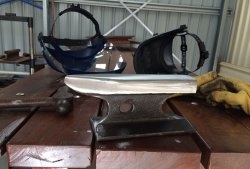
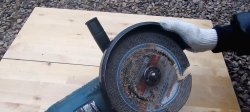
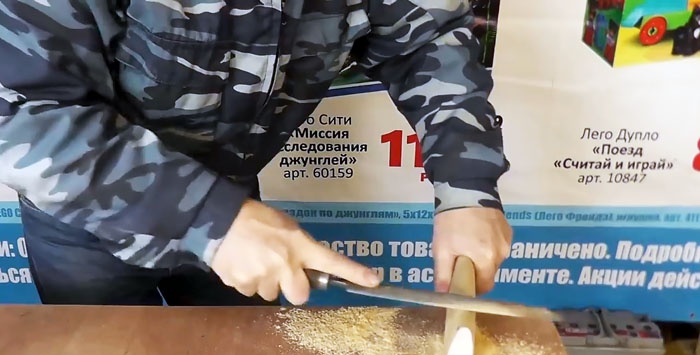
The remaining ends of the wedges can be chipped on a grinder or simply cut off with a hacksaw on a tree.
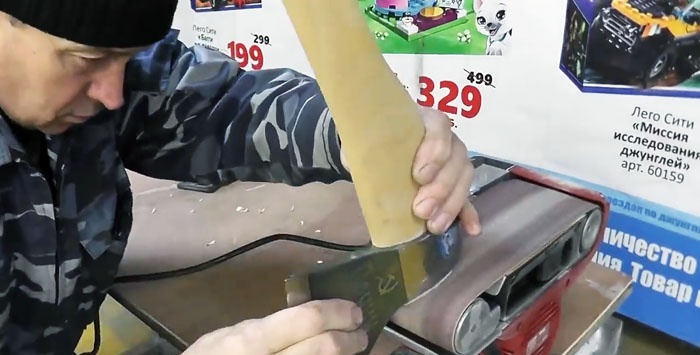
The final refinement of the output end face of the ax with wedges is carried out manually using a coarse sandpaper. It can also handle other parts of the handle so that it is comfortable to use and does not rub your hands.
You can leave the ax in the position that we have achieved so far. But then, after a short time, he will suffer the fate of the old product, which we showed at the beginning: the nozzle will weaken at first, and then completely disappear. The tool will become unusable. The reason is known: moisture from the wood fibers will evaporate, it will dry out, and the density of the nozzle will disappear.
To prevent this from happening, it is necessary to preserve the end face after final installation and wedging, that is, soak it with linseed oil, oil paint or glue (you can use PVA, but preferably epoxy). This treatment will not allow moisture remaining in the tree to evaporate and violate the density of the nozzle. If possible, it is desirable to subject all the ax to such processing.