Will need
To make it we will need:
- Hammer.
- Pliers or self-clamping pliers.
- Vise.
- Chisel.
- Jigsaw (optional).
- Wood saw.
- Wooden and metal wedges.
- Blank for the handle.
- Wood scrapers or plane.
- Sandpaper.
- Chisel.
- Knife.
Preparing the Hammer
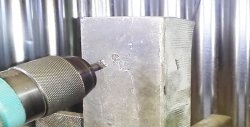
First you need to remove a piece of the old handle from the hammer. It all depends on where it broke off. Depending on the situation, remove it with pliers or hold it in a vice and knock it out with a chisel. In a particularly difficult case, you can drill it out with a drill and then knocking out the piece of wood will not be difficult.
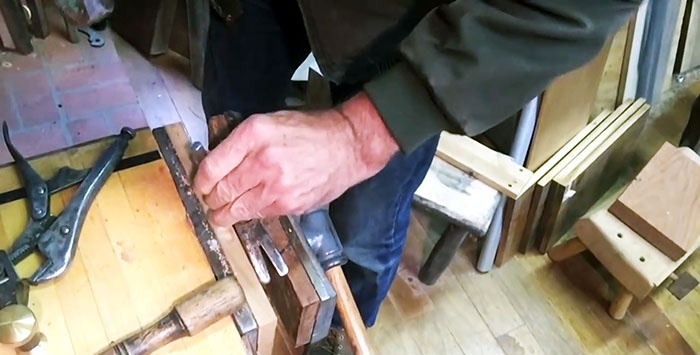
Once the hammer is freed from the old handle, it can be cleaned and polished. The closer to the “mirror” the metal is polished, the longer it will retain its presentation.
Workpiece selection
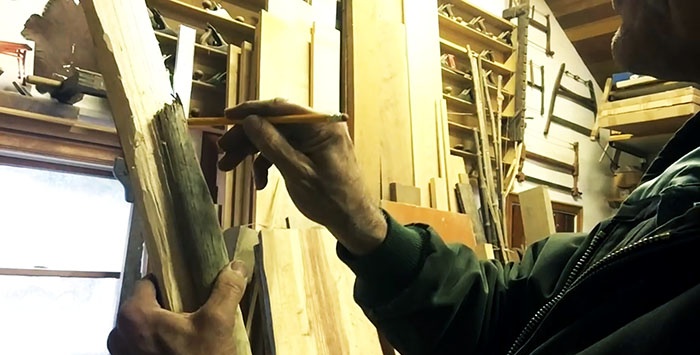
The next step is to select a wooden blank. Everything is simple here - proceed from your preferences.If you are new to this business, choose the most affordable option from hardwood. Birch, maple or bird cherry would be good options. Fruit trees - apple, cherry, plum - are also suitable. It is advisable to take the butt part of the wood.
Preparation and processing of the future handle
You can outline the old handle on the blank or make the size at your discretion.
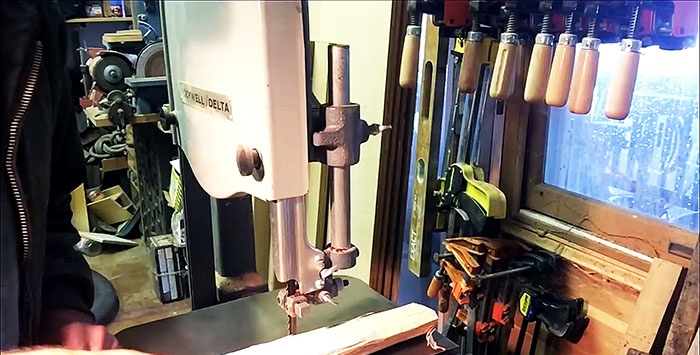
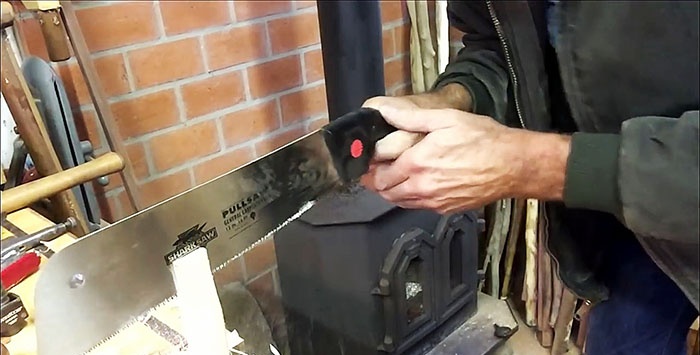
We cut off all excess on a jigsaw. If it is not available, this is done manually using a hacksaw. When sawing, we try to give it the most rounded shape to facilitate further work.
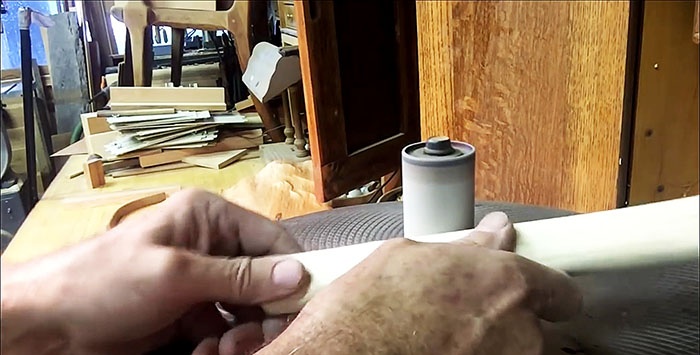
Next, we clamp the workpiece on a workbench or in a vice and begin manual processing.
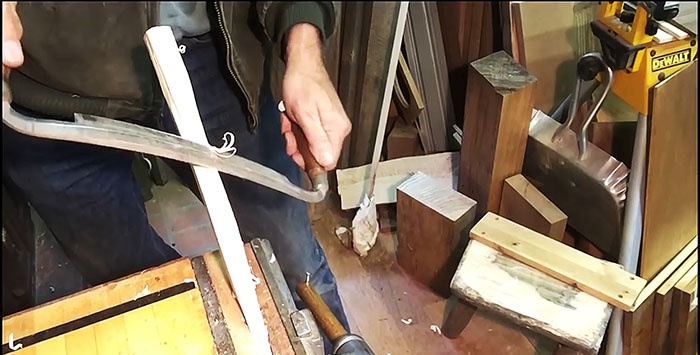
In the process, we give the desired shape to the arm for a comfortable grip. Do not forget to periodically try the hammer on the handle so as not to cut off more than necessary.

The hole in it should be slightly smaller than the resulting workpiece. We use staples of various sizes, it’s much more convenient. If they are unavailable, you can use a regular plane. When the processing is completed, we make a cut in the end for further wedging.
Now let's start finishing.
Using sandpaper we remove all roughness and unevenness.
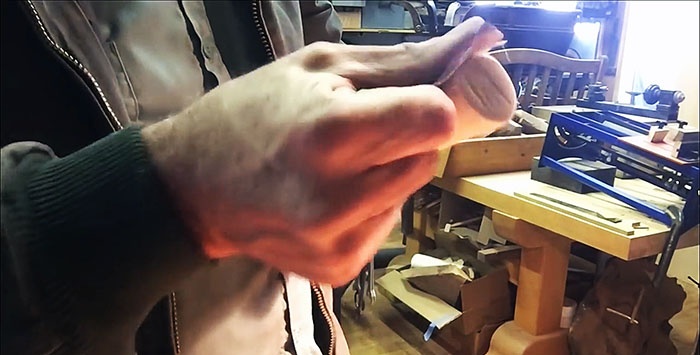
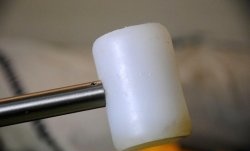
If this is not done, you can drive splinters or even injure your hands while working with such a tool. The lower end of the handle should be rounded using a chisel. This will add convenience to your work. For processing, you can use the attachment for a drilling machine, which we talked about in previous issues.
Hammer assembly
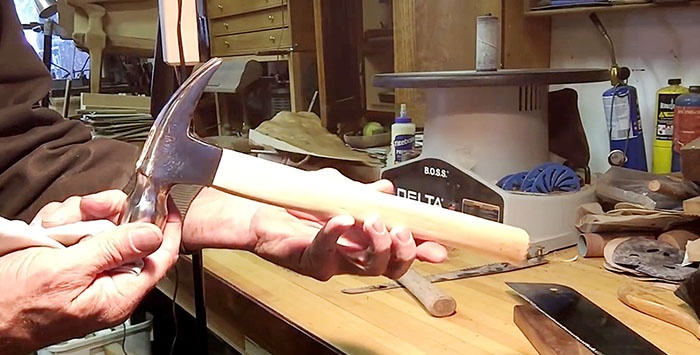
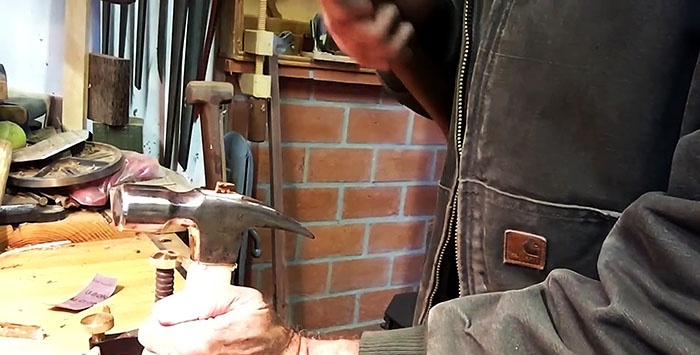
There's just a little bit left to do. Place the hammer on the resulting handle.
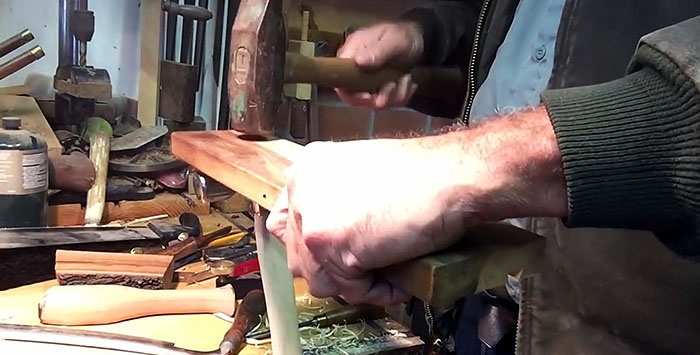
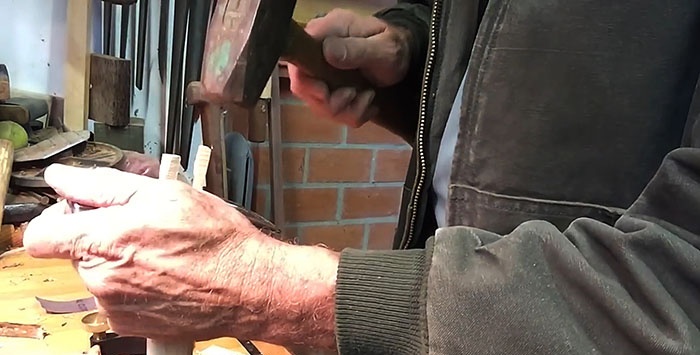
Now it needs to be wedged at the place of the cut. We used a metal wedge with notches.
The remaining free space in the cut was filled with wooden wedges.
Using a knife, you need to cut off the shavings that appeared when you hammered the hammer onto the handle.
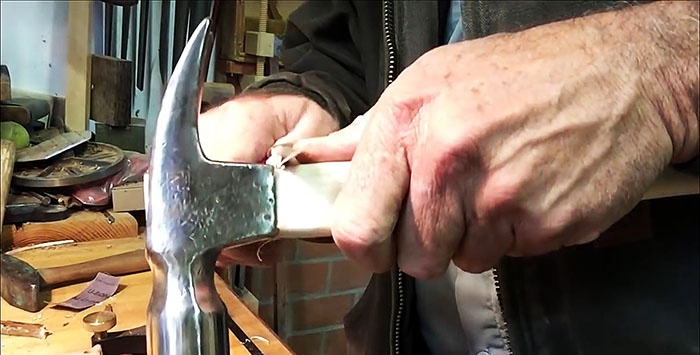
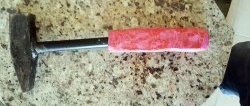
The tool is ready for use. If desired, you can treat the wooden part with oil or special impregnations. Study their properties in advance so that it does not become slippery and uncomfortable to use.