Good day everyone! I want to tell you how to make a Wi-Fi antenna from a cheap Chinese adapter. I bought this adapter for about two dollars. Using this device, I made a so-called Kharchenko directional antenna to improve the reception and transmission of Wi-Fi signals.
What do we need
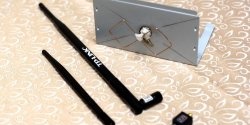
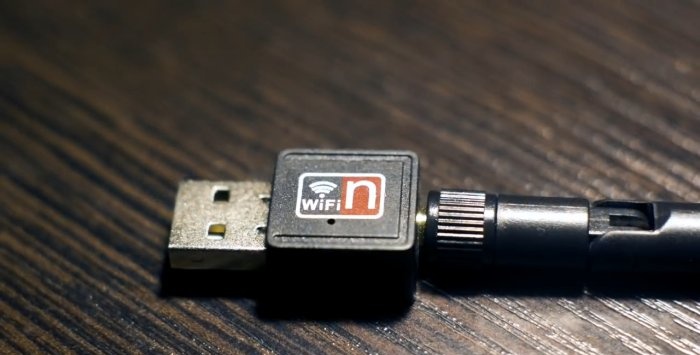
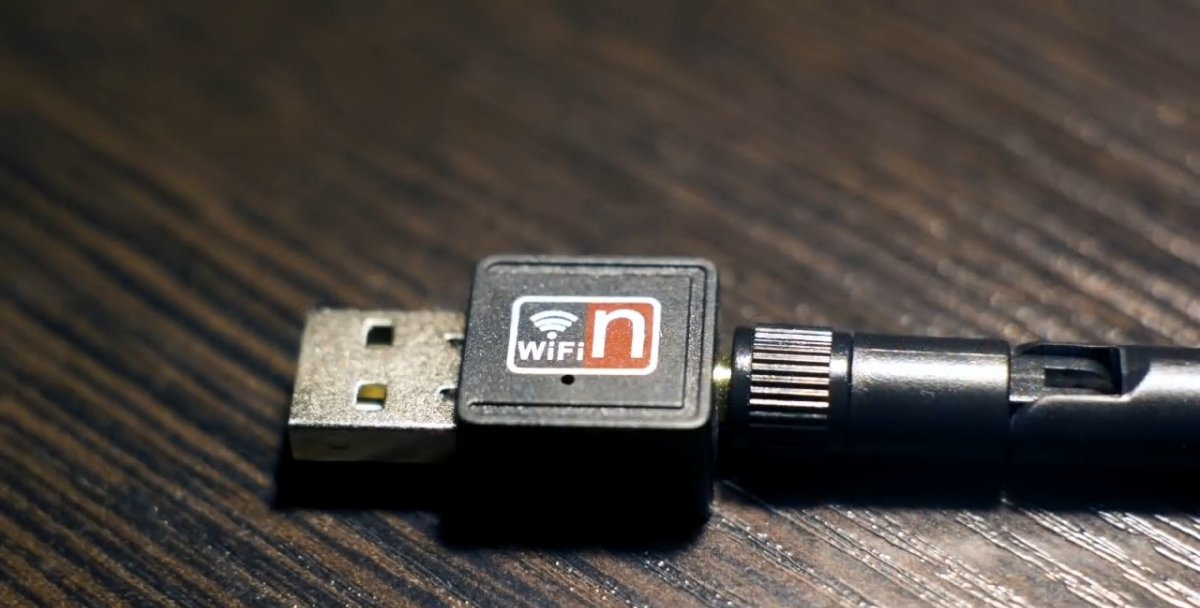
- the adapter itself, AliExpress has a large selection of these devices under different brands, I used Santana adapter;
- a solid copper core from a wire with a cross-section of 1.5 - 2.5 mm2, a length of about a meter is enough in stock;
- pliers, soldering iron, solder, flux, rosin, soldering acid or aspirin tablet;
- drill with 4 mm drill bit;
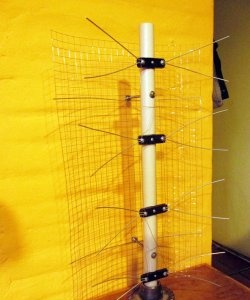
- for the screen - a thin metal plate approximately 15x15 cm, you can use a fine mesh or a piece of foil getinax.
Making a powerful WI-FI antenna
First, I cut the plastic covering on the adapter antenna. There is a transverse strip on the antenna; it was along this strip that I made a cut along the entire perimeter.
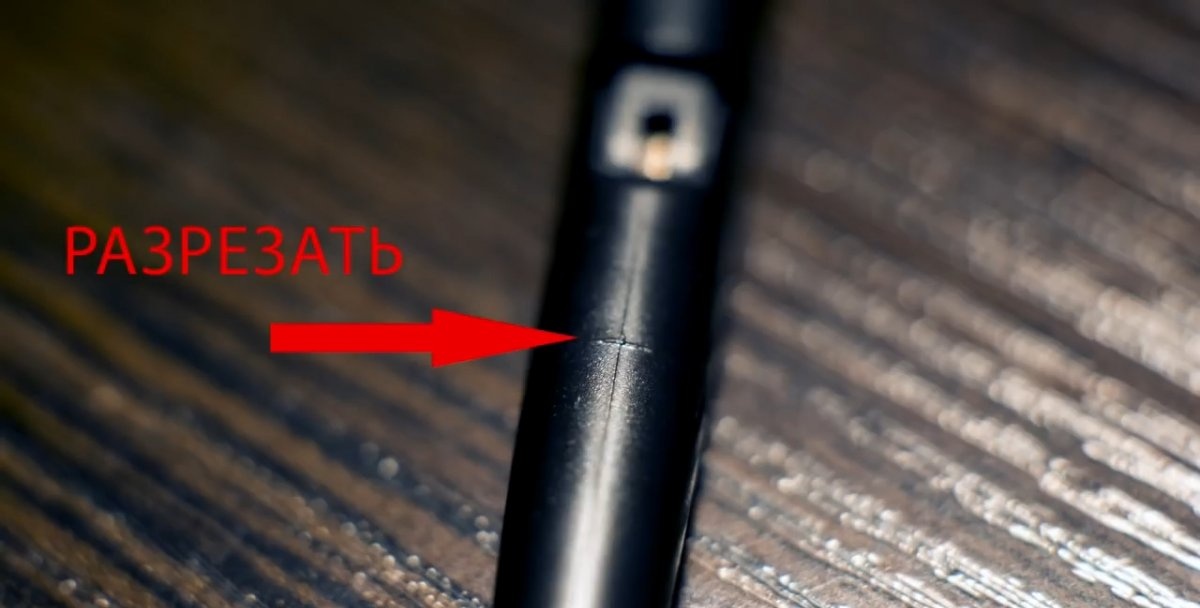
Once the cut is made down to the metal shielding sleeve inside the antenna, the shell is easily removed.

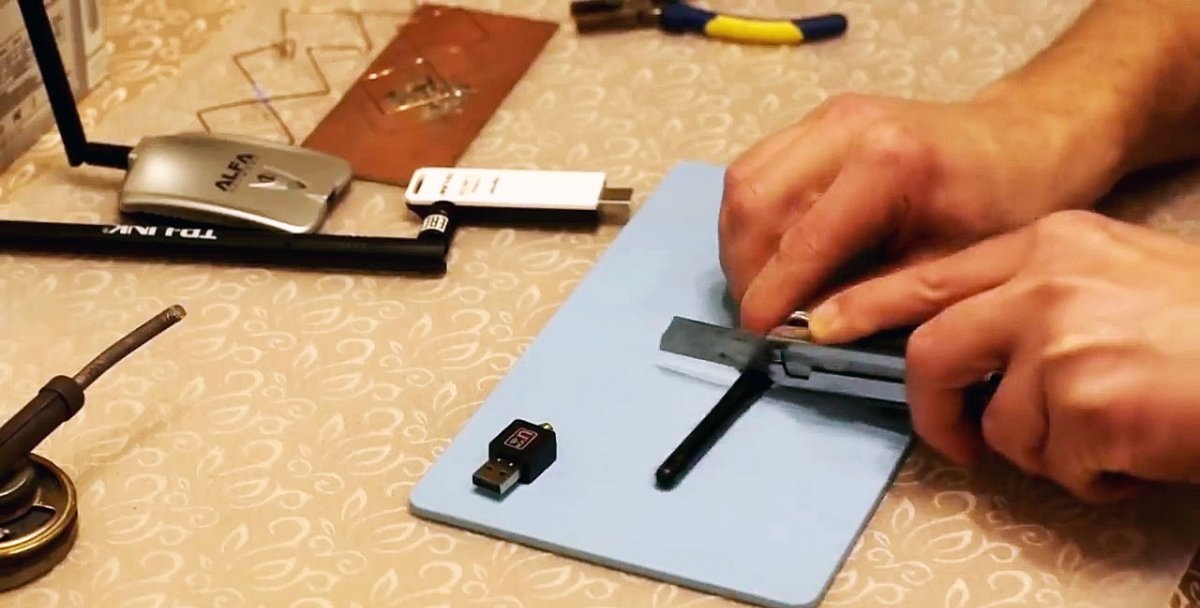
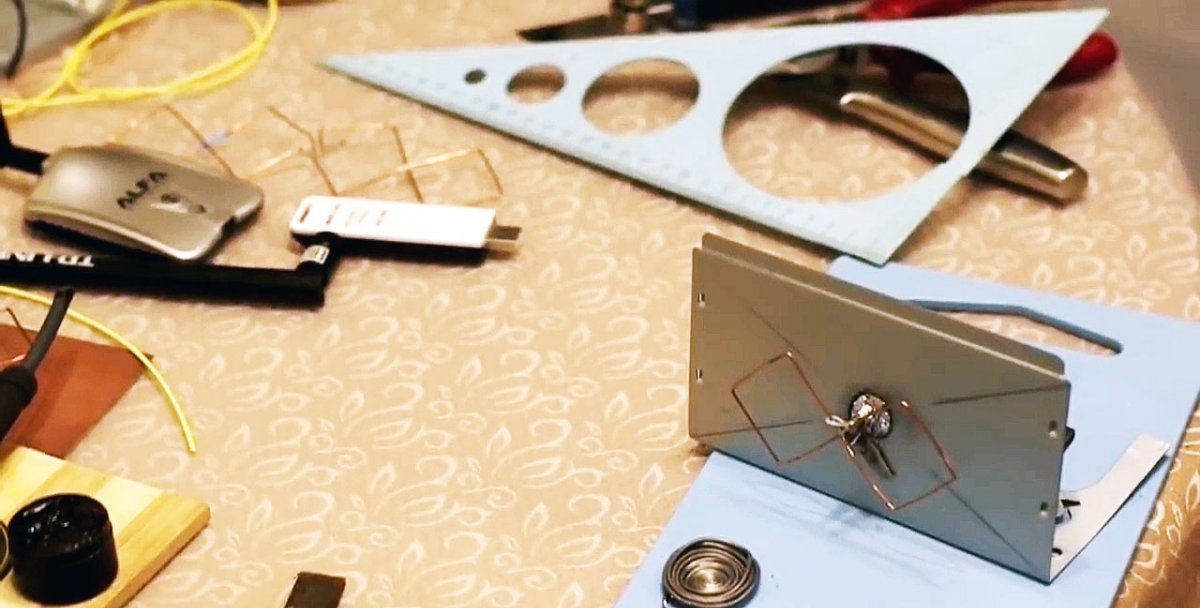
To make the reflector of the future antenna, I used the case of an old computer power supply.
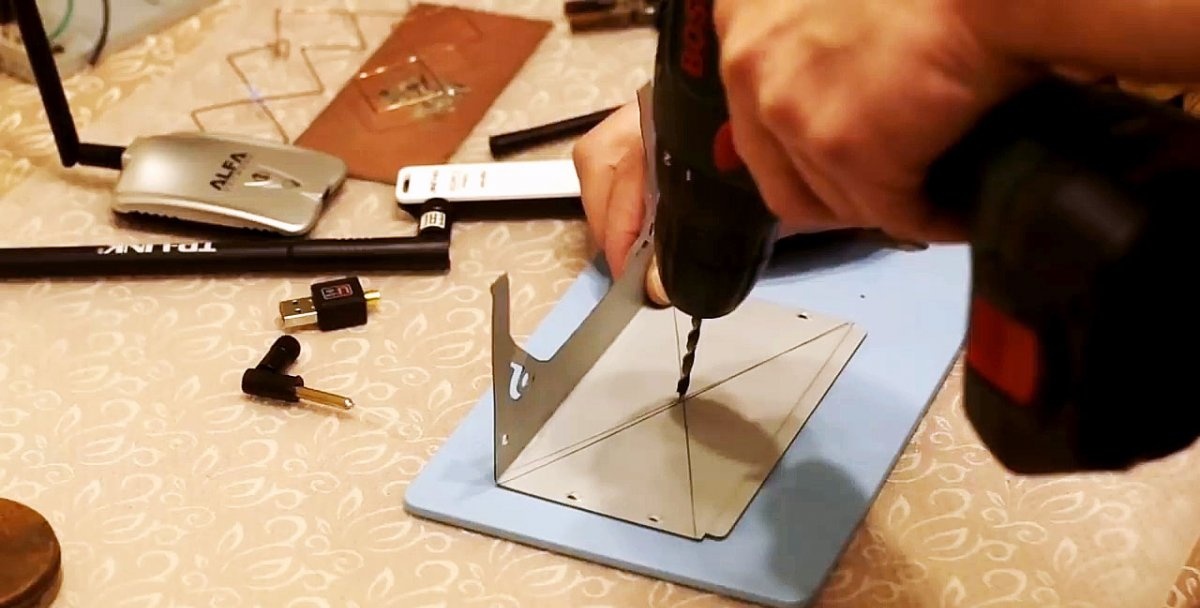
It is made of thin steel sheet. In the center of the side wall of the case I drilled a hole with a diameter of 4 mm to match the size of the antenna bushing.
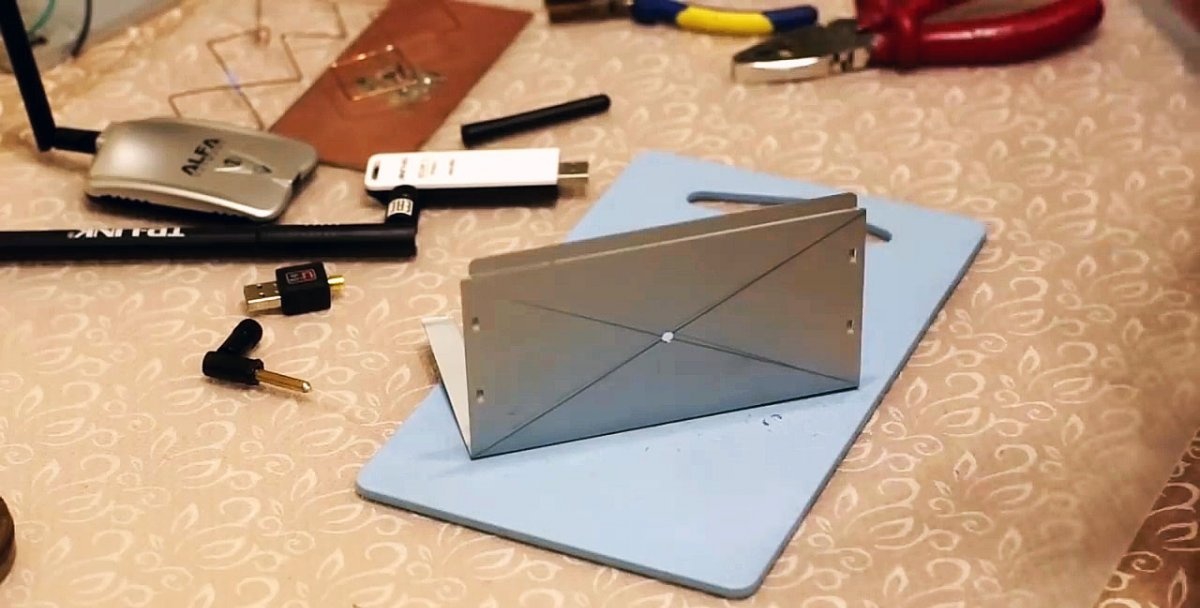
By dividing the U-shaped body of the block into two parts, breaking out the thin plates with pliers, I got a structure that can stand stably on the table while maintaining the vertical orientation of the reflector screen.
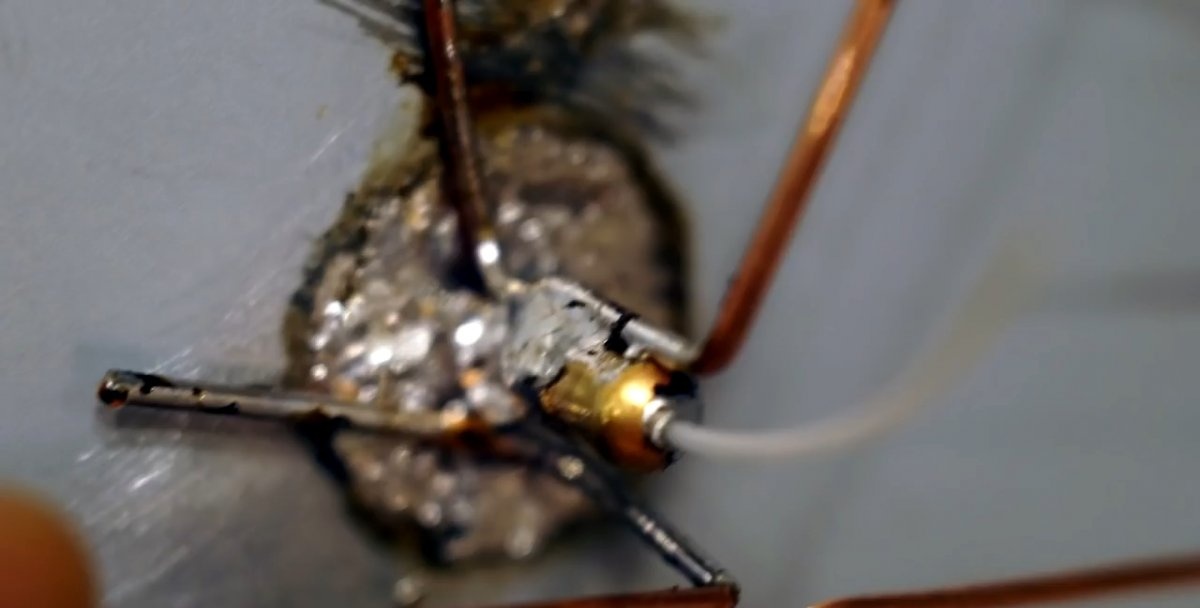
I decided to attach the antenna bushing to the screen by soldering, so the surface around the hole on both sides is cleared of paint and tinned.
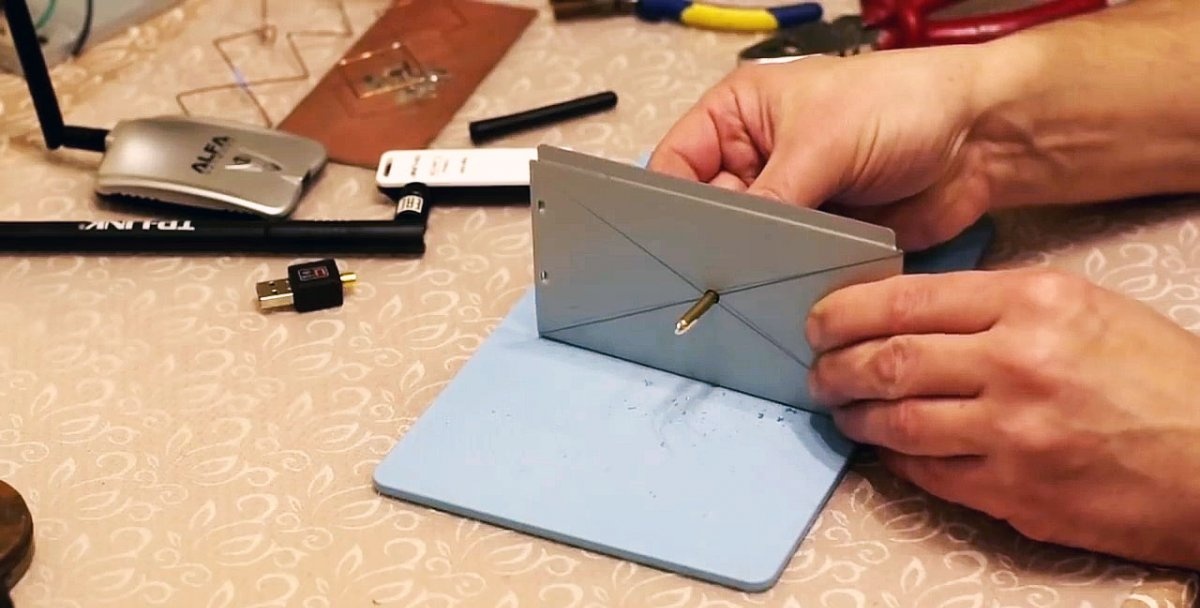
Depending on the screen material used, you need to use the appropriate flux. For example, for copper it is enough to use rosin; for steel you need a special flux or soldering acid. If nothing is available, you can take an aspirin tablet, this is also an acid. There is one more nuance.
The power of a small soldering iron may not be enough to heat the plate sufficiently. In this case, you can take a more powerful soldering iron, or use a miniature gas burner. Well, in general, I hope that your soldering turns out better than mine.
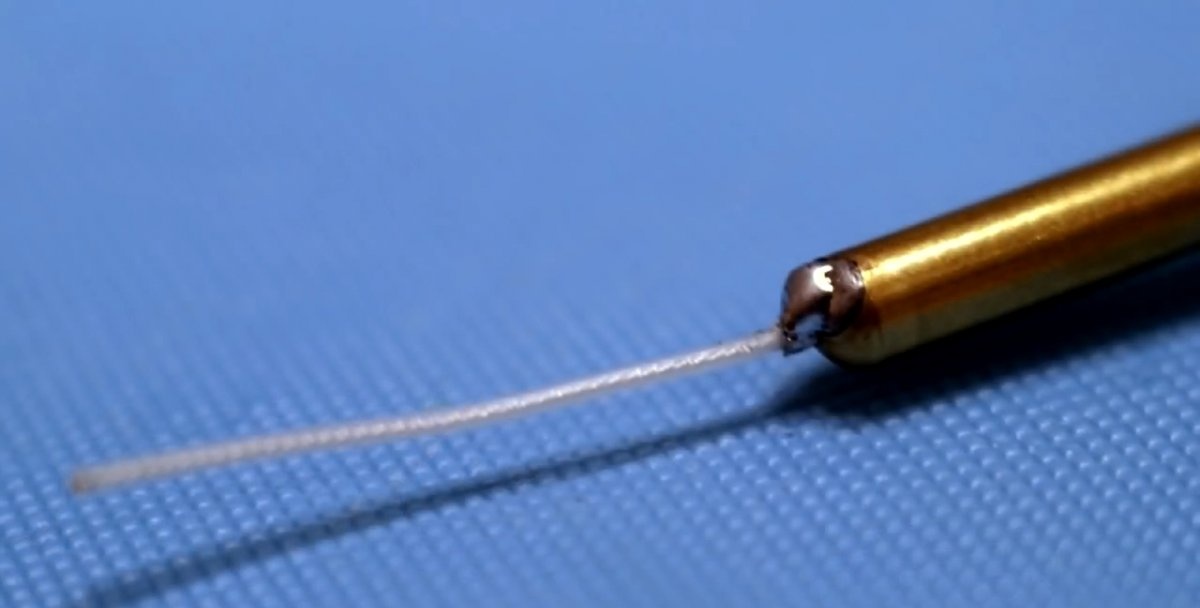
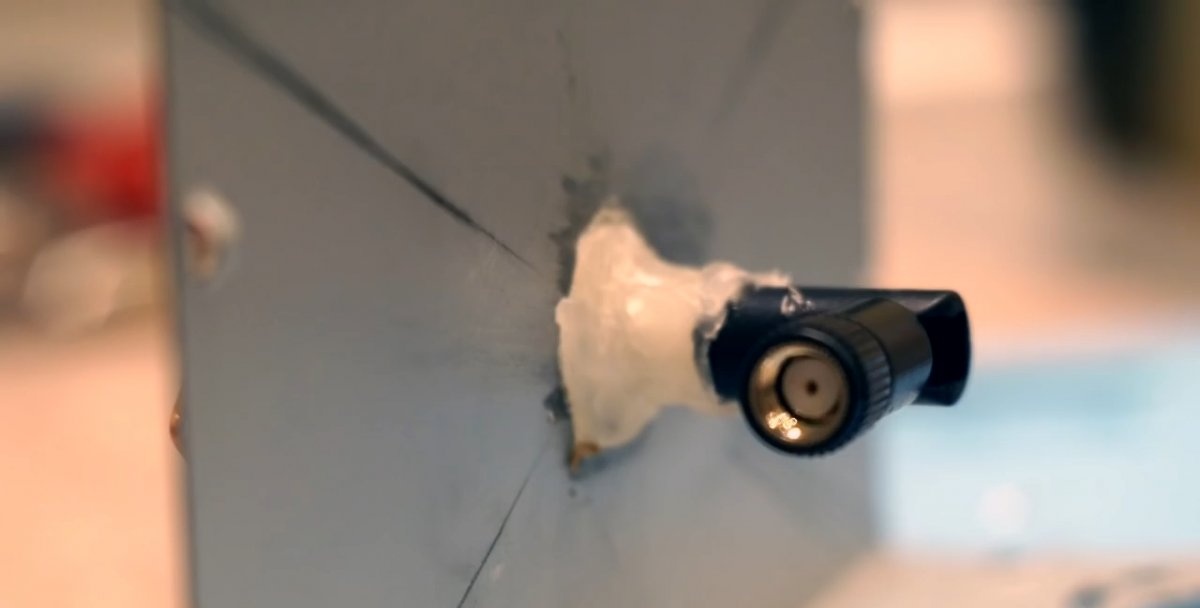
After the hole in the reflector has been tinned, it is also necessary to tin the antenna bushing in the place where it will be soldered to the screen. It should be immediately noted that the end of the sleeve from which the central core emerges should protrude beyond the plane of the screen by no more than 10 - 12 mm. So, solder the bushing.
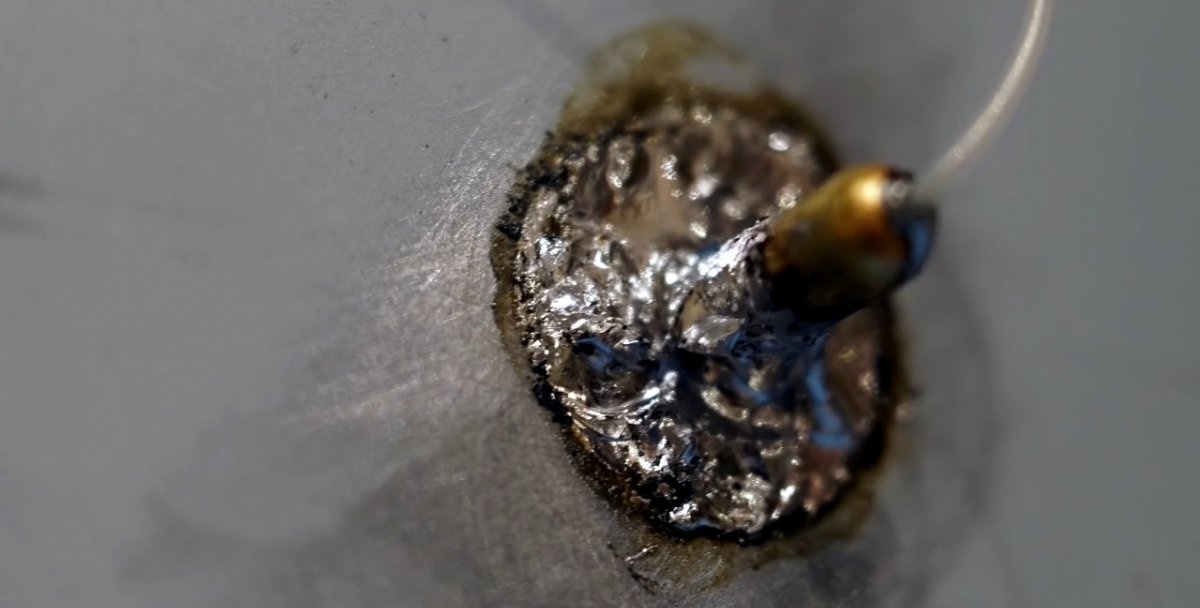
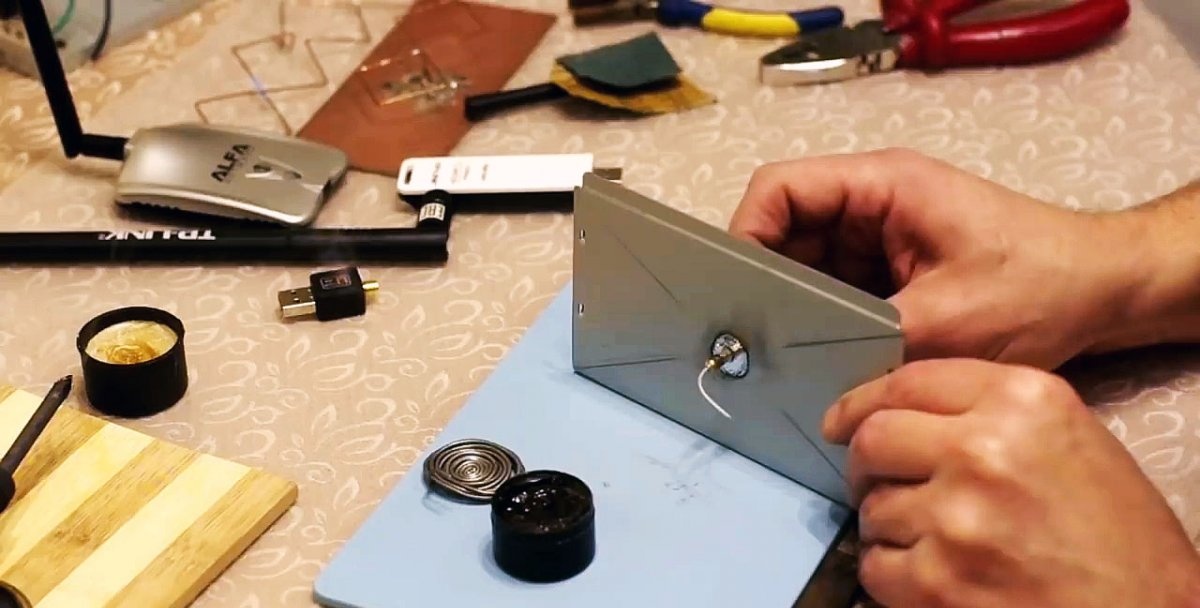
By the way, it is not at all necessary to solder it on both sides of the screen; you can solder only on its outer side, so as not to overheat the plastic base of the antenna.High-quality soldering will ensure perfect electrical contact and mechanical strength of the connection. If this does not seem enough, you can then strengthen the connection from the inside with good glue.
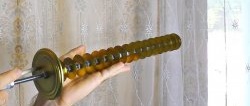
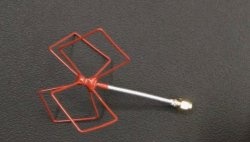
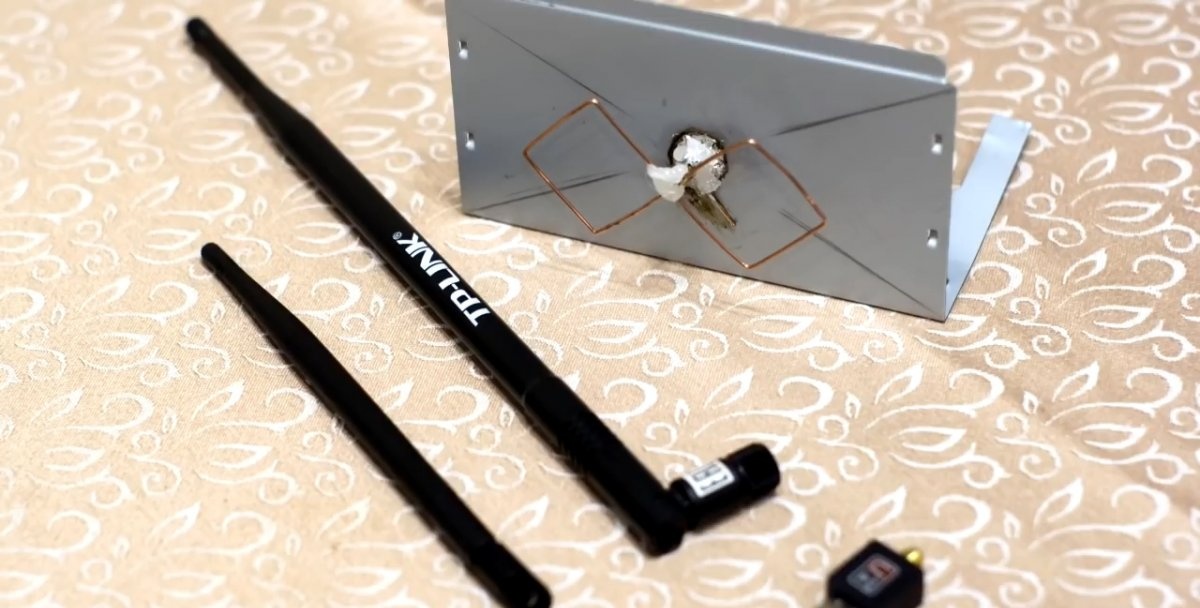
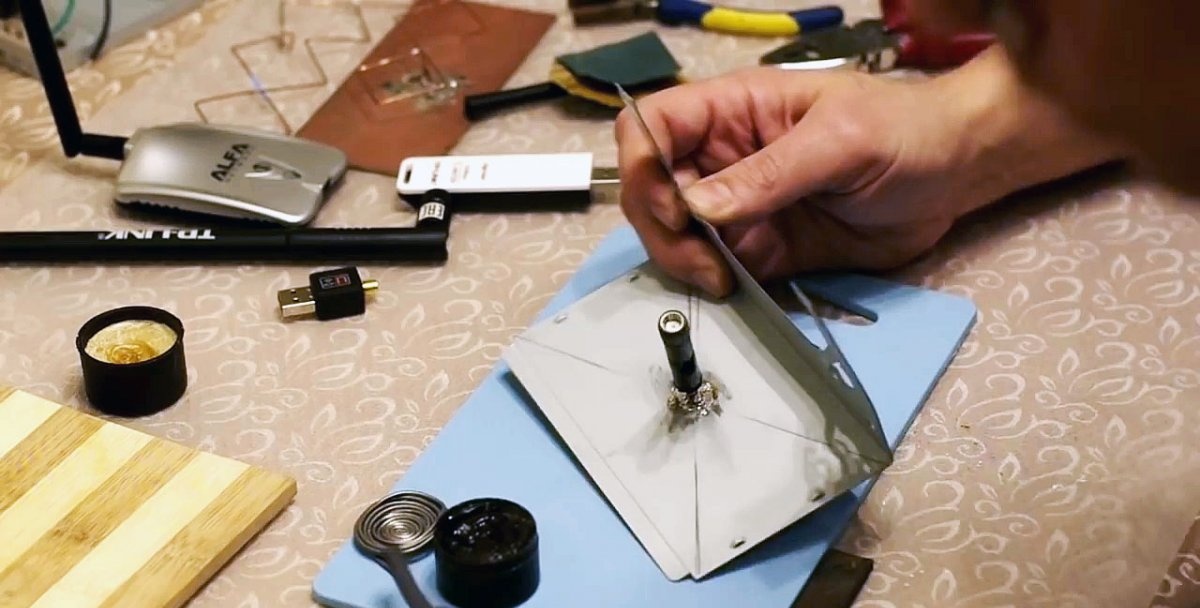
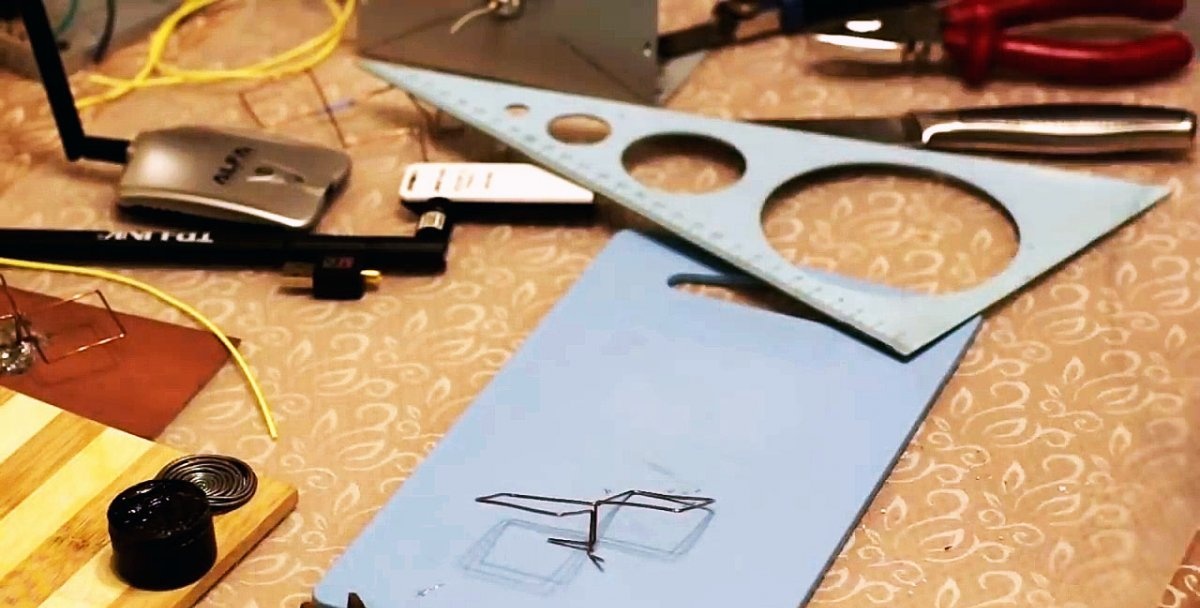
Now let's start making the antenna sheet itself from copper wire. We start by forming a leg with which the antenna will be soldered to the reflector.
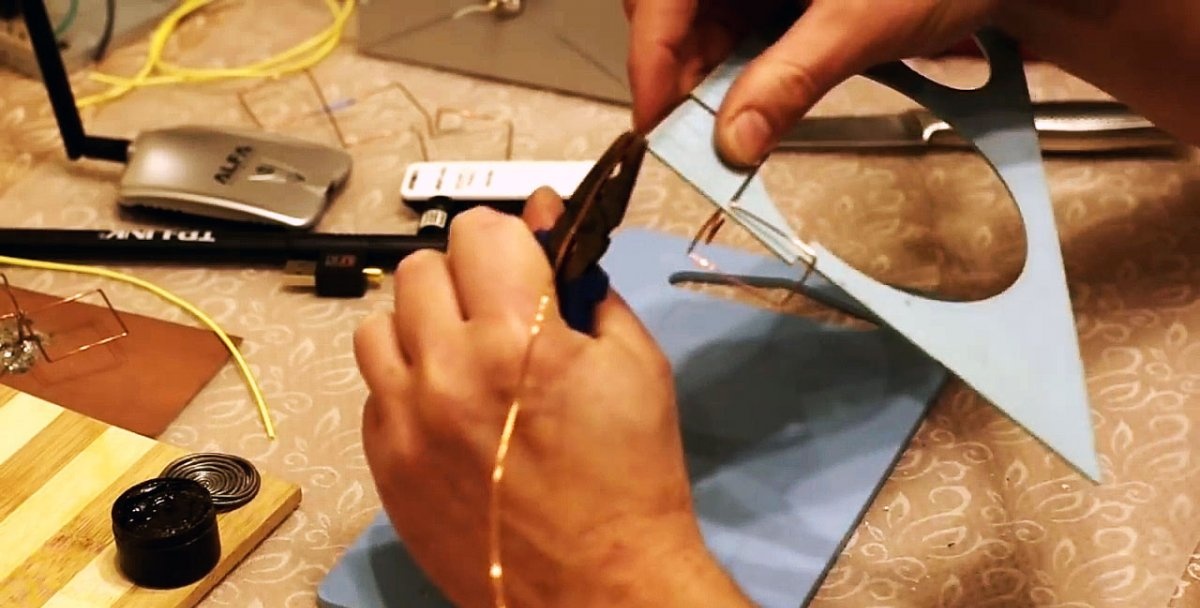
The length of the leg is 16 mm, this is the distance between the antenna and the screen. We carefully measure all sizes with a ruler. At the marking points, carefully bend the wire 90 degrees. The wire should be used to form a geometric figure in the form of two squares with sides of 30.5 mm. The production ends with a second leg, also 16 mm long, which will be located close to the first.
Both legs are soldered to the antenna bushing and to the screen. The central wire must be soldered to the frame on the opposite side. We check the parallelism of the antenna plane and the reflector plane and the distance between them is 16 mm.
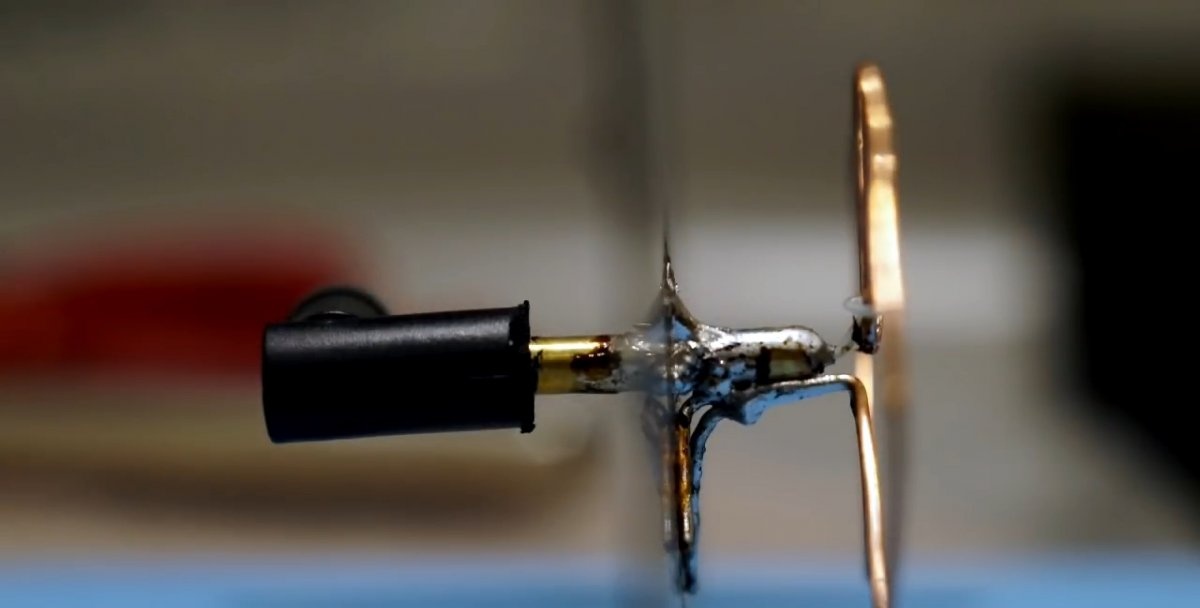
The antenna has a standard threaded connector; I tested it with different adapters.
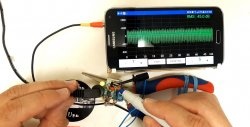
Result
For comparative testing, I used three antennas - 2 dB, 5 dB and a homemade one. The test result showed the absolute advantage of my antenna over factory models, both in terms of data reception speed and transmission speed.
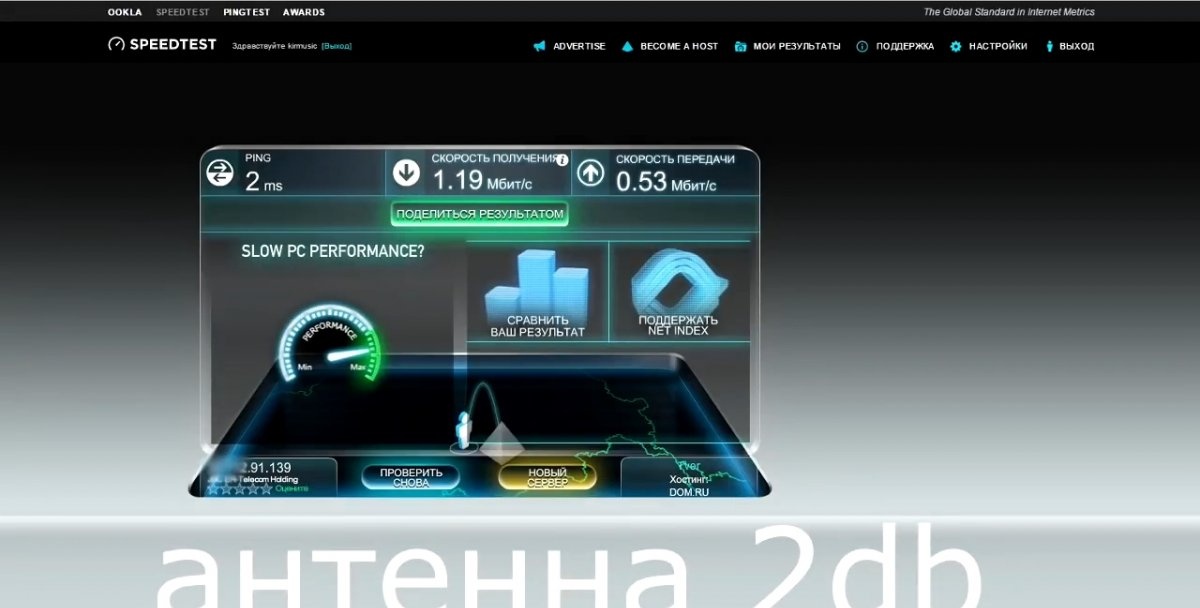
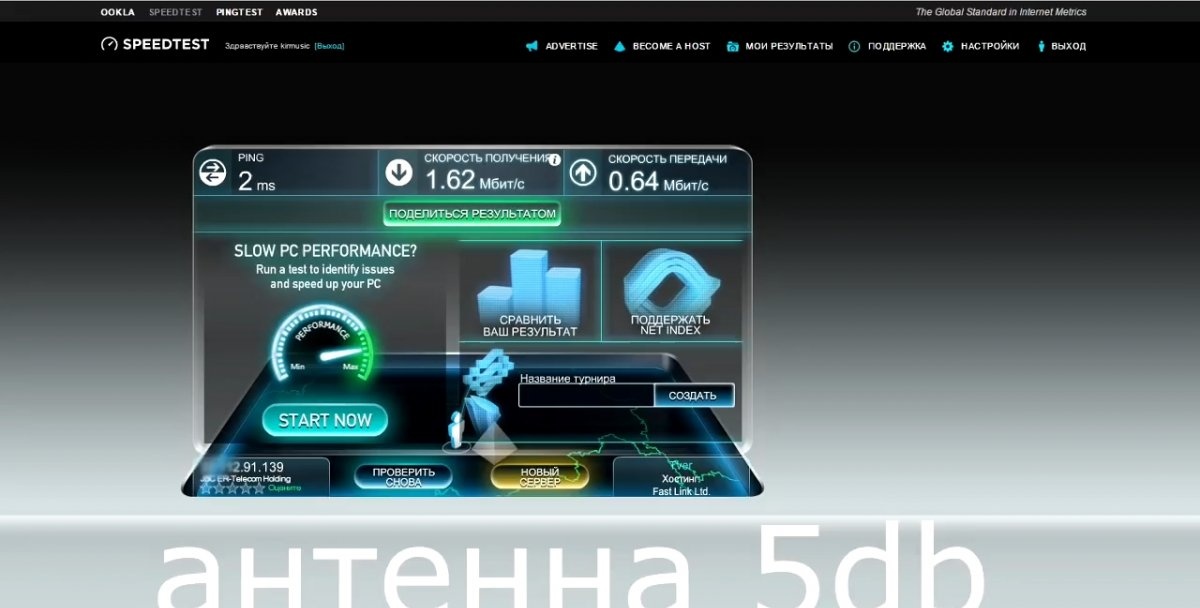

(Click to enlarge)
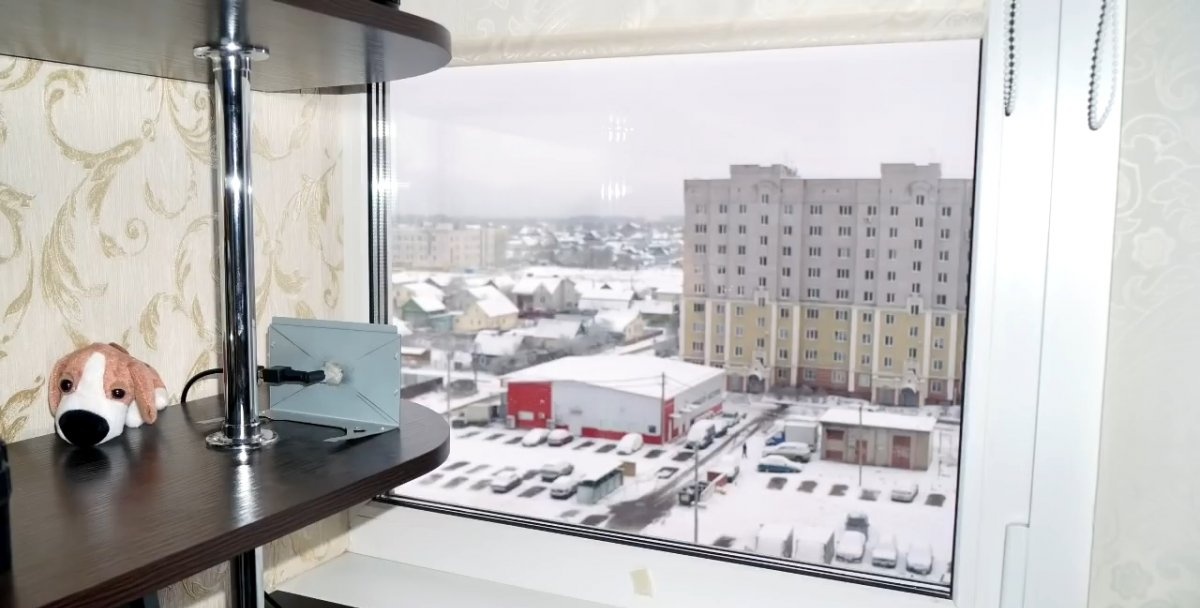
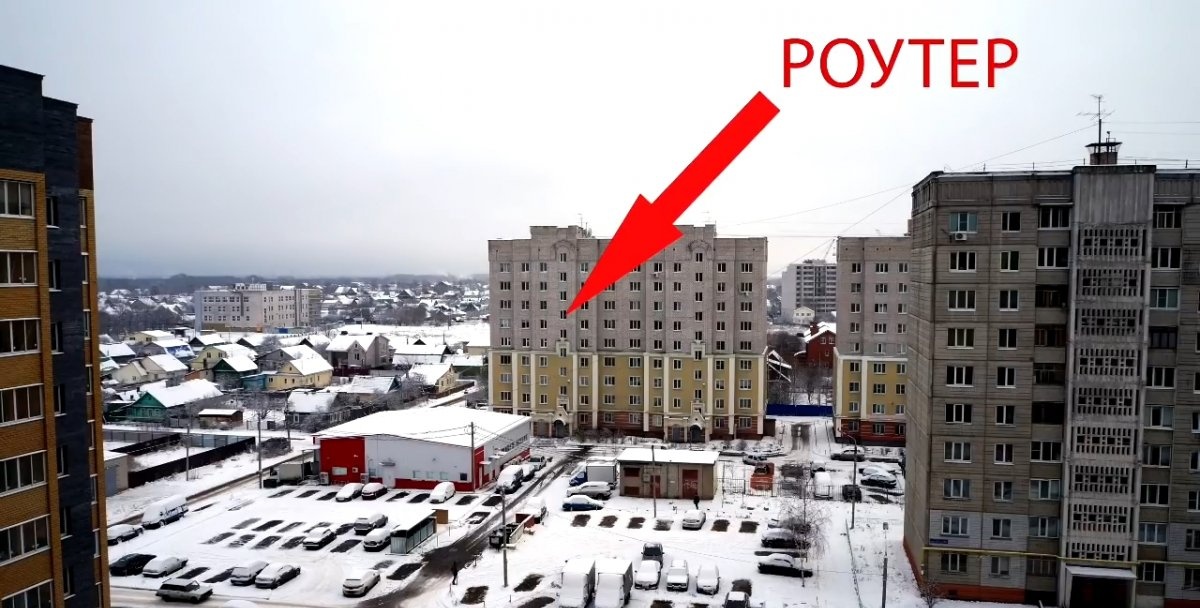
The distance to the reception site was significant.
Comment
If you use a mesh or lattice structure rather than a solid plate to make a reflector, the quality of the antenna will not deteriorate, and the windage capacity if installed outdoors will be greatly reduced.