DIY do it yourself
Master classes, instructions, useful tips, recipes.
» » » »How to make an angular connection in three parts
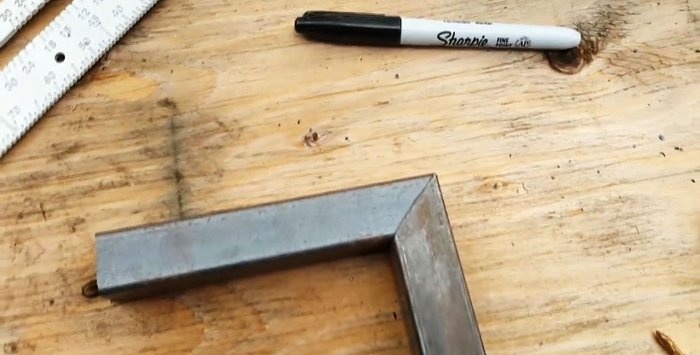
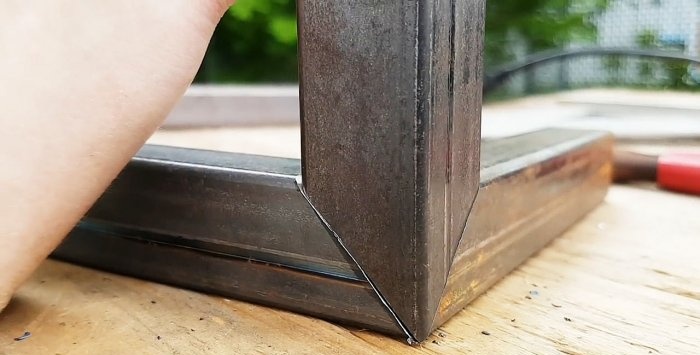
For work, you can take pipes of any section: round, square, but we will focus on rectangular products. The main principle will be the same everywhere: for precise joining of the connection elements, their ends are cut each time at 45 degrees.
Such a connection is usually used for aesthetic purposes, because for ordinary designs there are simpler mounting options, but at the same time providing better strength characteristics.
How to make an angular connection in three parts

Will need


In order not to be distracted during the course of work, the following tools and materials should be prepared in advance:
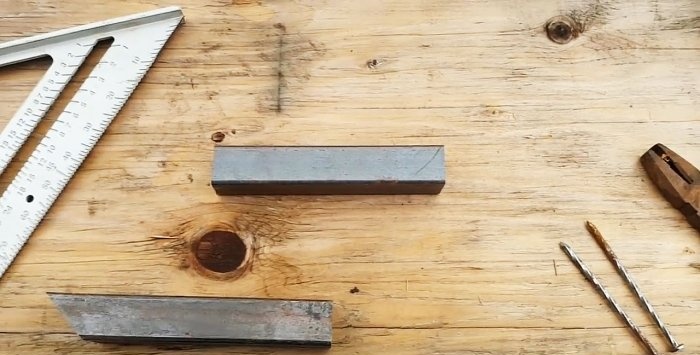
  • three identical sections and lengths of a segment of a rectangular pipe;
  • metal marking triangle with angles at the base of 45 degrees;
  • marker;
  • pendulum saw with a rotary table;
  • removable clamp.

The process of making a double corner joint


This work can be divided into two parts: markup and, in fact, the connection. If the first part of the work is done correctly and with the required accuracy, then the second turns into a simple formality.
How to make an angular connection in three parts

So, let's begin:
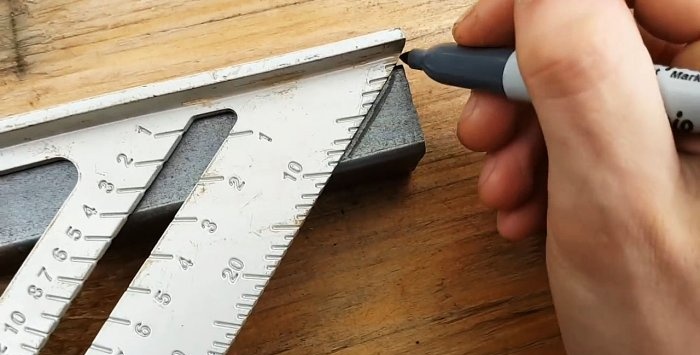
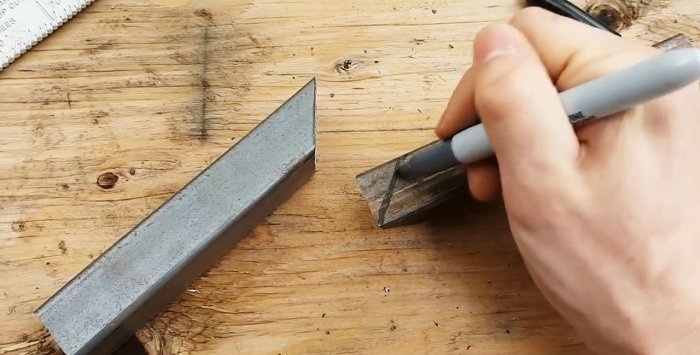
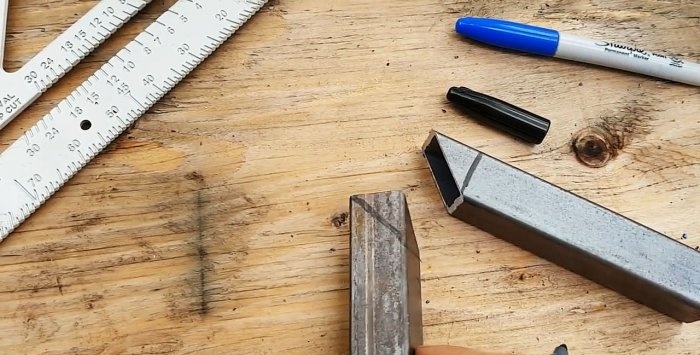
1. Using a triangle, draw a line at 45 degrees on three segments along the wide side closer to one end. To save material, it can be carried out at the very end - from one of the end angles.
How to make an angular connection in three parts

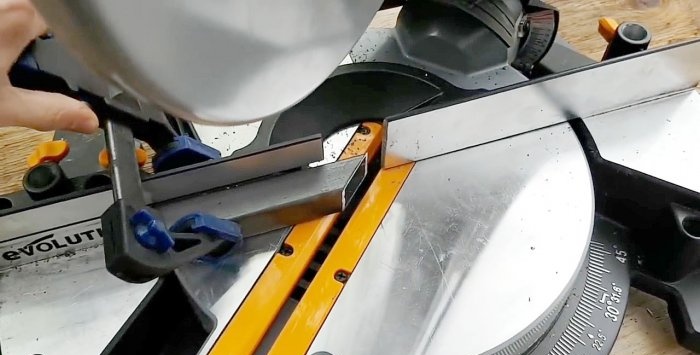
2. We set the table of the pendulum saw on a scale of 45 degrees, which automatically ensures the location of the plane of the disk of the cutting tool with respect to the part being cut at the same angle.
How to make an angular connection in three parts

3. Alternately we make a cut according to the marking, which is duplicated for reliability by fixing segments of rectangular pipes to the table using a removable clamp.
How to make an angular connection in three parts

How to make an angular connection in three parts

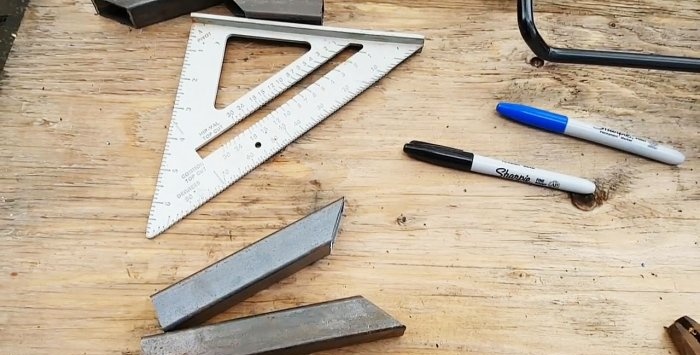
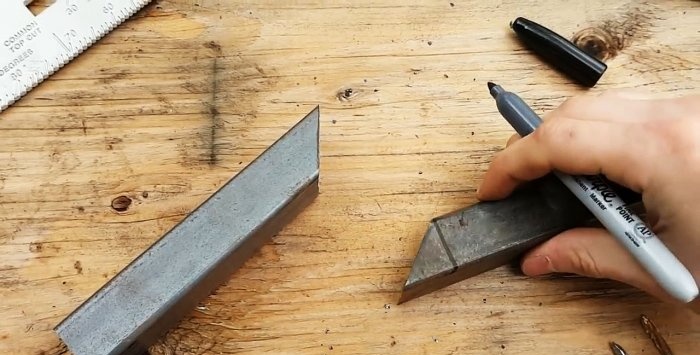
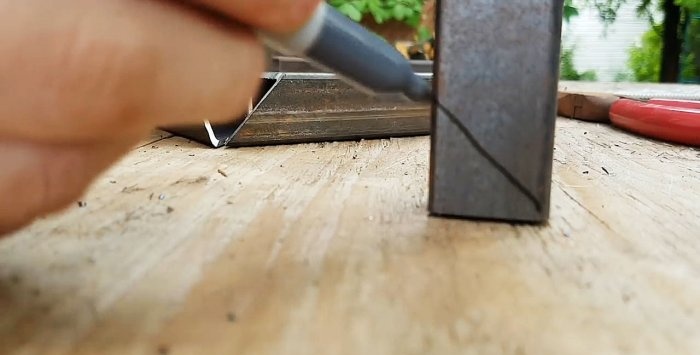
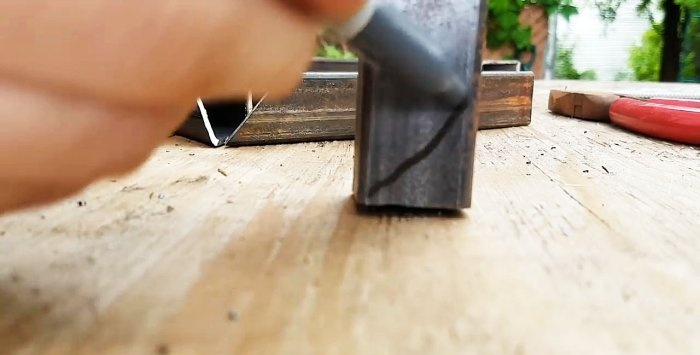
4. Turn the pipes with beveled edges 90 degrees and again mark the marking at 45 degrees.
How to make an angular connection in three parts

How to make an angular connection in three parts

How to make an angular connection in three parts

5. Once again, repeat operation number 3 (installation, fastening, segment), but according to the new markup.
How to make an angular connection in three parts

How to make an angular connection in three parts

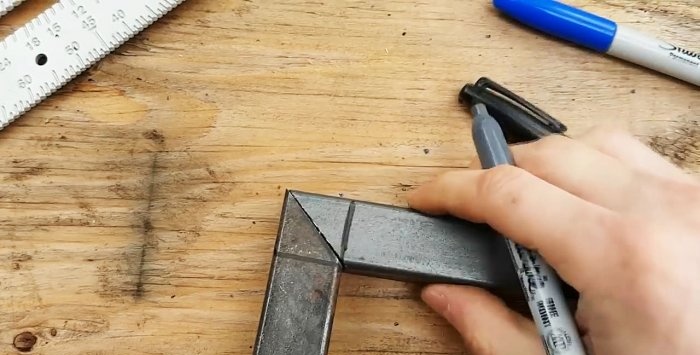
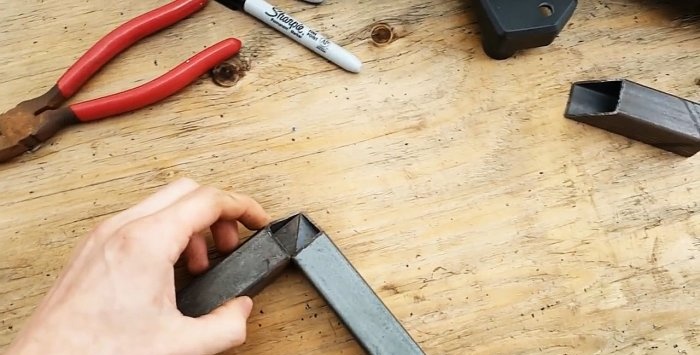
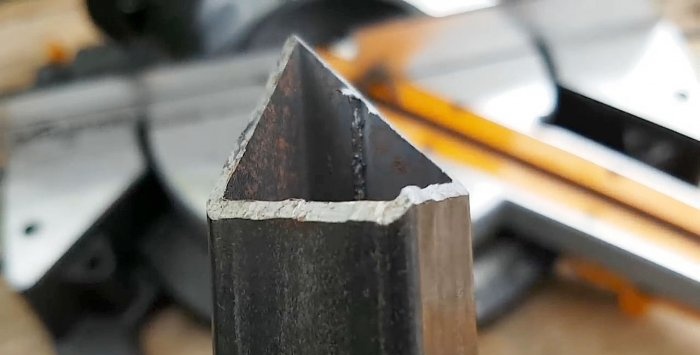
6. We connect on the horizontal surface two prepared pipe sections with ends, sawed off along the larger diagonal. For reliability, you can measure the outer angle: it must be exactly 90 degrees.
7. We take the third pipe segment and, having tried on the first two in the assembly, we already make the usual marking and form a shaped part with the help of a pendulum saw that will coincide with the corresponding faces of the first two segments assembled together.
How to make an angular connection in three parts

How to make an angular connection in three parts

How to make an angular connection in three parts

Cut off on both sides.
How to make an angular connection in three parts

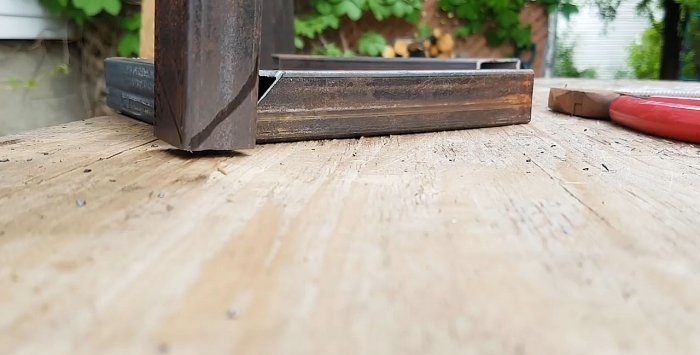
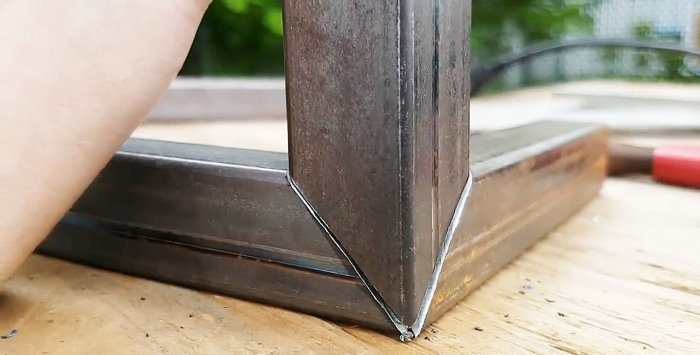
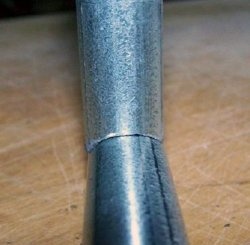
As a result, the angular connection is obtained by itself.
How to make an angular connection in three parts

Conclusion


The second part of the work - joining, can be done by gluing, if the material is wood or plastic, by soldering, gas-acetylene or electric welding, if the details are metal.
How to make an angular connection in three parts

Watch the video


come back
Comments (4)
  1. Akril
    #1 Akril Visitors April 11, 2019 3:15 p.m.
    5
    A beautiful connection ... the truth in real life, of course, too lazy to do this, so many cuts, and even at an angle ... but for myself I would cook just like that wink
  2. Guest Nikolay
    #2 Guest Nikolay Guests April 12, 2019 4:54 PM
    3
    The exact angle can be cut only by trimming with a carbide cutting disc, such as circular wood, but only by metal, the photo shows that the inner cut already a millimeter or a half ran away from the sides, but the outer one turned out exactly like ordinary cutting discs they bend along the plane and the larger the diameter of the disk, the greater the deviation, accuracy is always lame from this no matter how hard you try .. What about the explanation itself how to do it - here the author is undoubtedly a fat plus - novice creators will good!
    1. Akril
      #3 Akril Visitors April 13, 2019 4:53 p.m.
      1
      As for the deviation proportional to the thickness of the disk, it’s rightly noticed, but manually using a grinder along exact lines, and with a millimeter disk is quite possible ... and again, such connections are usually far from one - beautiful, neat, but not rational.
  3. Hamster75
    #4 Hamster75 Guests April 16, 2019 04:23
    0
    Such a compound is commonly used in aesthetic for tightness in order to protect against corrosion.

Read also

Error codes for washing machines