Sometimes there is a situation where you need to charge a battery of a certain size, but we have a charger for a different size. There is a huge range of chargers in stores, both for specific batteries and universal ones that charge different batteries. It would seem that it could be simpler: go and buy it! But there is an option to get what you need literally for pennies, and at the same time be no less effective in operation. A good universal charger for 3.7 volt batteries, of different shapes and sizes, costs at least 1000 rubles, but I want to offer an idea on how to get the same functions, but costing 50-70 rubles. And at the same time compact, able to fit into a matchbox!
Will need
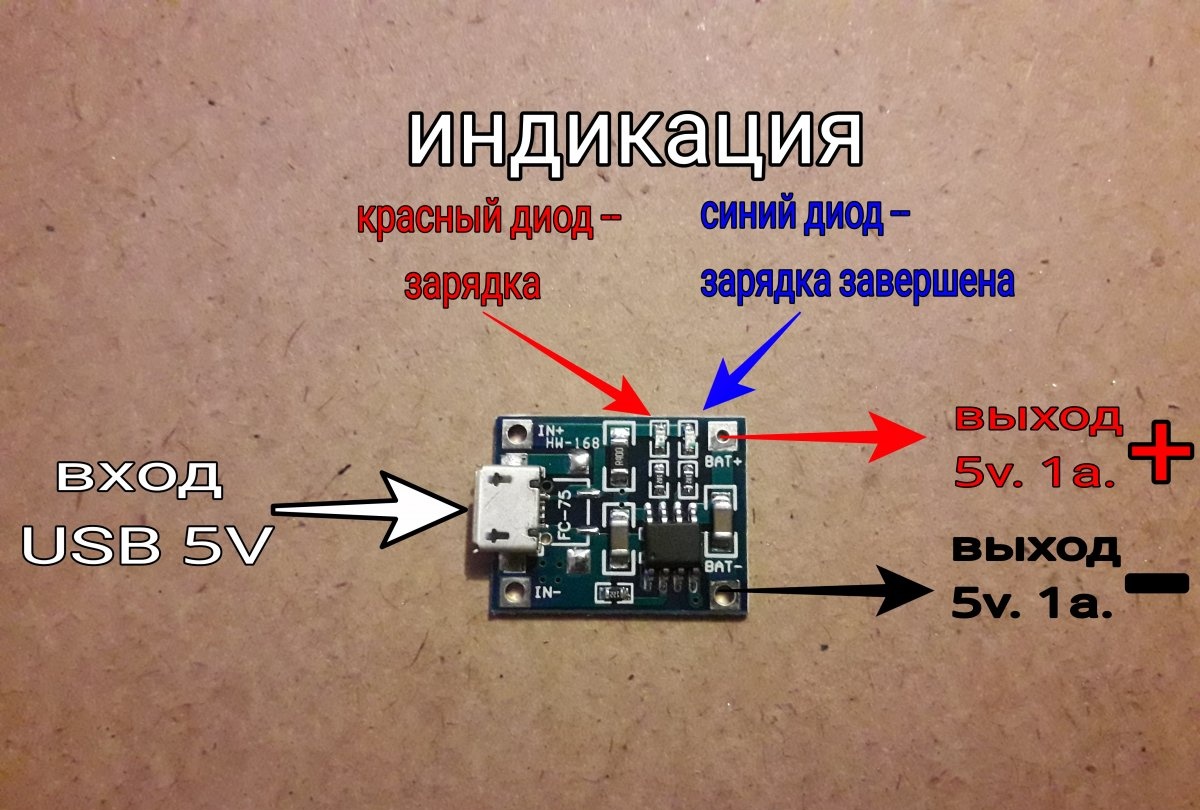
- Charge controller for batteries with a voltage of 3.7 V. (with indication).
- A sheet of plastic, 1mm thick, approximately 10x10 cm (this is with a margin!).
- Secondary glue.
- A stationery knife or technical scalpel.
- Scissors.
- Ruler.
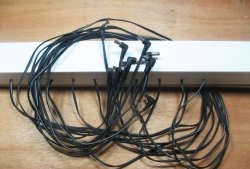
- A piece of USB cable (or similar in thickness), 7-10 cm.
- Two wires, black and red, 10 cm each.
- Heat shrink tubes.
- Two neodymium magnets, approximately 8x8x1.
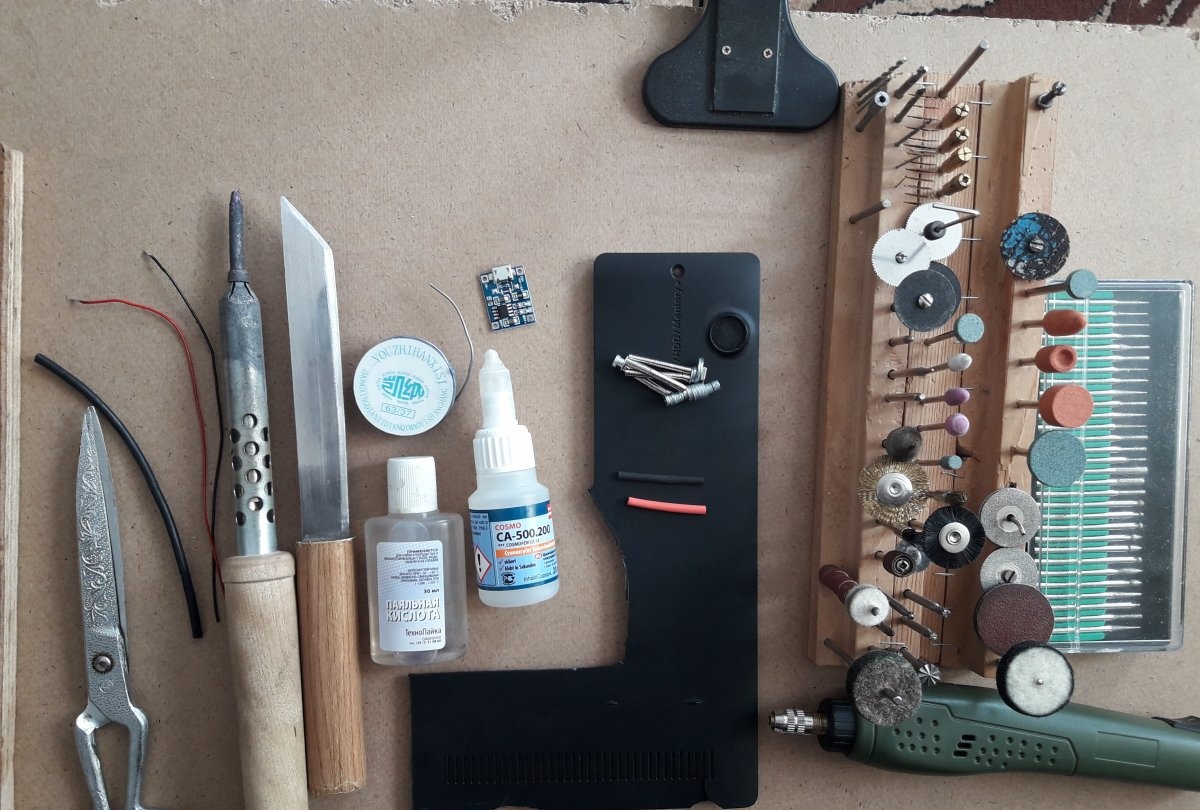
- Soldering iron, with tin and flux.
- Boring machine, with a set of stones, drills and discs.
- Cold welding glue.
- Colored self-adhesive film.
Manufacturing a universal charger for any size battery
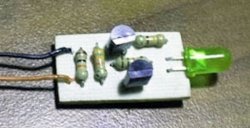
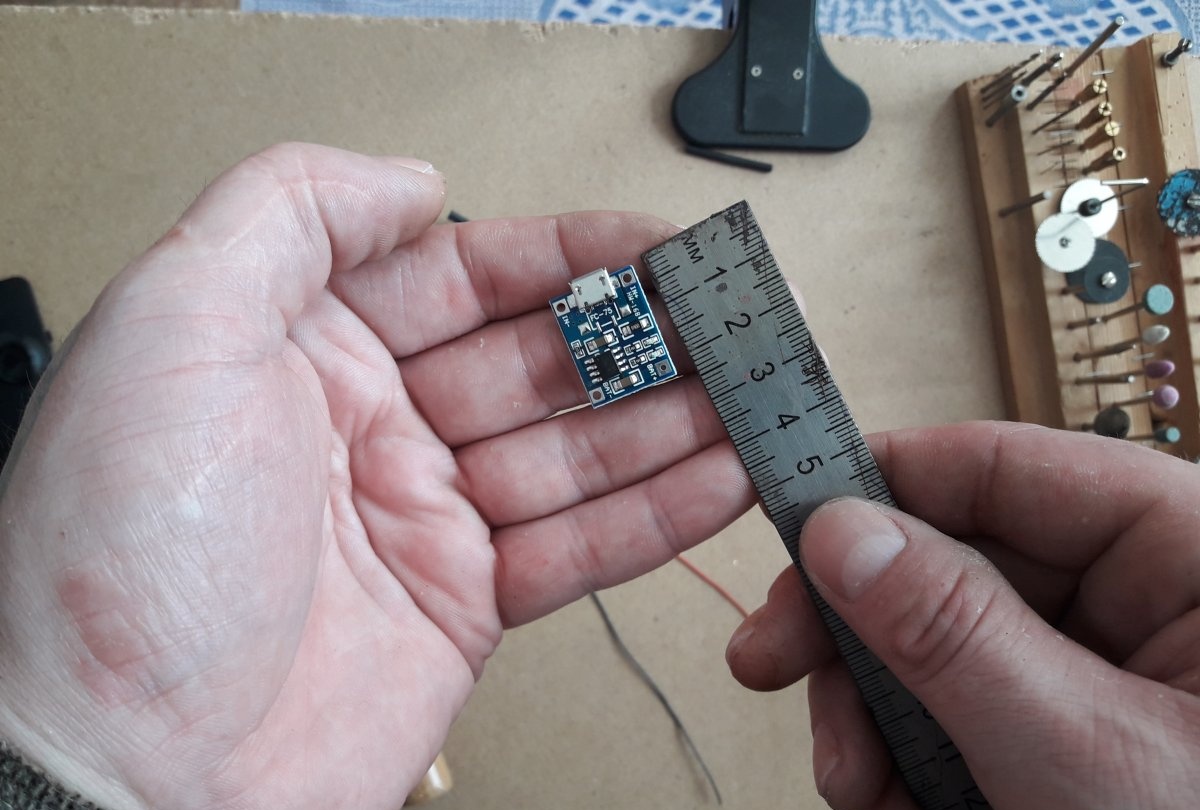
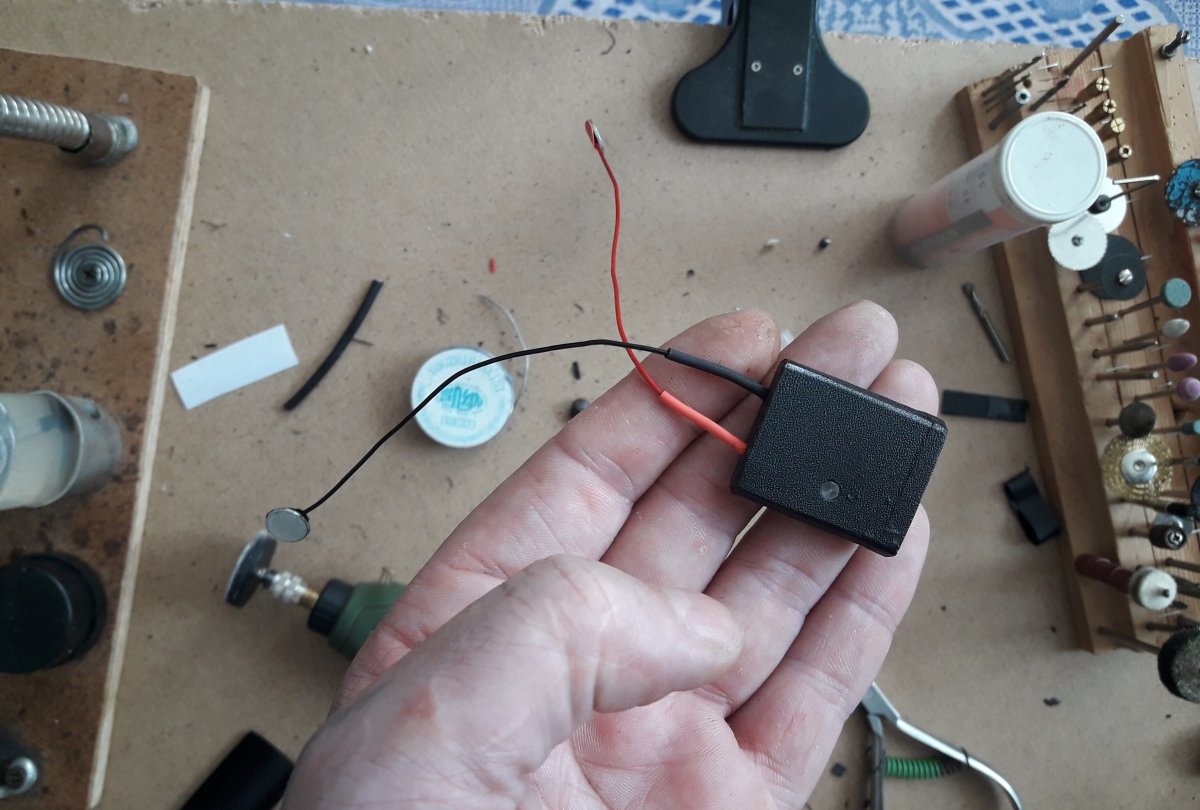
The most important part in this assembly is, of course, the charging module. I purchased this module from a Chinese online store. The module has a Micro USB input, like in a phone, which can be connected via a USB cable to any USB port. Two tinned contacts act as the output; plus and minus, which are marked with the corresponding symbols. The output has a constant voltage of 5 V and a power of 1 A.
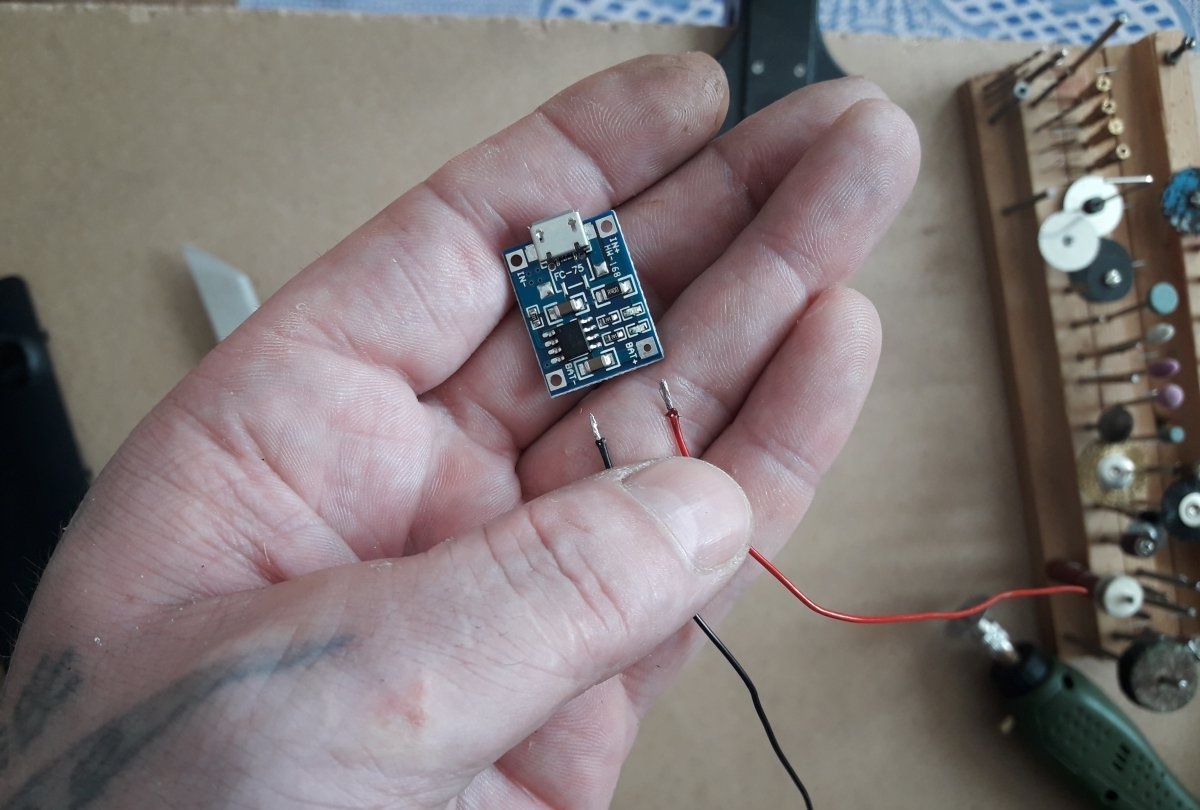
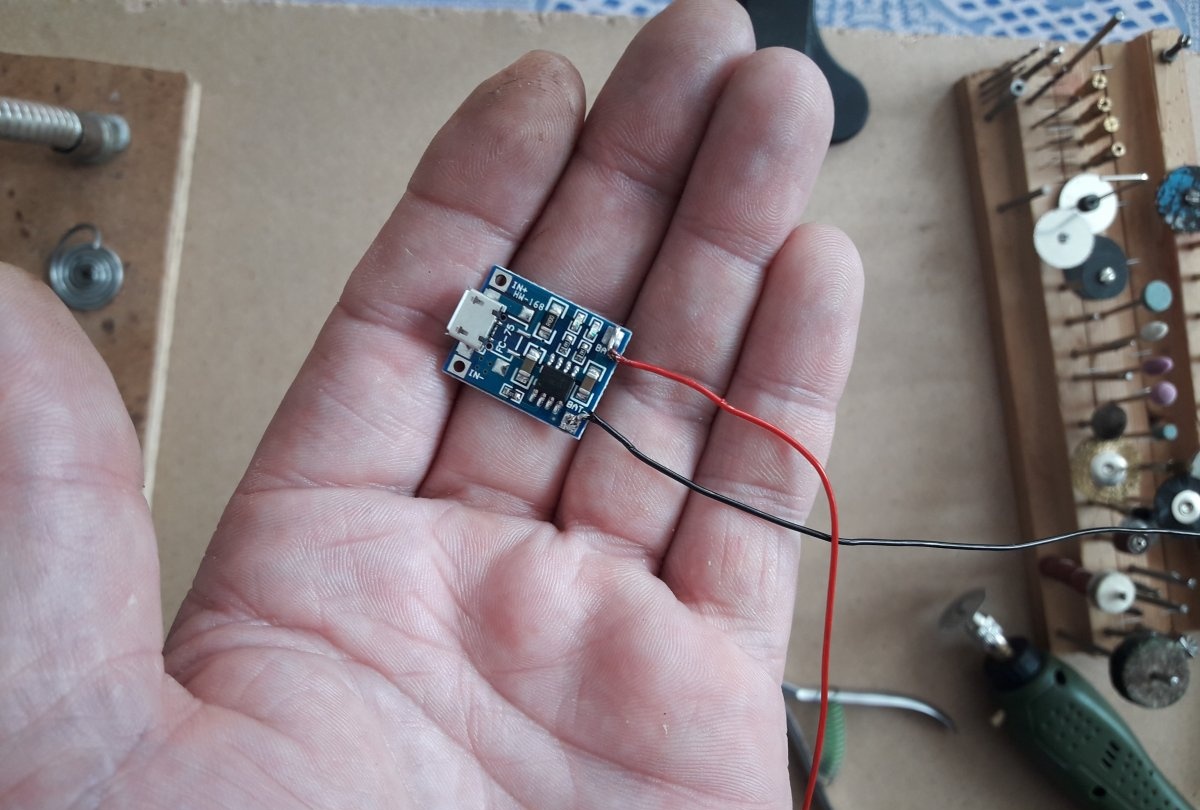
I can say with confidence that these Chinese modules of this type are quite reliable (which is quite surprising, knowing their origin!), since I have been ordering and using them for quite a long time, and have never come across any defective or broken ones. So, first you need to solder the output wires to the module - red for positive and black for negative.
Now let's take a look at the housing for this module. To do this, you must first measure the module.
Next, we need plastic. I took black, but you can use any one, since it will still be closed in the end.
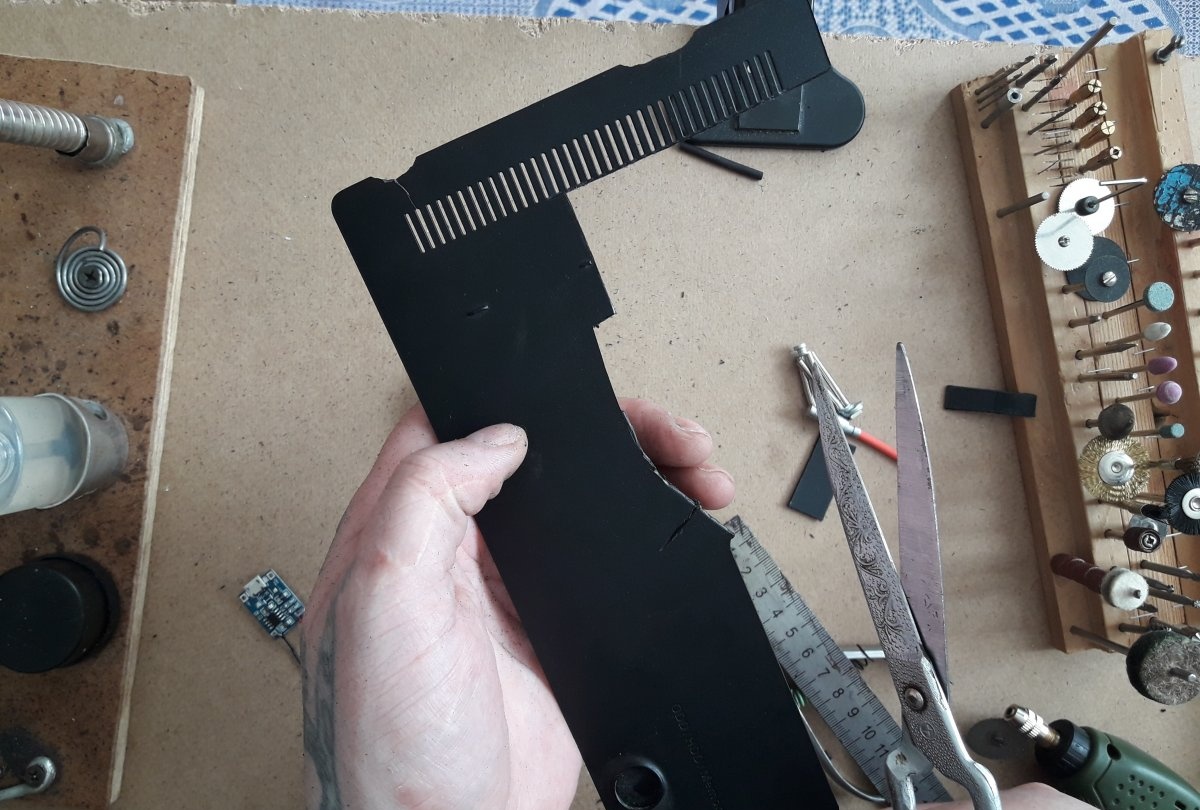
We transfer the module parameters to plastic, taking into account the margin for the end walls. 5 millimeters on each edge. Cut it out.
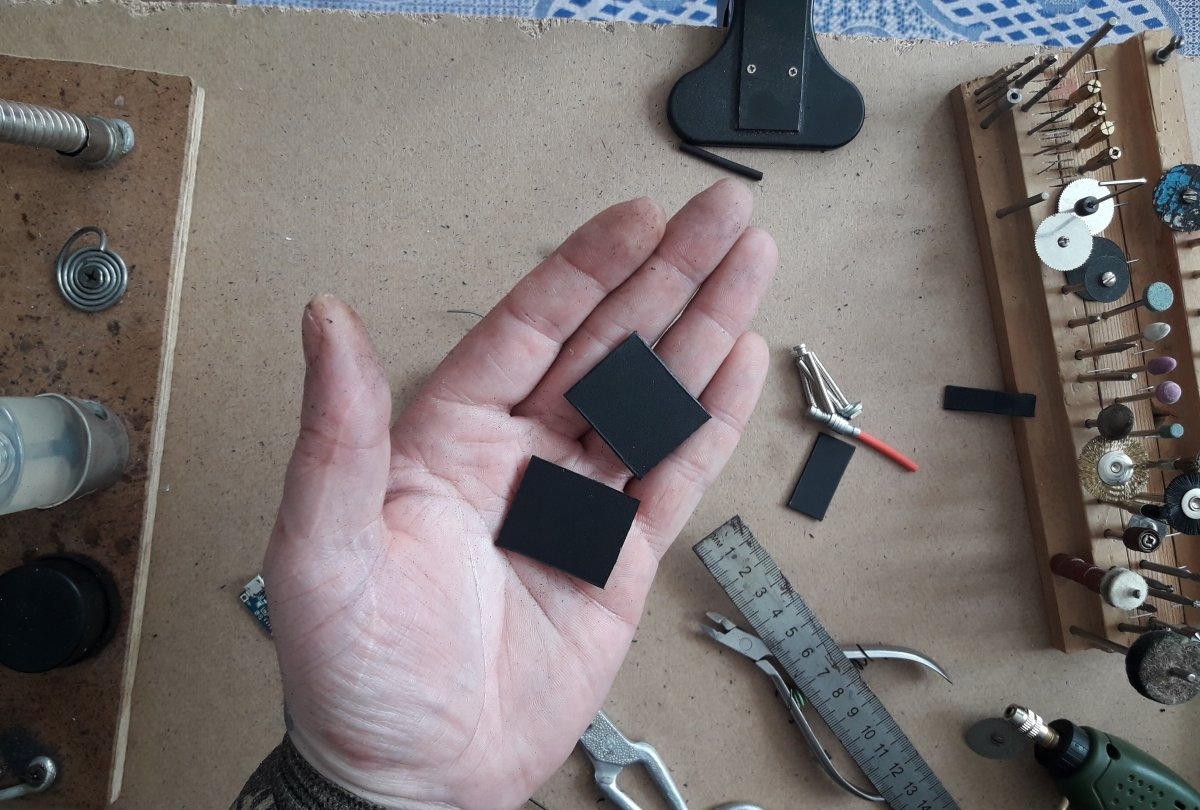
Next, using one-second glue, glue the module to one of the plates. We glue it so that the Micro USB connector is flush with the edge of the housing blank. There is no need to worry that using glue can disrupt the operation of the module - there is nothing on the other side, you can safely glue it.And immediately, cutting off pieces of cable of the appropriate length, we glue them as end walls.

Why cable? Because cutting such thin strips of plastic is a very tedious task. And the cable has a round shape, and after appropriate processing with sandpaper, the ends of the housing will also have a round shape. Next we need cold welding. Cut off a piece and, according to the instructions, wet your hands with water and mix the ingredients until smooth.
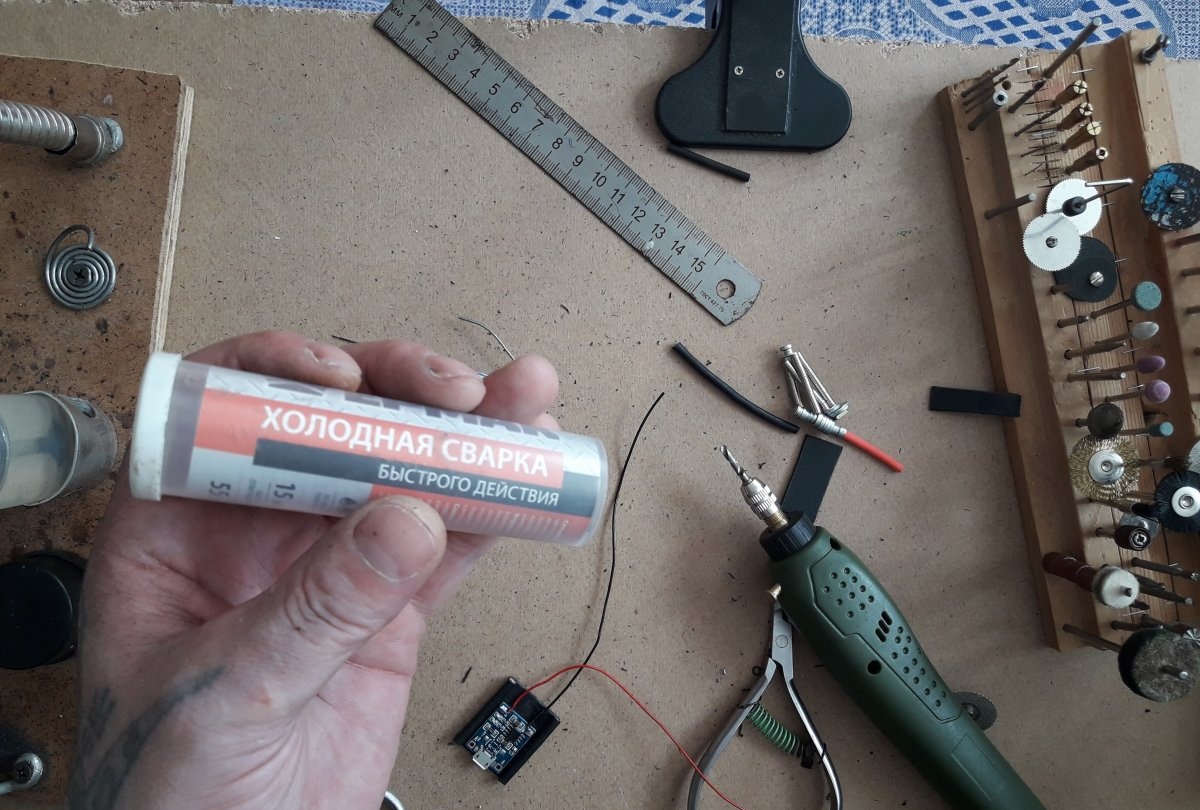
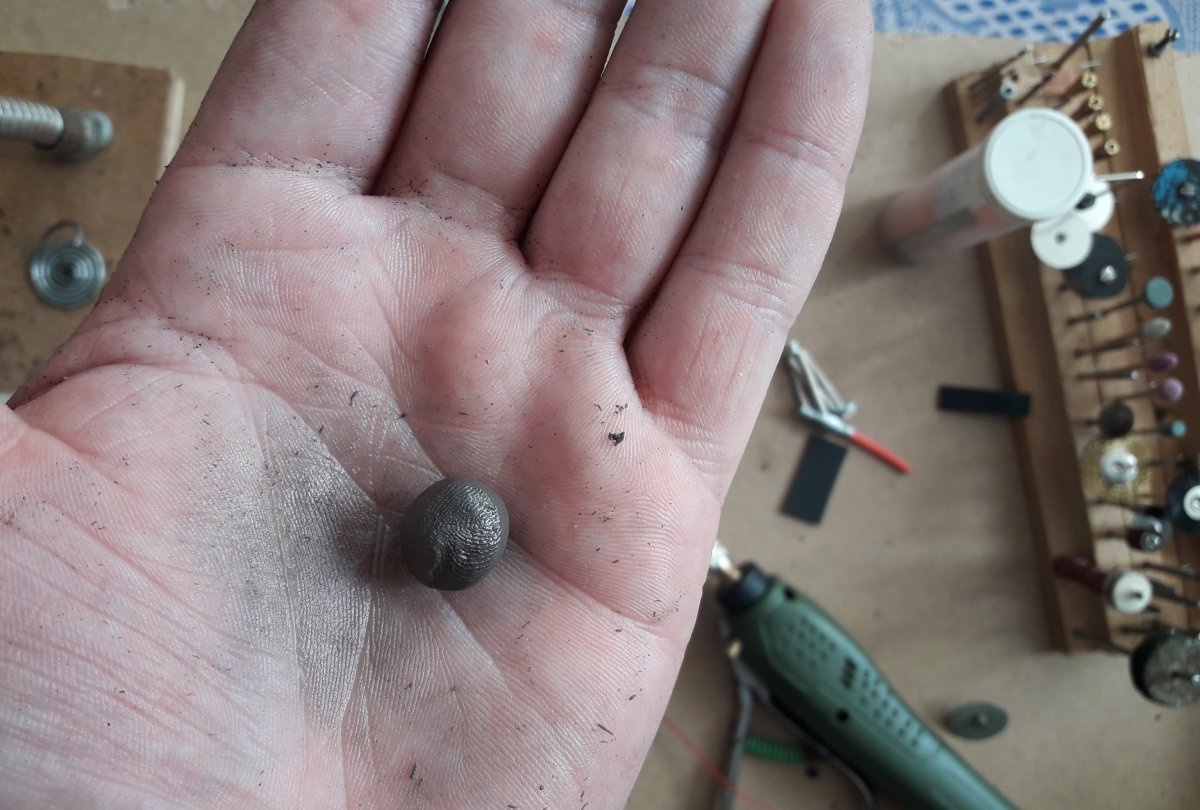
Having obtained the desired consistency, you can put the finished glue aside for 15 minutes so that it becomes more elastic and not so soft. In the meantime, you can prepare the top cover of the case. To do this, mark the approximate location of the charging indicators under this part, and drill a 3 mm hole in this place. This is for visual monitoring of the charging process. So the glue has hardened a little. Now we install heat pipes on the output wires and seat them with a lighter.
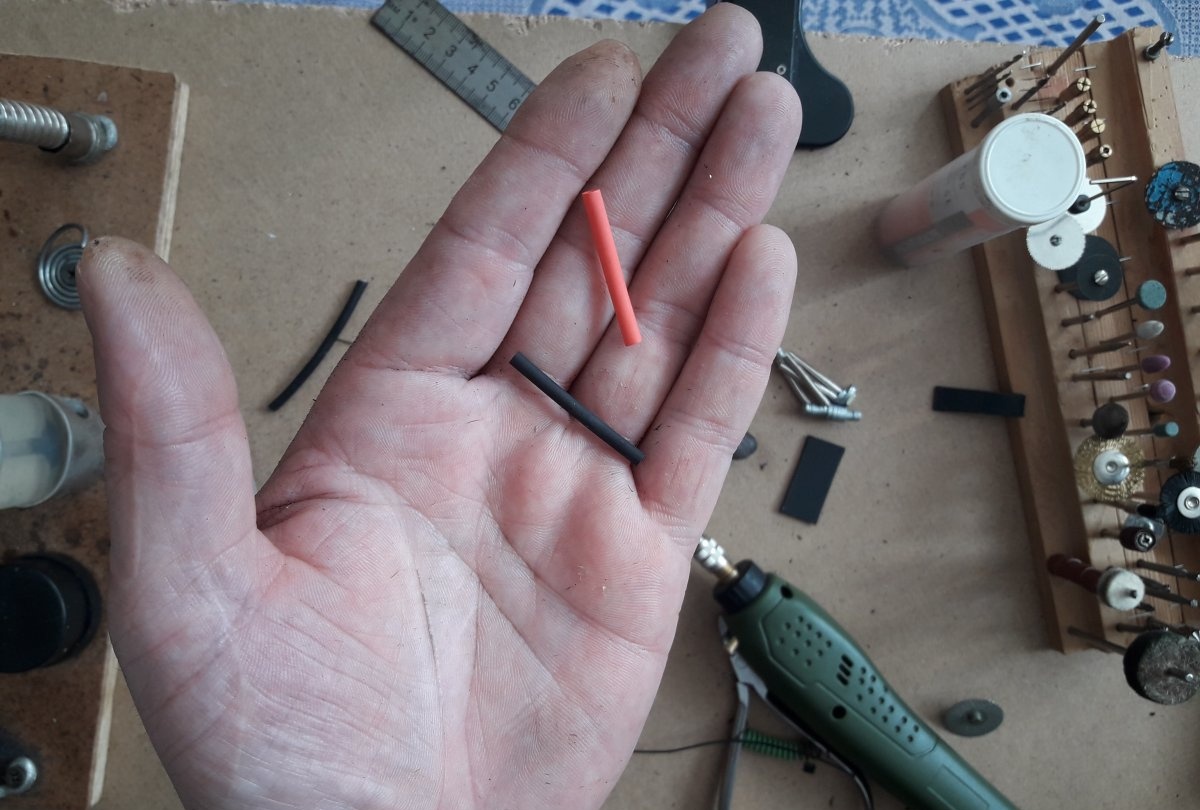
This is in order not to break the wires during further use, since they will be movable. Now we seal the free ends with cold welding. Apply a second of glue to the edges of the top plate and install it in place. Don't forget about the indication hole - so that it is in its place!
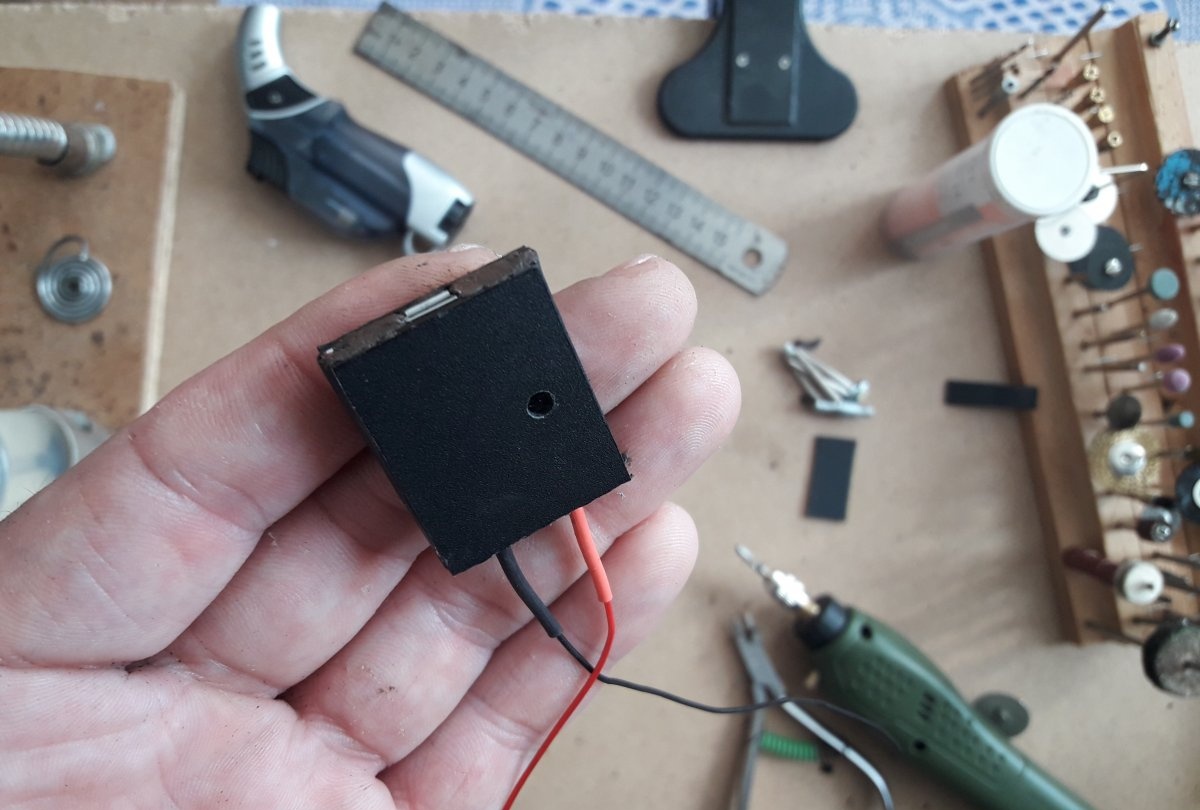
You can cover this hole with a piece of light plastic. For this purpose, I took a flash diffuser from a broken phone. It fit perfectly in the hole, no glue needed!

Now we sand the long ends, those with pieces of cable. We grind the corners. The result is a rounded end.
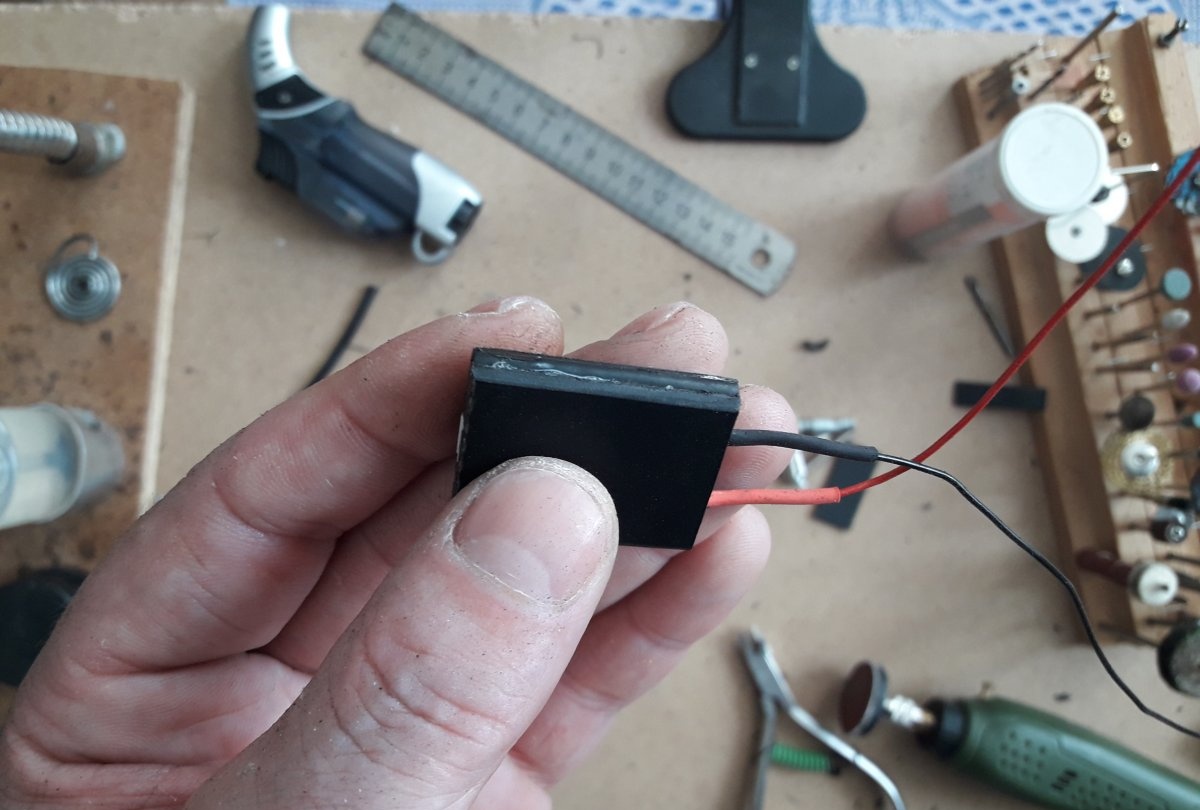
We also trim the excess cold weld that has protruded. Well, you can cover it with film.
To give a more aesthetic appearance.You don't have to worry about covering every hole. I simply covered the entire surface with a film of the color I liked, heated it all slightly with a lighter so that the film settled more tightly, and marked all the holes. Then I simply cut out a hole for the Micro USB connector and the indicator with a technical scalpel.
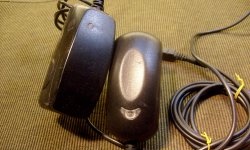
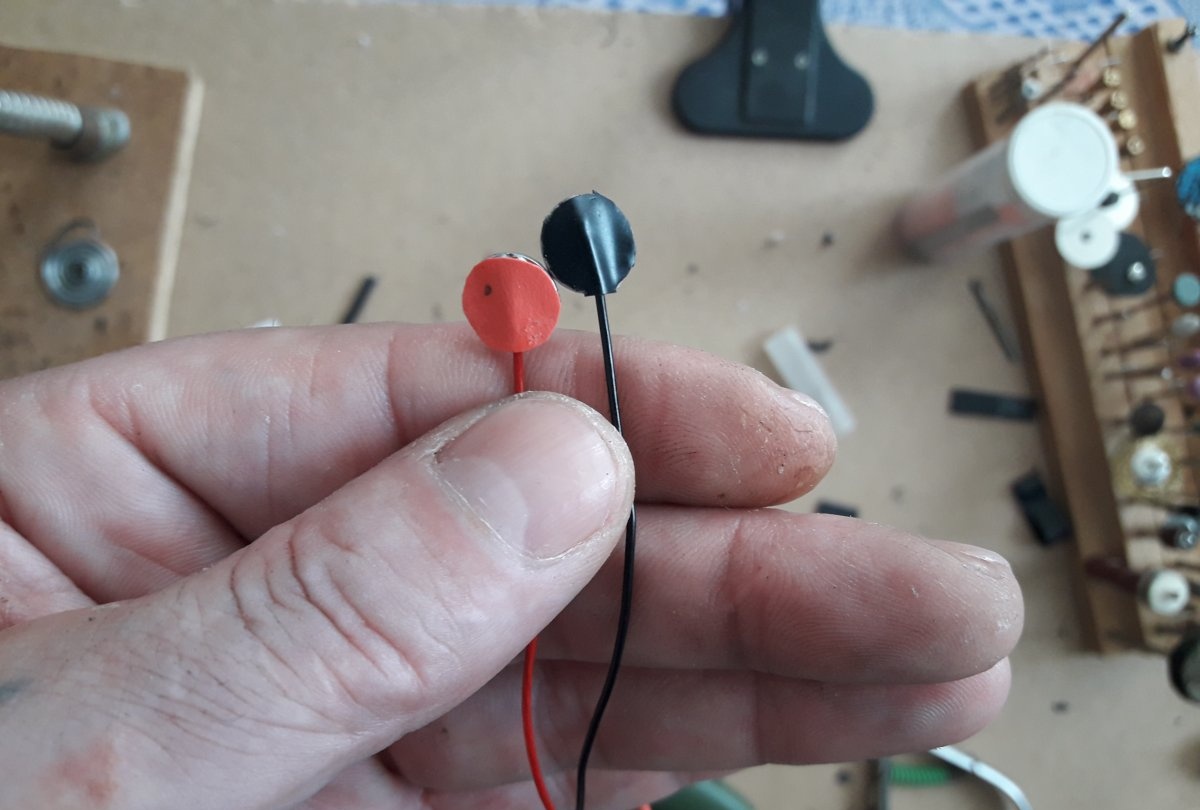
Well, the end where the output wires stick out doesn’t have to be covered. All that remains is to solder neodymium magnets to the contacts.
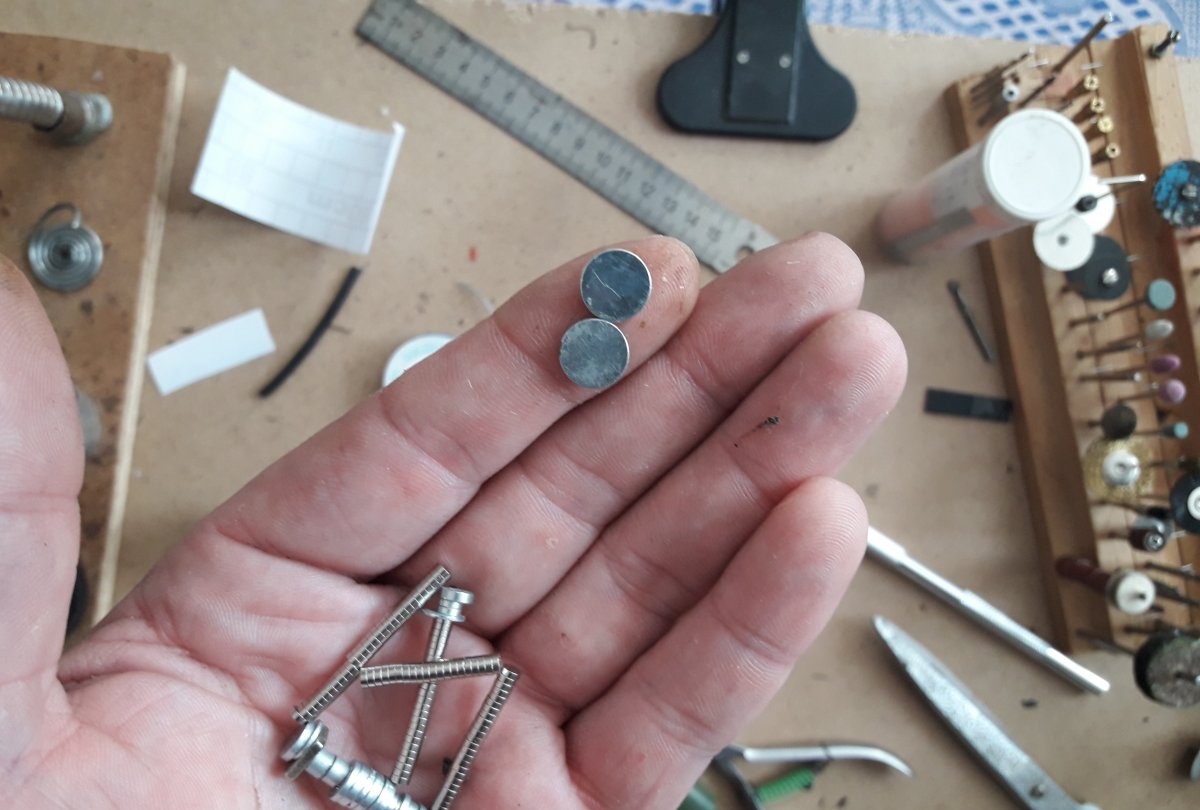
Here you need to act extremely carefully, but at the same time quickly. Solder the wires to the magnet very quickly so that the magnet is exposed to heat for as little time as possible. Otherwise, with prolonged heating, it will lose its magnetic properties, and all the work will go down the drain. Well, after soldering, you can stick markers of the corresponding colors on the soldering site so that there is no confusion when connecting.
Although, if you mix up the contacts when charging, nothing bad will happen - the controller will simply give a blue signal on the indicator and after a while will turn off the current supply. This is such a compact charger.
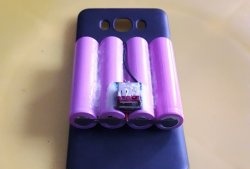
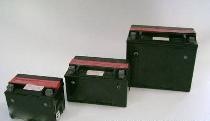
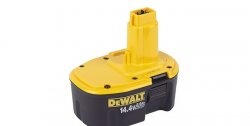
They can charge batteries of different sizes, but of the same voltage. Nothing bad, of course, will happen if you connect a battery to it at, say, 1.2 volts. This battery just won't last long. Thus, this universal charger cost me 53 rubles, and about an hour of work. The benefit is obvious. And it charges no worse than a device from a store.