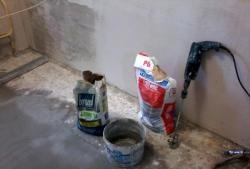
But the laying of the laminate is also associated with other stages of work. For example, there are cases when the floor surface has irregularities, which is unacceptable for laying a laminate. Therefore, in case of severe differences, it is necessary to first level the surface with a screed. It may also be necessary to prepare, for example, by dismantling the old surface.
Immediately before laying the laminate, it is important to carefully sweep the floor, eliminating dust and other debris, since the laminate should lie on an exceptionally flat surface, and even small differences can lead to unevenness in the joints.
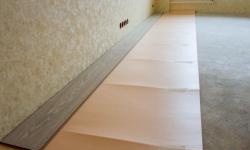
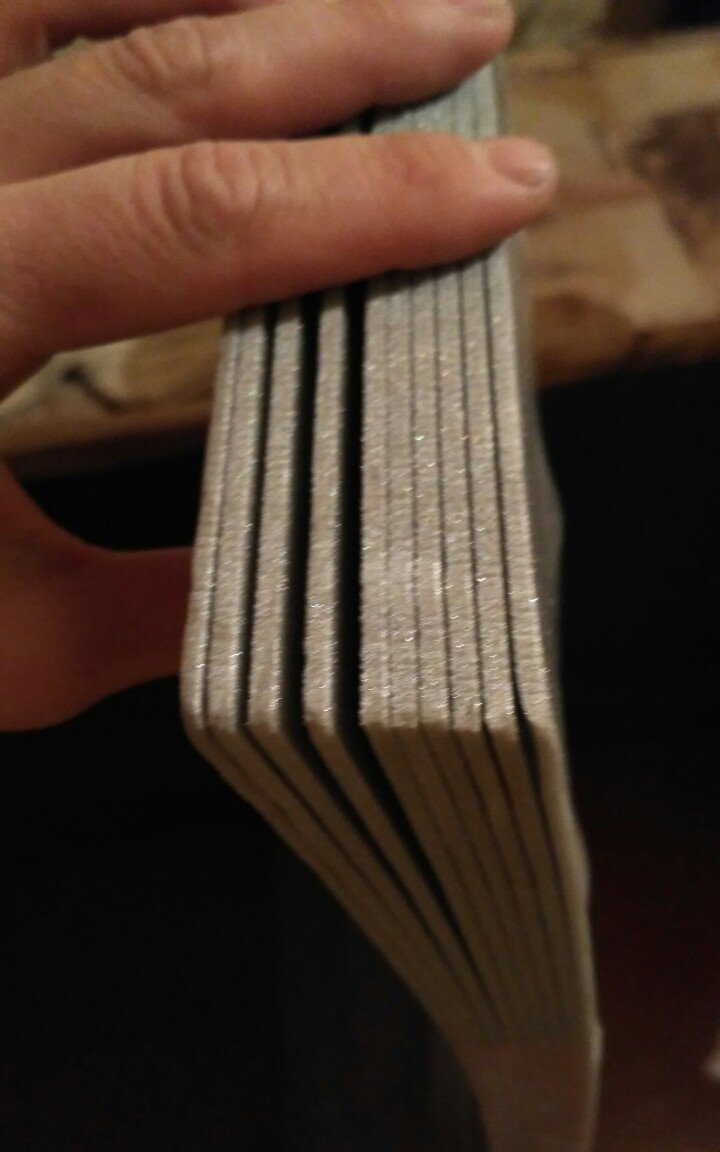
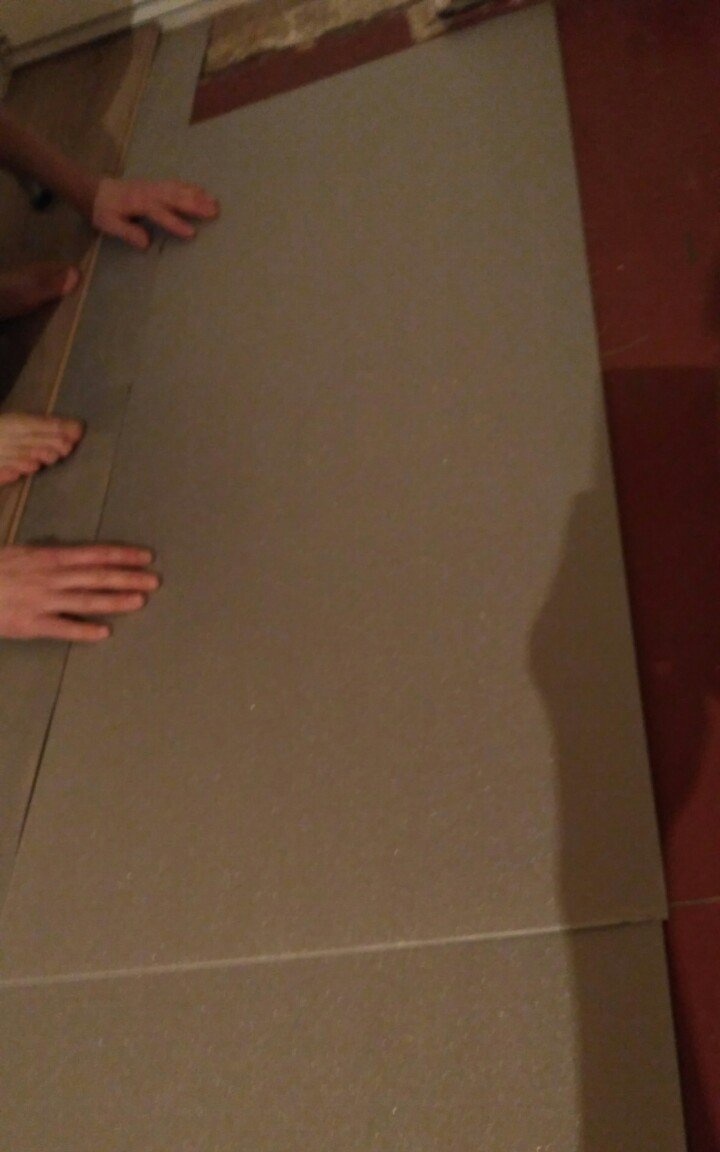
Next, you can start laying the substrate for the laminate. There are several types of substrates that differ in cost, as well as noise isolation properties and heat conservation. There are rolled substrates that are cheaper, as well as sheets of thin polystyrene foam, which are of higher quality.
First, you can cover part of the room with a backing.
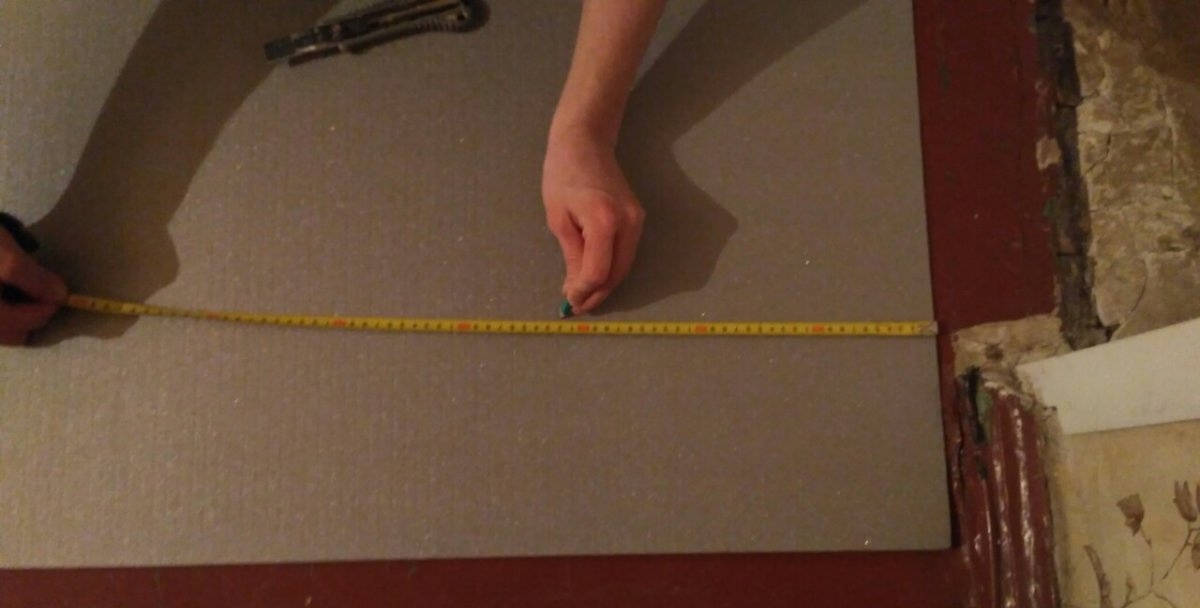
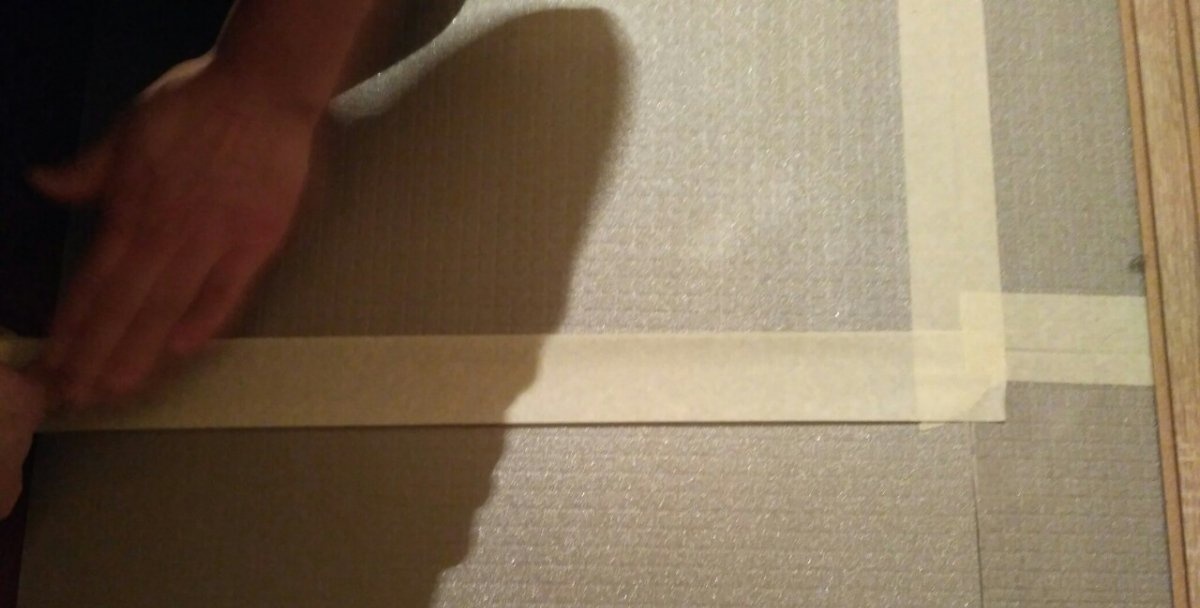
Rolls or sheets of substrate are joined together along the seam with tape.
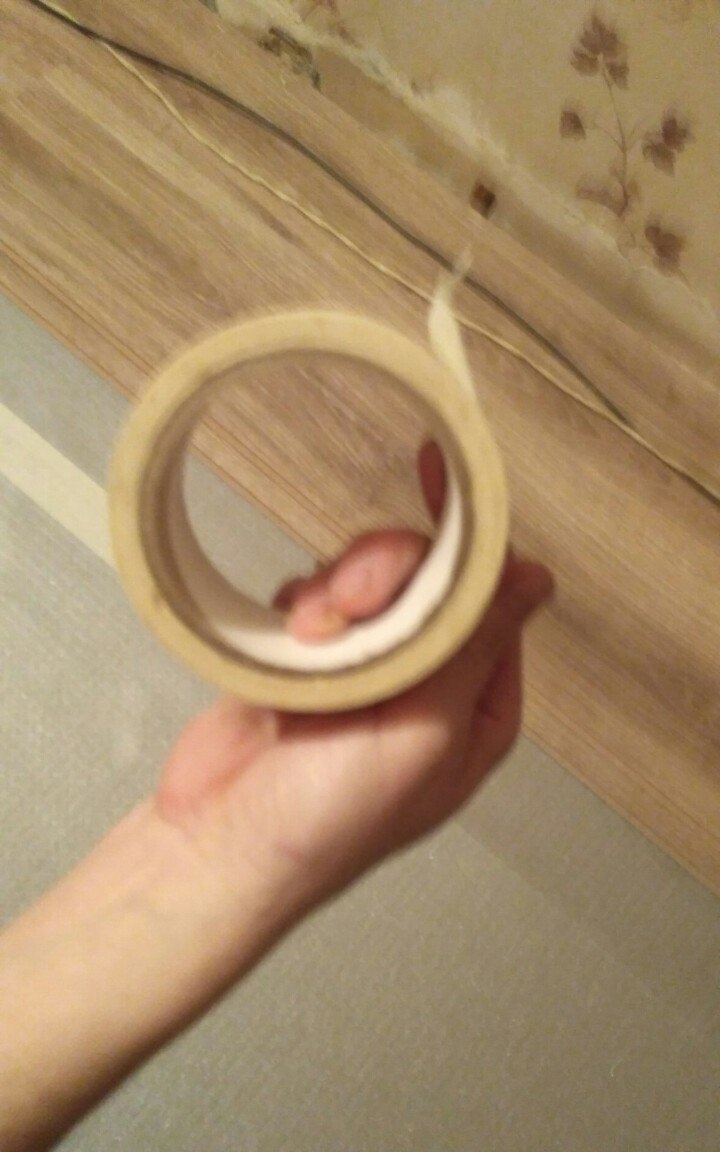
You will need a construction knife to trim the substrate.
Then you can start laying the laminate. Initially, you need to buy the right amount of laminate packaging, given the fact that some sheets may be defective. Also, about 10% of the total amount of floor squaring is the scrap that will remain after work.
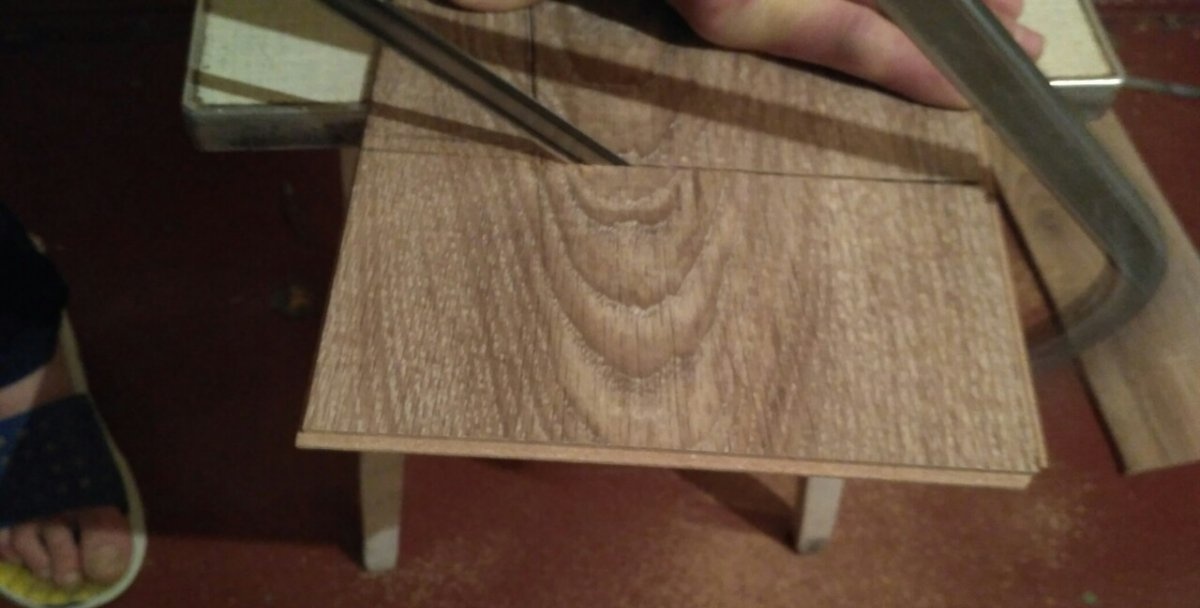
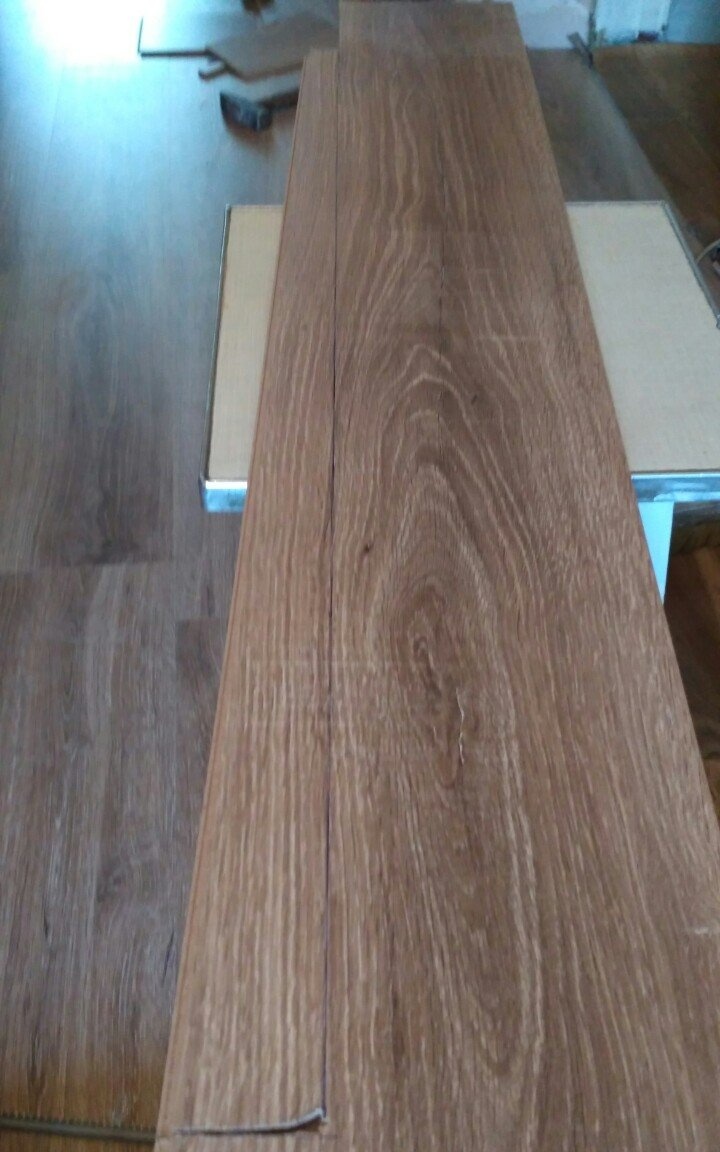
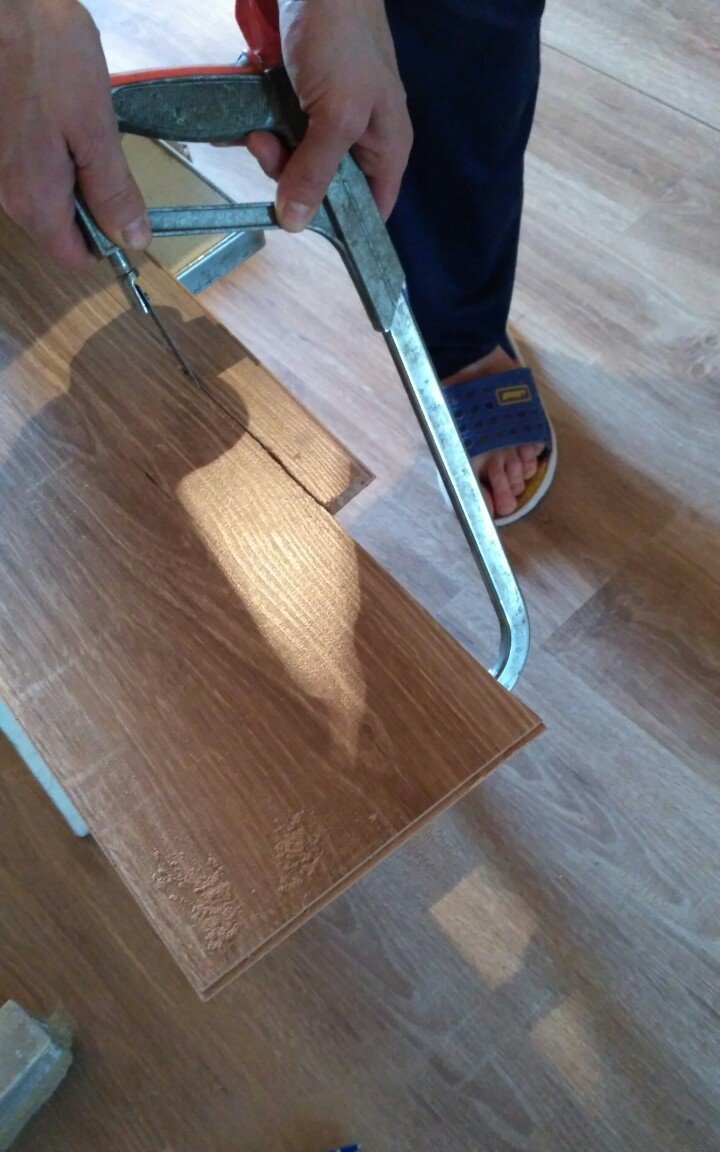
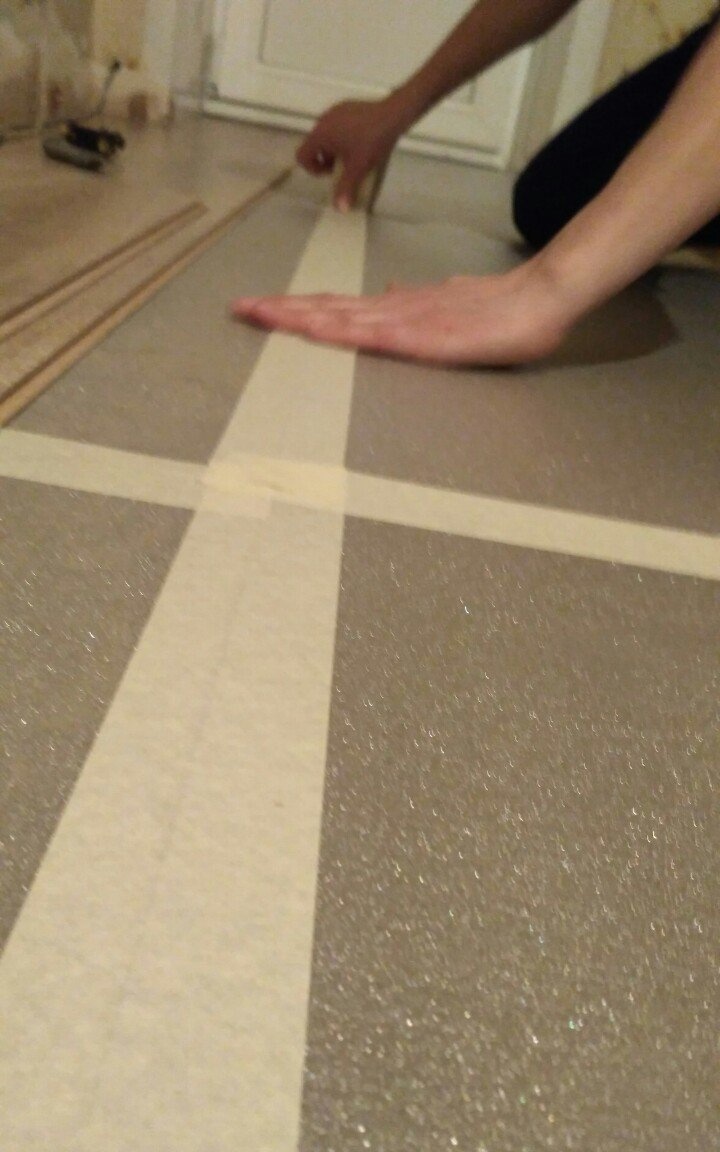
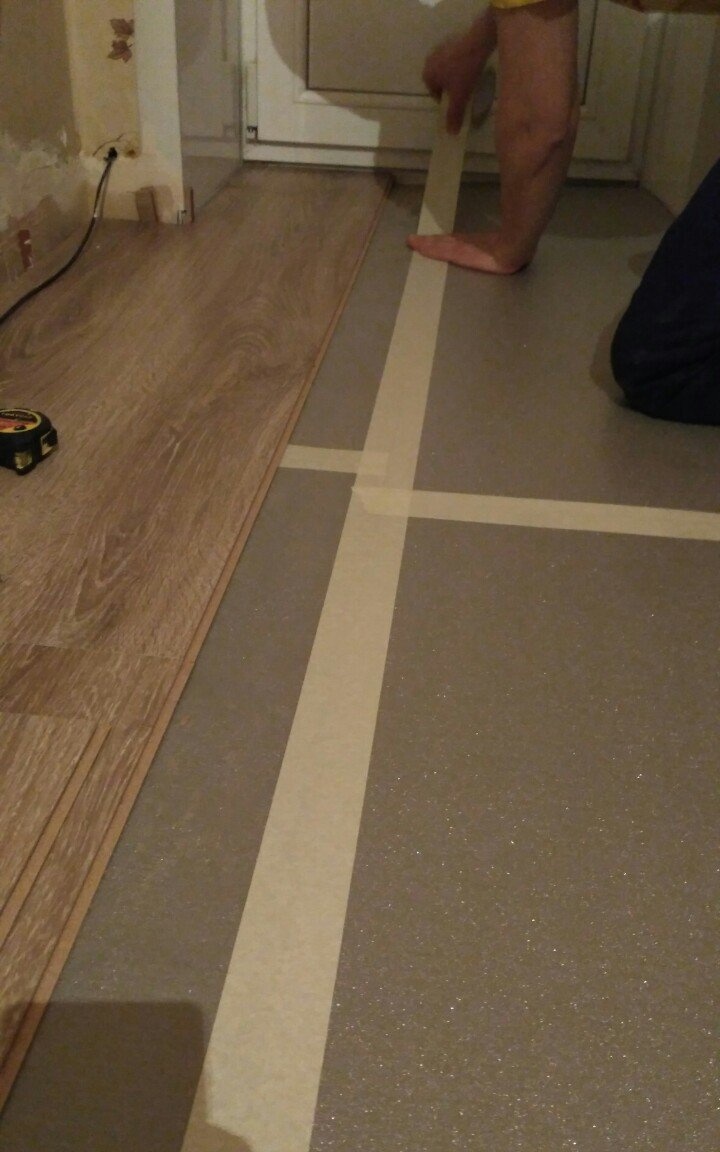
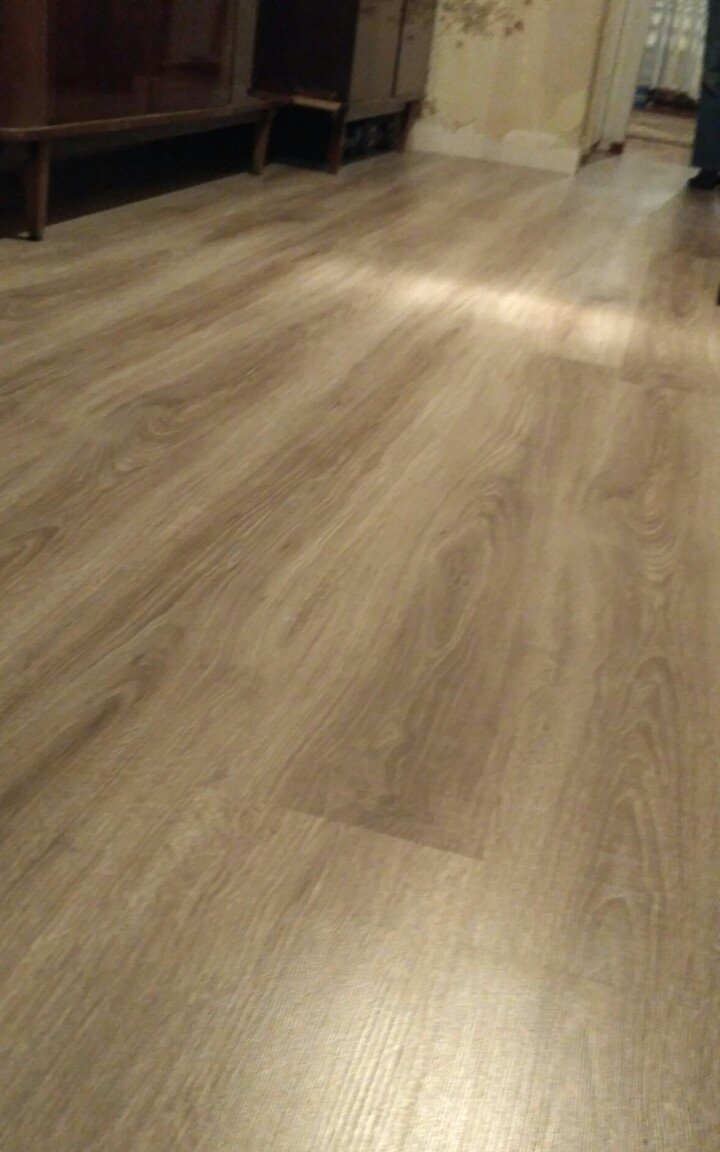
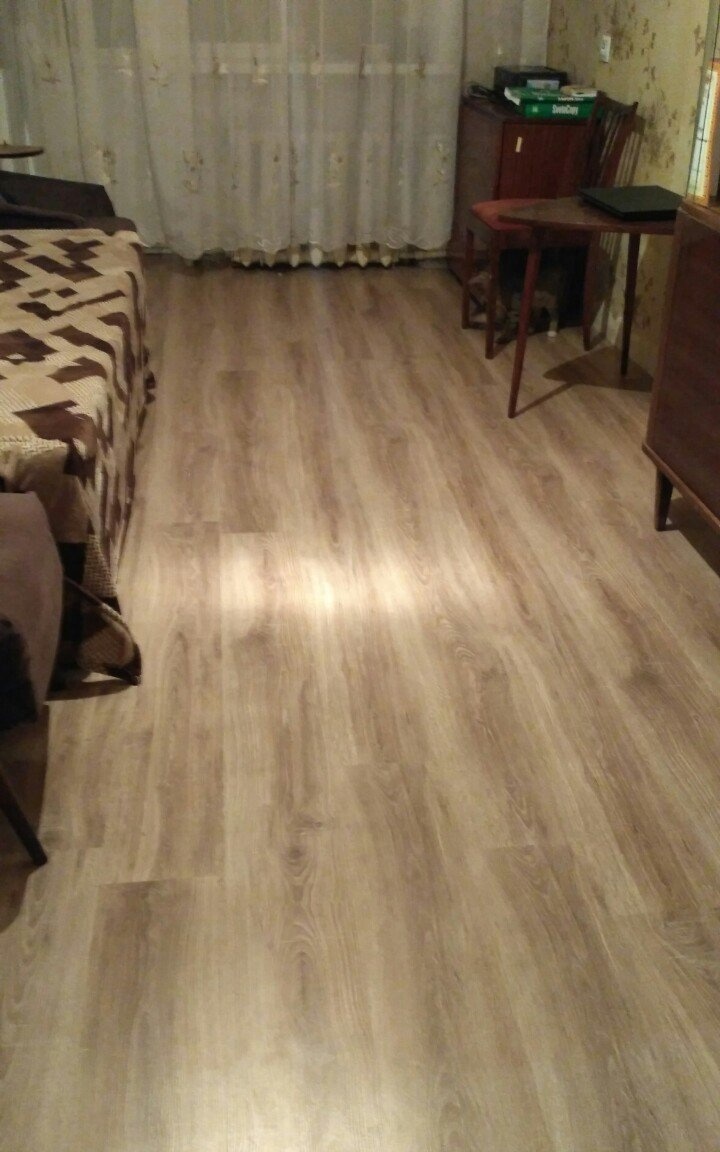
The lines of the seams should be in the same direction with the rays of light that are directed from the side of the window. As a rule, there is always an instruction on the packaging of the laminate, which indicates in which direction the laying should be carried out. First, the first strip is drawn from one edge. When you get to the edge, then the last board of the laminate needs to be cut. To do this, use a square and a pencil to mark exactly the cropping line. In addition, you will need a tape measure and a jigsaw with a wood file.

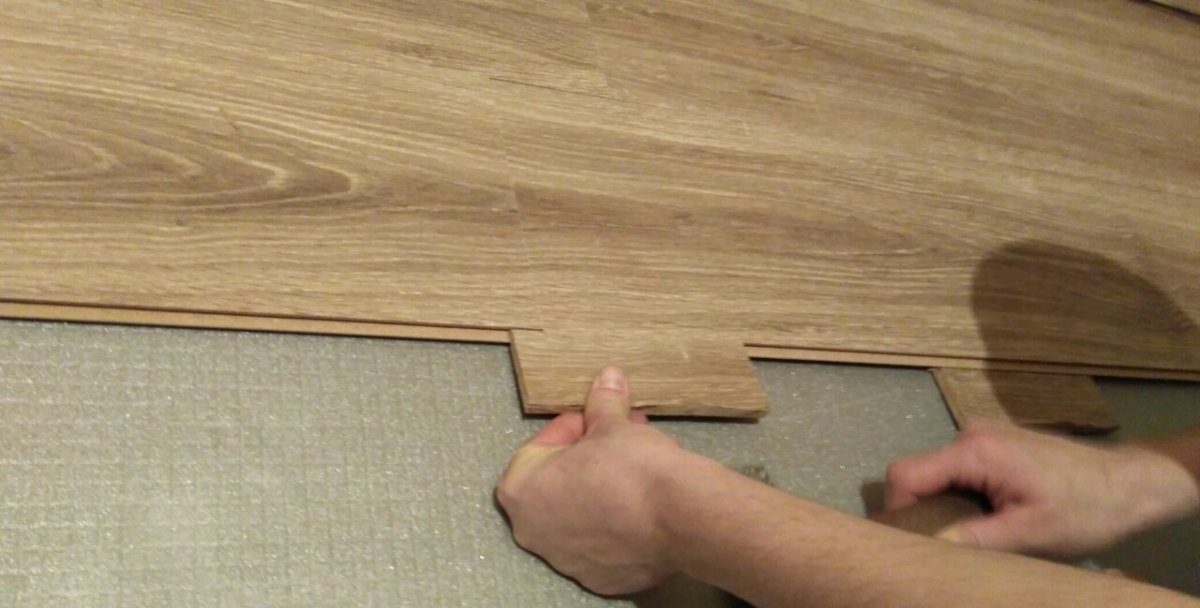
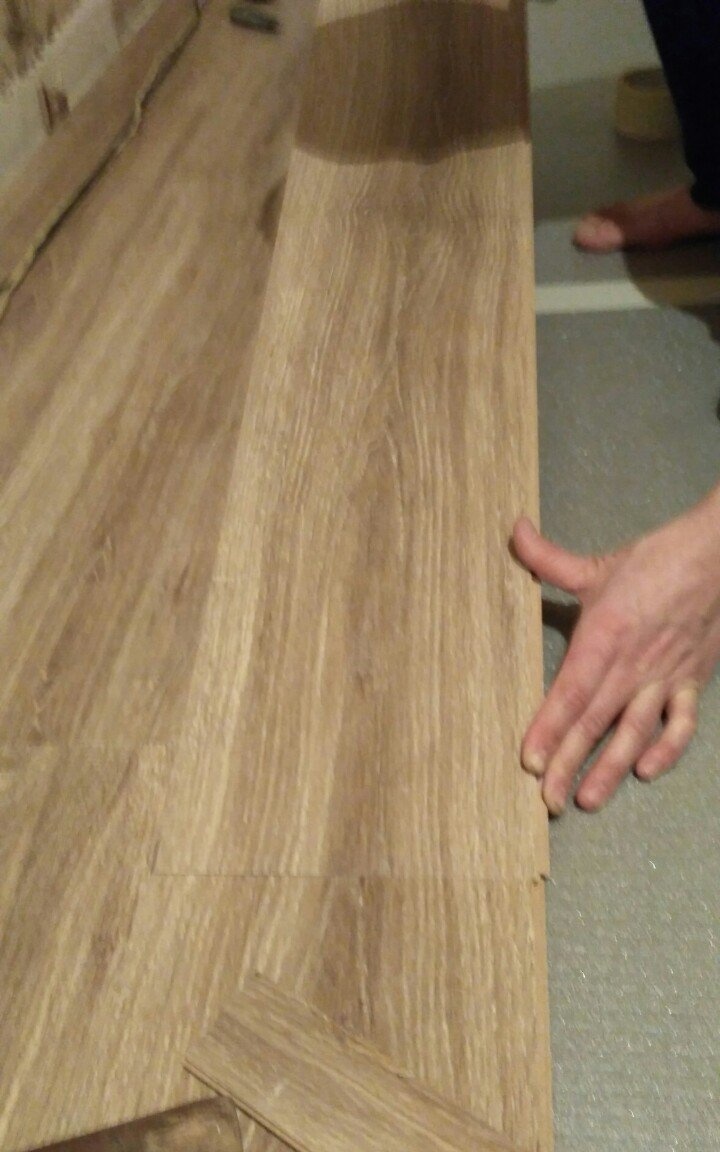
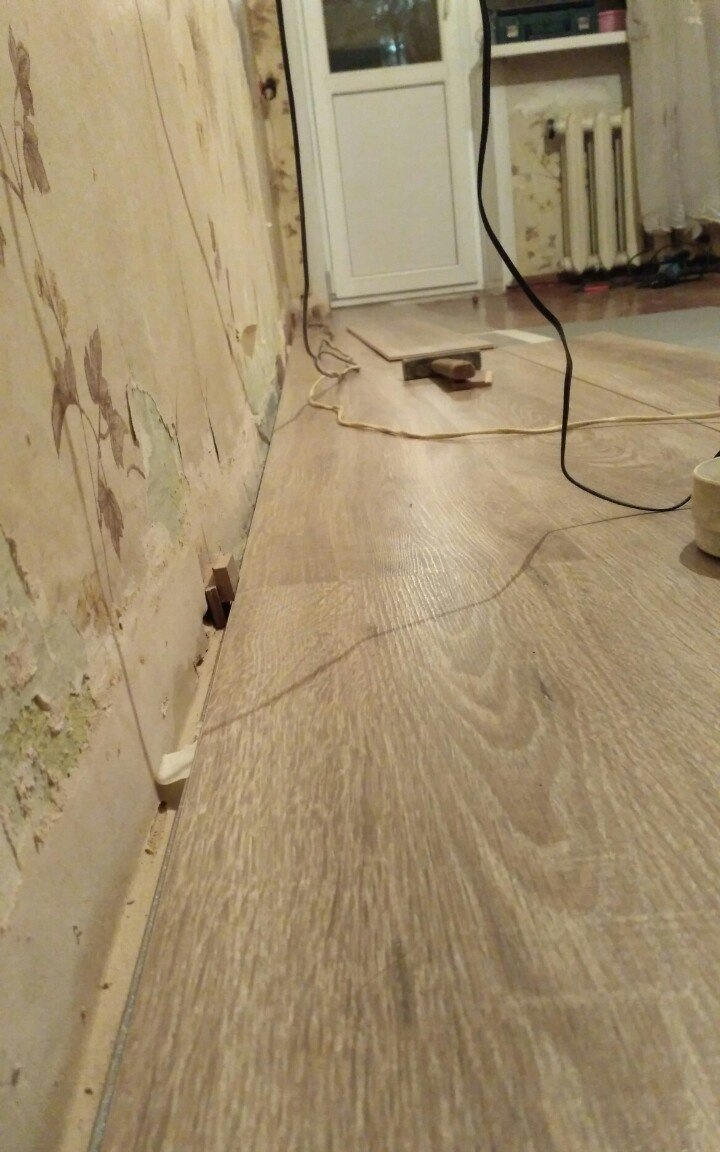
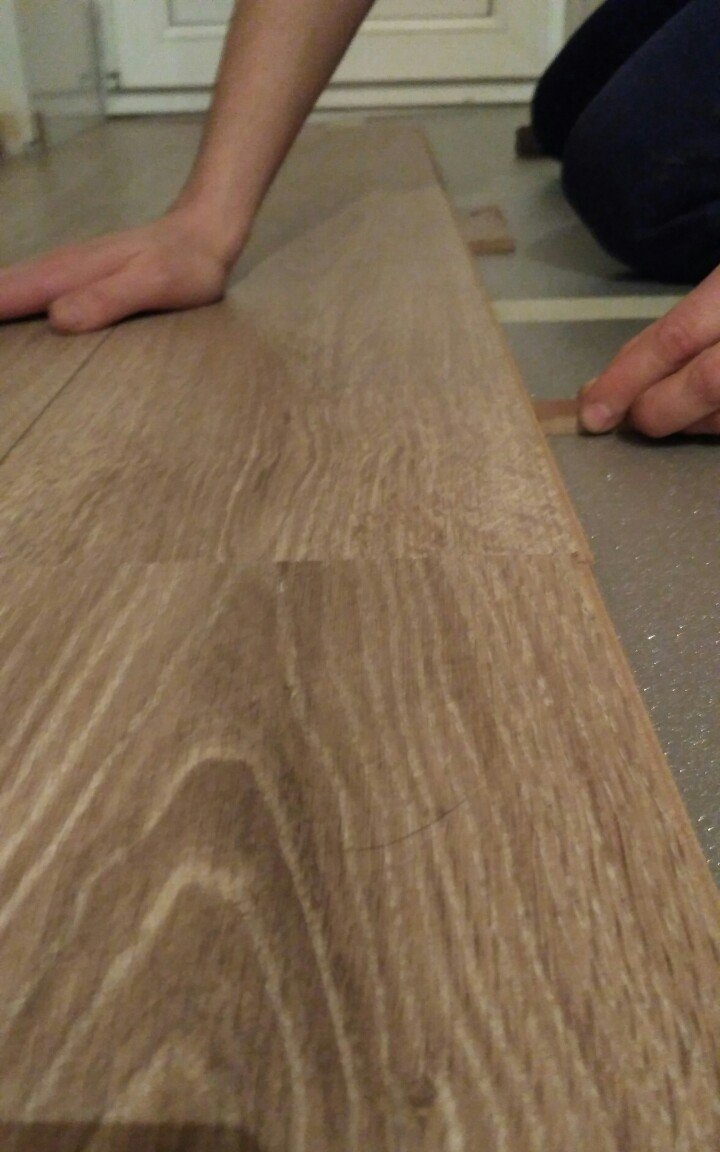
Of course, it is most convenient to use a jigsaw, but not every house has it. It is important to keep the indent from the wall to the laminate about 0.5 - 1 cm. In this opening, you need to insert temporary wedges that can be made from scraps of laminate. These wedges must be inserted in each strip.
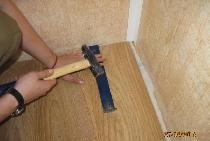
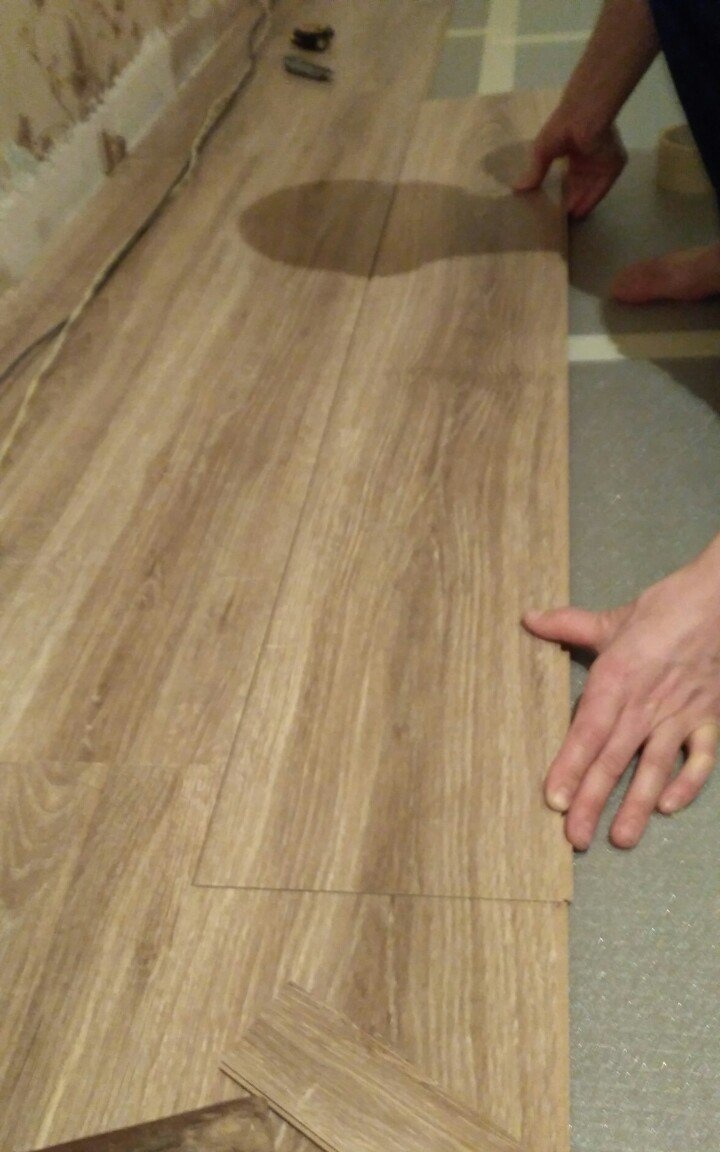
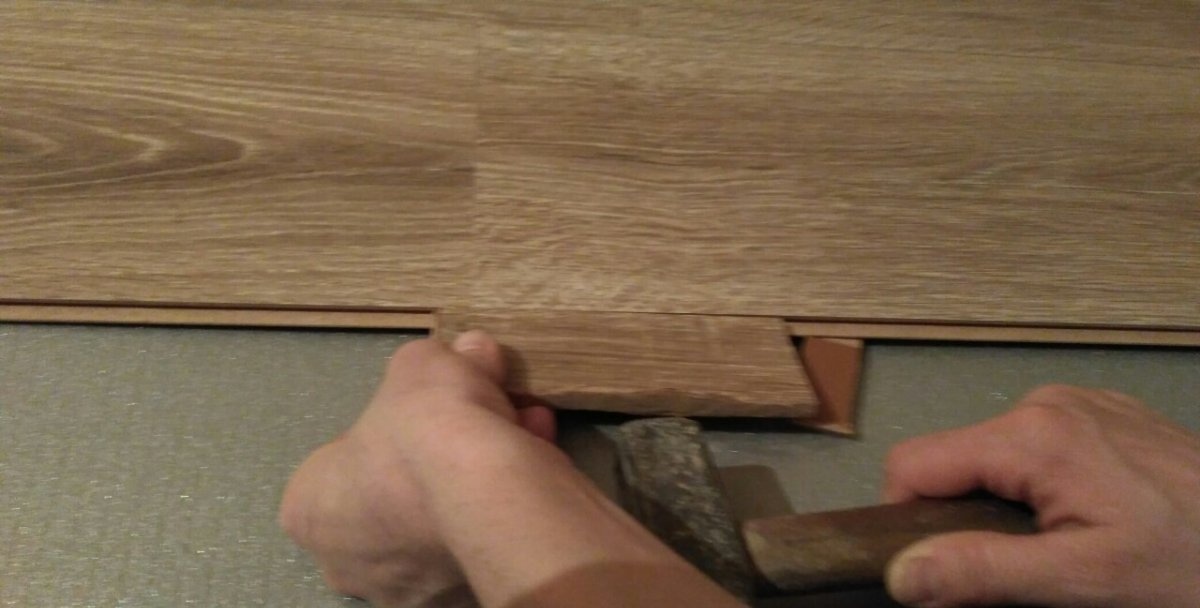
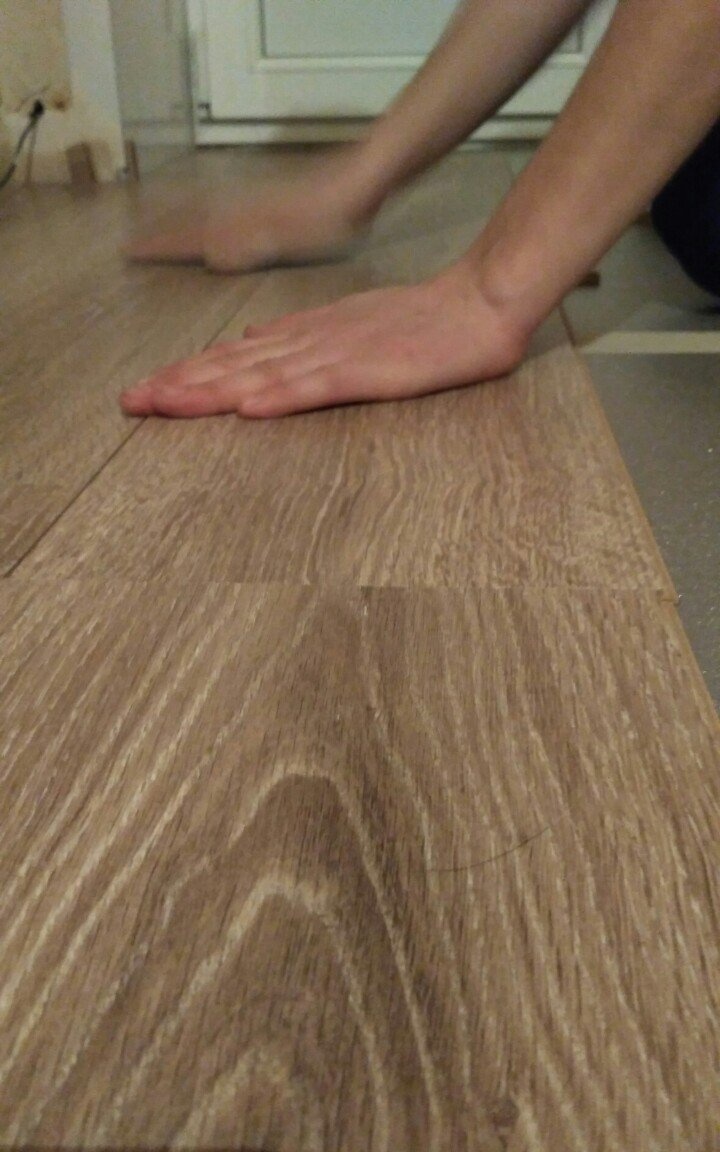
When you start laying the second strip, you can start by trimming the previous board. First you can assemble the line completely, and then insert it into the grooves of the previous strip. But this is convenient if you are doing this work together. In the event that you lay the laminate yourself, you can perform the installation partially on one board. For this you need a hammer. First you need to install the board in the groove, but to completely enter the castle, you need to tap with a hammer on its side. In order not to damage the lock when struck with a hammer, you can put something, for example, a piece of laminate, or a wooden block.

In the same way, the laying of subsequent strips is performed. It is important that the layout of the boards is not repeated more often than 4 - 5 stripes. If there is even a slight gap or gap in the seams during the fastening of the boards in the groove, the line must be reinstalled, as the roughness will increase further. As you progress, you will also have to install an additional backing for the laminate.
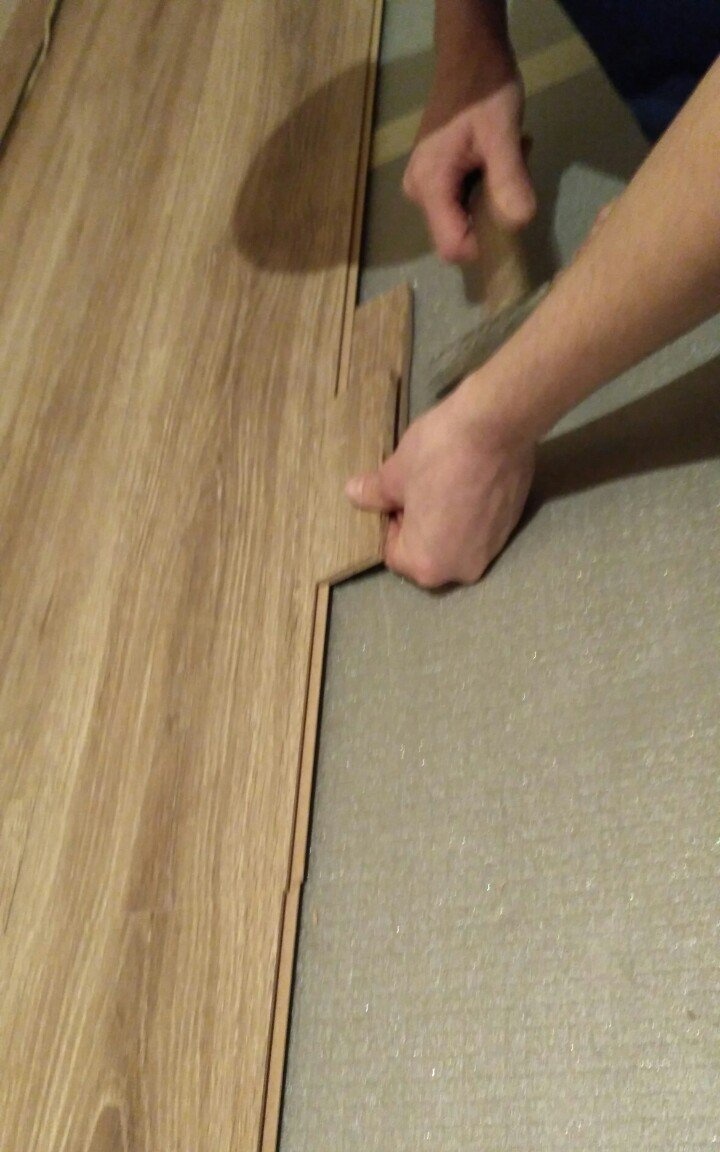
The most difficult thing is to establish the last line. Since it will be on the opposite side of the room against the wall, it will be impossible to knock down the boards so that they enter the groove. Also, most likely, you will need to trim the boards along the line of the laminate. In this case, after trimming and joining the line completely along the entire length of the room, insert its grooves into the lock of the penultimate strip. Next, you can rest against the wall a nail clasp or mount, so that the strip fell into place.
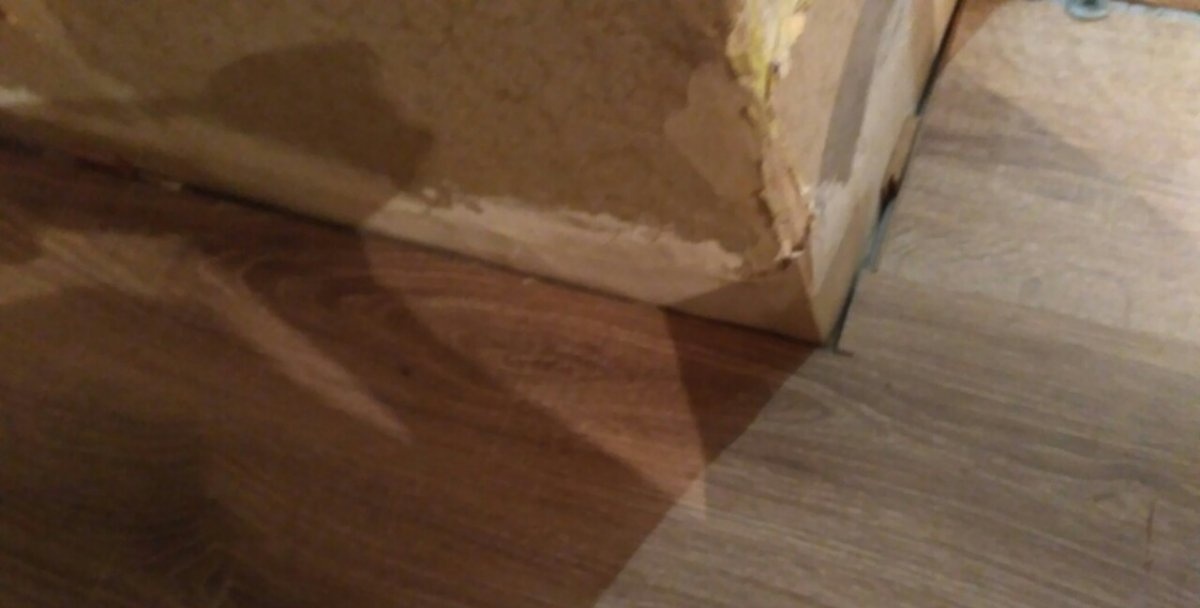
In addition, you will need pruning in the doorways. At the edge of the doorway, where the border of the laminate ends, you can install a metal sill in order to fix the coating.
At the end, all the wedges can be pulled out and a skirting board can be installed in the corners according to the color of the laminate.