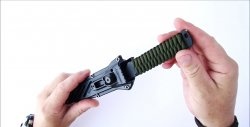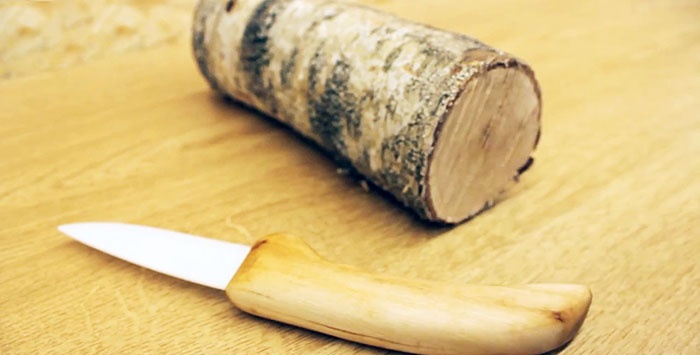
I have a folding knife with a ceramic blade. He helped me out more than once on trips to the country and on picnics. Impeccable blade sharpness that does not require sharpening, hygiene and lightness. In general, I became attached to him. After all, it happens that you just don’t want to part with some thing. But, unfortunately, its plastic handle was not up to par. The part that is responsible for fixing the blade in the open position has broken. It became inconvenient, almost impossible to use.
I felt sorry to throw it away, especially since the blade retained all its wonderful qualities. Well, since one of my favorite activities is woodworking, I decided to make a comfortable and reliable handle for my knife from wood. Today I want to show you what came of it.
Materials and tools
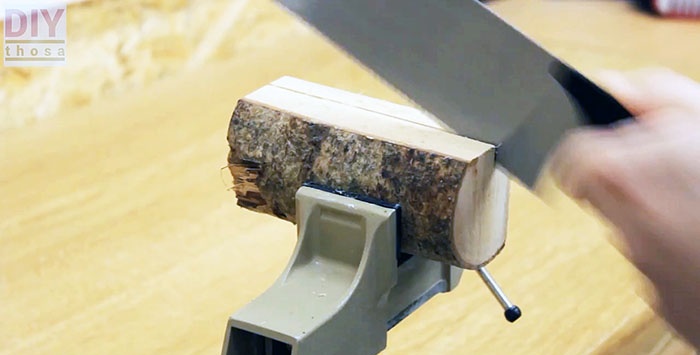
As a blank, I used a small birch log found in a pile of firewood. For processing I used machines and tools from my home workshop:
- stationary electric jointer;
- electric jigsaw;
- hand saw;
- manual milling machine (you can use a drill or screwdriver);
- a cylindrical cutter with a diameter slightly larger than the thickness of the knife blade at the base;
- chisel, rasp, files.
You will also need a good mounting adhesive, for example a two-component composition based on epoxy resin.
Making a handle for a knife from wood with your own hands
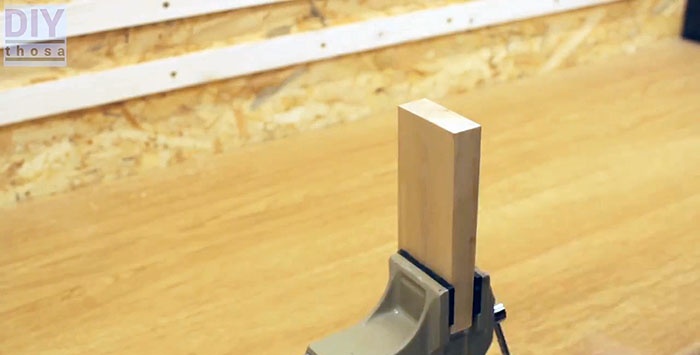
Using a saw and jointer, cut a rectangular block approximately 2 cm thick from a birch log.
This size will correspond to the thickness of our pen, so you can choose it according to your taste. The length and width of the die should accommodate the contours of the future knife handle.
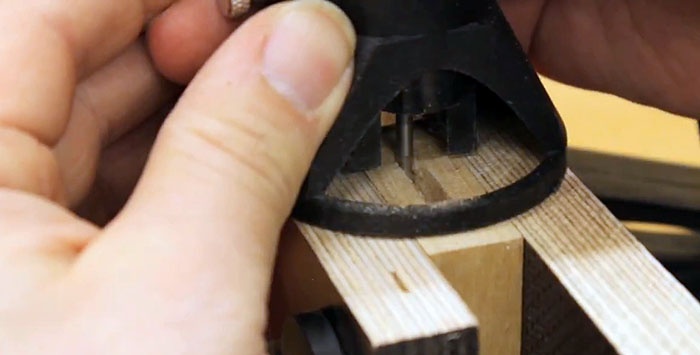
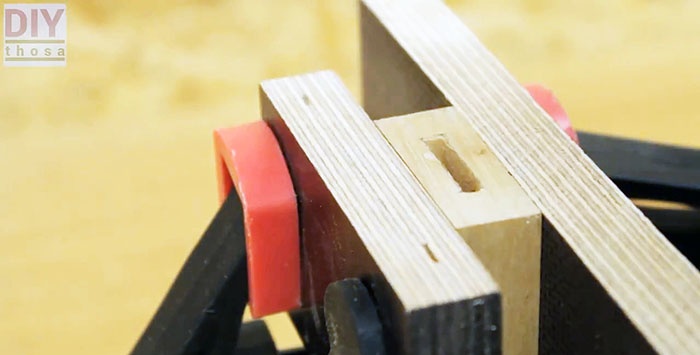
Now at the end of the die we use a cutter to make a recess in which the blade will be fixed.
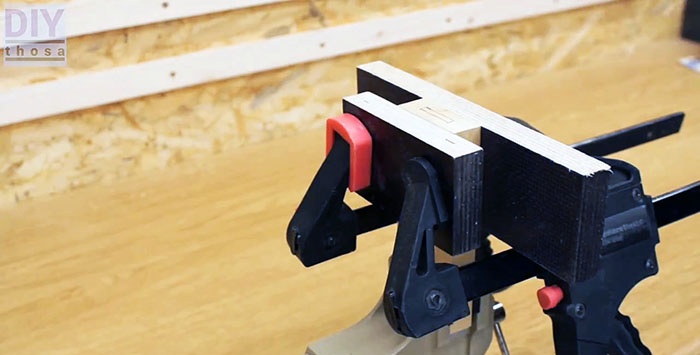
In order to avoid chipping and splitting of the die, carefully clamp it between two wooden blocks using clamps. In this form, we perform milling according to pre-made markings.
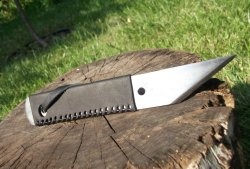
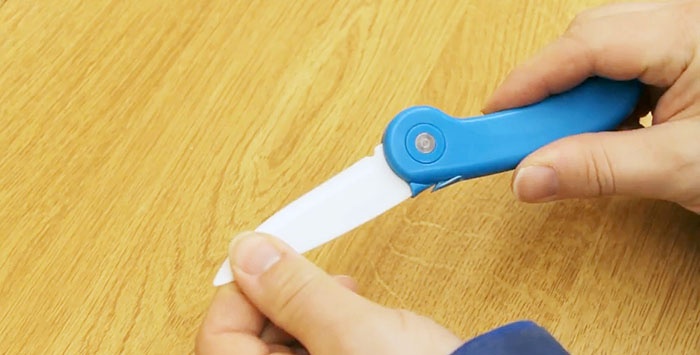
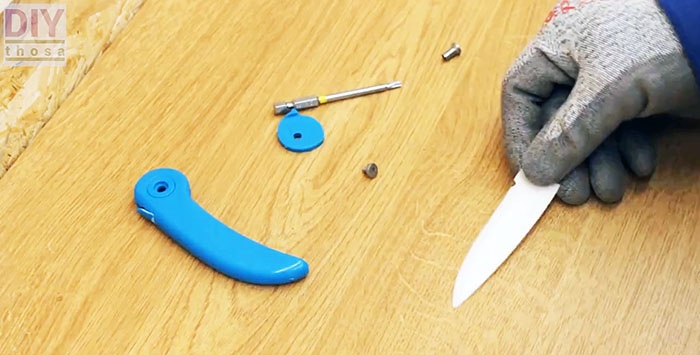
Let's disassemble the knife.
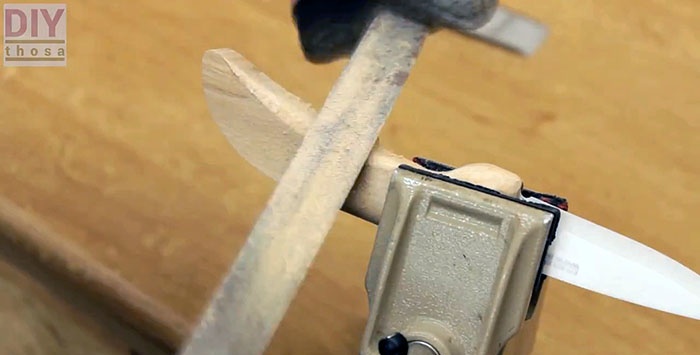
We release the die with the finished slot from the clamps and secure the blade. To do this, fill the slot with glue and insert our blade into it.
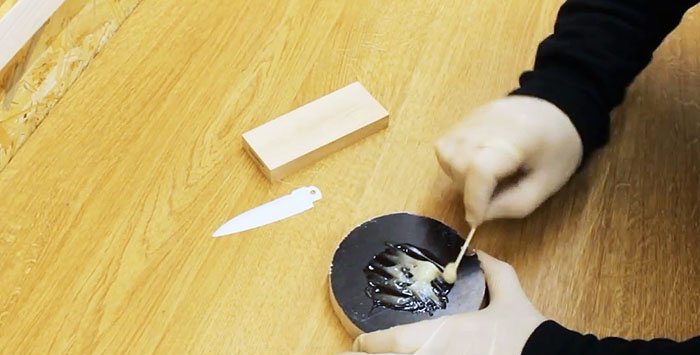
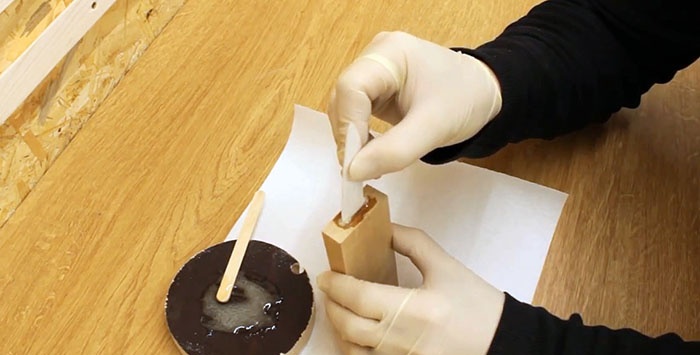
We remove excess glue and, placing the blade in the desired position, let the adhesive composition harden.
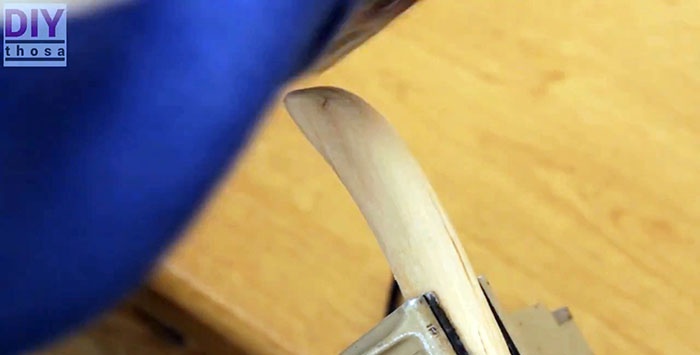
Now all that remains is to give our handle the desired shape. I placed an old pen on the die and traced its outline with a pencil.
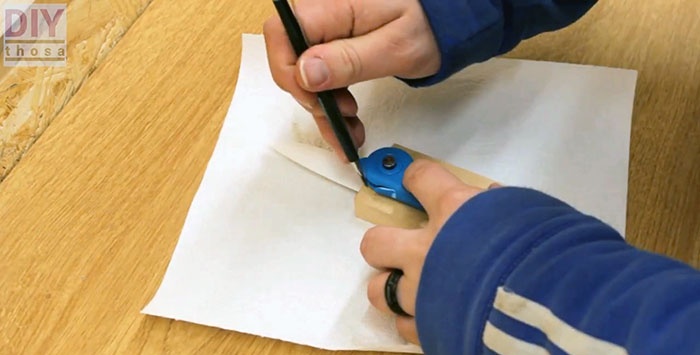
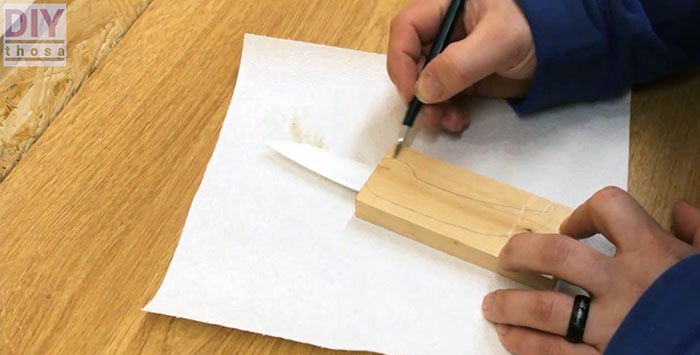
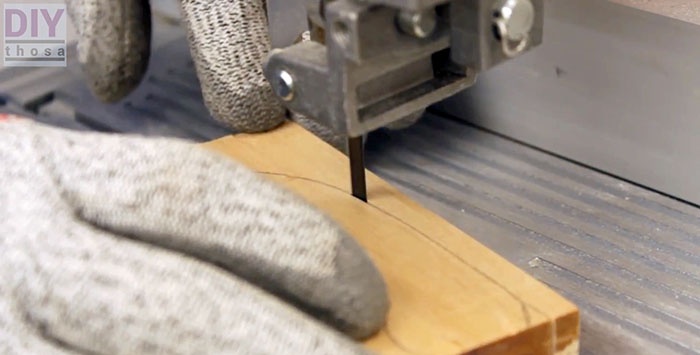
So you can use a suitable handle from any knife, or simply draw the desired outline. After that, I cut out the outline of the handle with a jigsaw.
Next comes the processing of sharp corners and the surface of the handle in order to give it roundness.
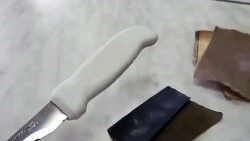
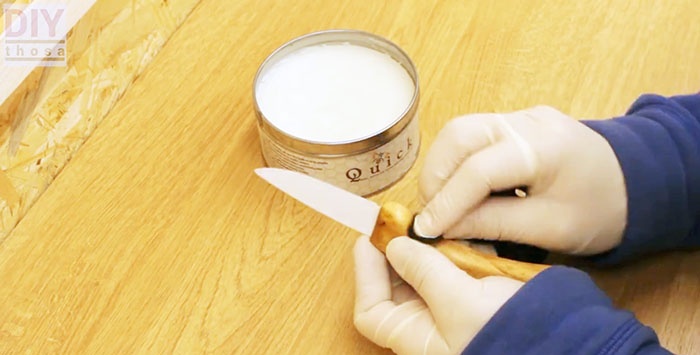
If desired, at the end you can treat its surface with fine sandpaper.

To give the handle an even more attractive look, I coated it with a special wax composition for polishing wood.
Tips and warnings
If you are also making a handle for a ceramic blade, under no circumstances try to insert it with great force into a slot that is too narrow. Ceramics is a fragile material. Therefore, the slot must allow free movement of the blade in it. Fixation is carried out only by glue.
And one last thing. Be careful with cutting tools. As one of my bosses said, after work you should have as many fingers as you had before.