Aligning walls with beacons
Leveling walls is a rather complicated construction operation that requires certain skills. It is especially difficult when the wall surface has a large slope, or curvature horizontally or vertically. Therefore, before you begin finishing the room, you need to level the walls as much as possible.
There are many types of plaster for leveling the wall. It can be purchased as a mixture that must be diluted with water. These can be gypsum, cement, lime, and other types of mixtures that have their own characteristics and advantages. If you do not know which mixture is most suitable in your case, it is better to consult with specialists.
Let's start leveling the walls
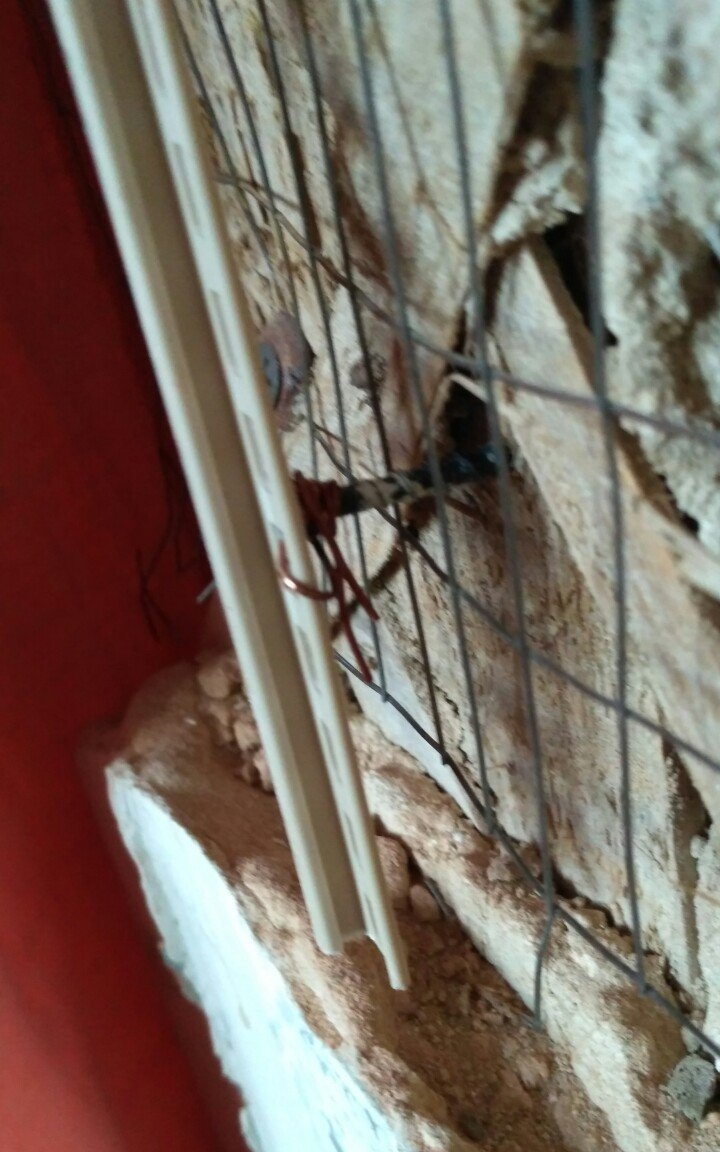
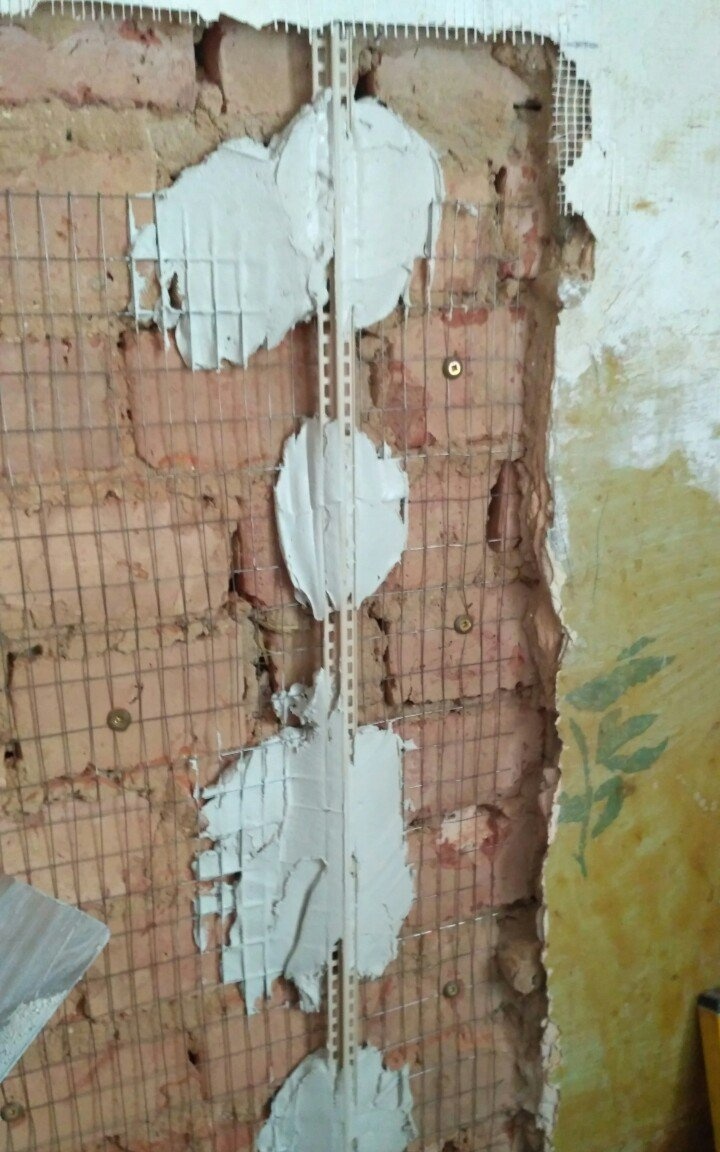
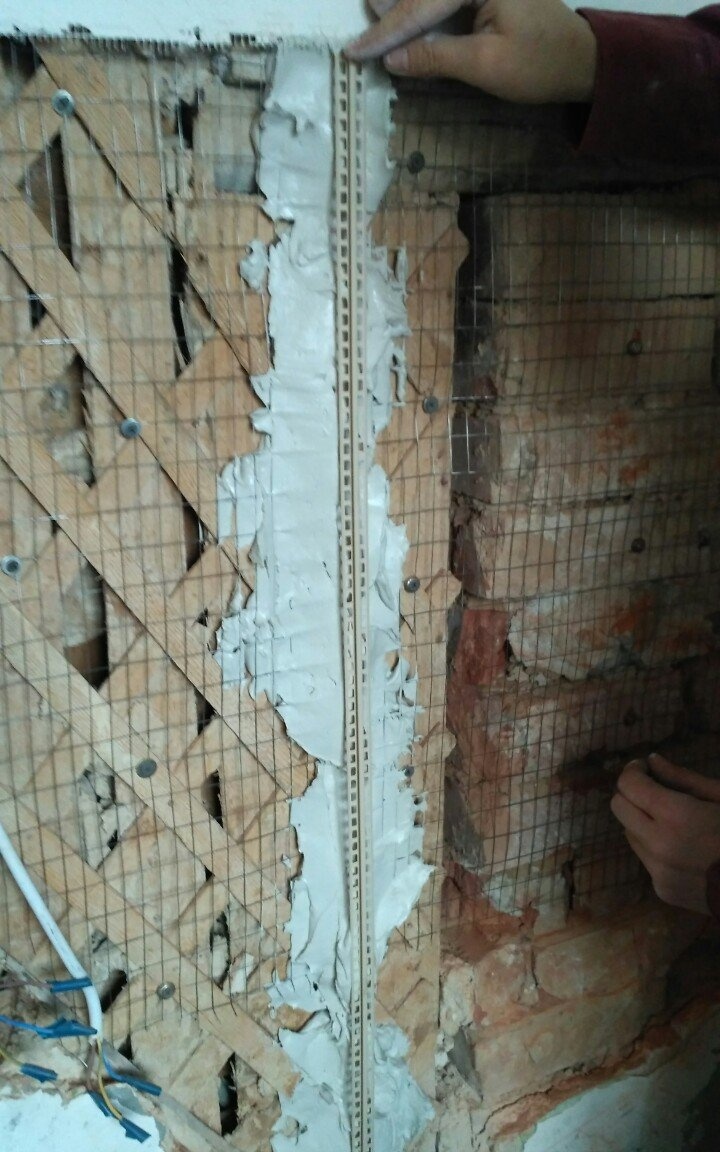
First you need to prepare the walls for leveling by clearing it of old plaster. Therefore, beat off everything that is peeling and covered with cracks. Next prime the surface. To strengthen the wall and for the plaster to hold securely, it is necessary to secure a metal mesh.
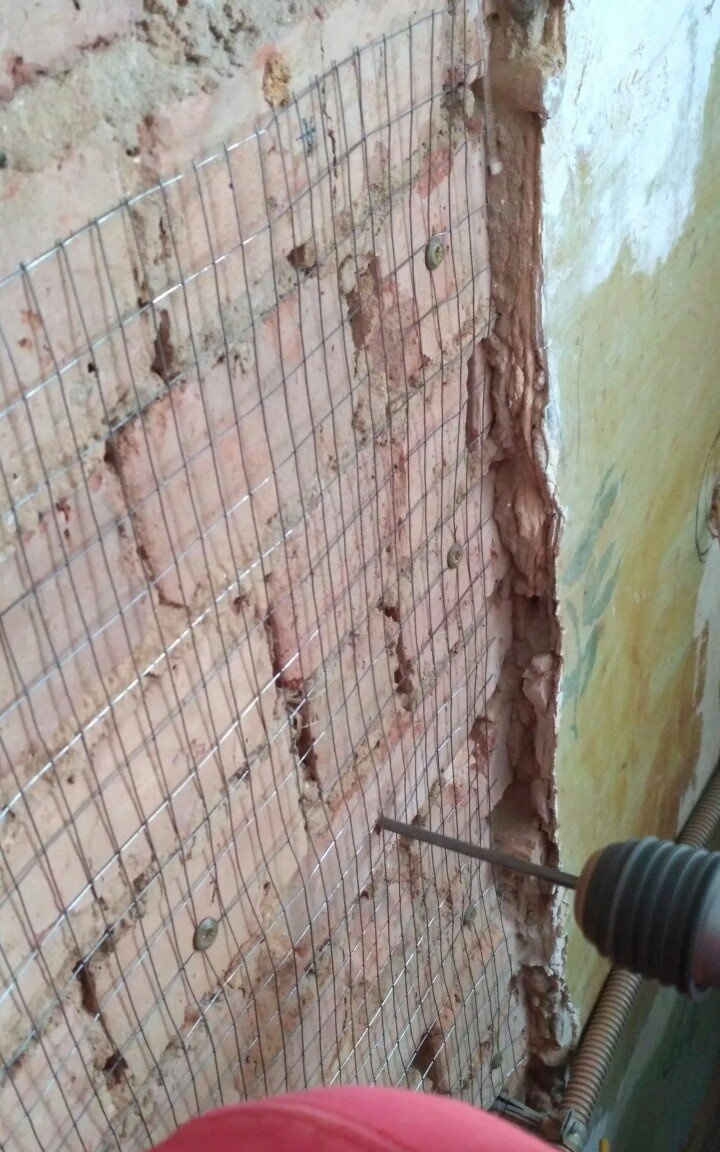

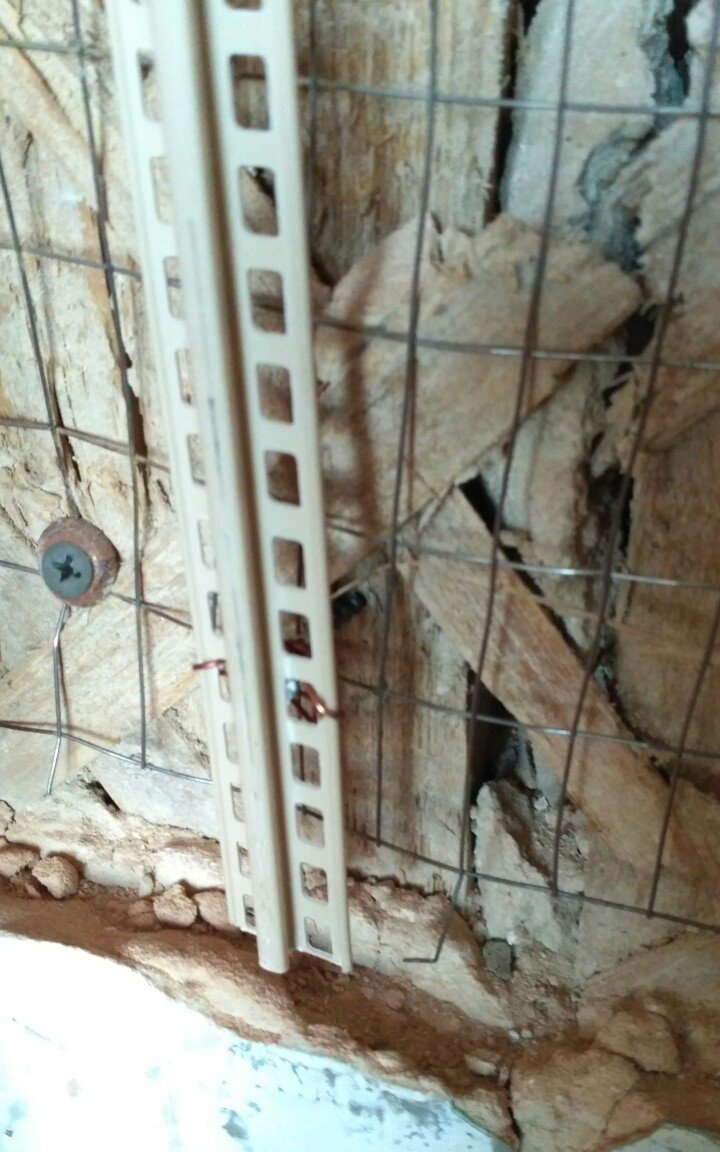
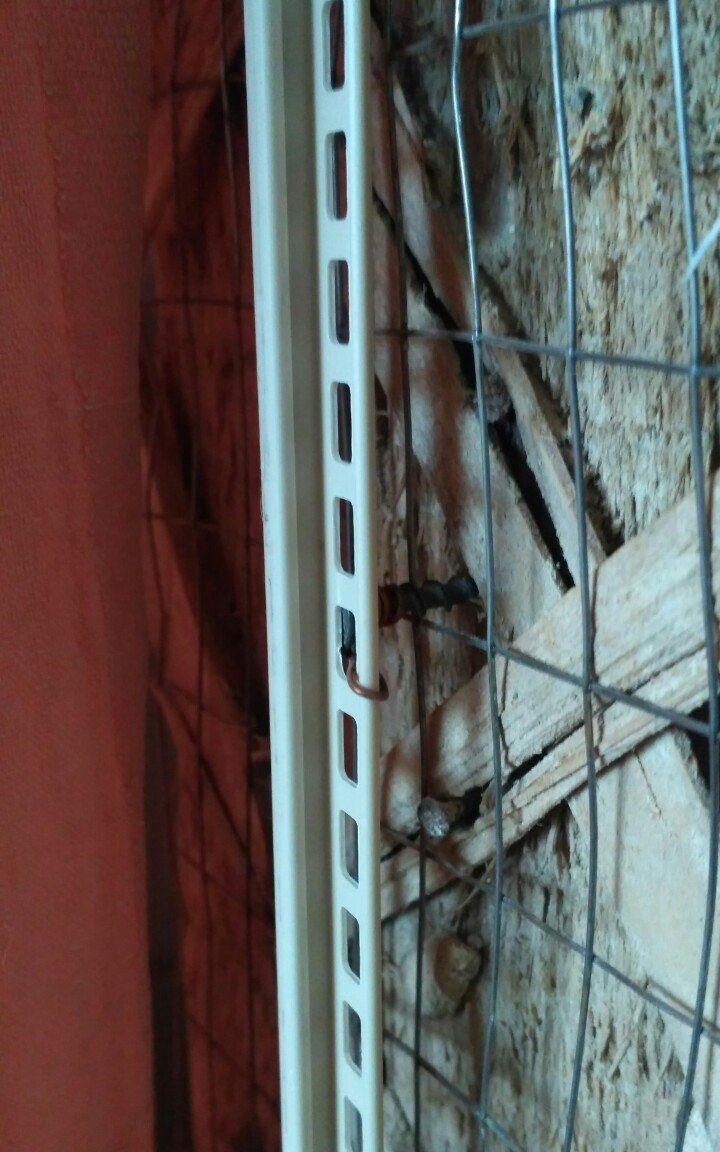
If you are attaching it to brickwork, then you will need quick installation and a hammer drill. Quick installation is attached at a distance of 30 - 40 cm into holes drilled with a hammer drill.Next, a wire is attached to the dowel-nail, which connects the mesh. If the wall is wooden or adobe, then you can use ordinary self-tapping screws, as well as a drill with an attachment for them.
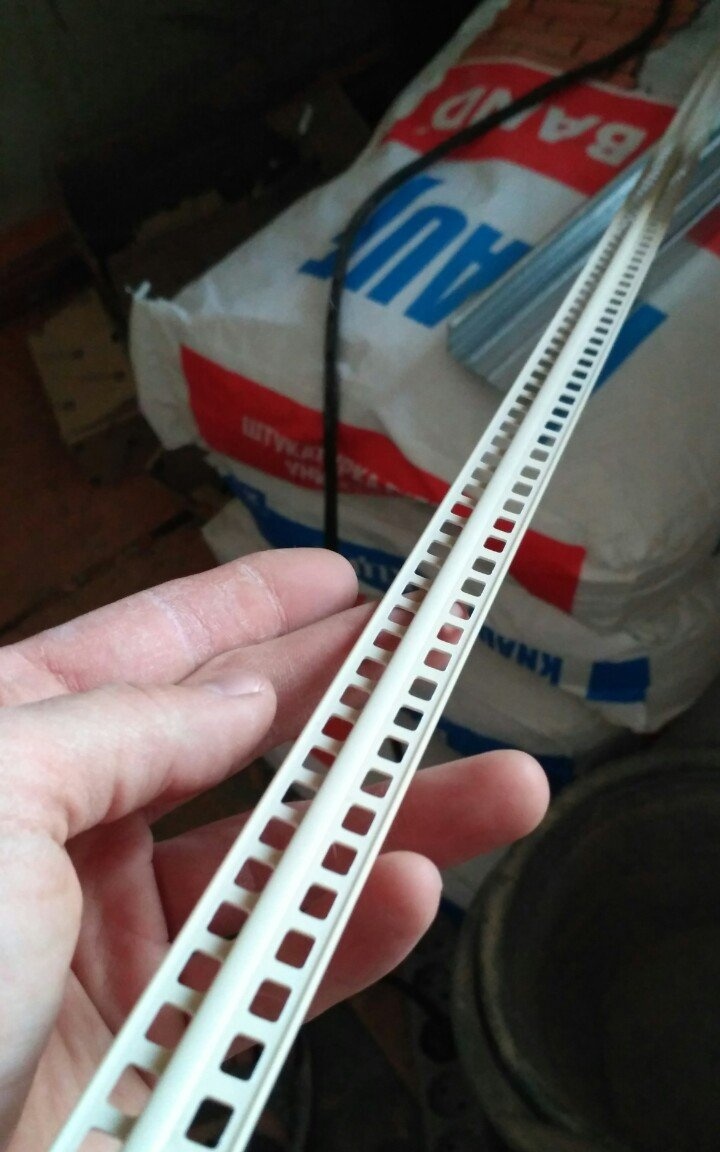
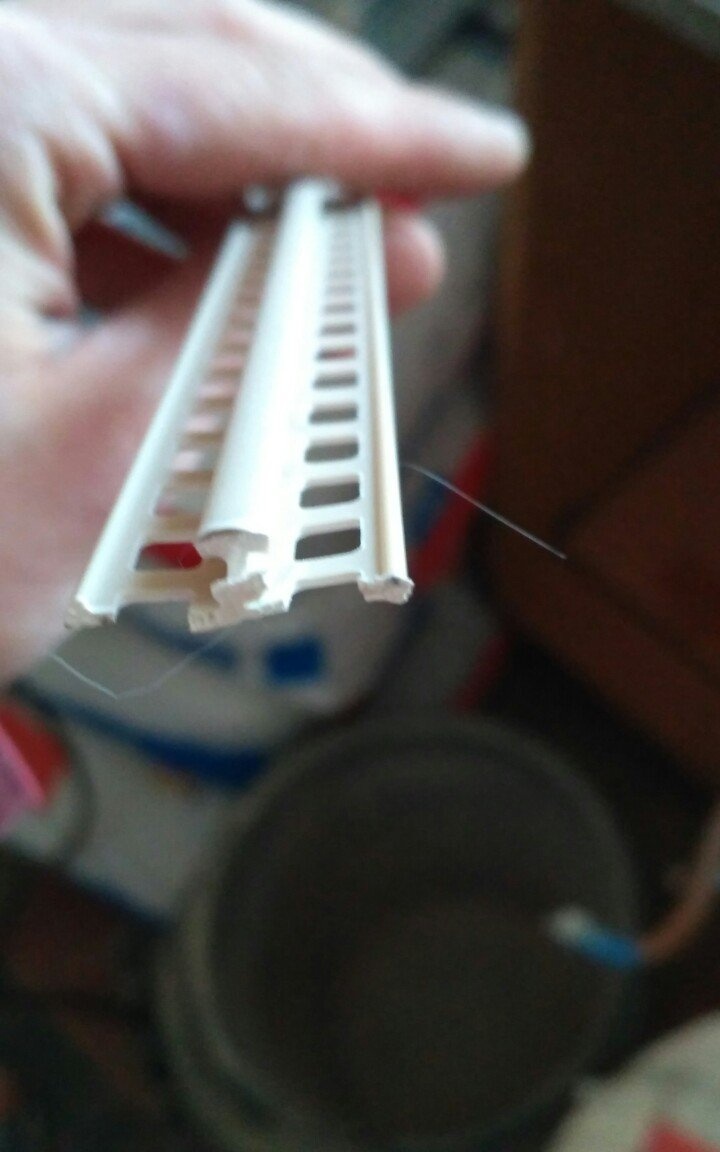
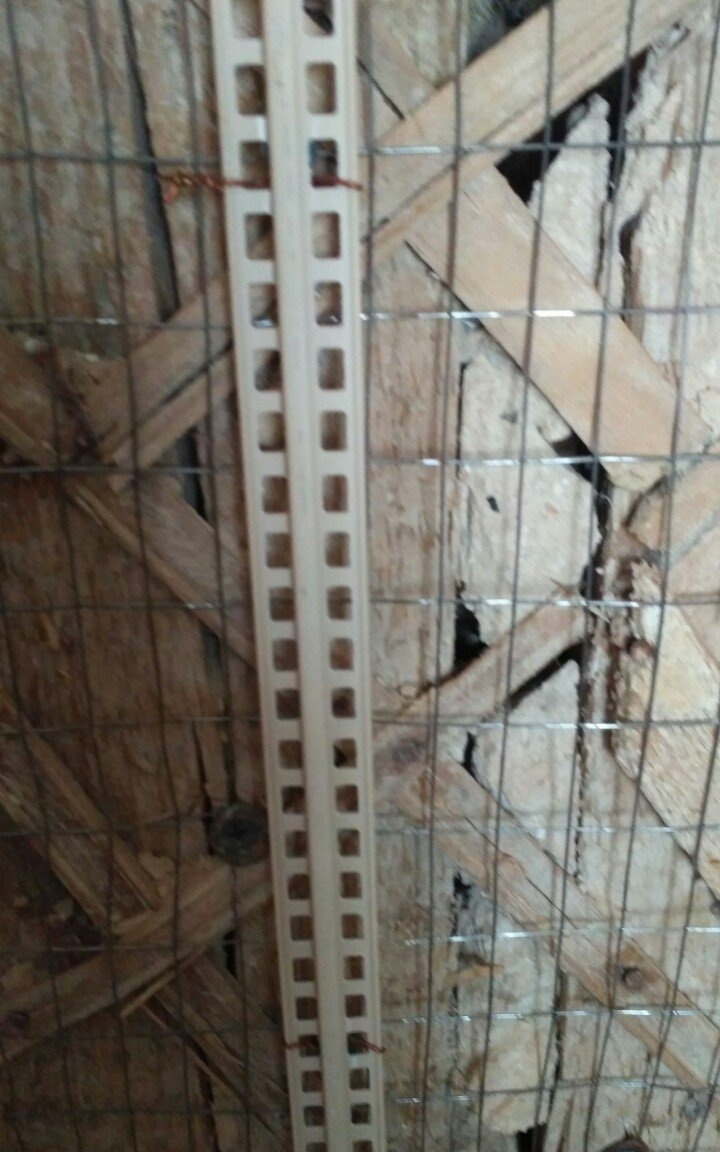
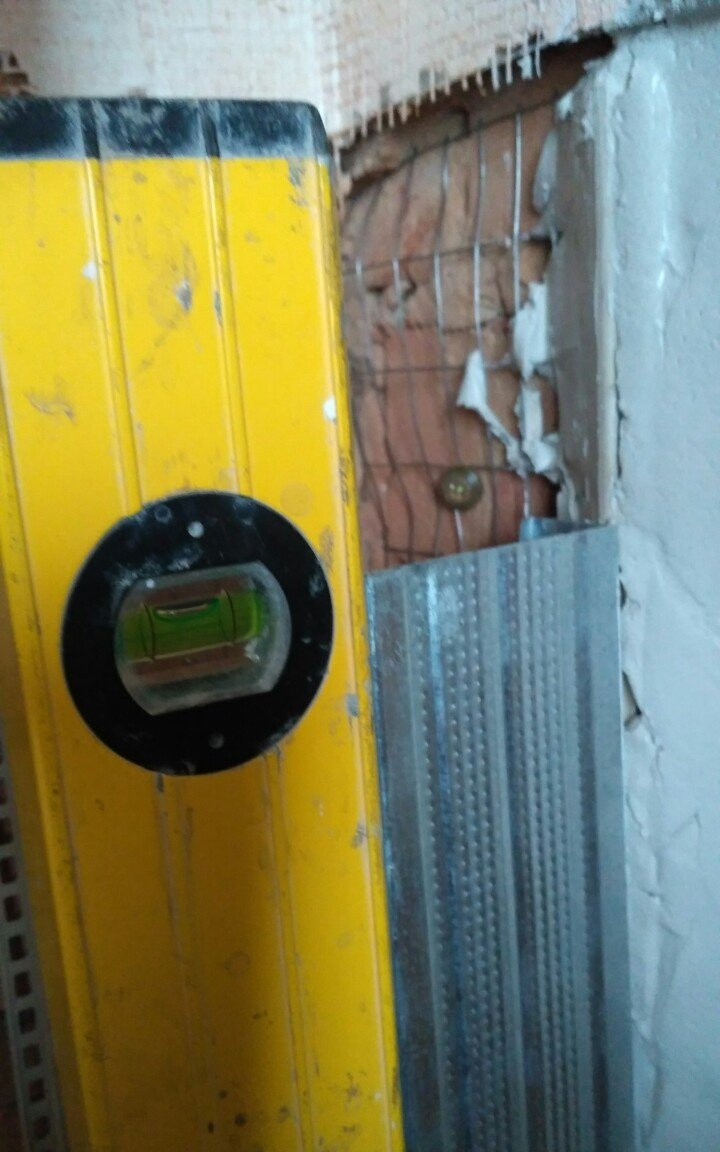
Before you begin installing vertical beacons, you need to use a construction level or laser level to determine the place where a minimum layer of plaster is required. There are metal and plastic beacons. If the layer of plaster is small and the walls are more or less even, then you can use plastic beacons, since they are cheaper and easier to install.
The first beacon is installed at a vertical level. To do this, you need to use wire to secure the beacon to the head of the screw in 3–4 places, and then, screwing it in half, align the beacon vertically. Depending on the layer of plaster, you can use screws of different lengths. You can lightly tighten or unscrew the screws until you reach the level.
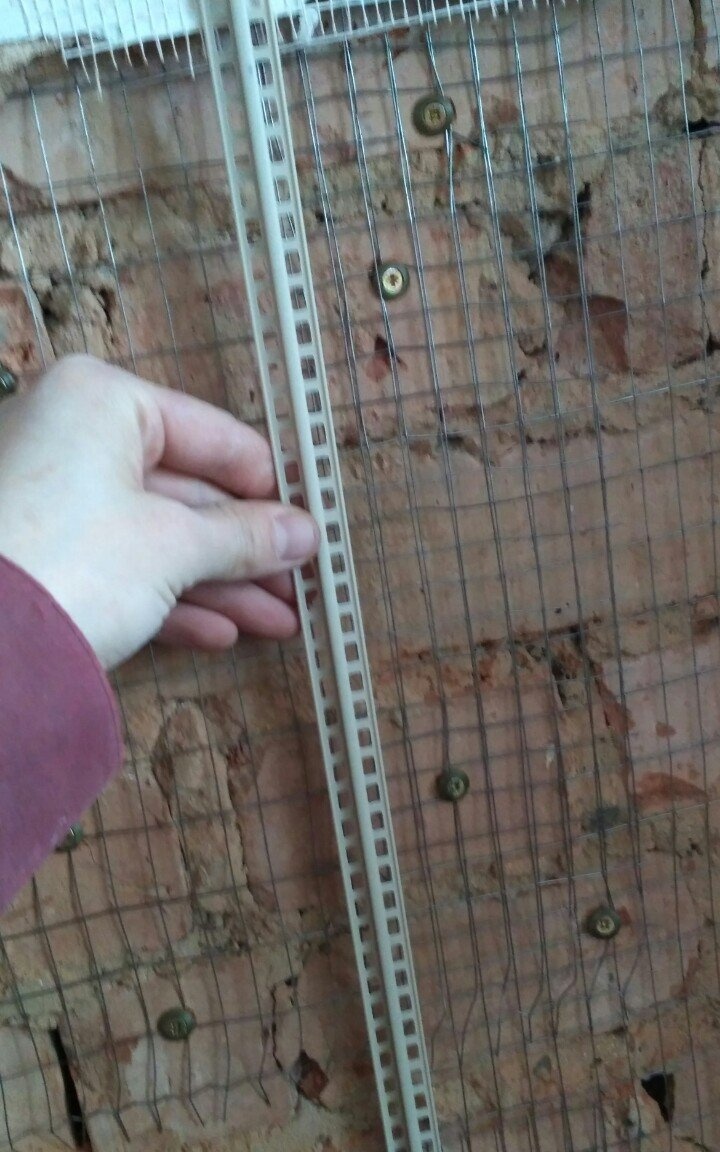

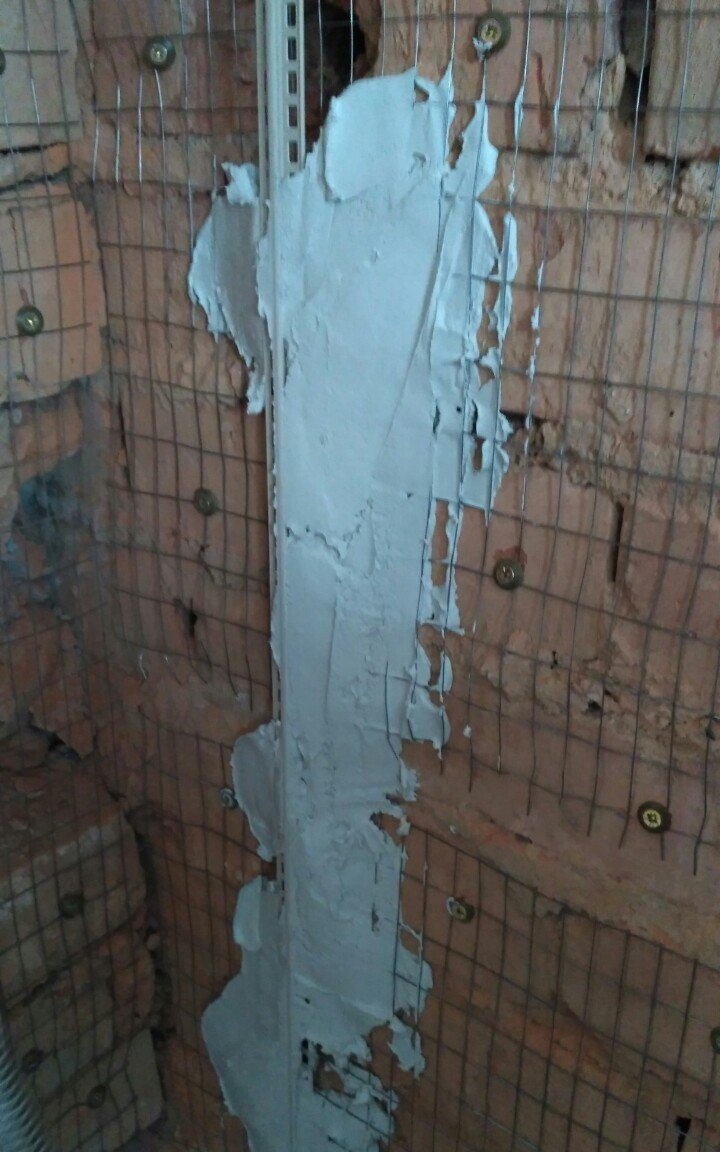
Next, you need to set the remaining beacons at a distance from each other that corresponds to the length of your rule. That is, it is necessary that you can apply your rule to three vertical beacons at once. This is necessary to ensure that the wall is level and horizontal. The ideal option would be the 2 m rule.
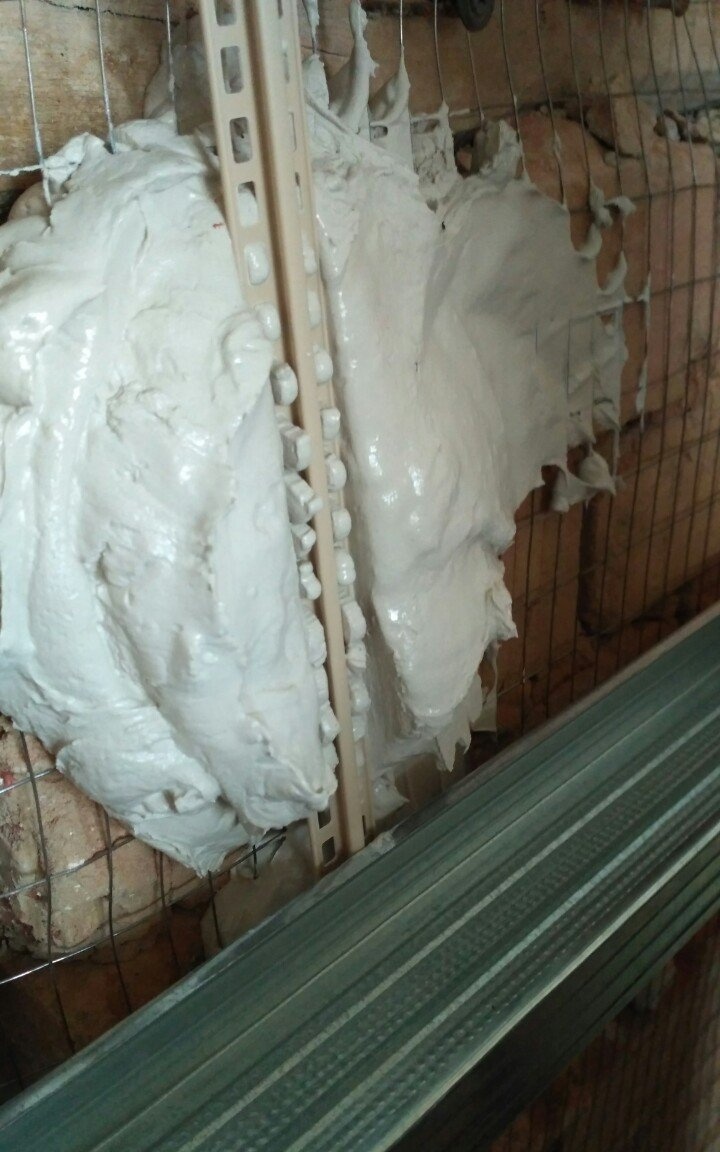
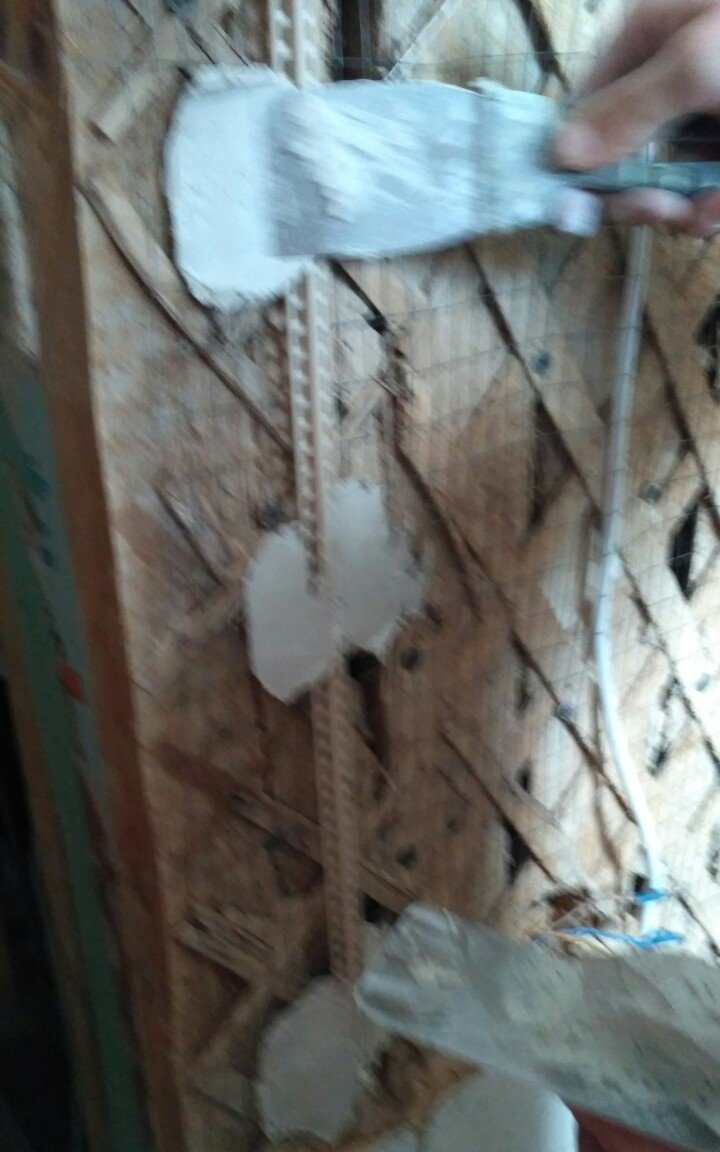
Then secure the beacons with plaster, but so that it does not extend beyond the lighthouse.

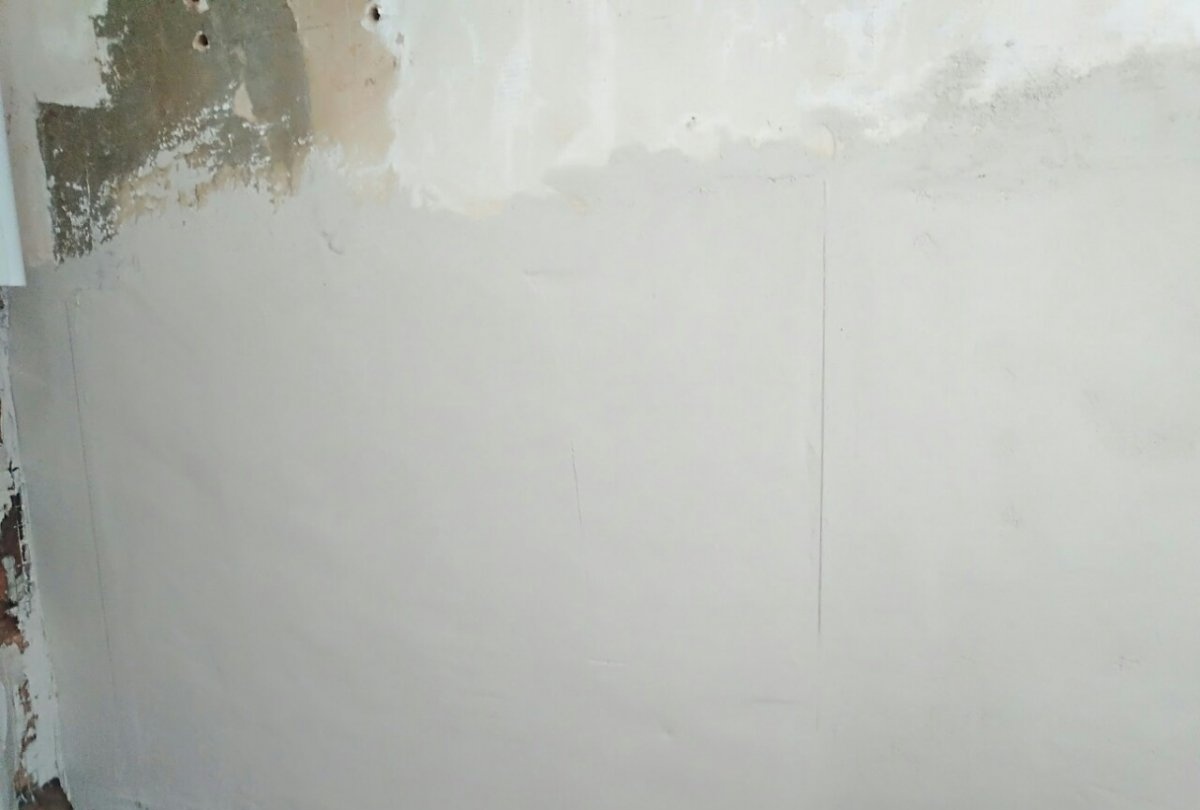
When the solution dries and the beacons are securely fastened, you can begin leveling the wall. You can throw plaster between two beacons, and then level the solution using the rule. Thus, the rule is pressed tightly against the beacons, and with movements it is directed from bottom to top. If the layer is too large, it is better to apply the solution in two stages.First, spread the plaster between the two beacons approximately half the thickness, and after it dries, apply a second layer at the level of the beacons.

Although this job may seem simple at first glance, it will still be difficult for a beginner doing it for the first time.
Similar master classes


Particularly interesting
How to install a socket if there are short wires left
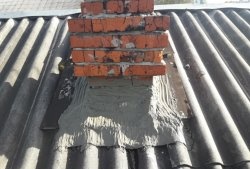
How to eliminate gaps between the chimney and slate
How to mix an ultra-reliable solution for the oven that does not give
There will be no more cracks: What to add to concrete to make it

Never buy ball valves without checking with me

New technology for floor insulation with penoplex
Comments (0)
