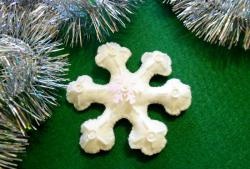
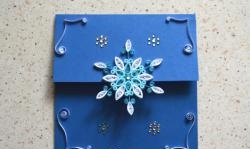
This snowflake is much more beautiful than an ordinary one, cut simply from a piece of paper, but it is also much more difficult to make. From the very beginning, I wanted to call my story not just a snowflake, but a snowflake from Oksana. The fact is that this method of making snowflakes was shown to me by a friend, or rather a work colleague, but she changed her mind and left it as is.
This decoration has a much larger appearance of volume than any other jewelry.
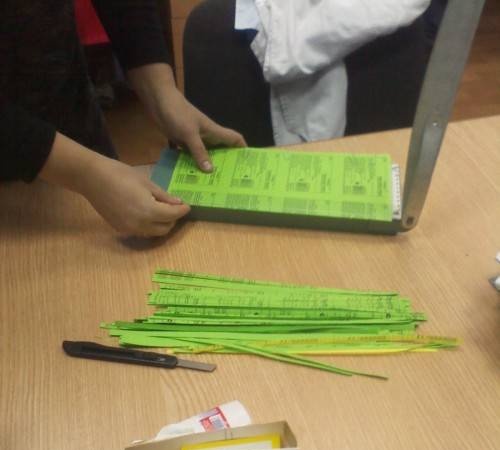
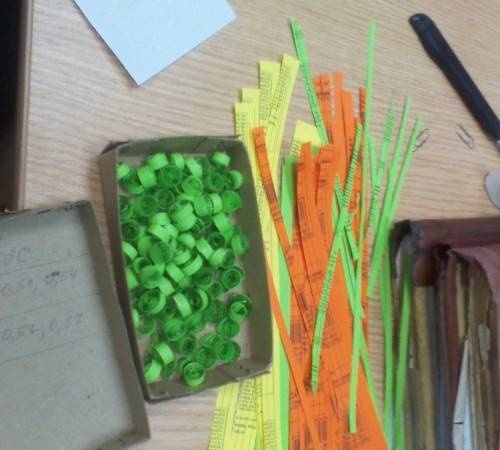
Well, okay, it's time. To make our snowflakes beautiful, we took colored A4 paper. And we chopped them lengthwise to a width of about 0.5 cm. This, of course, can be done with ordinary scissors, but we have mass production and therefore it was decided to use a special knife.
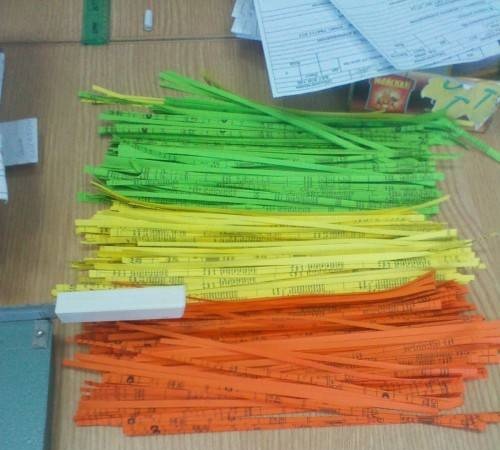
After a few minutes, this is what came out of several sheets:
Someone may have already guessed that this craft will be made according to quilling .
Then we need to turn our stripes into curls. We used a mechanical device, which I'll talk about at the end. And the most affordable thing is ballpoint pen paste with a slot in the middle.
We insert one end of our strip and screw it onto the paste with a little force. Remove from the paste and release.The curl will unravel a little, but overall the shape will remain.

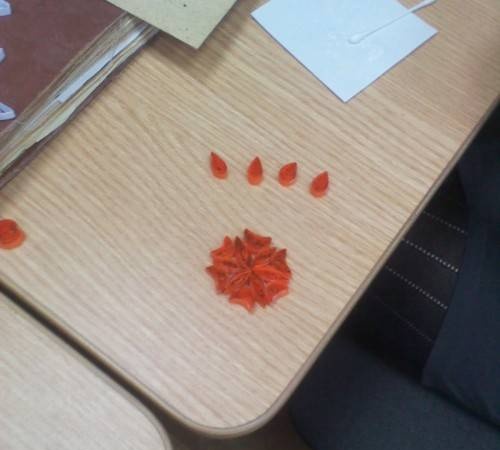
Glue the dangling end to the round piece, thereby fixing the shape of the curl.
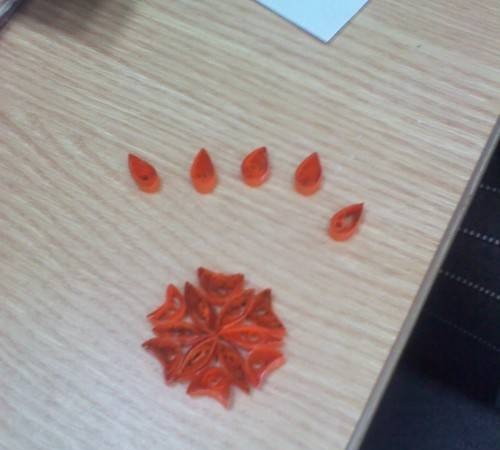
We form with our fingers - we make any necessary geometric shape.
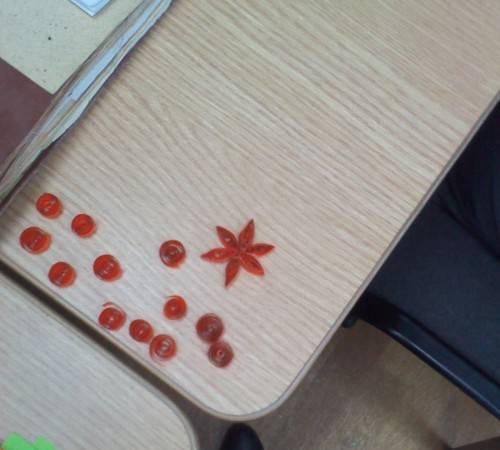
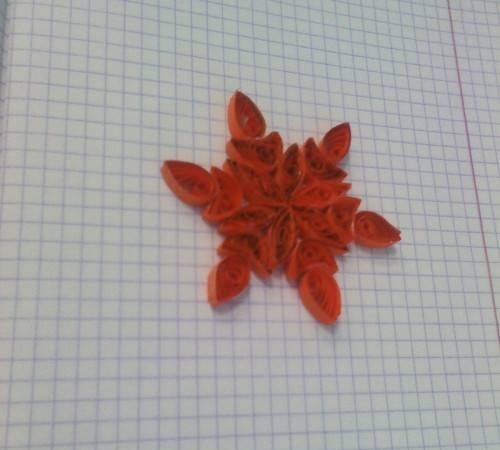
Glue the figures together with the same paper glue.
Let it dry and the snowflake is ready!
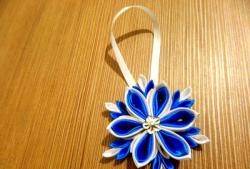
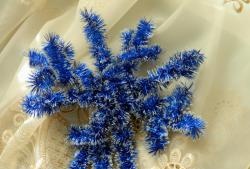
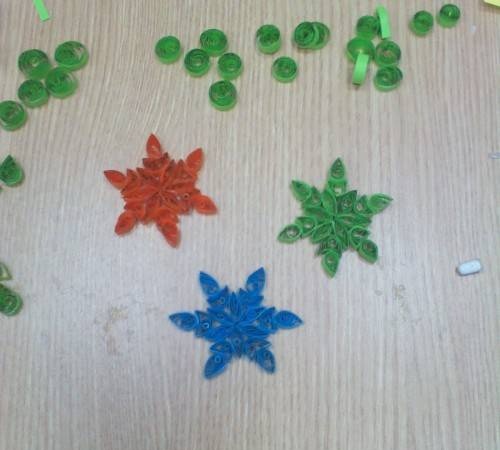
Other colors.
Well, now let’s talk about how to speed up the process and make dozens of such wonderful homemade products.
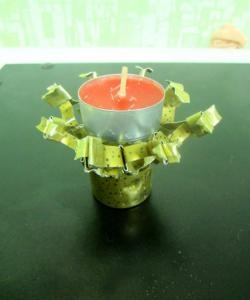
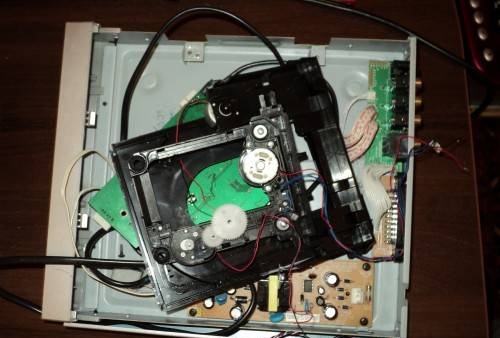
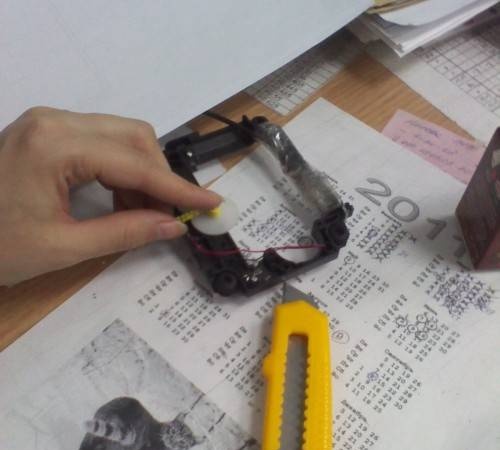
In addition to the knife that cuts the paper lengthwise, we used a homemade winding machine.
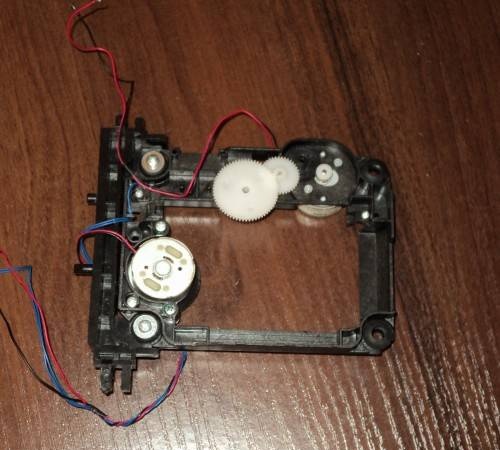
I made it from an old DVD player. It consists of a motor, a gearbox, a button and a mobile phone charger.
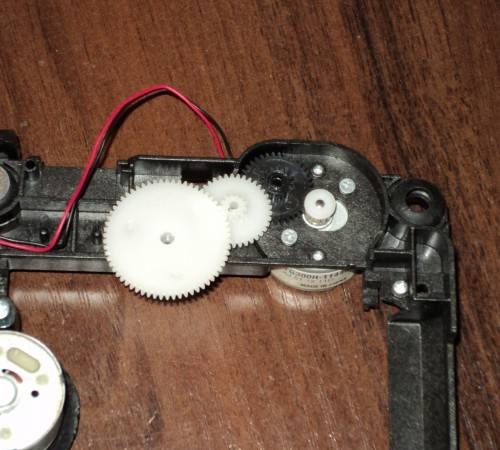
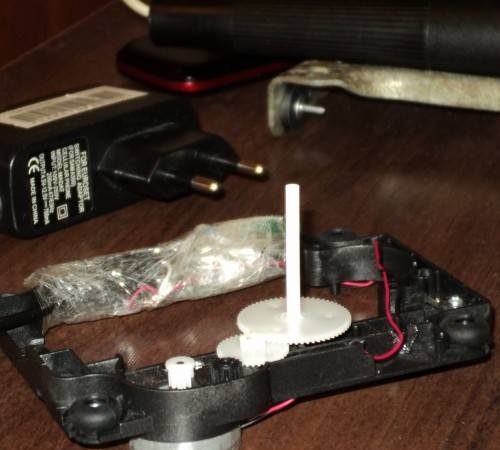
Everything is almost ready, you just need to unscrew the unnecessary parts and insert a piece of paste from a handle with a slot into one of the gears and that’s it.
We insert the end of the strip, press the button and the strip merrily wraps around the paste. Everything is simple and clearly understandable without unnecessary explanations.

With this device, the number of curls per unit of time increases significantly!
Happy New Year to you!