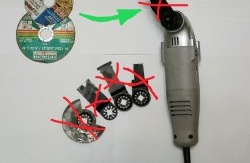
A cordless angle grinder is a rather specific tool, and it is not advisable to purchase it without a specific amount of work (that is, for amateur purposes). However, if you have a regular battery-powered screwdriver and an old grinder whose engine has burned out, you can make such a functional attachment with your own hands.
What you need to have on hand
To complete all the necessary work, we will need the following tools: a vice, a drill, an angle grinder, a welding machine, pliers, and a can of enamel.
From materials:
- The upper part from an angle grinder for a circle with a diameter of 125 mm (2 pcs.);
- A strip (about a meter) and a small fragment of sheet metal (100 X 200 mm);
- A pair of bolts up to 2.5 cm long with nuts.
Work progress
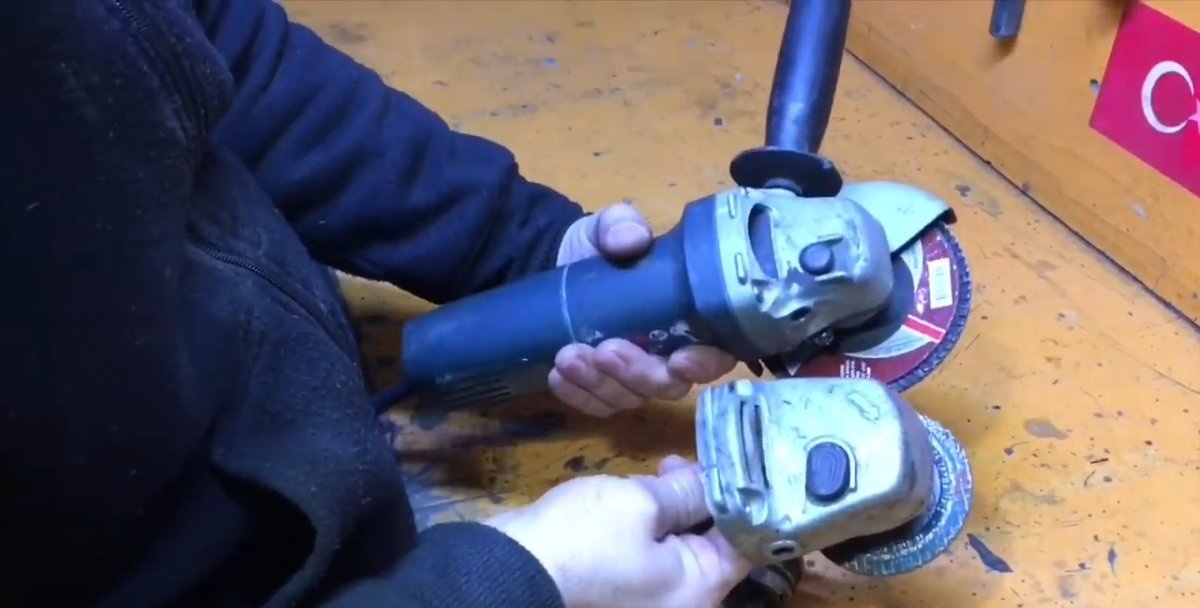
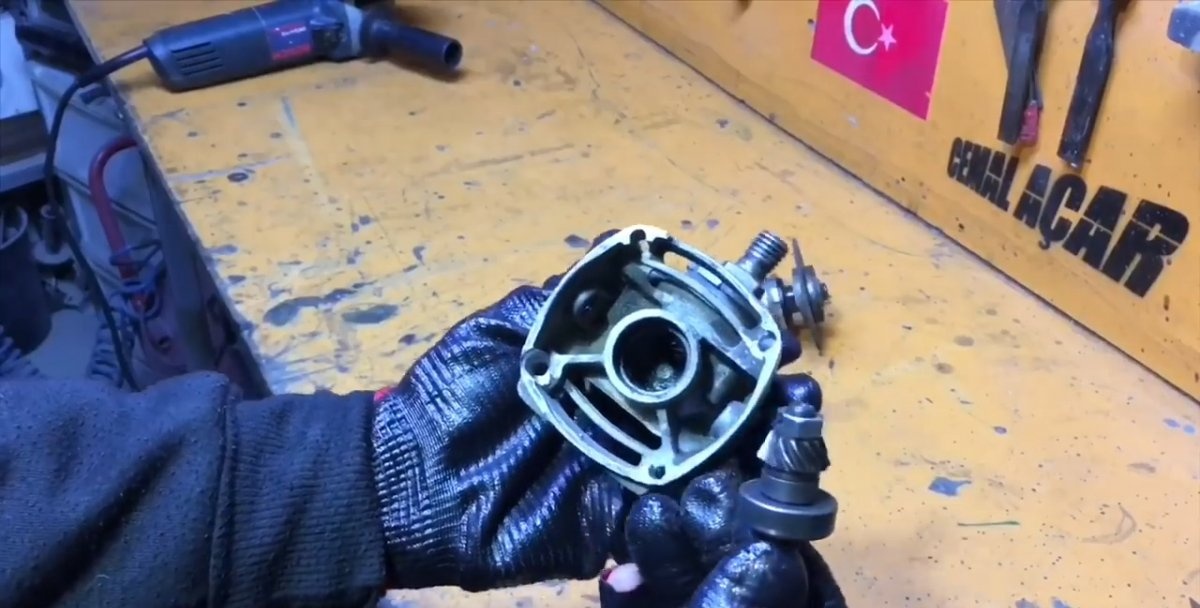
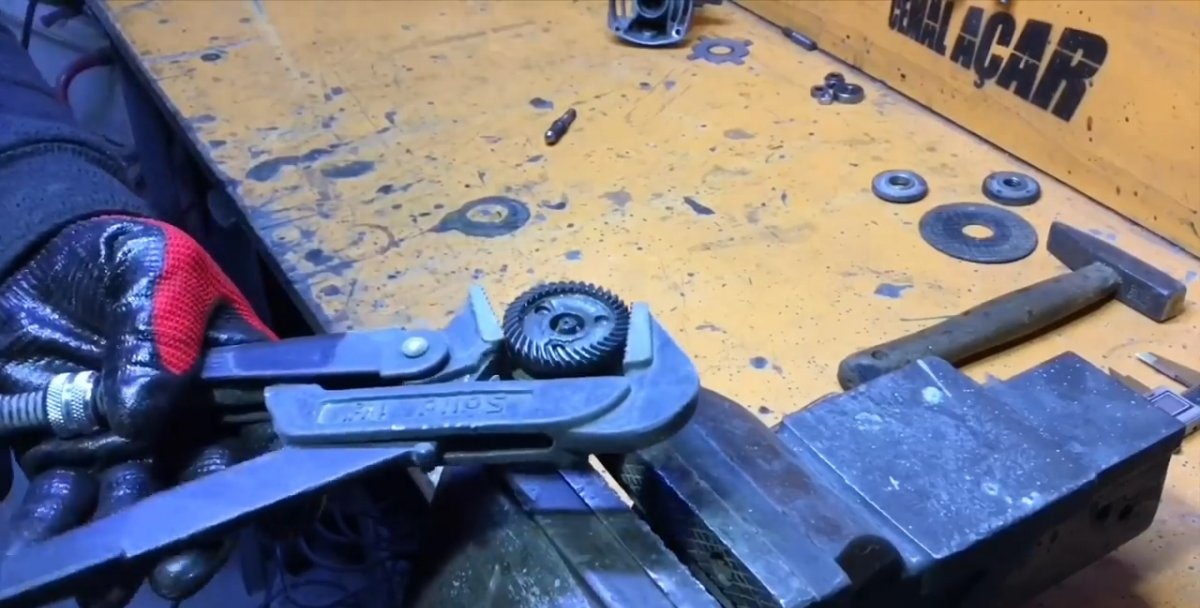
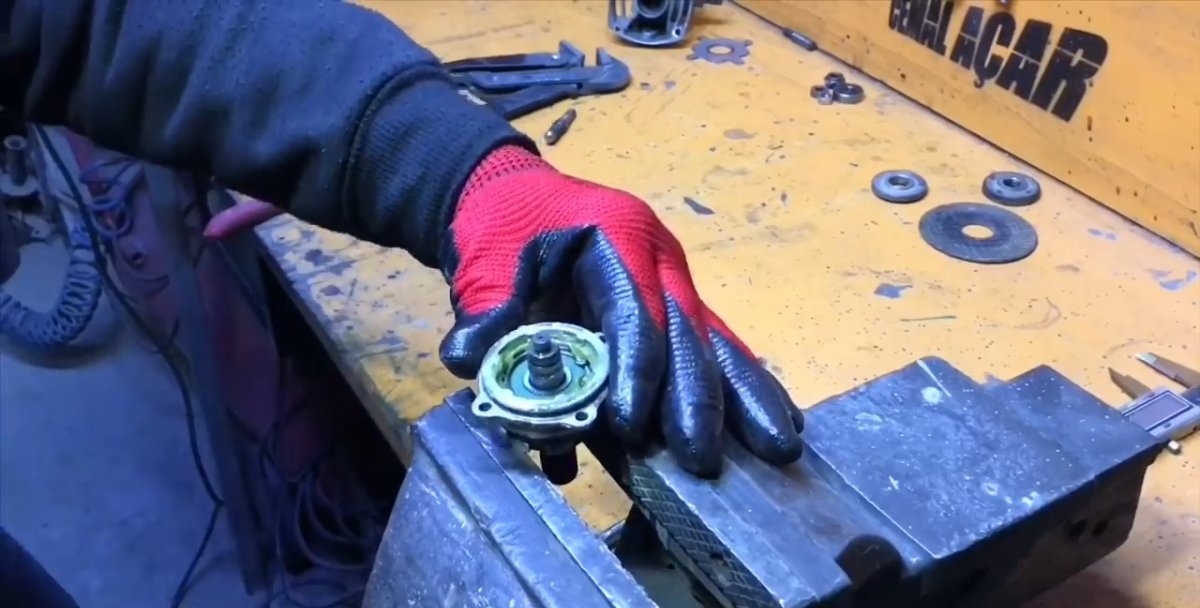
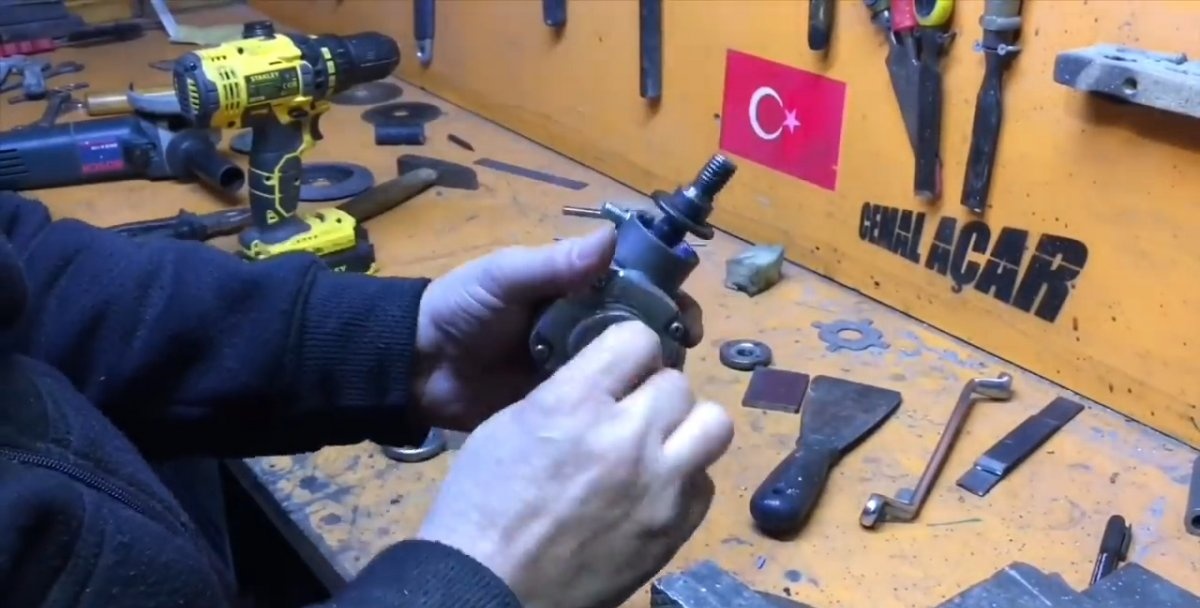
We create a new drive transmission axis. The first step is to adapt the transmission mechanism from an old angle grinder to our needs, because if we leave everything as is, the disk will rotate very slowly. To do this, we completely disassemble the entire moving part of the old tool and free the drive shafts from bearings and gears.
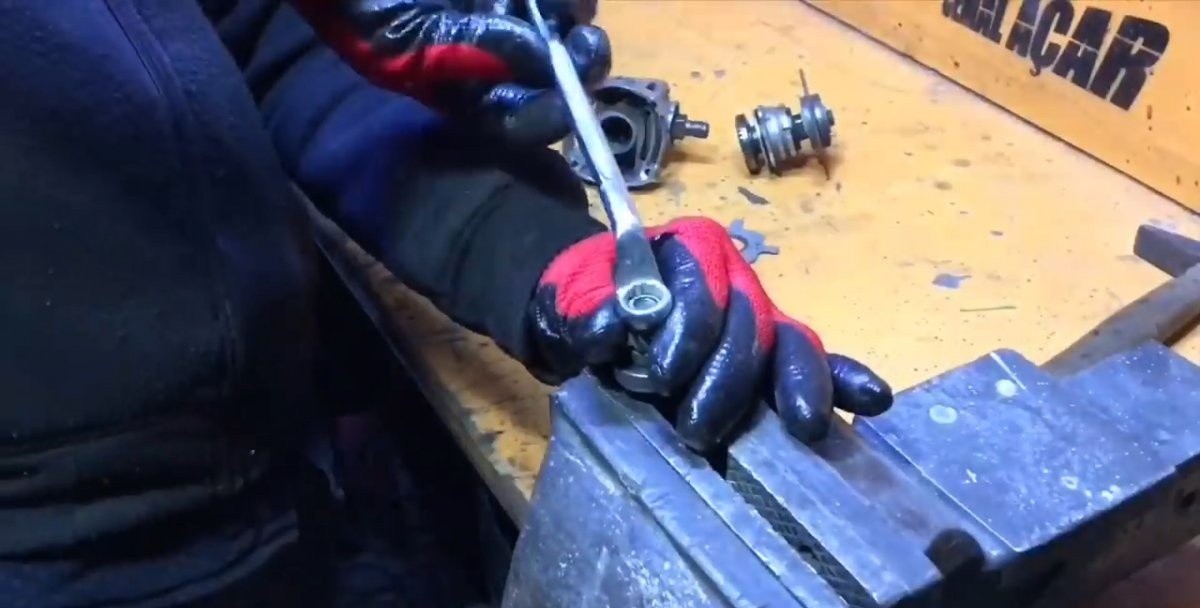
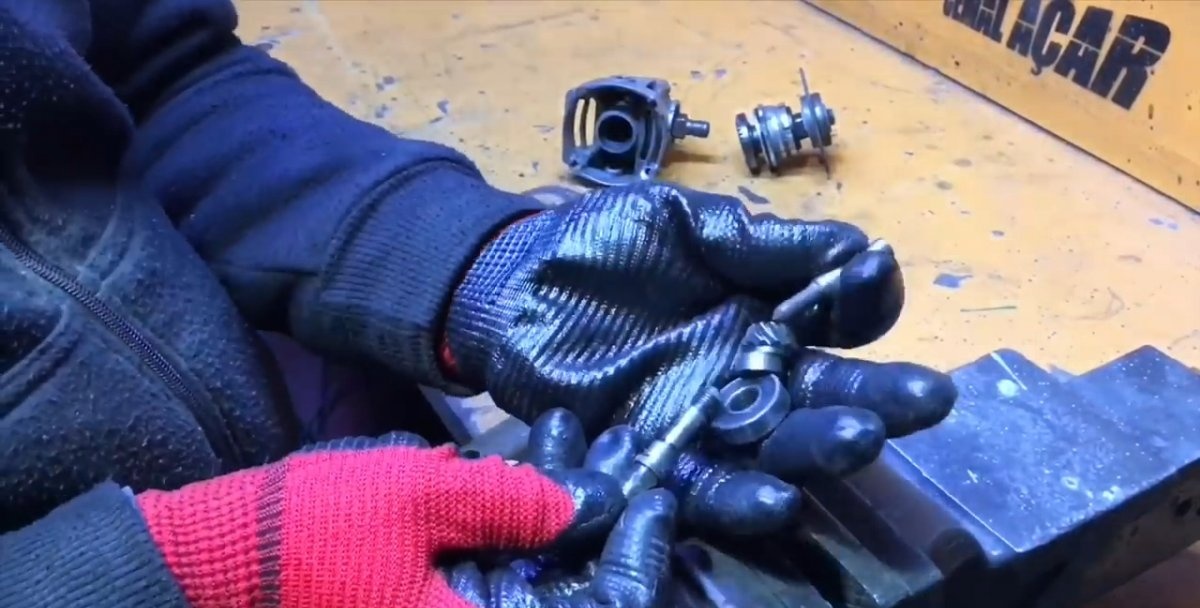
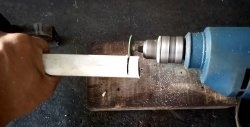
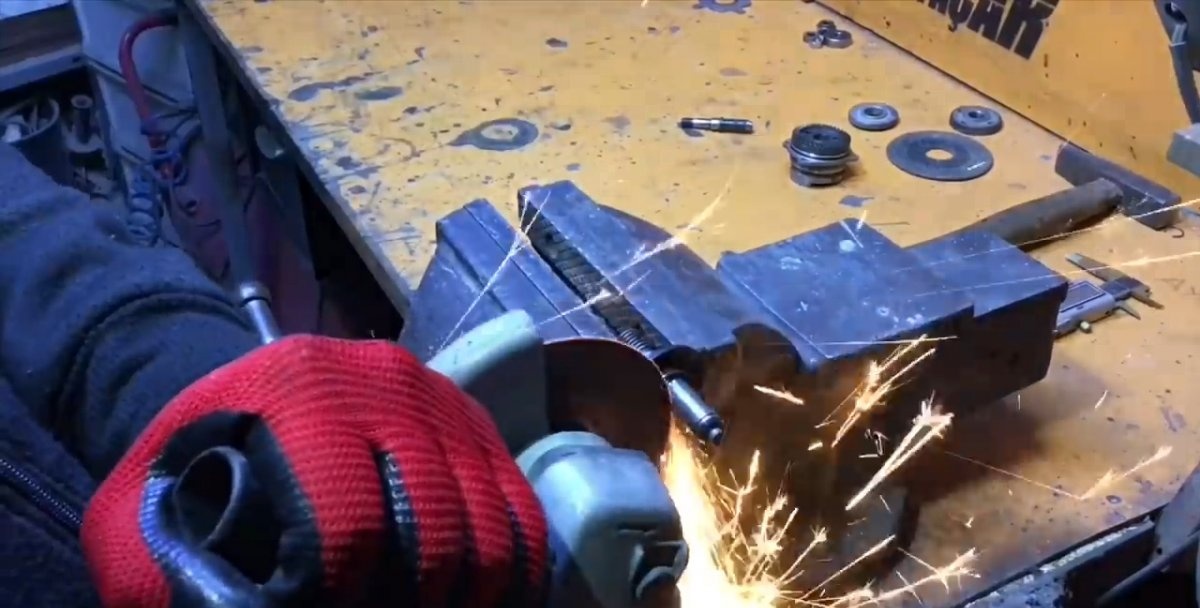
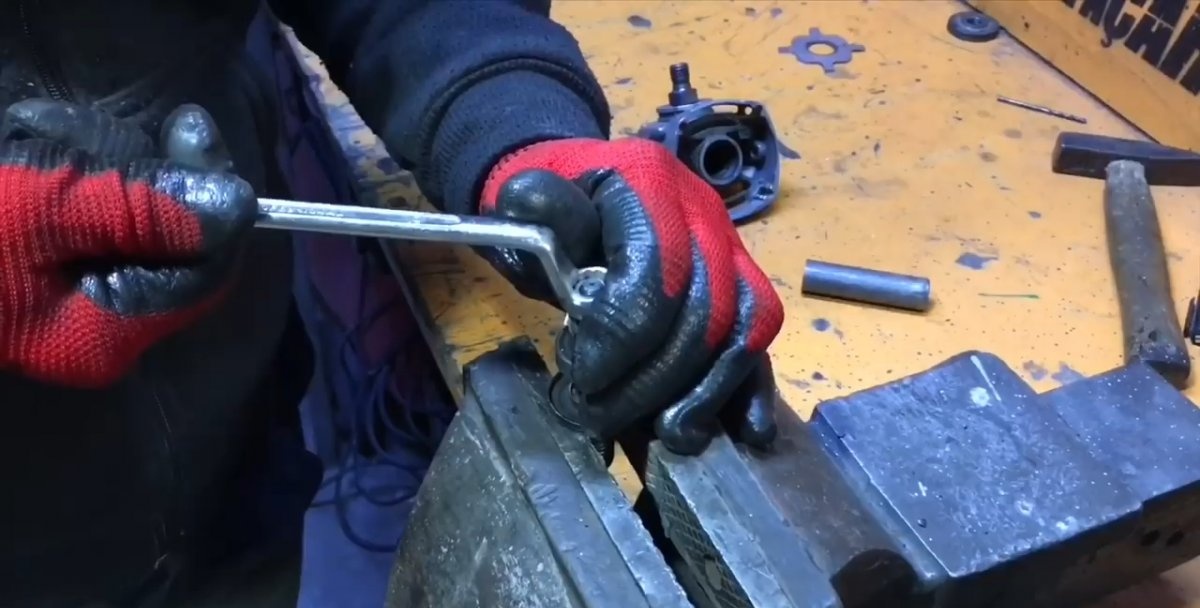
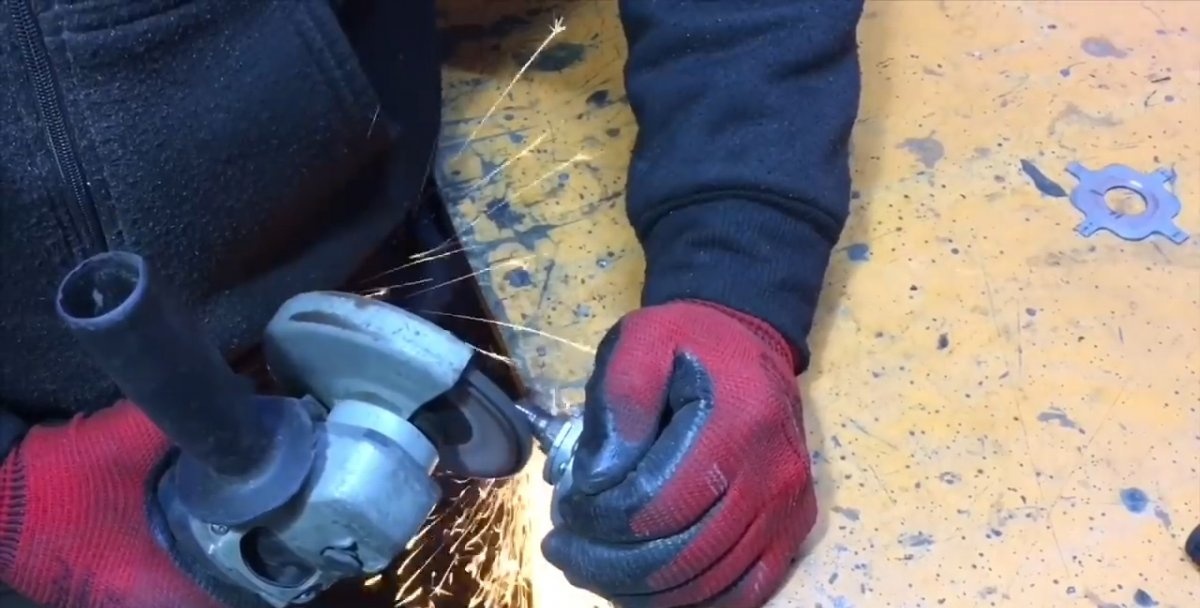
After this, using a cutting angle grinder, we shorten the axis (on which the disk was installed) from the gear side, departing from the drive skirt by about 8-10 mm. We carry out the same operation with the anchor axis, shortening the side opposite to the gear seat.
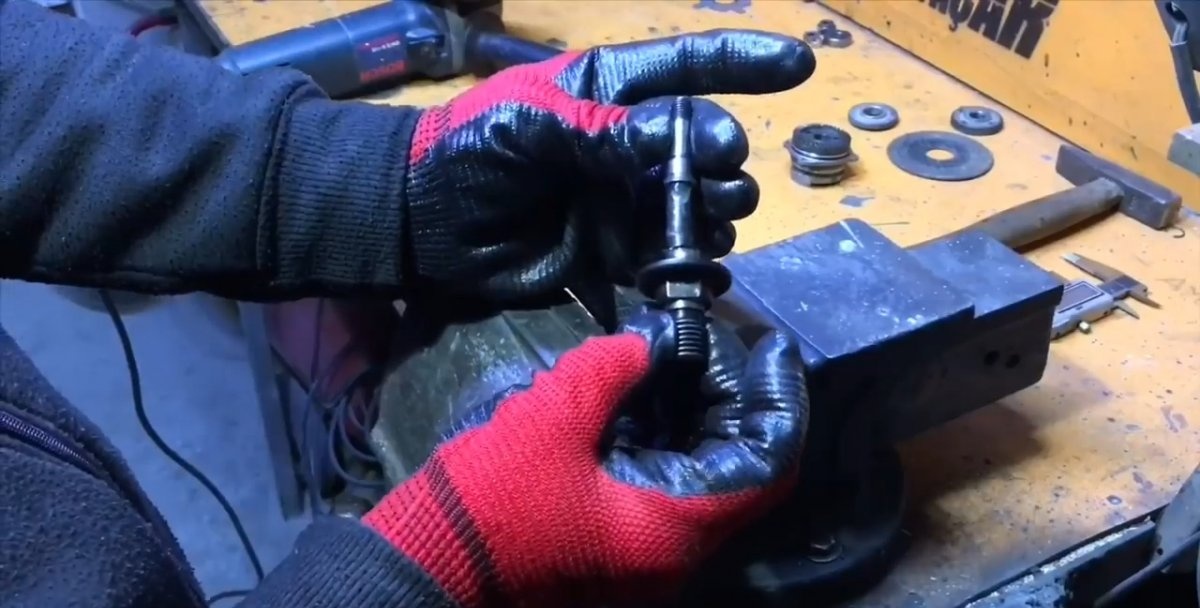
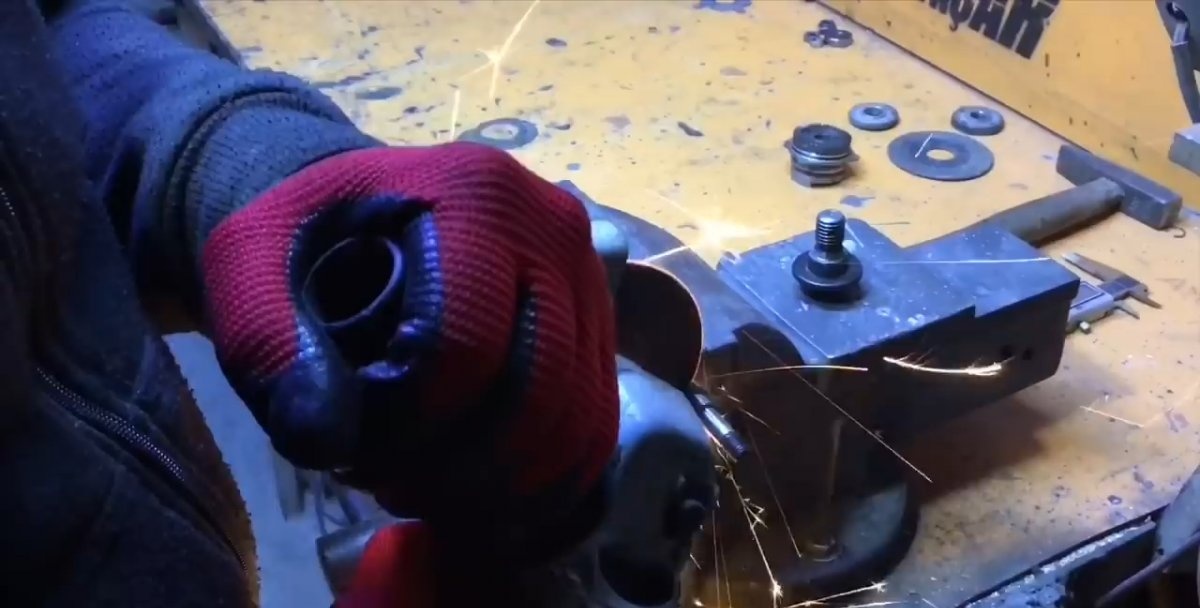
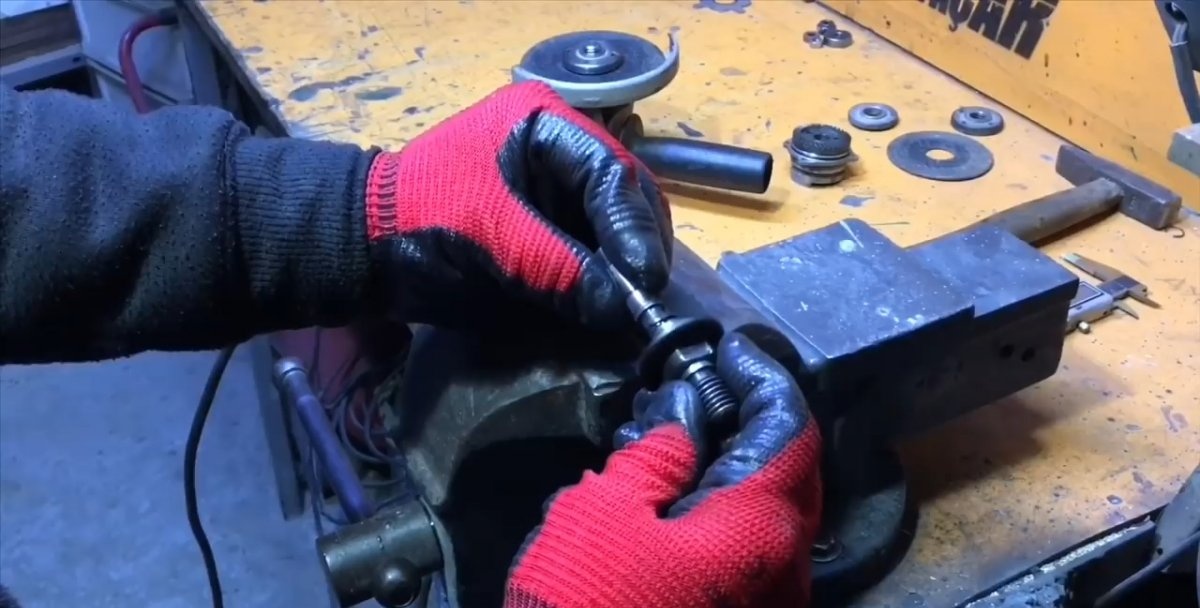
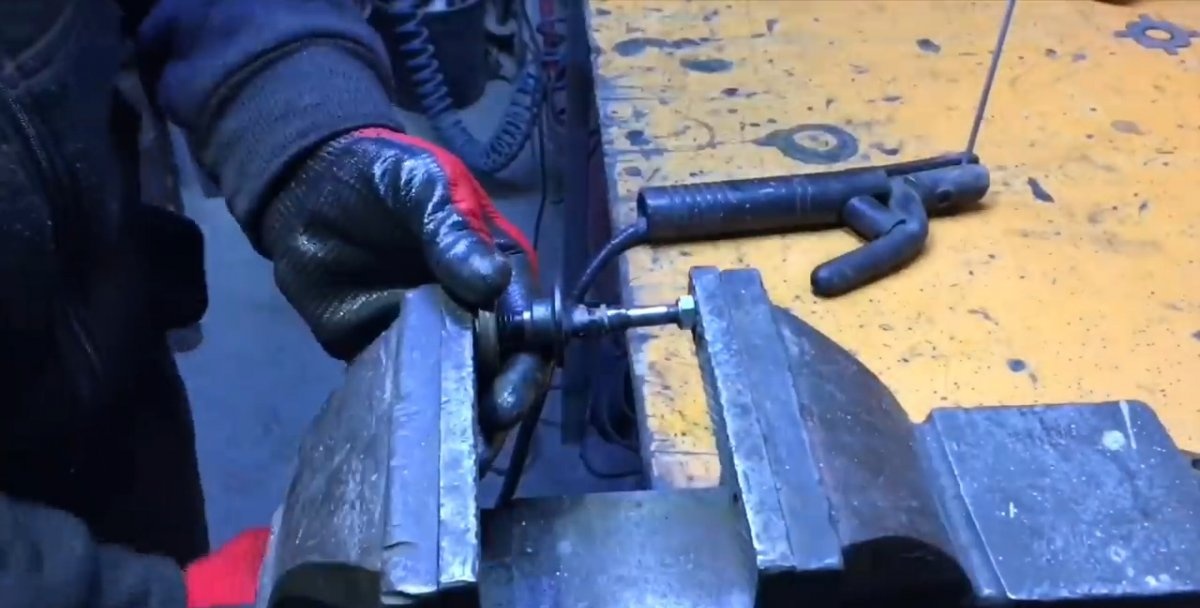
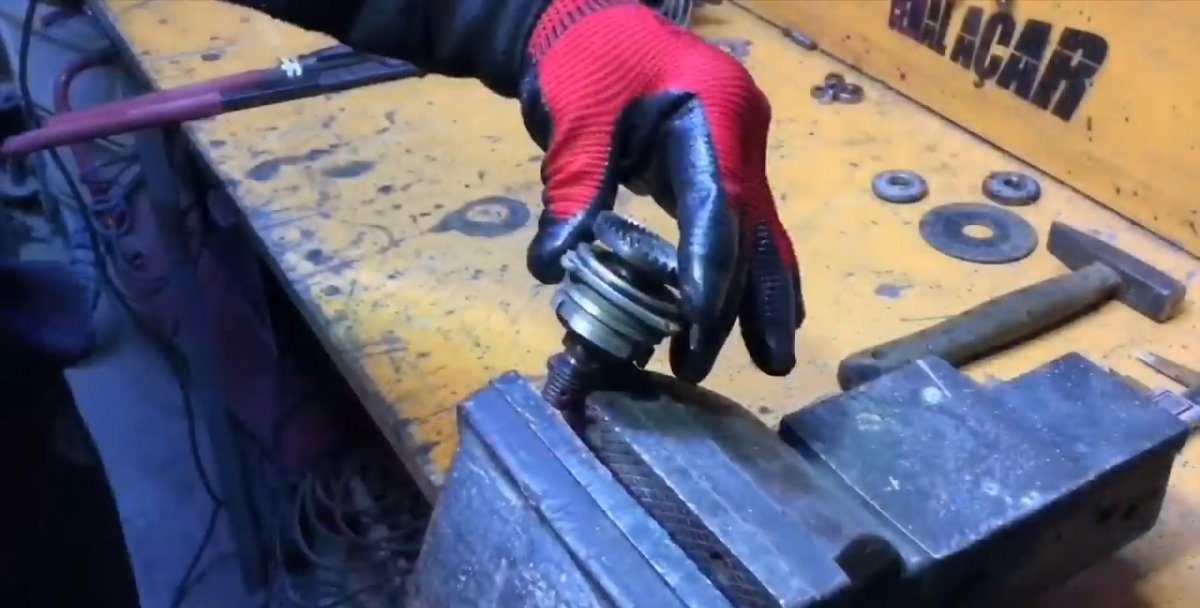

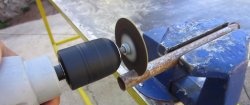
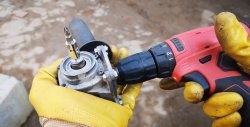
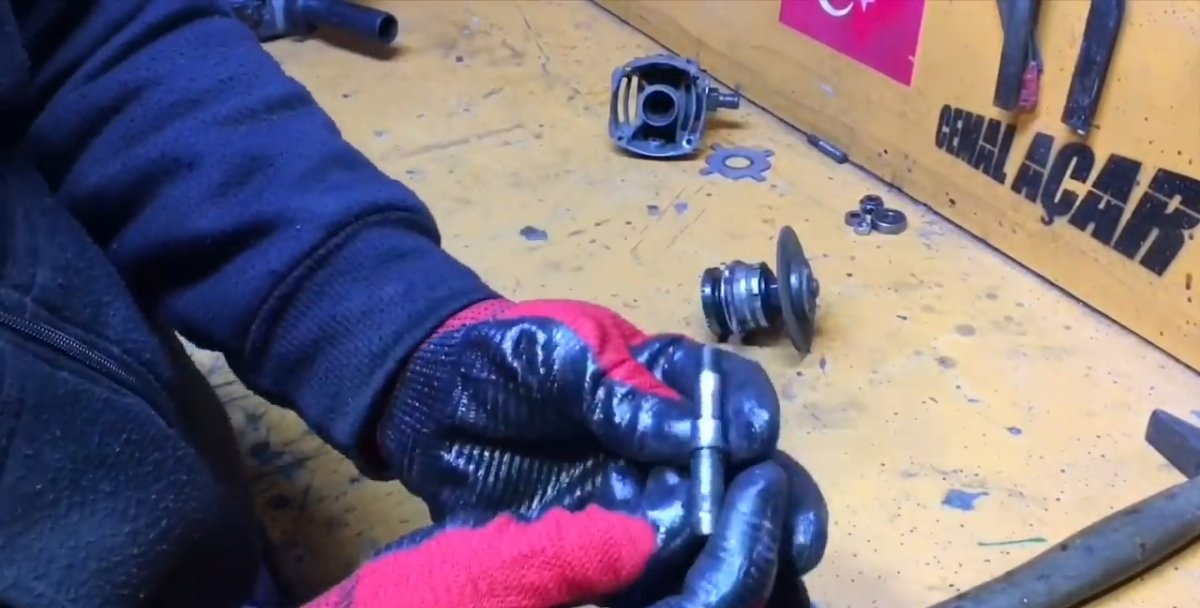
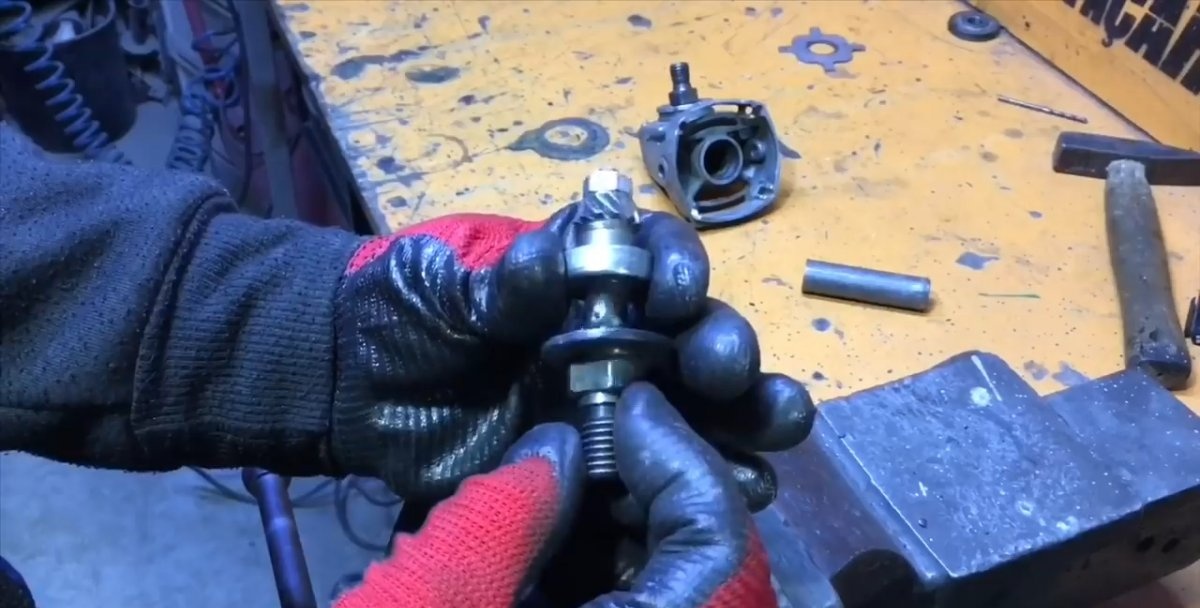
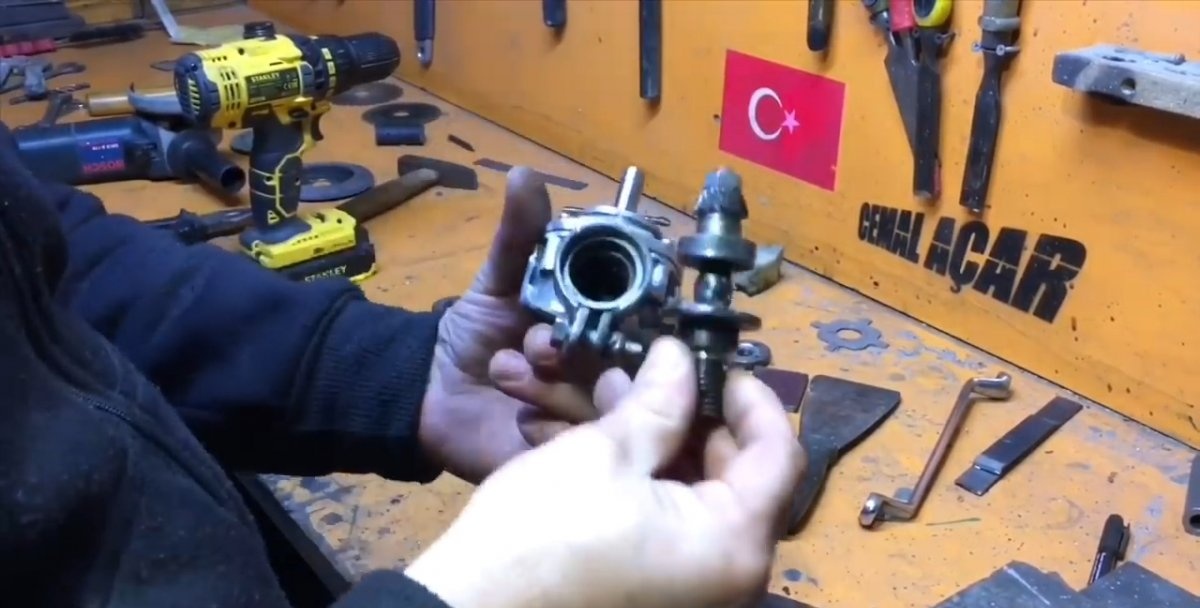
The next step is to center the resulting axle shafts. To do this, a recess of about 3 mm of the same diameter is drilled in the center of the disk axis, and the thin axis is sharpened into a cone using a screwdriver and a grinder. Then we mate both halves and fix them in a vice. Using a welding machine we transform the structure into a single whole. We put a bearing and a small gear on the thus modernized axle.
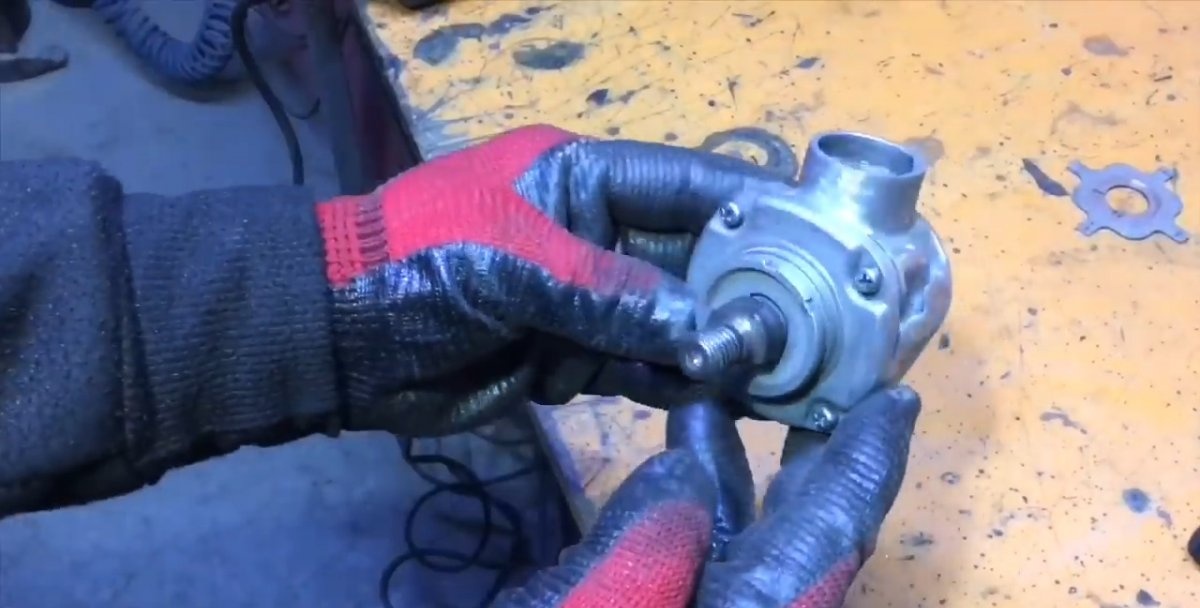
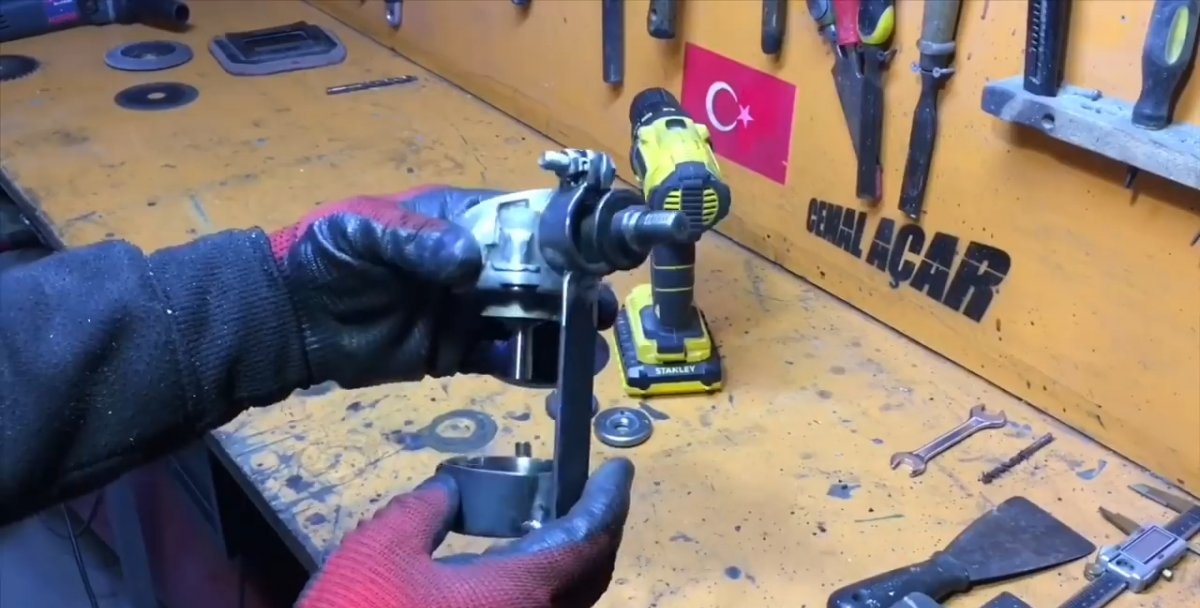
Preparing the body
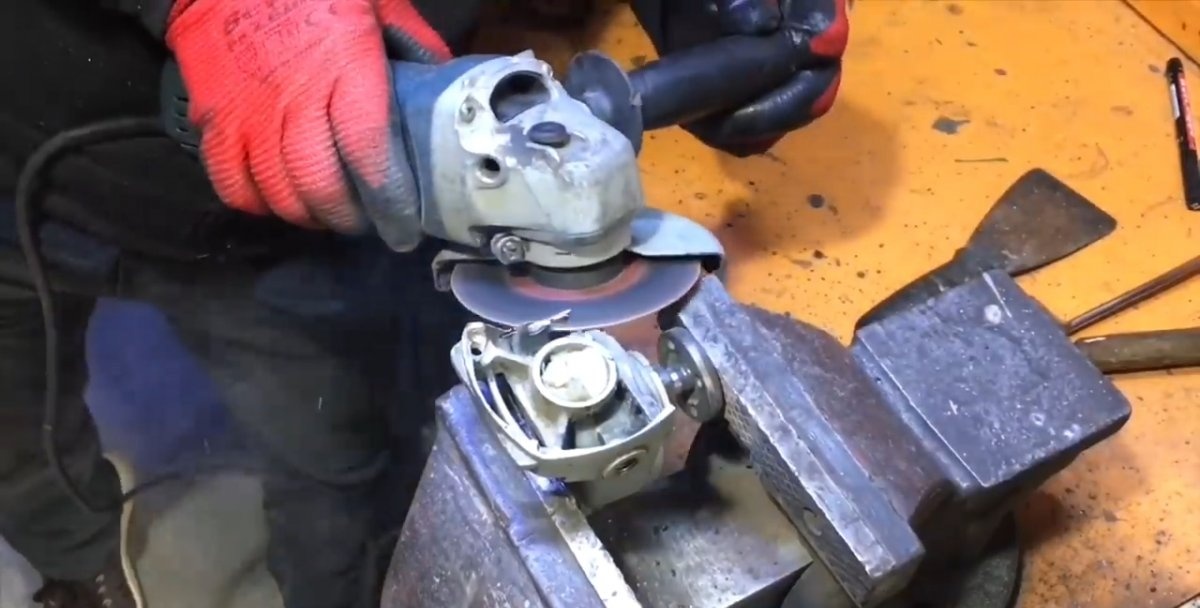
We take the second upper part from the non-working angle grinder, pull out the anchor axle (the seat should be covered with a rag to prevent chips from entering) and cut off all the frame elements (with which the unit was attached to the main body of the tool) so that we are left with only the neck of the inner part for the drive axle bearing . Afterwards, using a grinding wheel, we remove the threads on the remaining shaft to fix the disk, turning it into a smooth cylinder.
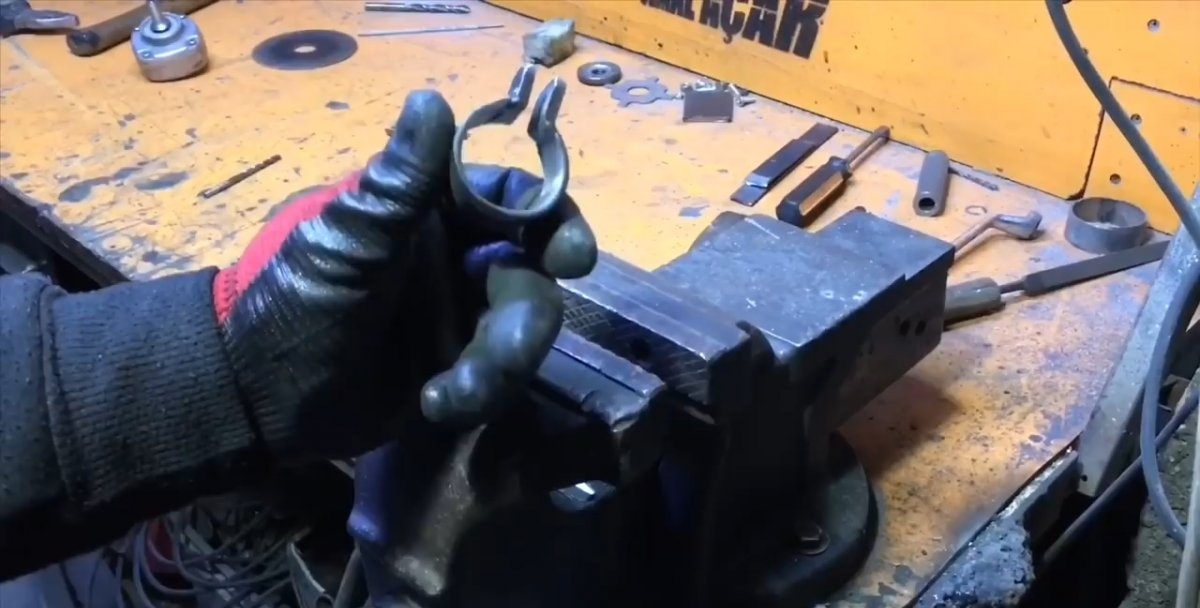
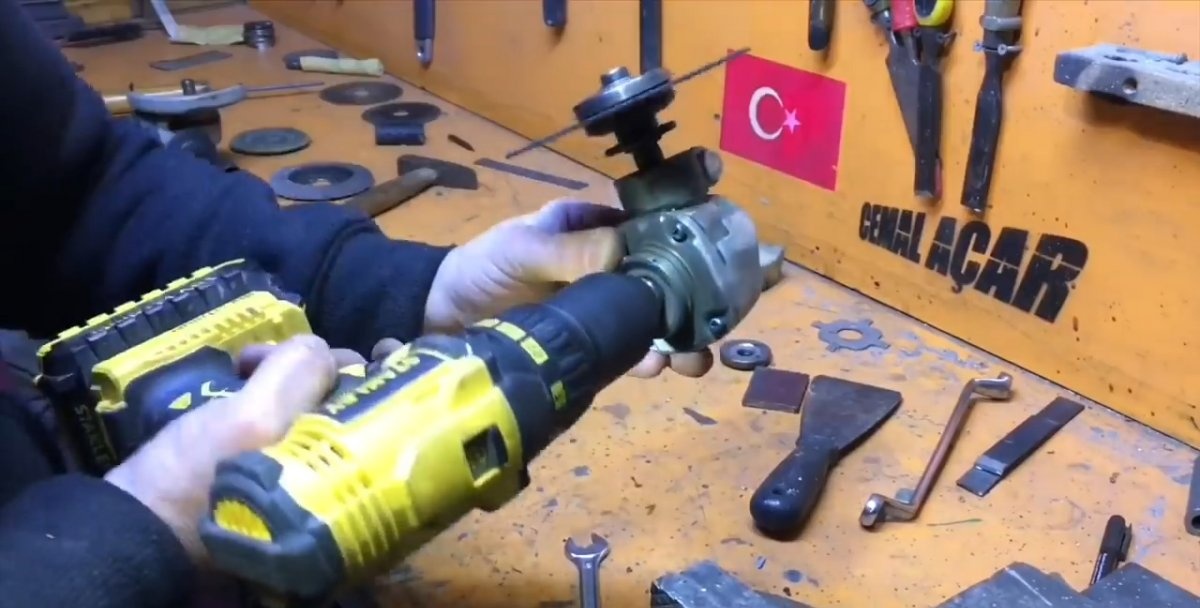
Next, we make a clamp from a metal strip along the diameter of the neck resulting on the new body. For greater convenience, we weld the nut of the coupling bolt by welding. We put on the clamp and insert the homemade axle into place. After making sure that the gears are in contact correctly, tighten the bolt until it stops, securely fixing the shaft bearing.
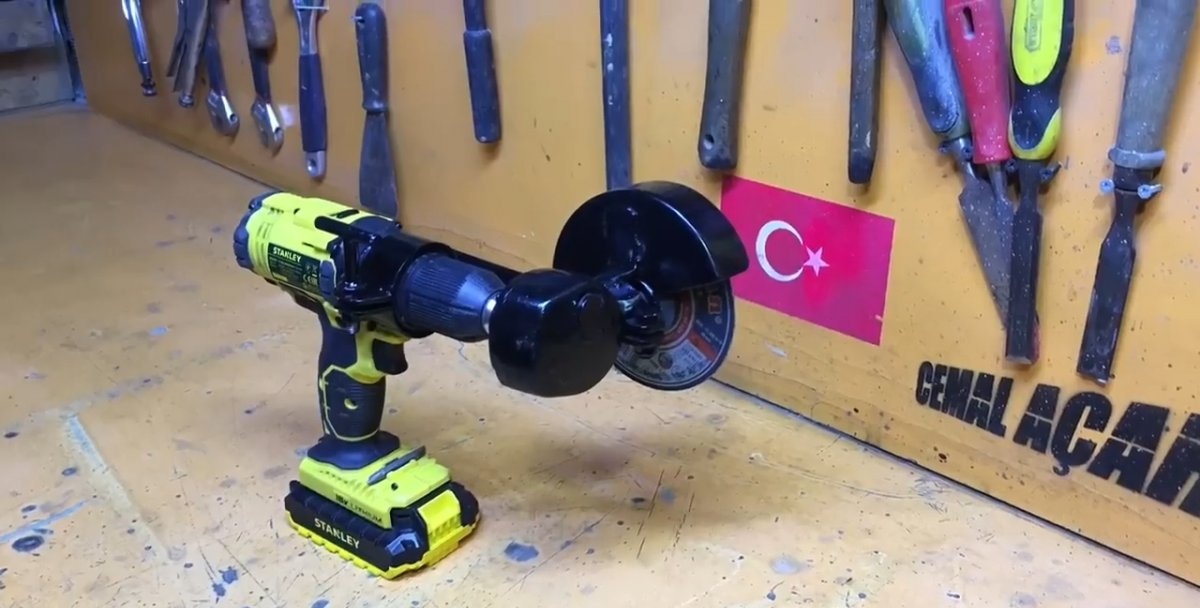
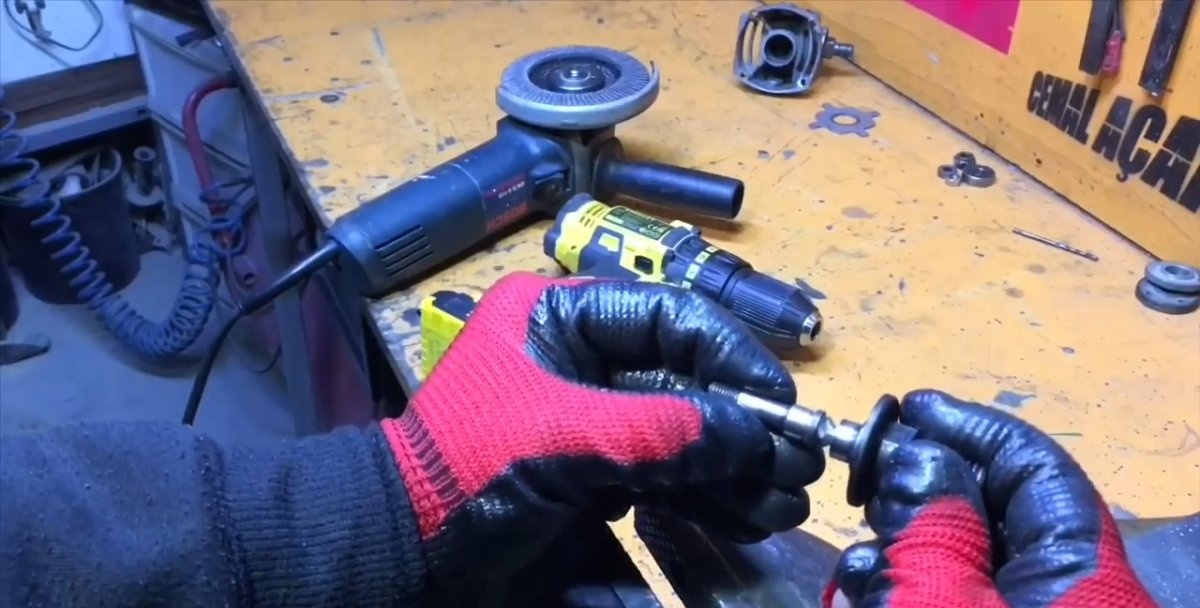
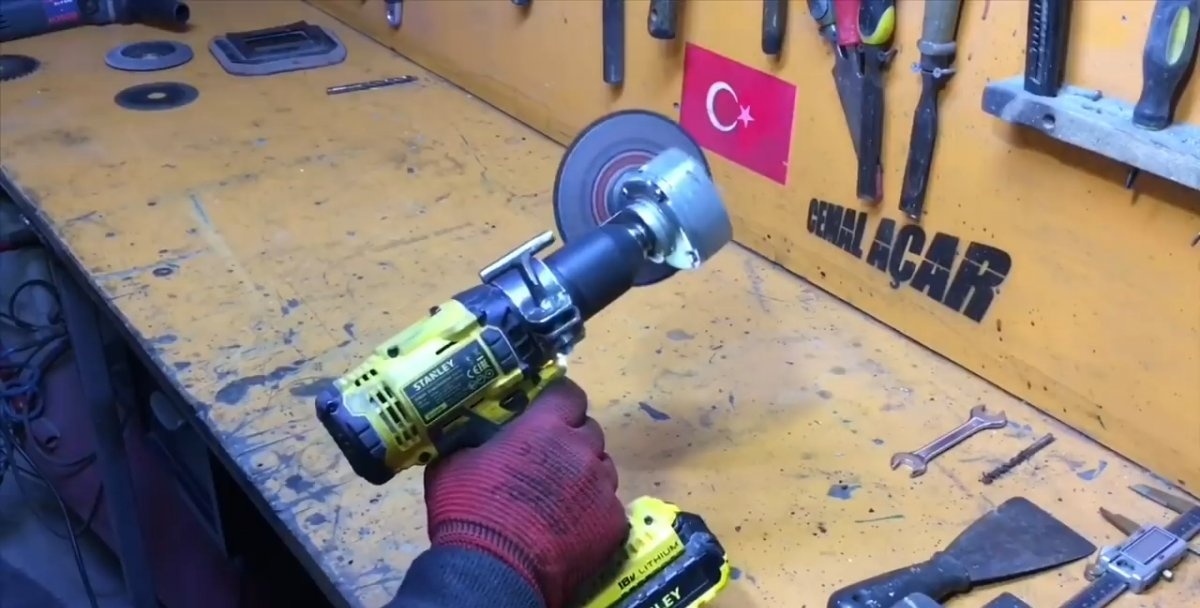
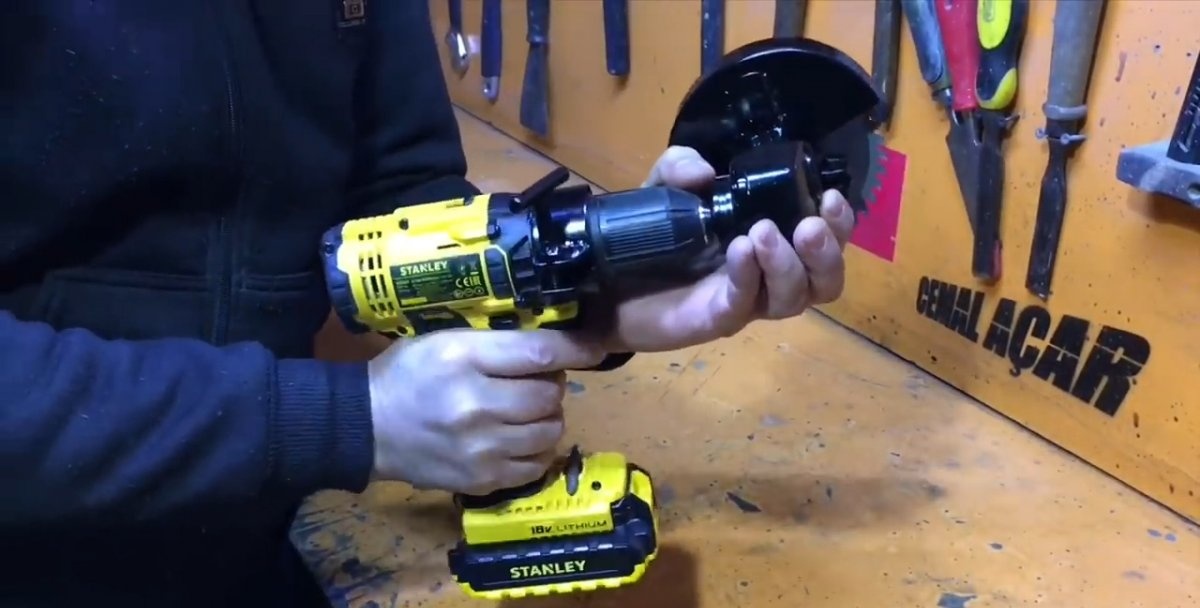
Now you can verify the functionality of our new tool by inserting it into a screwdriver chuck.The test must be carried out as carefully as possible to avoid injury! When testing, it becomes clear what we will do at the next stage.
Creating a nozzle retainer and protective casing
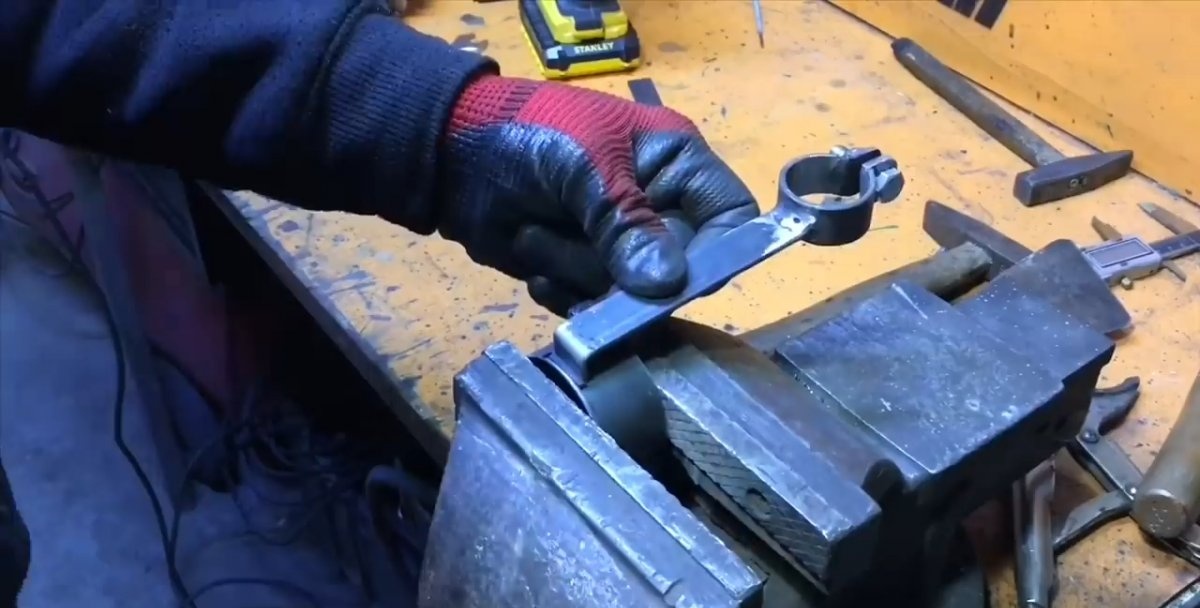
Using a strip, we make a clamp similar to the previous one, but on the screwdriver body (the area immediately behind the rotating chuck). The only difference is that we weld a homemade wing-type cross to the bolt for convenient and quick fixation of the nozzle.
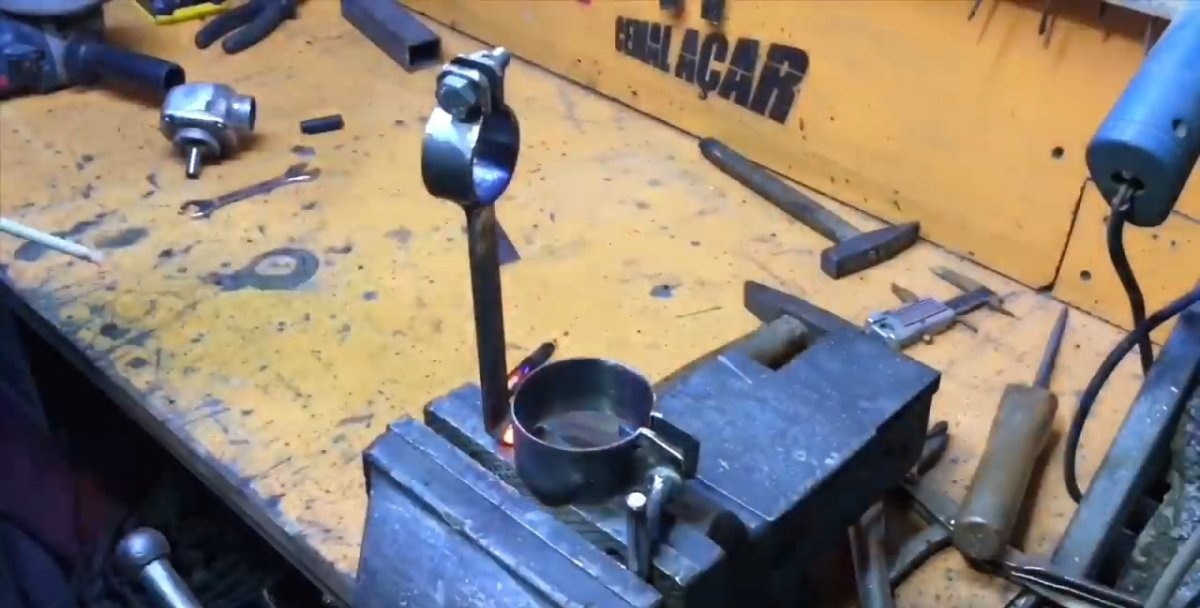
After this, we weld a piece of strip to the neck clamp and install the entire structure into a screwdriver. Having set the correct position of the drive for convenient operation, mark the interface location with a marker on the latch.
We remove the entire structure again, clamp it in a vice and, using a welding machine, connect the bar to the main clamp.
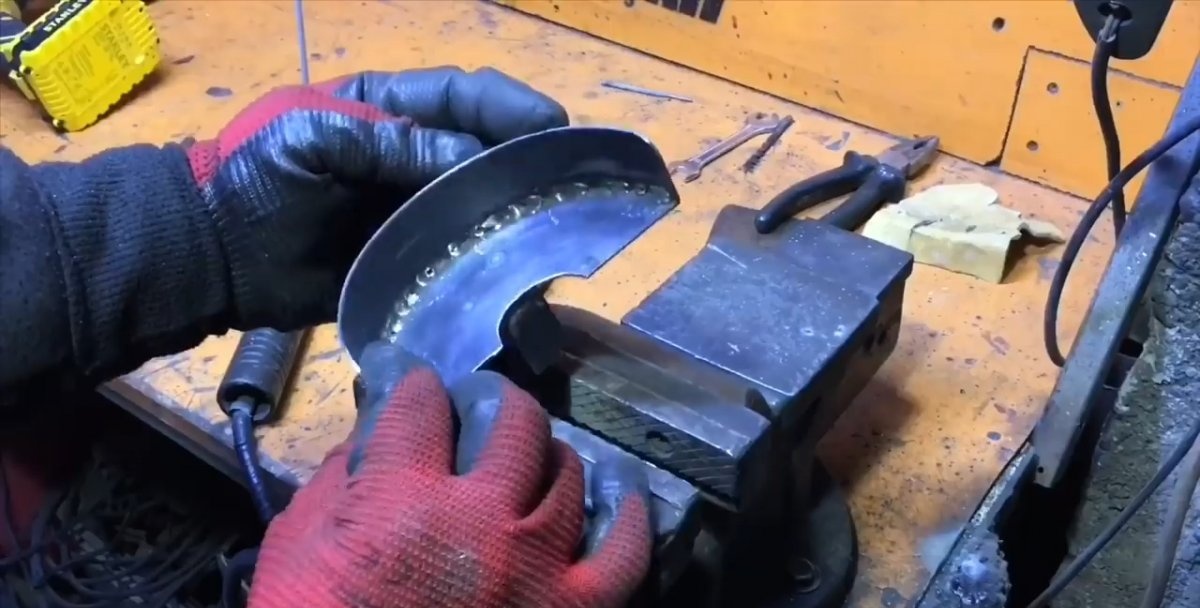
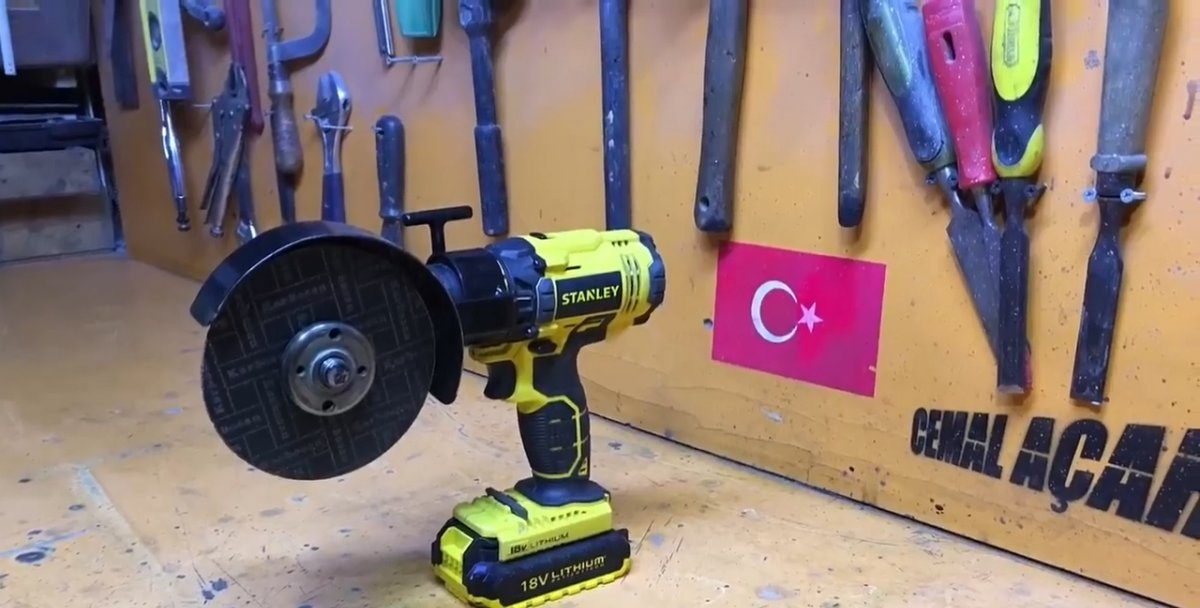
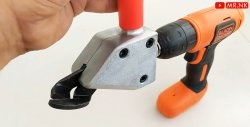
The tool can now be used, but the protective cover is missing for safe operation. We also make it from a strip, which we bend to a standard shape and weld to a sheet of metal. We remove everything unnecessary, leveling the edges with a grinder.
We make a recess in the center of the shield, so that the neck does not interfere with the installation of the protection, and fasten it with a corner from the same strip by welding in the right place. The final step will be spray painting.
Security measures
When performing work on the manufacture of this attachment, it is necessary to follow safety rules when working with a welding machine, grinder and screwdriver. Also, when processing metal, do not forget to use glasses to protect your eyes.
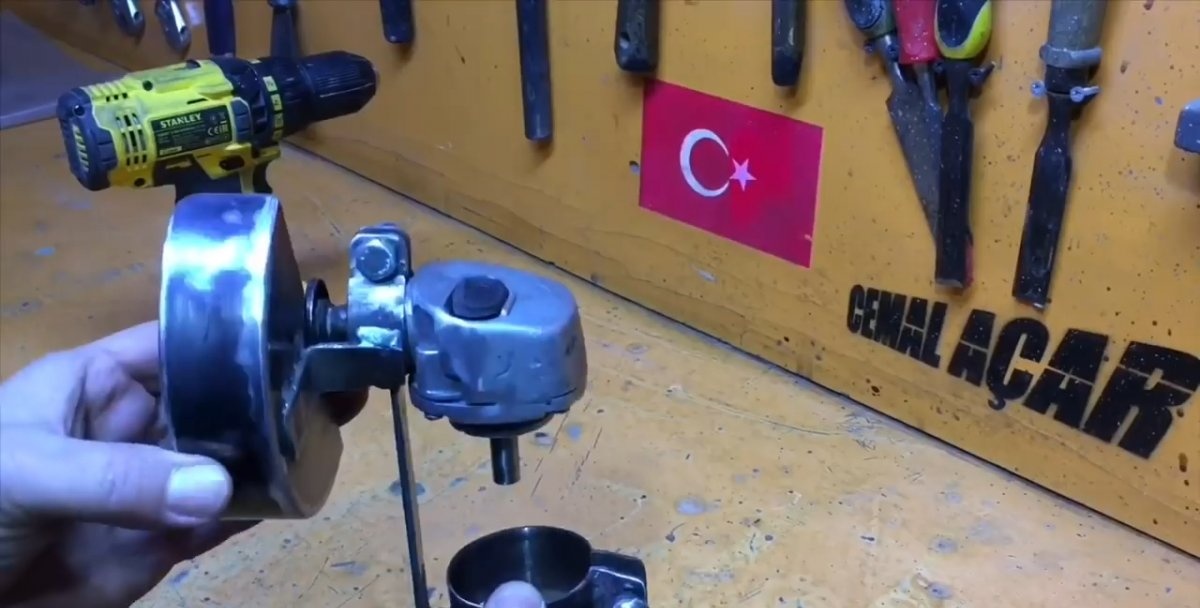
Results of the work
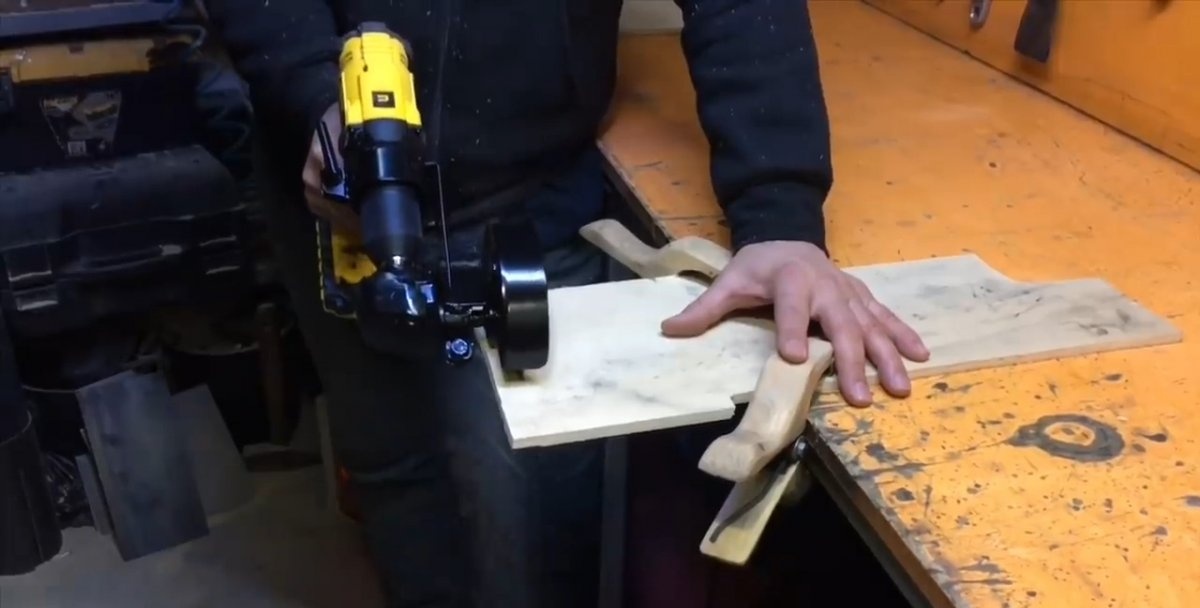
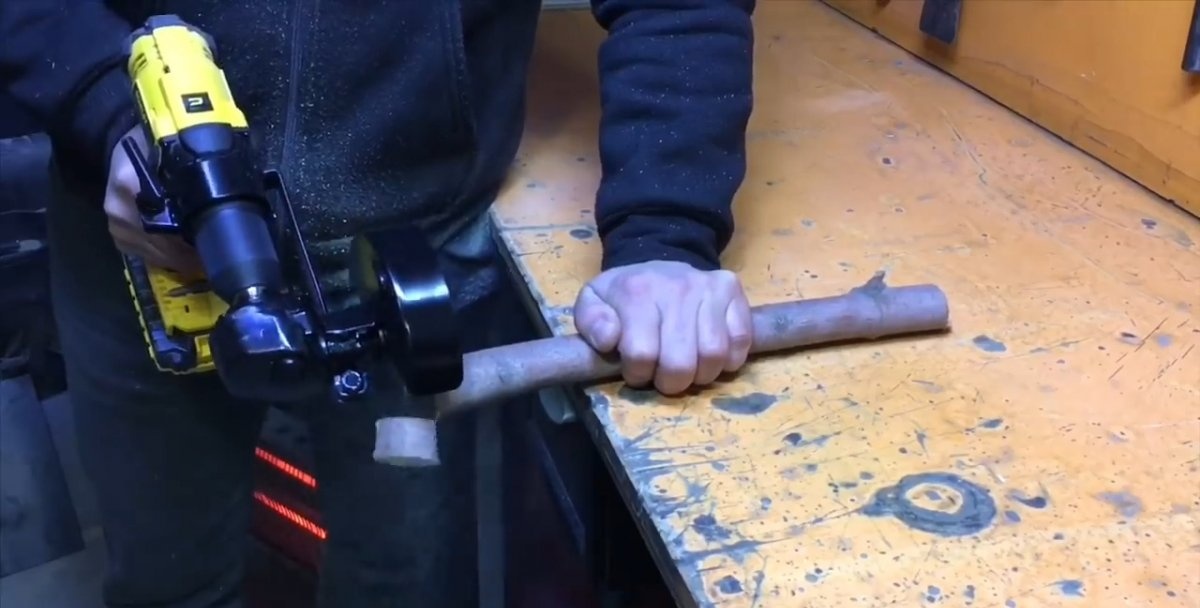
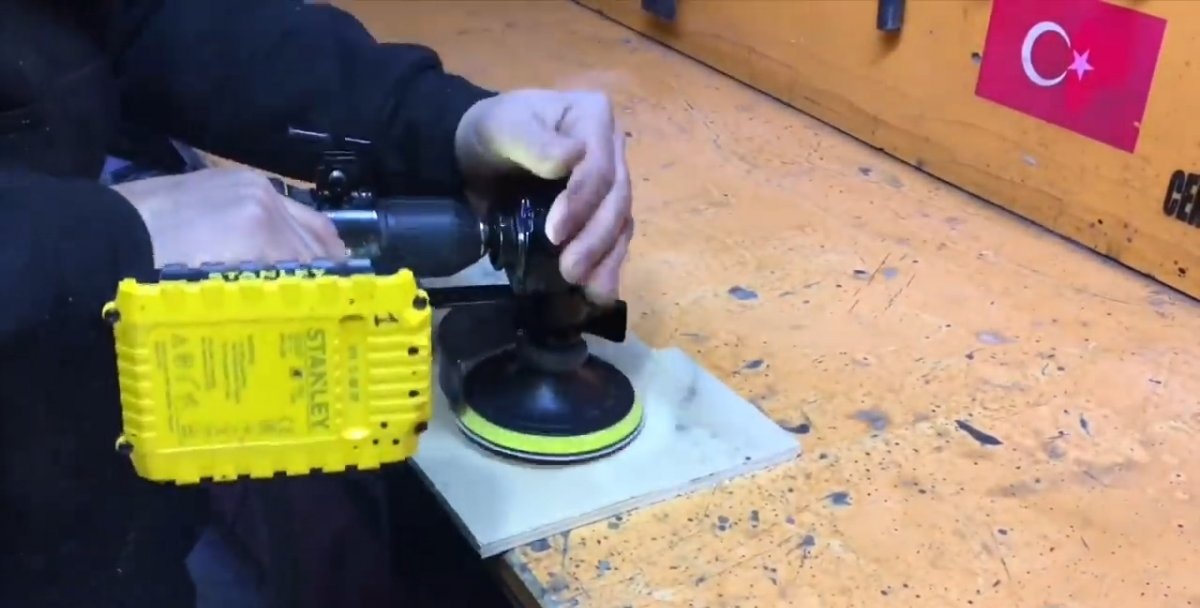
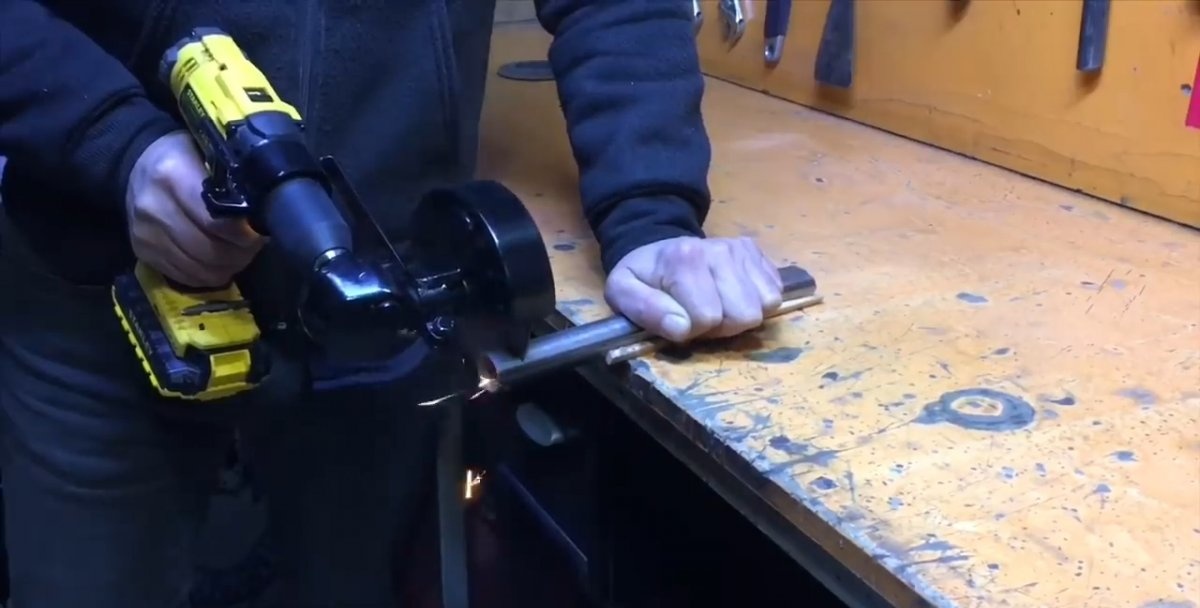
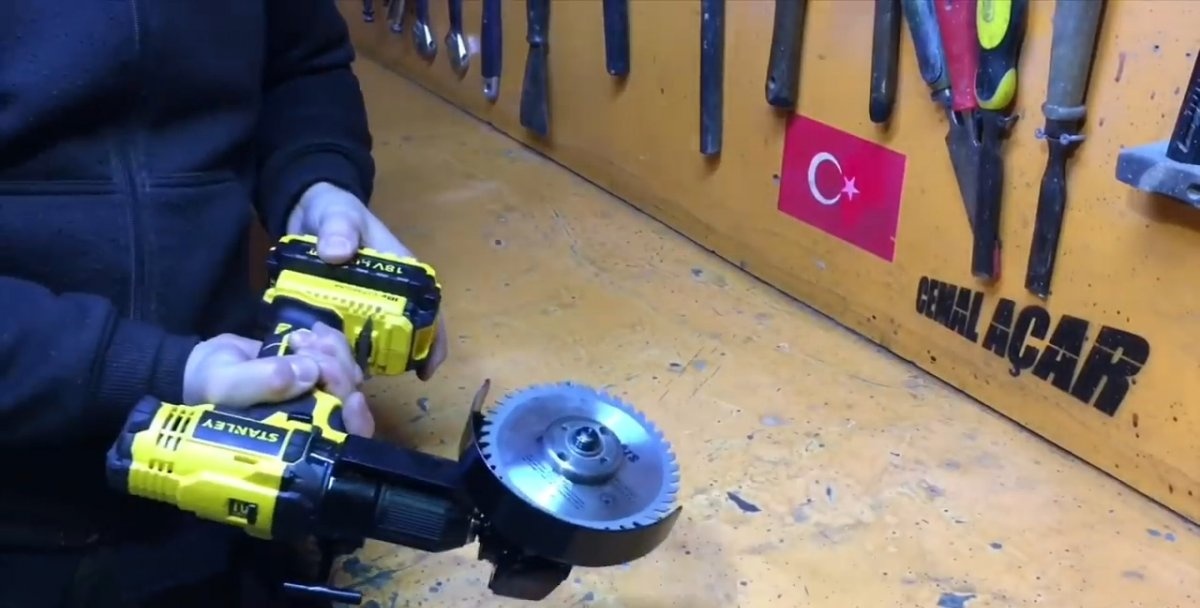
With the help of this attachment, which is put on the screwdriver in a matter of seconds, you can cut metal, wood (great for garden care) and perform grinding work no worse than a factory tool.