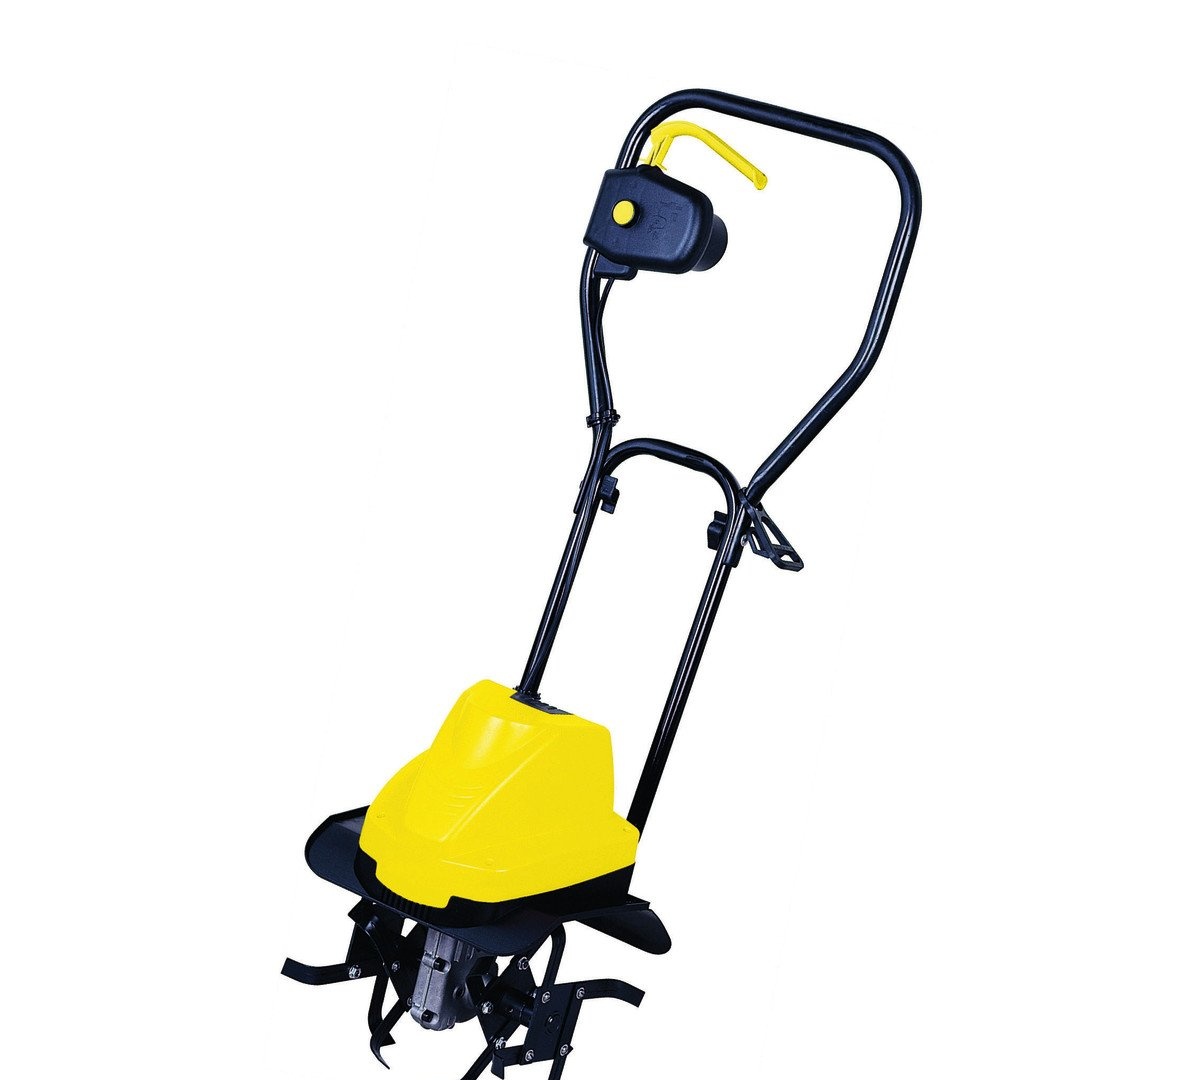
An electric cultivator with a power of up to 1000 W, I believe, is created exclusively for women’s hands. Lightweight, compact, requires no maintenance (well, almost) - I turned it on, loosened the bed for flowers or dill and didn’t get tired.
Moreover, my women have experience working with wires on site. The lawnmower is used regularly. You can, of course, ask your husband and son to dig it up faster with a shovel, but you still need to persuade it, and in general, your son is late for the disco.
So, an electric cultivator bought in Samara in a well-known store is not suitable. Too light. Doesn't go deep.
If you brace yourself well and hold it in place, not allowing it to run forward, then the cultivator will of course scratch the ground. And in a well-plowed area it will even bite in slightly. By the way, the cultivator does not have a name and is designated by letters like QT. But they are all about the same and the method for fixing the problem is suitable for anyone.
I decided to make a coulter for the cultivator, like its more serious brothers, with an eye to dimensions and avoiding excessive weight.
Required Tools
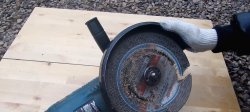
- Angle grinder (grinder) – the parts are small and any angle grinder will do;
- Drill;
- Screwdriver;
- Welding (in principle, everything can be assembled with bolts);
- Wrenches.
Refinement of the cultivator
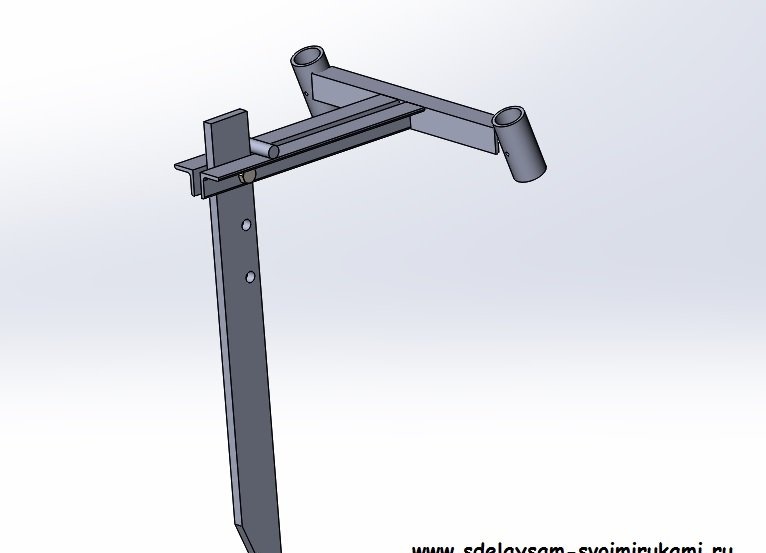
I made 7 parts according to the indicated sketches:
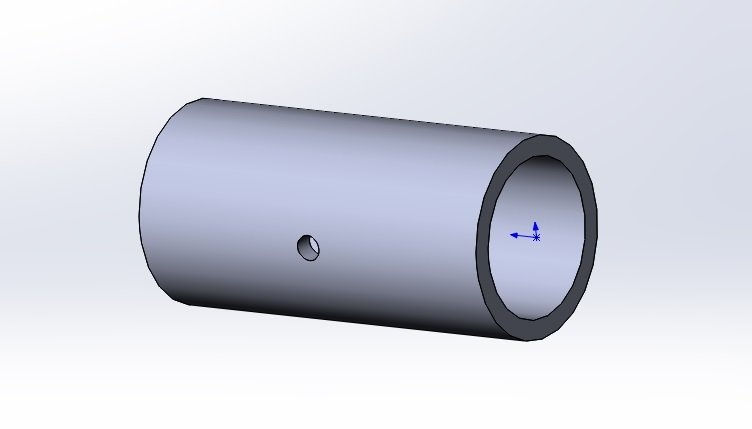
Tube – 2 pcs. Length 50 mm diameter about 25 mm so that the handles of the cultivator go inside. The water pipe was perfect.
Corner – 3 pcs. The dimensions of the corner are 20x20x3 mm. The length of two is 170mm and one corner between the tubes is the size of the cultivator (about 200mm).

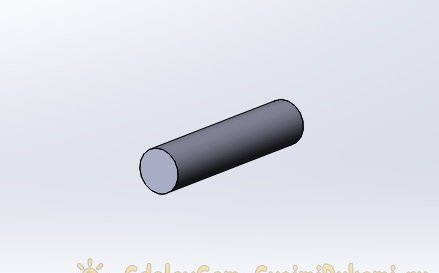
Support for coulter – 1 pc. Length 40mm, diameter 10mm. Cut from a piece of reinforcement.
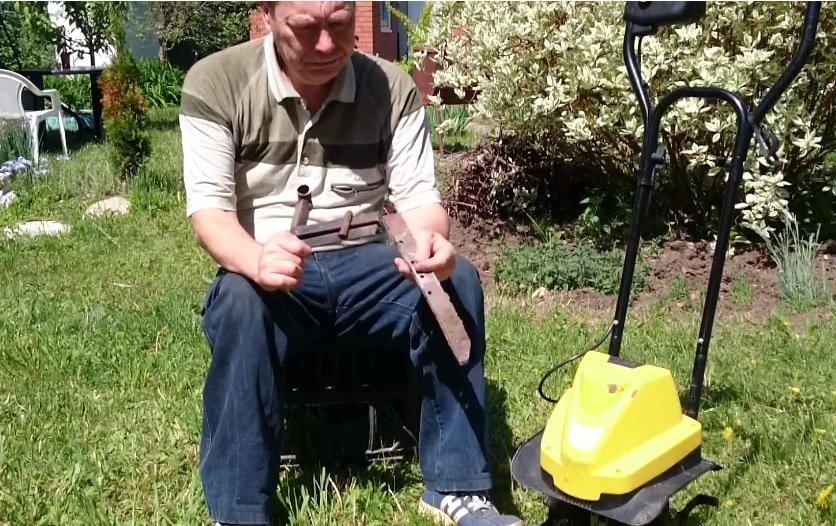
Opener – 1 pc. Dimensions 350x35 mm. The thickness needs to be thicker. I didn't have thick steel, so I cut two pieces from 4 mm steel and welded them together. The result was a coulter 8 mm thick.
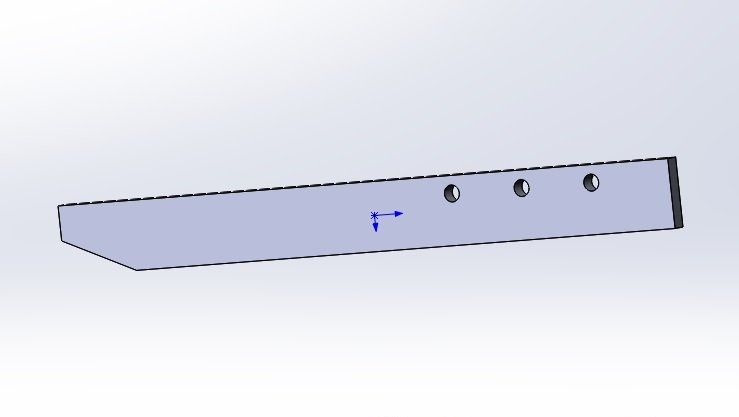
The holes in the coulter with a diameter of 8.5 mm were made in 40 mm increments so that it was possible to rearrange the coulter in height and change the depth of cultivation of the bed. The top hole is 70 mm from the edge.
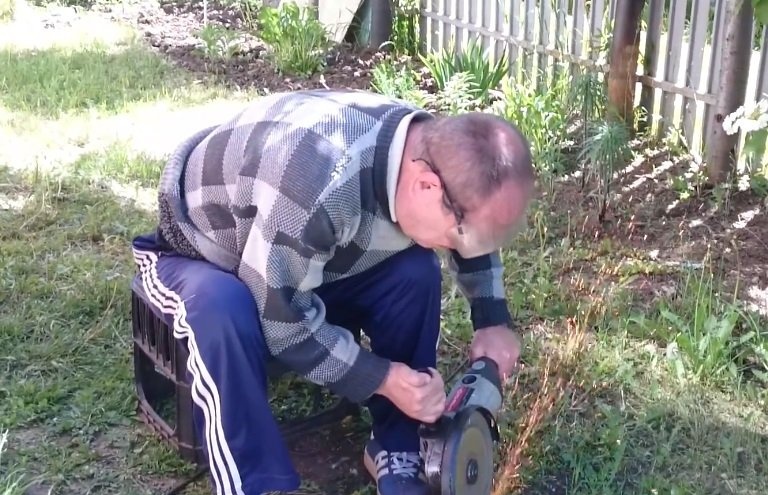
When working with an angle grinder, you must use protective equipment - it is a serious tool.
As a result of welding, the following design was obtained.
The coulter plate is screwed with an M8 bolt into the drilled hole.
When tightening the bolted connection, it is necessary to ensure the mobility of the opener plate so that it can rotate. Even if not completely free, but not tightly.
The advantage of the design is that the parts of the cultivator itself do not deteriorate at all. The opener is inserted into the connector of the handles - the handles just have a telescopic connection.

And everything is secured with standard screws. It is important that in the working position of the cultivator, when the handles are tilted towards the operator, the coulter is installed vertically. This is what happened in the end.
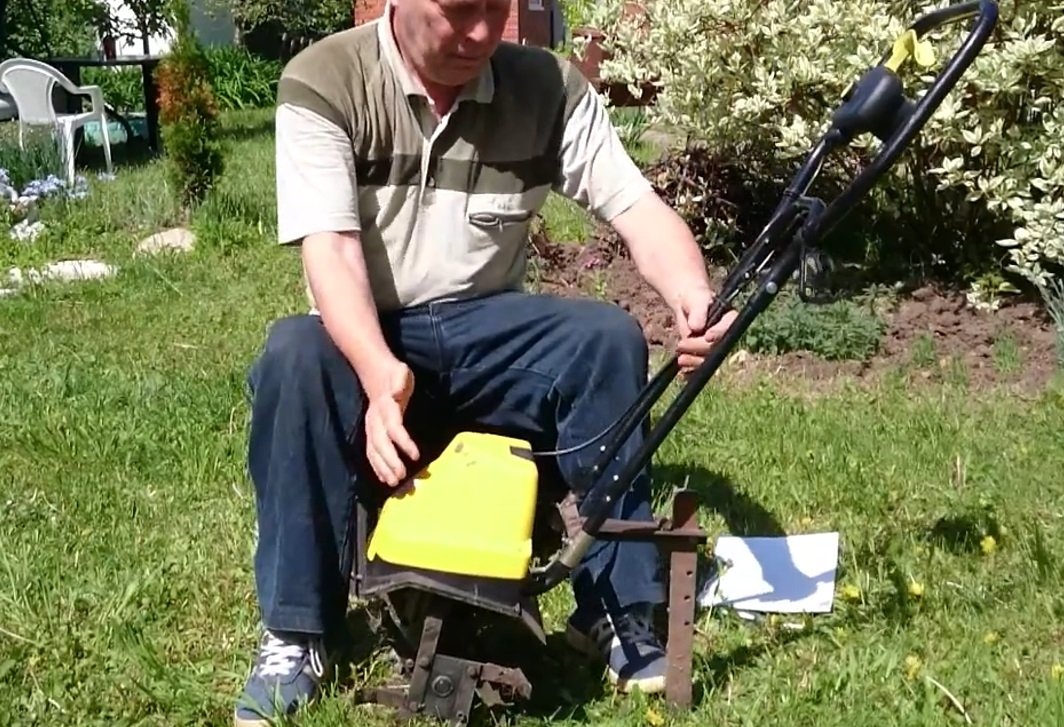
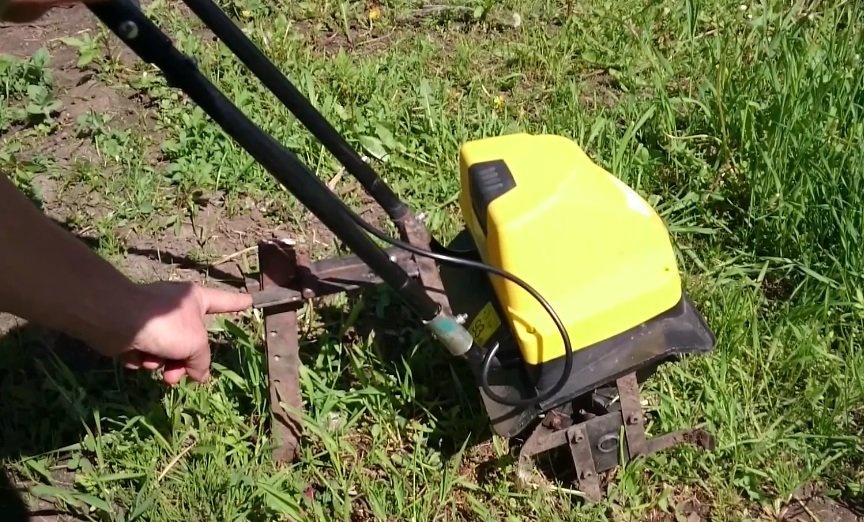
My older comrades told me that the distance from the cultivator to the coulter greatly influences the result.The greater this distance, the more stable the unit will operate. In the photo this is the distance from the yellow body to the finger.
The mobility of the opener must be ensured so that it folds and does not interfere when moving backwards. For example, if you drove under a currant bush and need to pull the cultivator towards you.
Conclusion
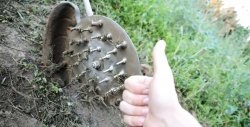
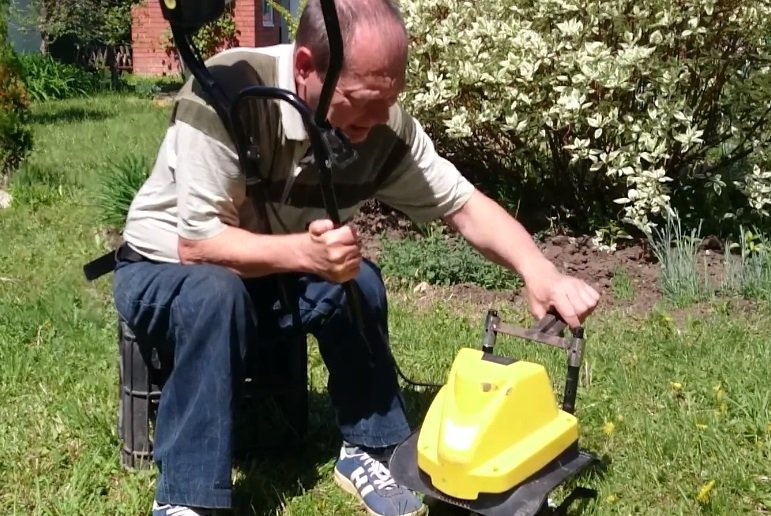
Well, in the last photo you can see how the cultivator went deep into work up to his hat without any problems. In women's hands. This is a kind of brake for the cultivator, which does not allow it to move quickly forward and forces it to go deeper into the soil. In the video it all looks much clearer. How the opener works, how it folds, etc., etc.
Watch the video
Antonov Alexander
Samara
Samara