What is needed for repairs
Based on the fact that, as a rule, most citizens do not have special tools at home, we will use the most accessible one.
- A 17-size open-end wrench and an adjustable wrench are better - 2 adjustable ones.
- Steel bit or flat screwdriver.
- Duckbill pliers.
- Tweezers.
- Grease "Litol-24".
- A piece of fabric on which the “action” will take place.
- Wiping cloth.
- Hammer.
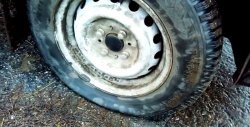
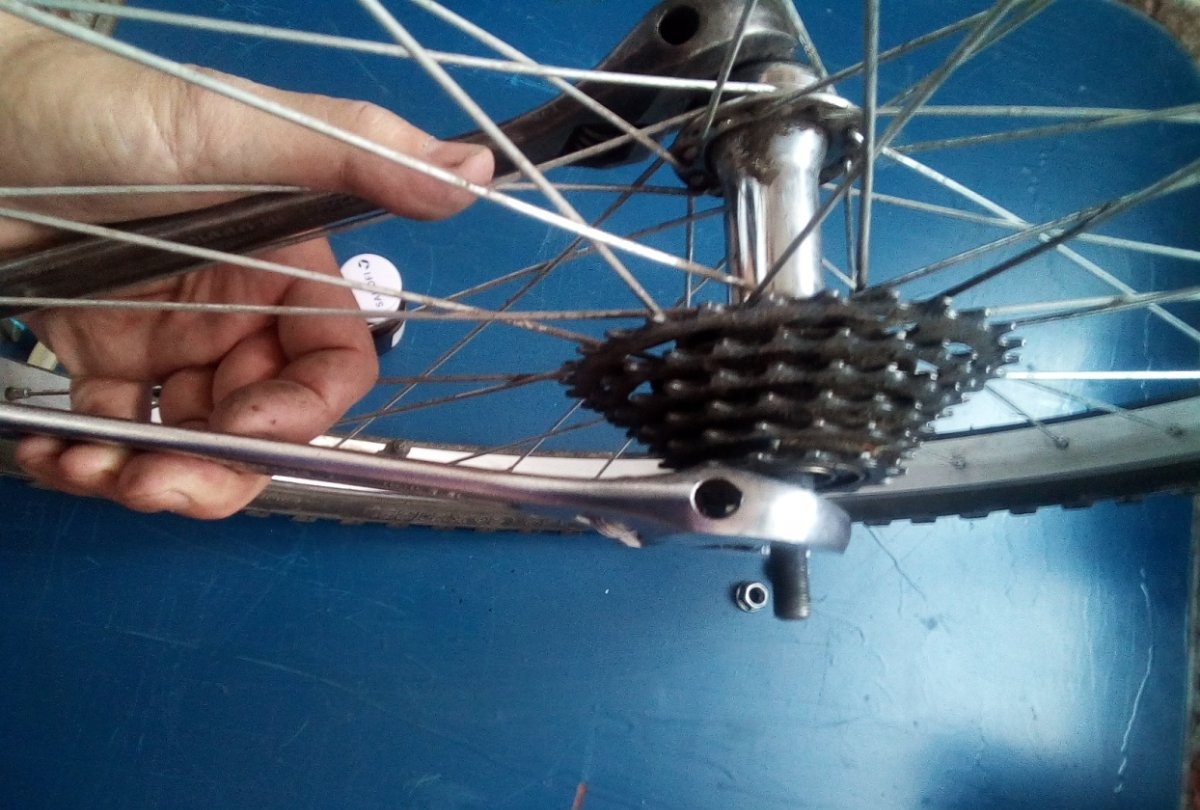
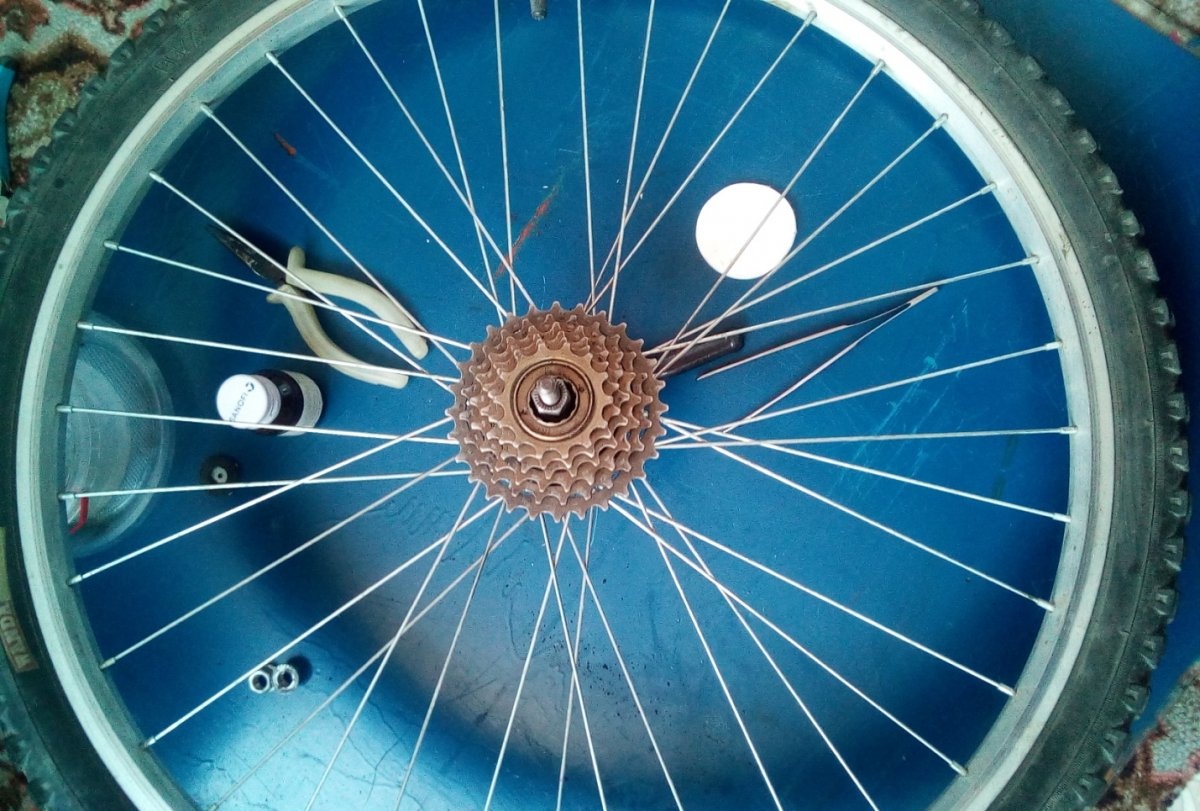
And so, here it is the wheel.
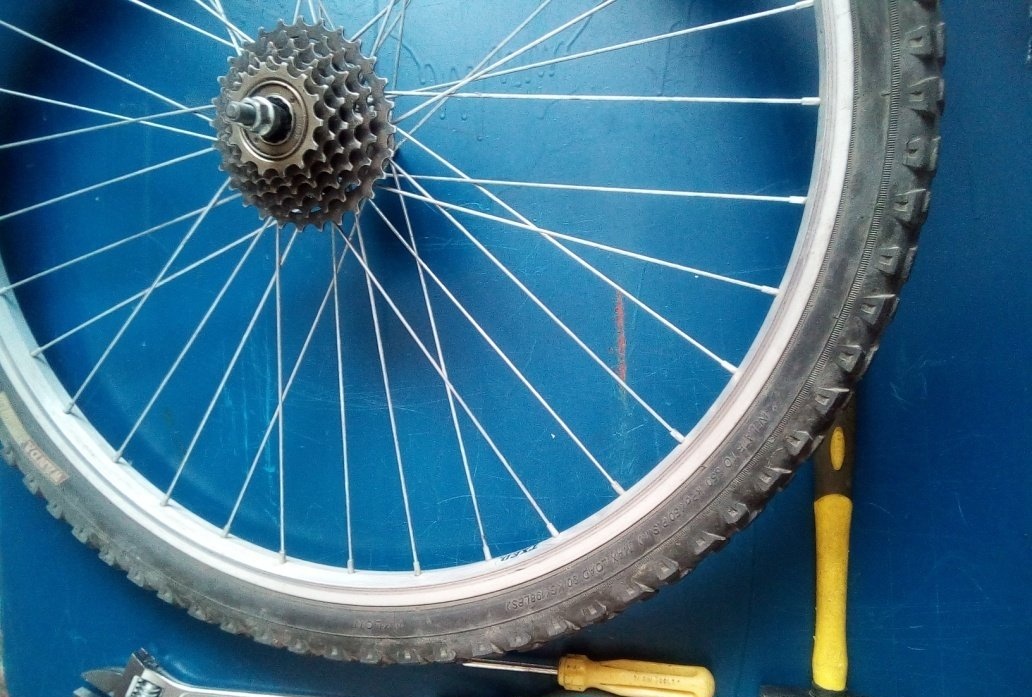
Let's start servicing the wheel
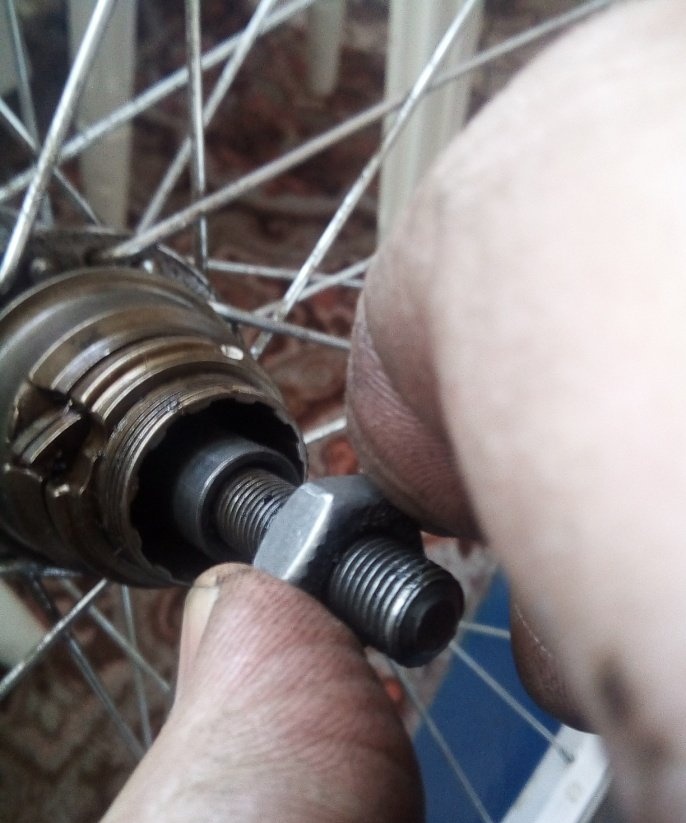
It has been washed and wiped since the fall. Unscrew the nuts securing the wheel to the frame from the axle.
On both sides, with an adjustable wrench or a 15-mm open-end wrench.Hold the axle on the opposite side with another key to prevent it from turning.
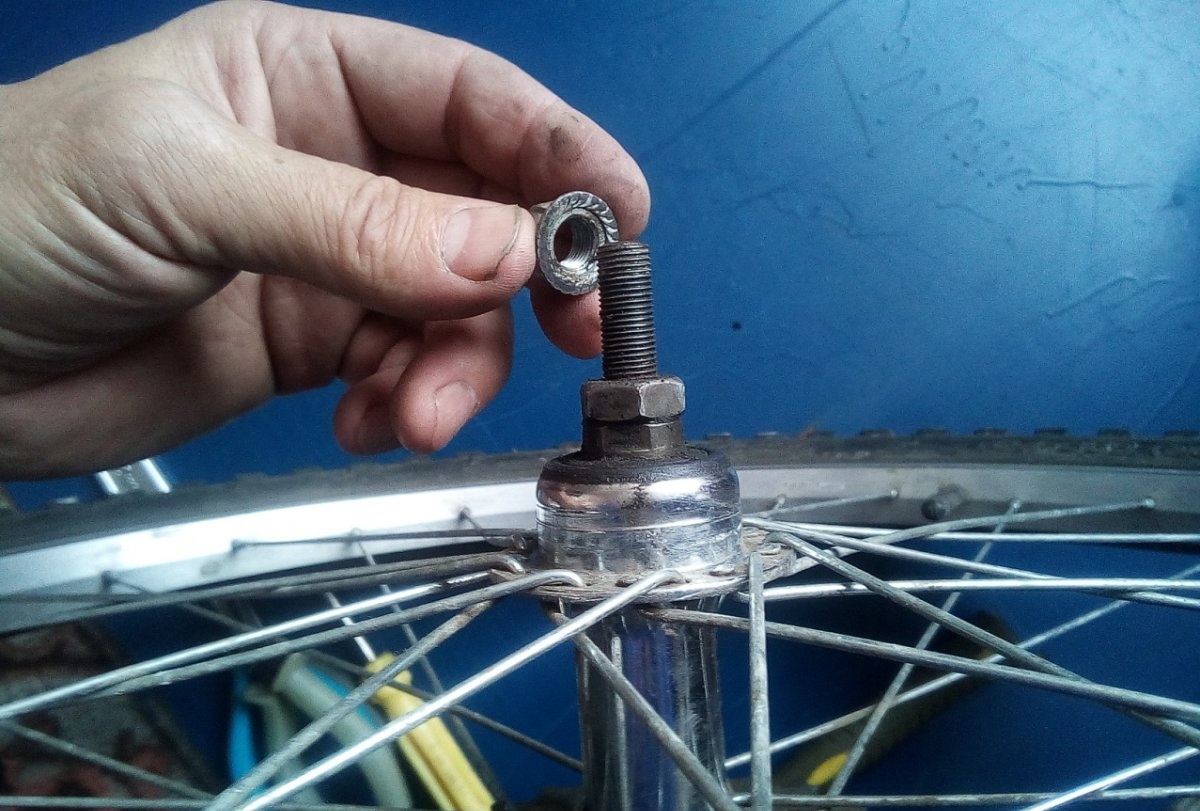
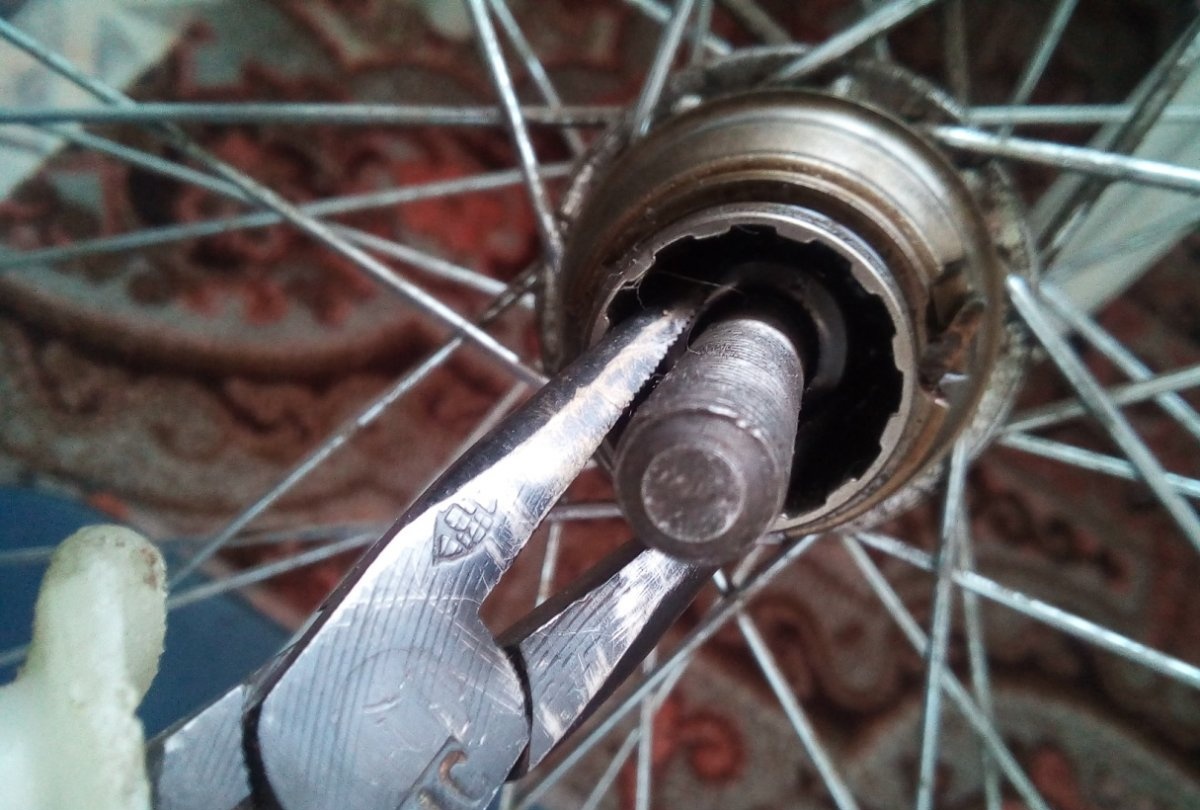
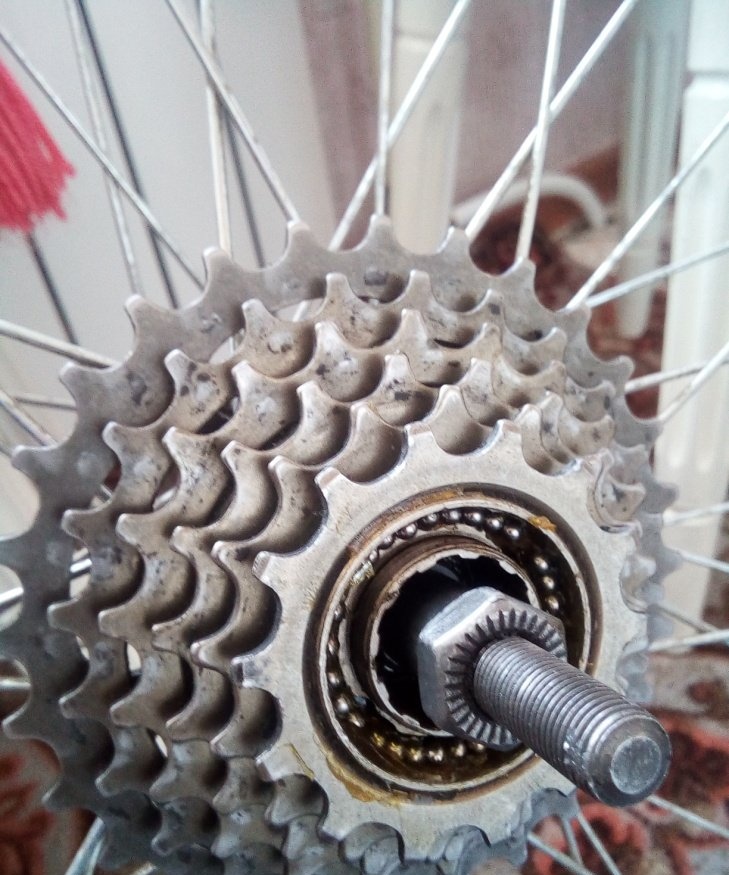
Now that the nuts have been removed, also holding the axle with a second wrench by the tightened lock nut, unscrew the nut locking the threaded inner race of the wheel hub bearing.

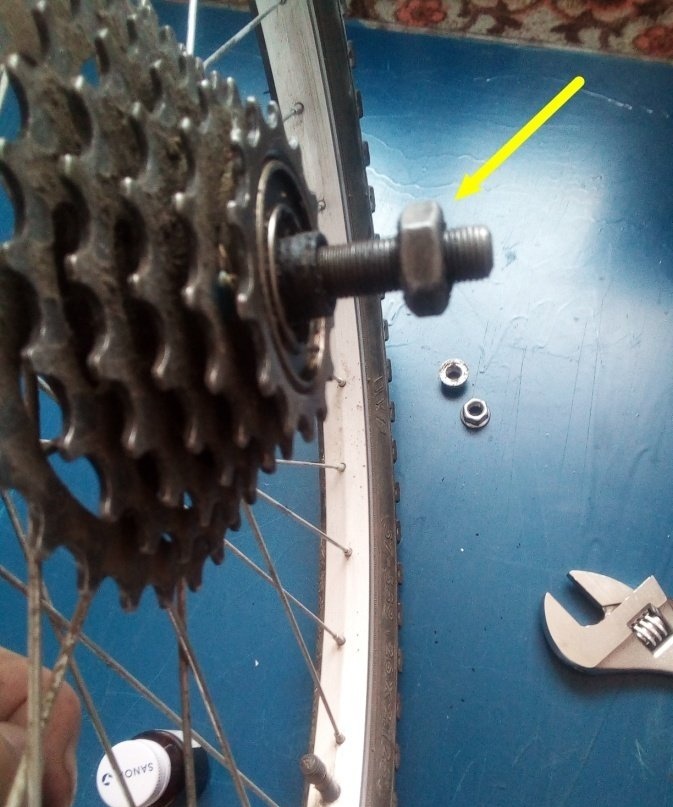
Remove the spacer bushing from the axle.
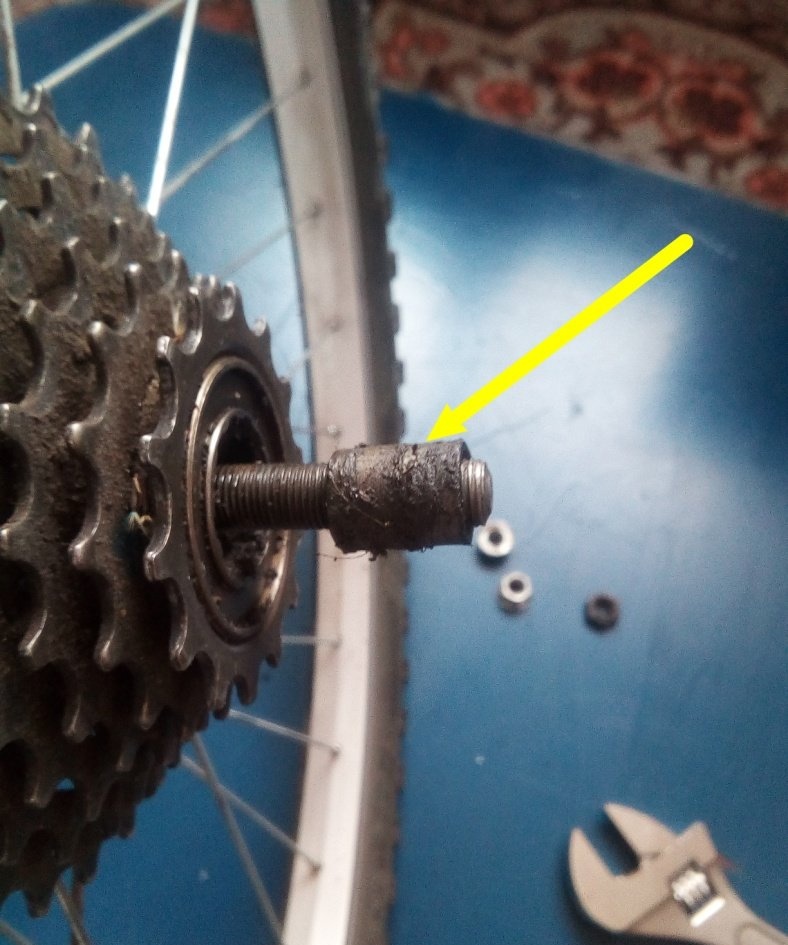
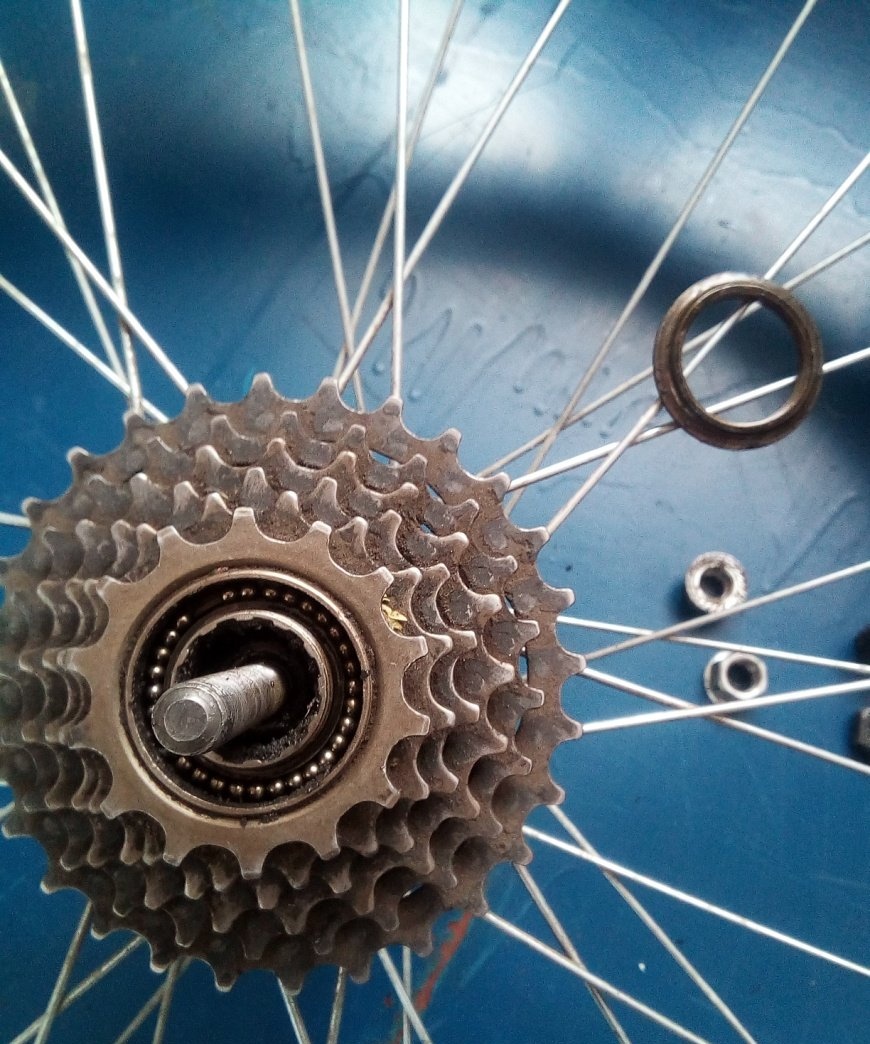
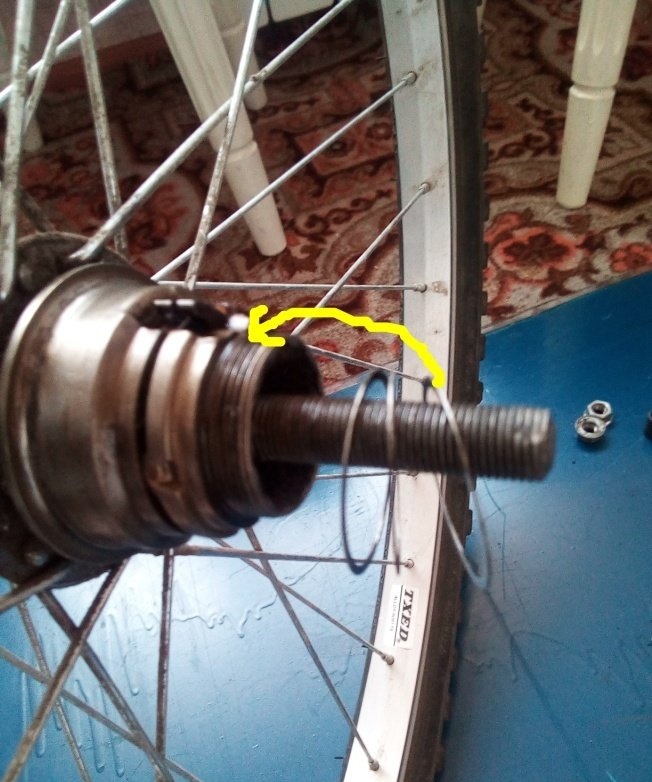
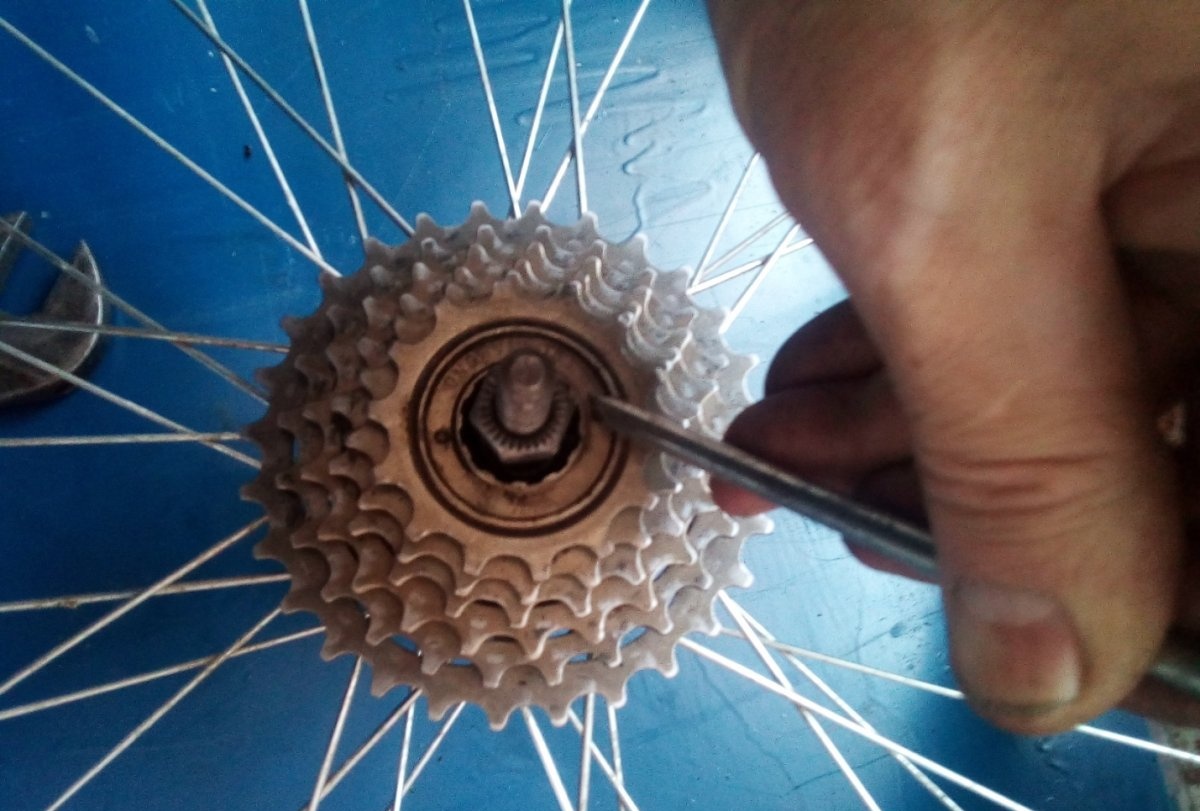
Now, unscrew the outer race of the outer bearing of the carriage.
ATTENTION! You need to unscrew it CLOCKWISE, because... The thread here is left-handed.
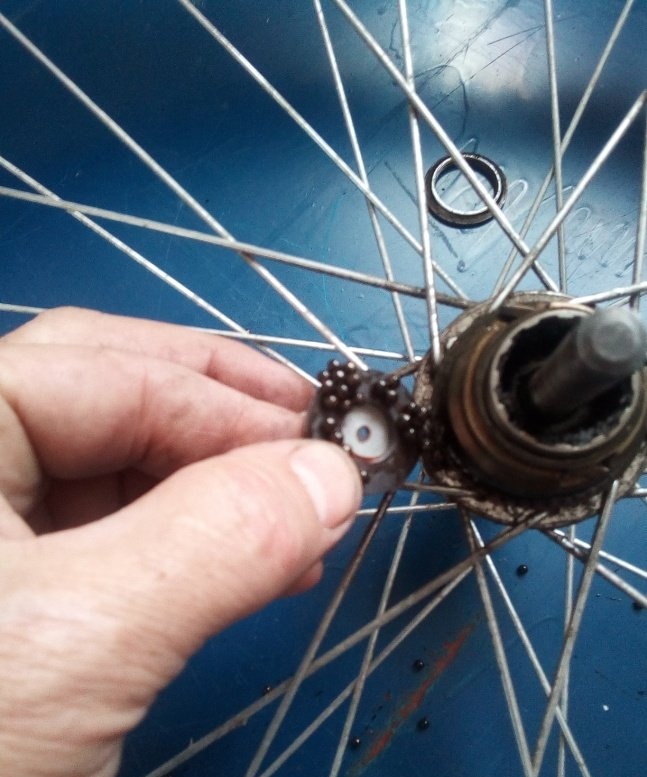
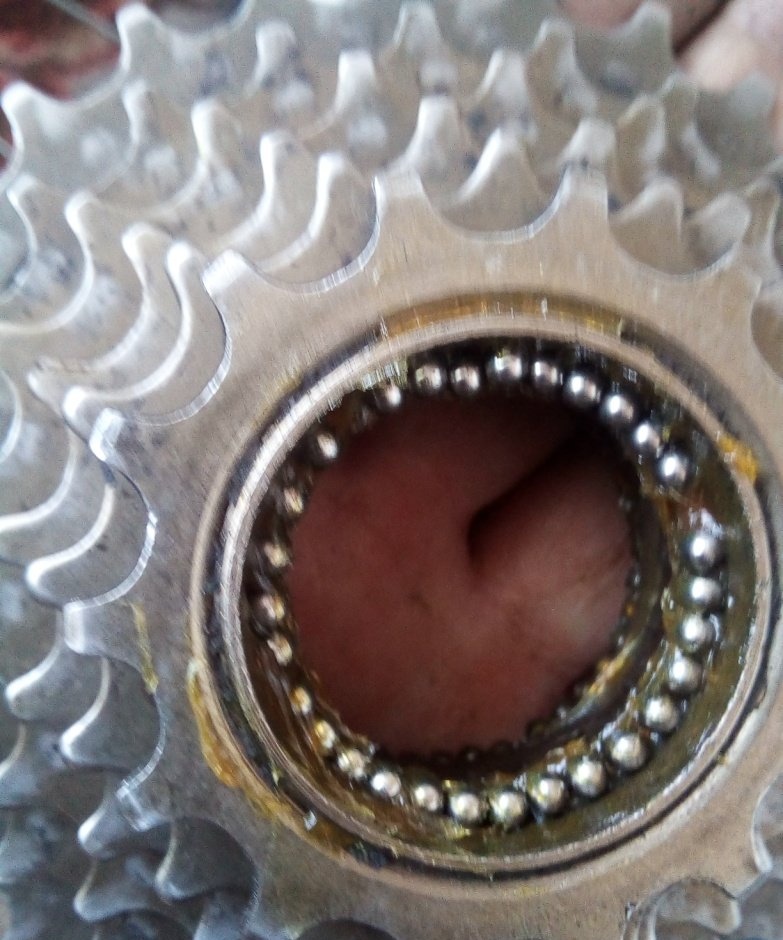
Again, due to the lack of a special tool for bicycle repair, we use either a “bit” or the corner of a flat-head screwdriver, tapping it with a hammer. Usually, if it is not rusty, the clip comes off without much effort. And here we have before us the balls of the external bearing, not burdened with abundant lubrication, but rather, completely dry. To avoid the balls rolling out when removing the sprocket block, it is best to place a piece of fabric under the wheel. (If disassembling on a smooth surface)
To avoid losing them when removing them, it is best to use a magnet. In two or three steps, all the balls will be removed.
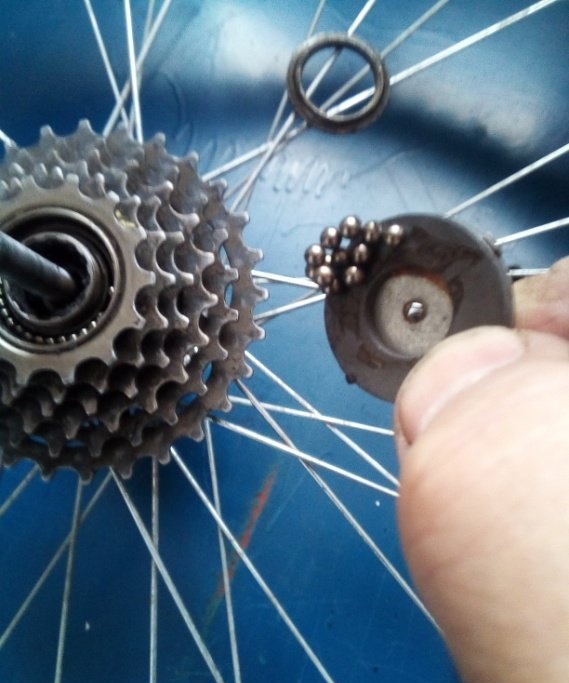
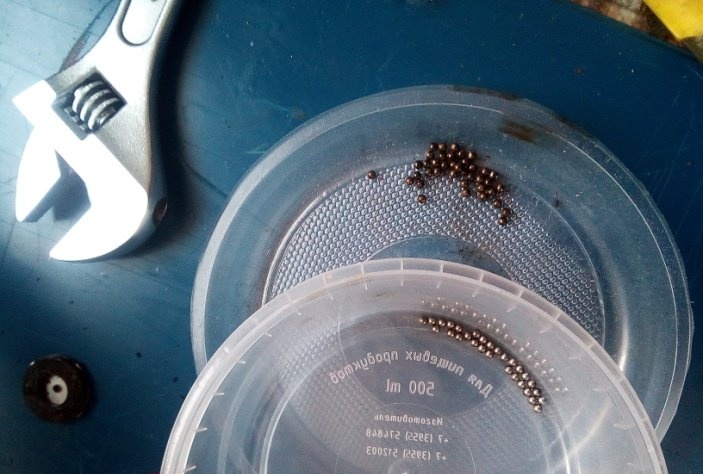
In a separate container.
Why separate? Because there will be exactly the same ones - from an internal bearing. And to avoid problems with sorting and counting them, it is better to immediately divide them. Next, carefully pulling up the sprocket block, remove it from the hub, naturally hearing the barely audible knock of the inner bearing balls falling out. Also dry, to the point of indecentness.
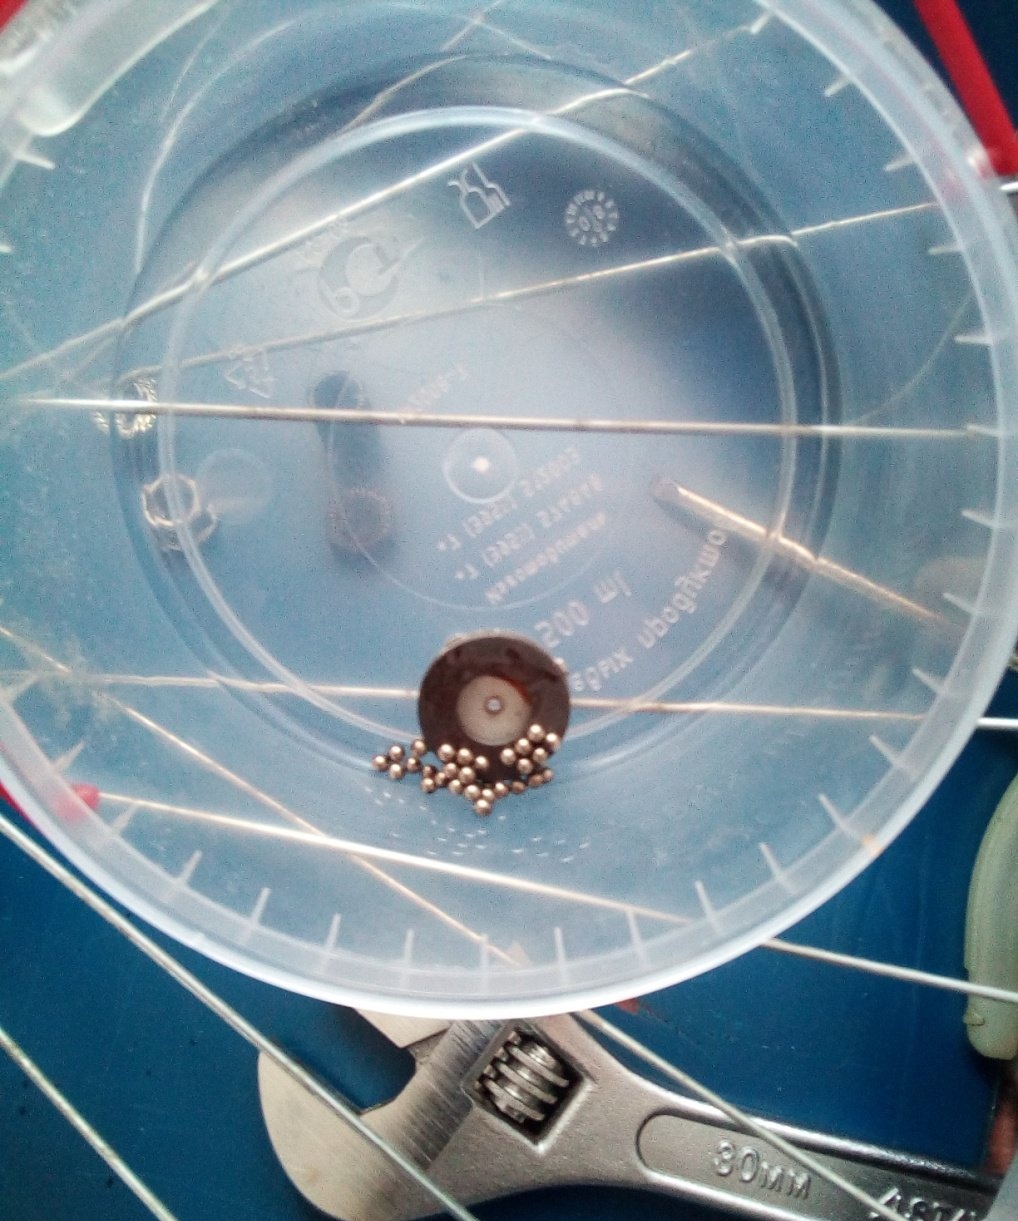
Again, using a magnet, we collect them in a container.
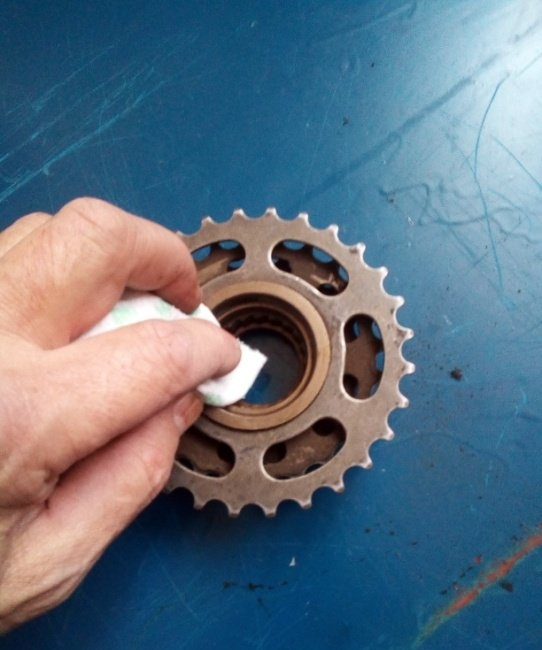
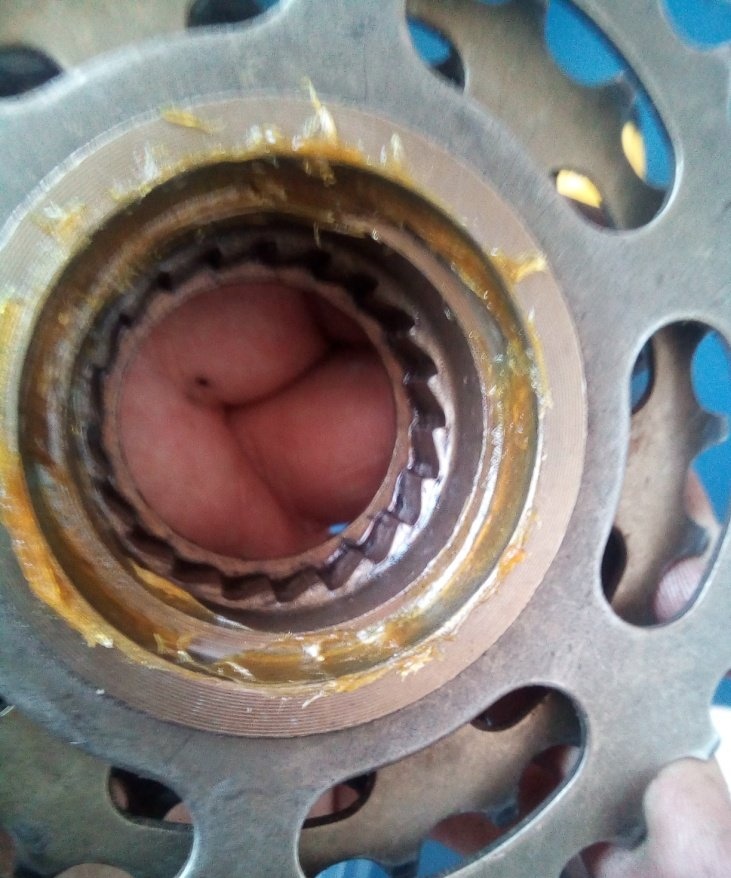
And here it is - a ratchet.

We thoroughly wipe it and the sprocket block to remove any remaining old grease and dirt.
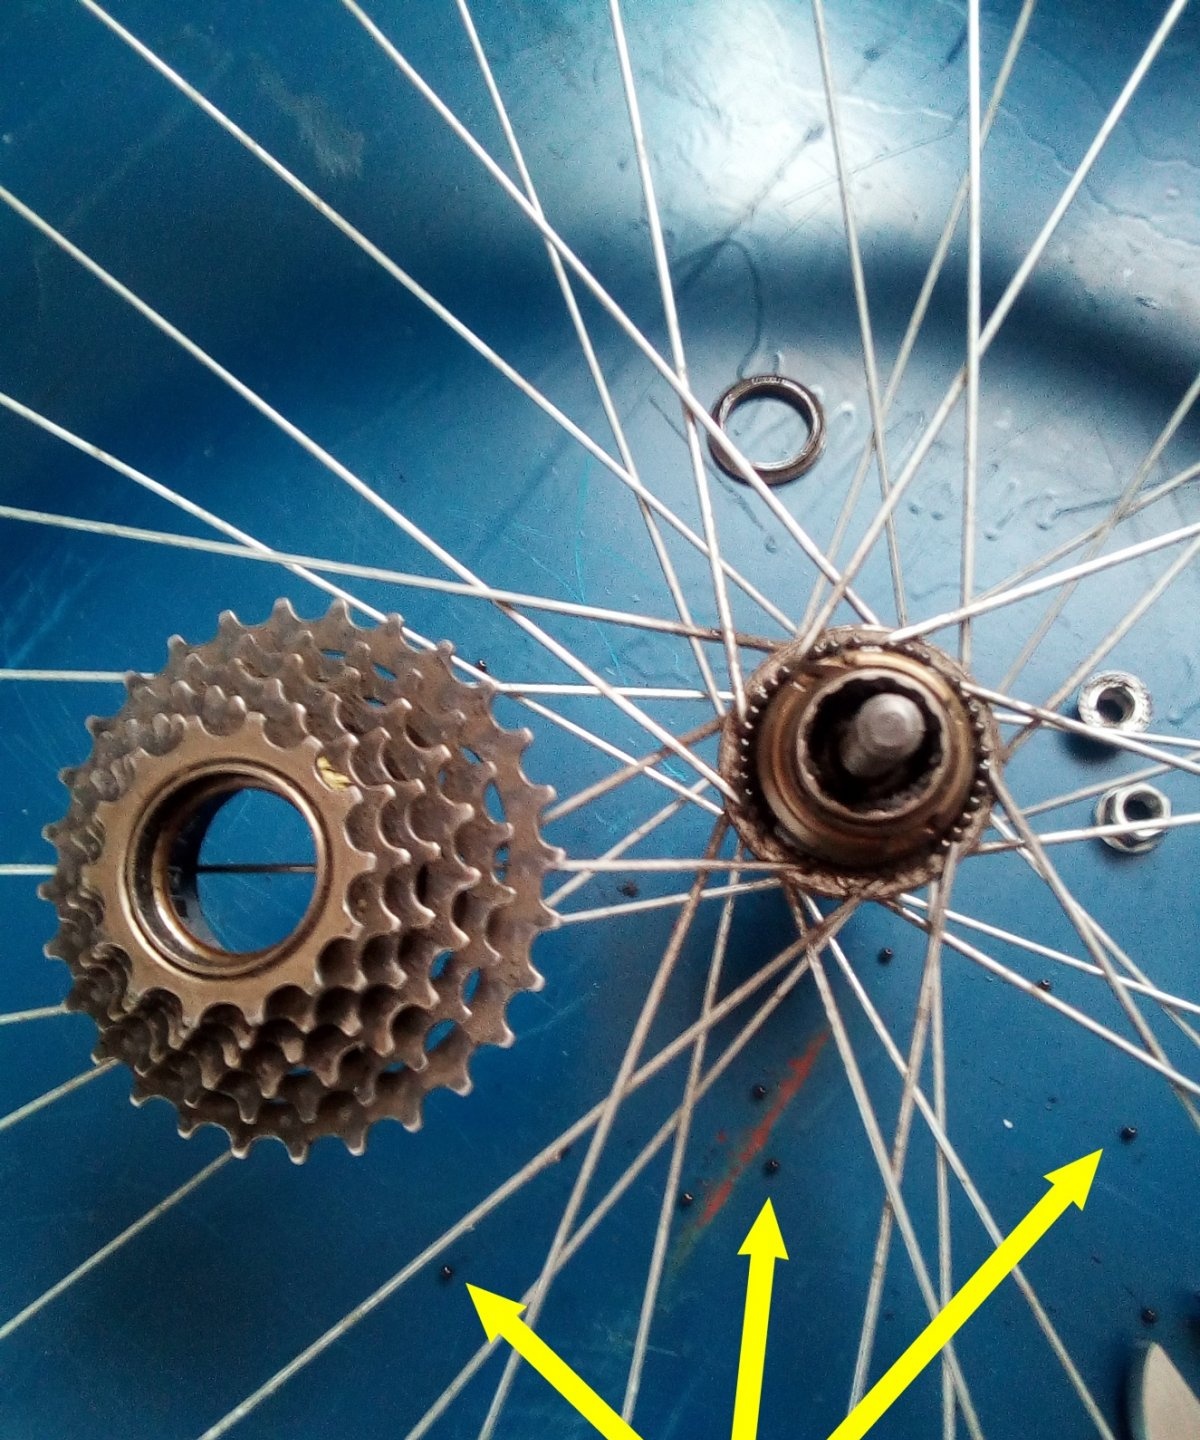
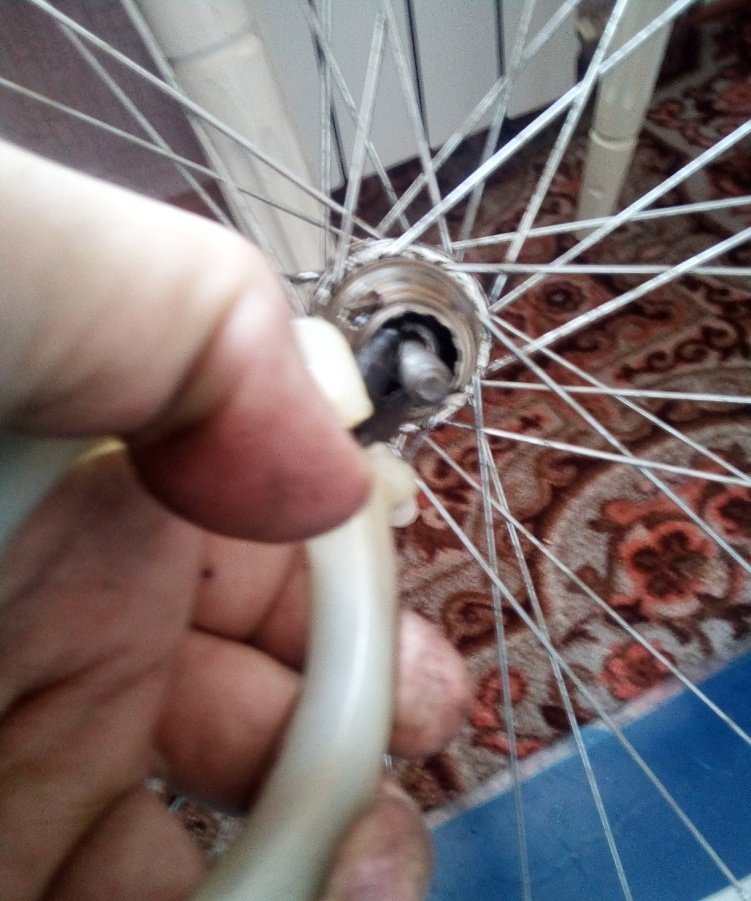
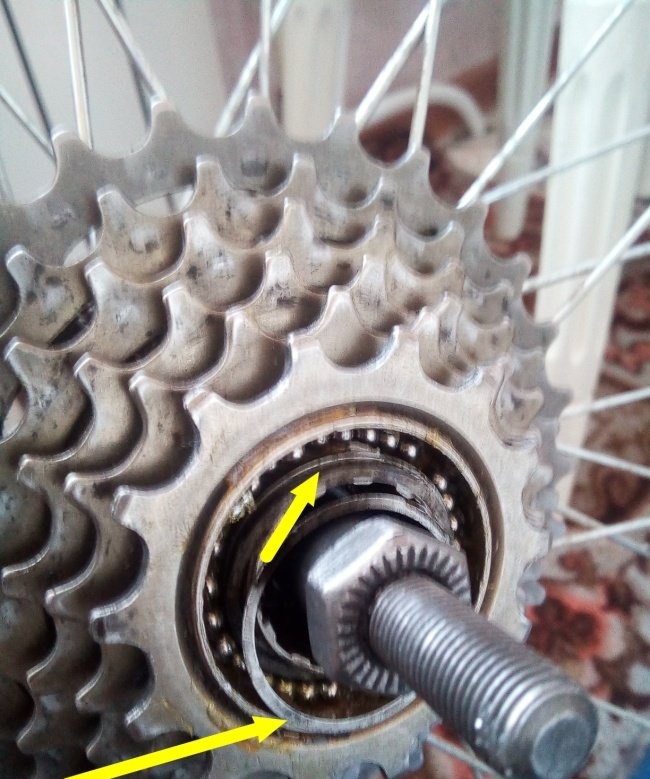
Looking inside the wheel hub, from the ratchet side, we find the inner race of the hub bearing there.As expected, she is covered in dirt. Using a rag and a thin flat screwdriver or wooden stick, remove all dirt.

Next, holding the clip with the “duckbills”, we turn the axle out of it in the opposite direction, thus freeing the hub bearing balls on the other side. If there is no lubrication there, they will also fall out freely.
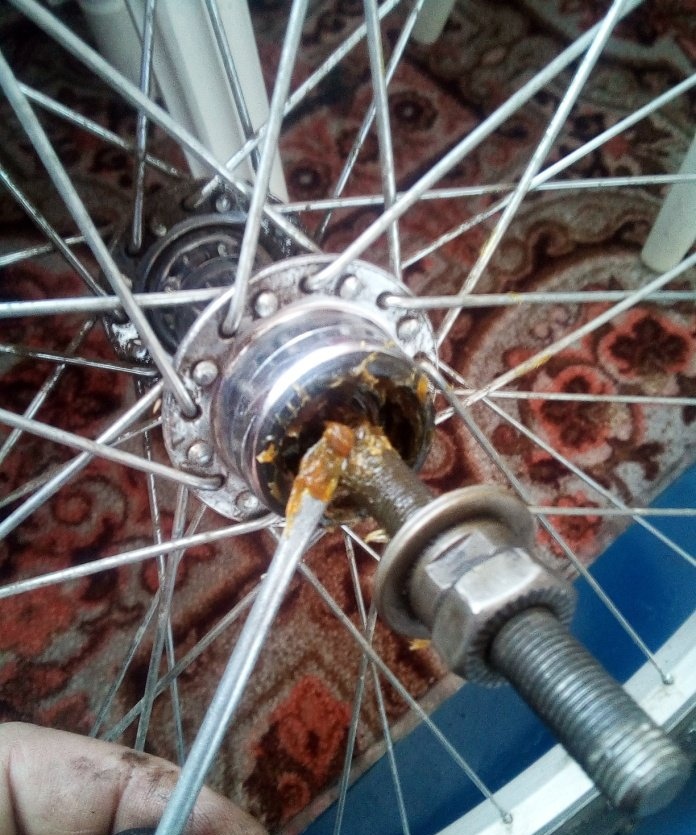
Of course, we wipe everything thoroughly with a rag. One unpleasant detail is that due to the lack of a special wrench for unscrewing the freewheel housing, it is not possible to get to the hub bearing balls from this side. In order to still deliver the lubricant to the bearing, it was necessary to heat Litol to a fluid state and pour it from the opposite side into the gap between the axle and the bushing body until the lubricant flowed out from under the undisassembled bearing. After that, apply lubricant to the outer race of the hub bearing.
And put the balls in place.

Then, holding the holder on the opposite side again with the “duckbills,” we wrap the axle almost all the way.
ATTENTION! Do not puff yet. We put the spacer bushing in place.
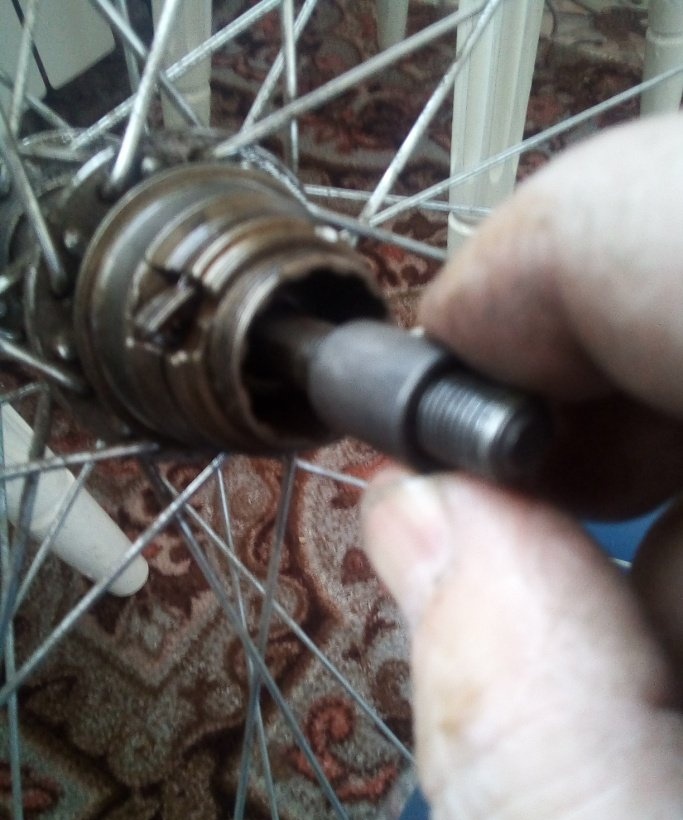
Screw on the locknut. DON'T TIGHTEN!!! Bye…
And we move on to assembling the sprocket block. Apply grease to the inner bearing race and place the balls in it until it is filled.
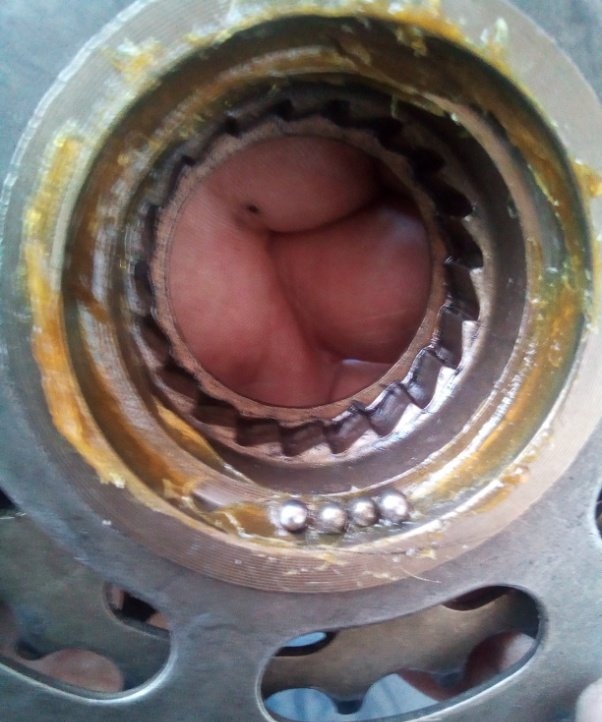
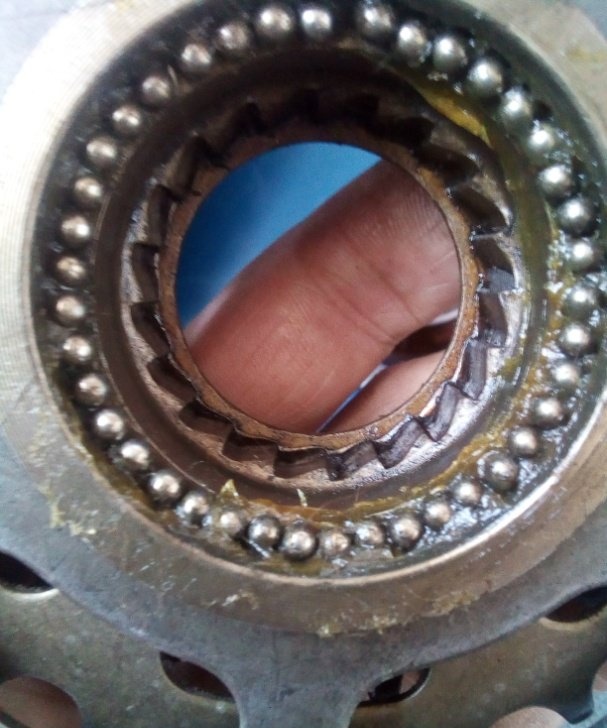
It will seem like one or a couple of balls are missing. This is normal, since the bearing is “bulk”, without separation. We do the same on the other side.
When all the balls are in place, carefully, with a slight rotation counterclockwise, place the block of sprockets on the ratchet. It is necessary to turn it to make it easier for the ratchet to fit into the teeth.
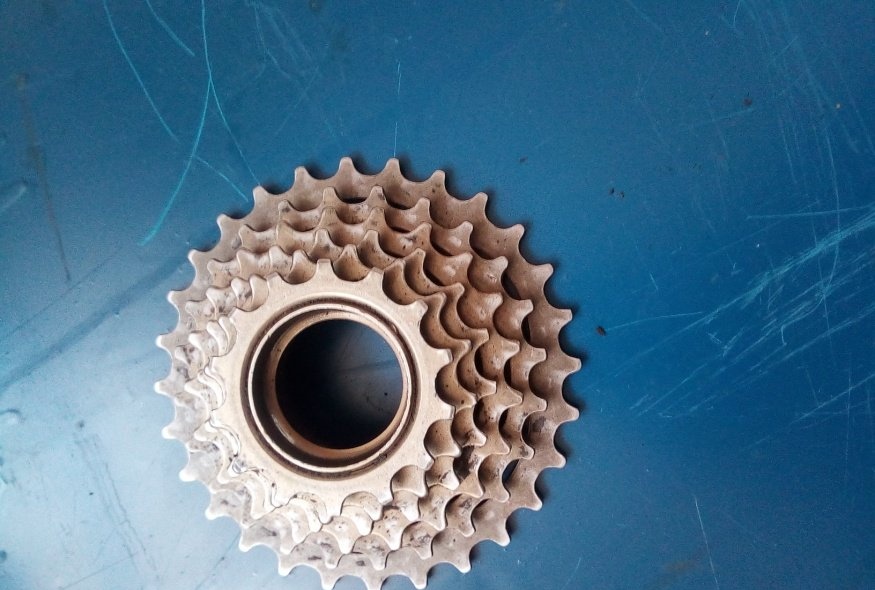
Here you go. The block is almost assembled.
All that remains is to put the adjusting washers in place.
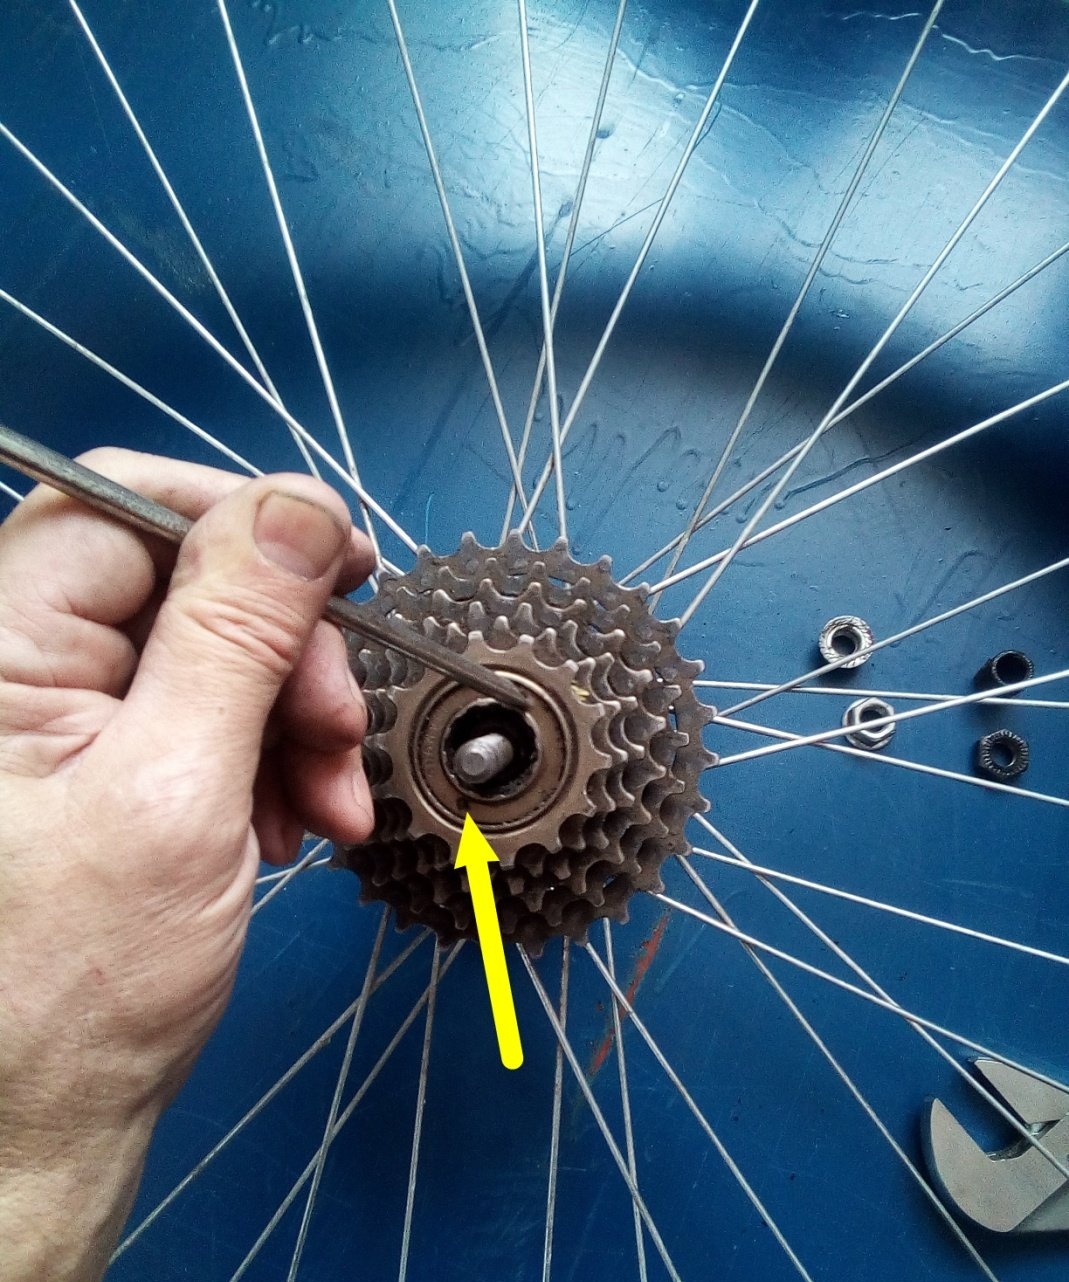
And screw the cover-clip counterclockwise.
Again, using a screwdriver, not with strong blows of a hammer - until it stops. The adjusting washers will not allow you to tighten it further than required. But you shouldn’t make excessive efforts either. Now that everything is assembled, you need to start adjusting the working clearances at the hub bearings. To do this, unscrew the locknut almost to the very end of the thread, hold the inner race with the “duckbills,” and rotate the axle until the race lightly touches the balls. After that, we screw the locknut all the way to the spacer bushing and, having fixed the bushing with “duckbills”, tighten the nut. We turn the wheel a few turns so that the balls are in place, and holding the nut with a wrench on the side opposite to the sprockets, we tighten the lock nut with sufficient force. We turn the wheel again. It should rotate freely on the axis, without attempts to turn it.
If you feel slight twitching of the axle during rotation, it means that the bearings are tight and you need to repeat the adjustment by loosening the lock nut and slightly loosening the inner race of the wheel bearing, and then tighten the lock nut again. Two or three unsuccessful attempts and everything will work out. The wheel is assembled. It rotates freely, without snagging or play.
Good luck.