Do it yourself
Life hacks, master classes, useful tips, recipes.
home » Different » Mini vacuum cleaner made from an old hair dryer
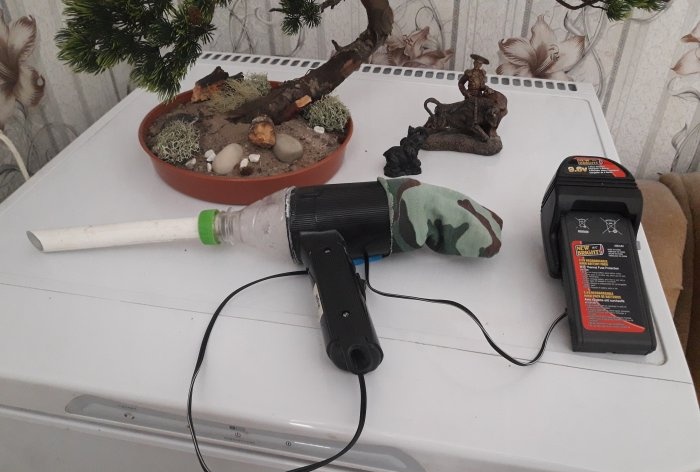
A hair dryer breaking down is quite a rare case, since there is nothing special to break; it consists of a plastic case, a motor with a propeller, a heating element made of a nichrome spiral, and a switch. Well, a couple of screws. And they change the hair dryer by buying a new one, due to the usual obsolescence of the item. Tired of the old one. In a rare case, due to a breakdown. After purchasing a new hair dryer, the old hair dryer, as a rule, must be disposed of. But an old hair dryer can also be used. A rather unique application is to make a small vacuum cleaner out of it.
Mini vacuum cleaner from an old hair dryer

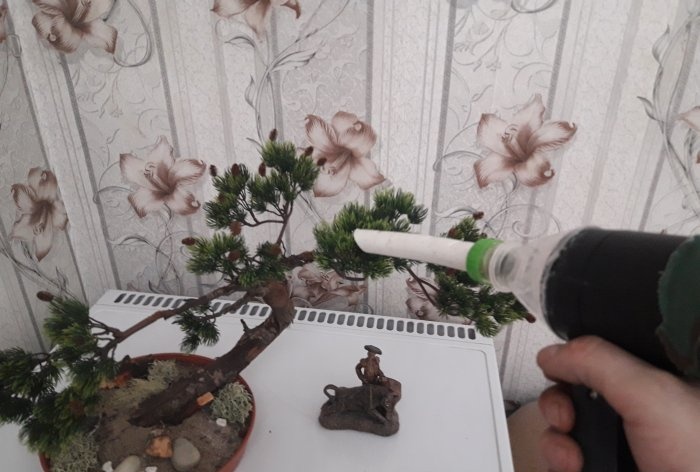
We are not talking about a powerful vacuum cleaner that can vacuum the entire apartment. It is more of a helper in the case, for example, when something has been spilled, and there is no desire to take out an ordinary, large vacuum cleaner. The motor inside the hair dryer runs at 9-12 volts. It is powerful enough to pick up even spilled rice grains, not to mention smaller debris. Also, such a miniature vacuum cleaner is very good and convenient for removing dust from indoor plants, small souvenirs, from the surface of a cabinet and other hard-to-reach places where it is difficult to reach with a regular vacuum cleaner. To build such a vacuum cleaner from an old hairdryer, you must first find out the breakdown, if any.For our homemade product, the most important thing is that this device has a working motor. The rest doesn’t matter - the rest will be deleted anyway...

Will need


  • An old hair dryer (with a working motor!).
  • Simple switch.
  • 9 volt power supply.
  • Top half of a plastic bottle (with neck and cap).
  • Metal-plastic tube with a diameter of 20 mm (15-20 cm long).
  • A small rag bag for the outer diameter of the hair dryer.
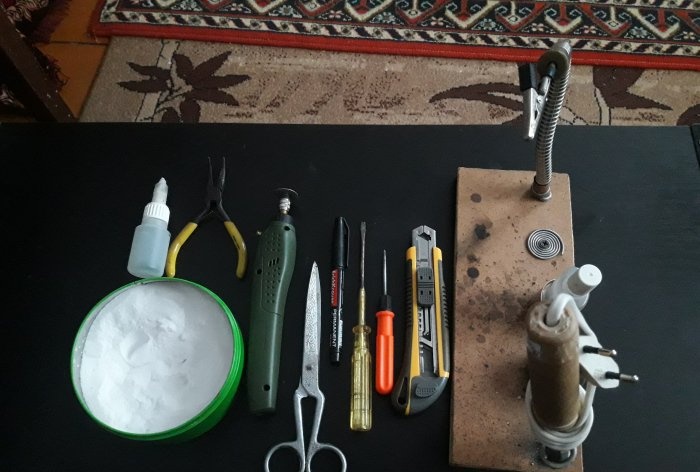
  • Tools and consumables:
  • Secondary glue and soda.
  • Soldering iron, with flux and tin.
  • Boring machine with cutting disc.
  • Stationery knife.
  • Scissors.
  • Screwdriver.
  • Marker.
  • Pliers.

Mini vacuum cleaner from an old hair dryer

Making a mini vacuum cleaner with your own hands


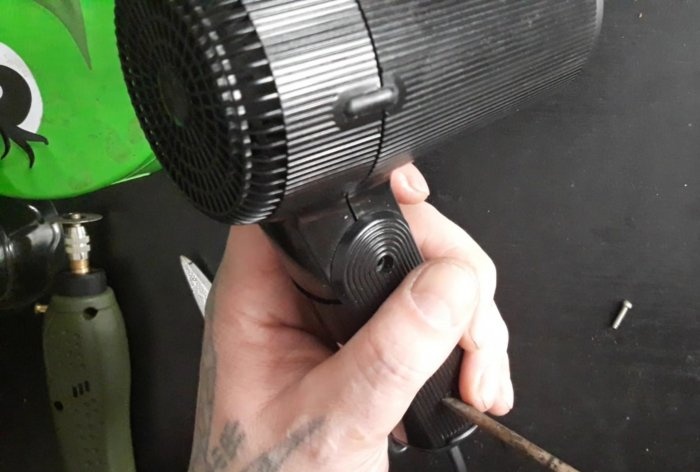
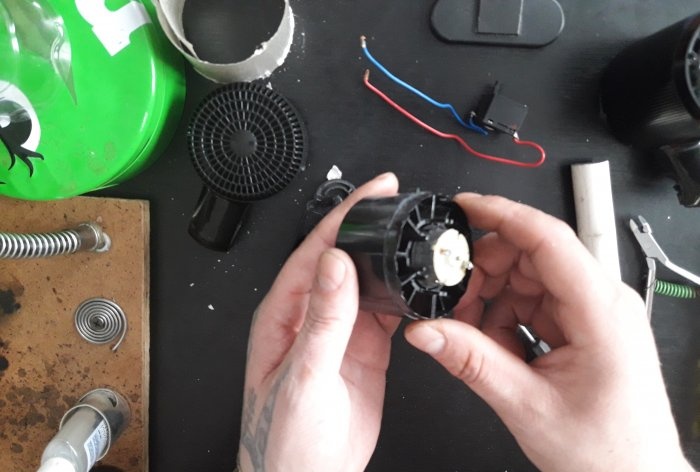
First we need to disassemble the hair dryer, which we plan to convert into a vacuum cleaner. To do this, using a suitable screwdriver, release the mounting screws from the housing.
Mini vacuum cleaner from an old hair dryer

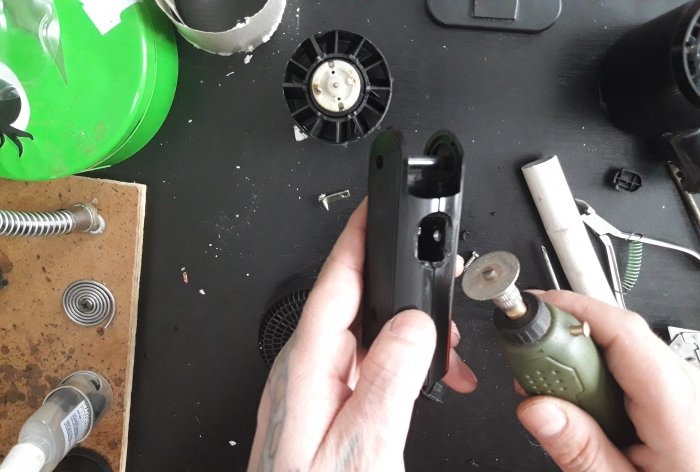
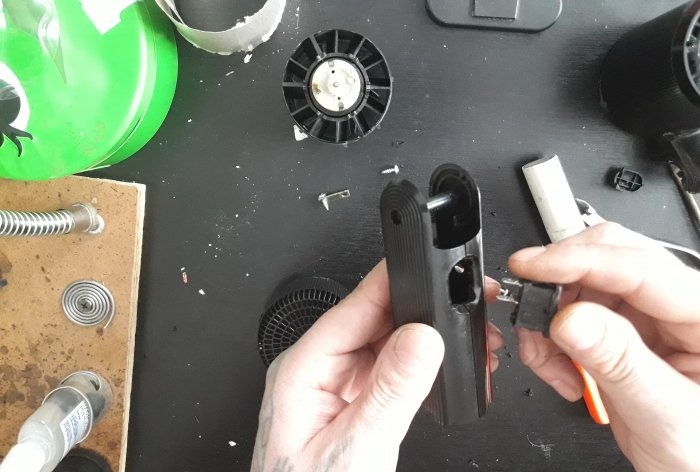
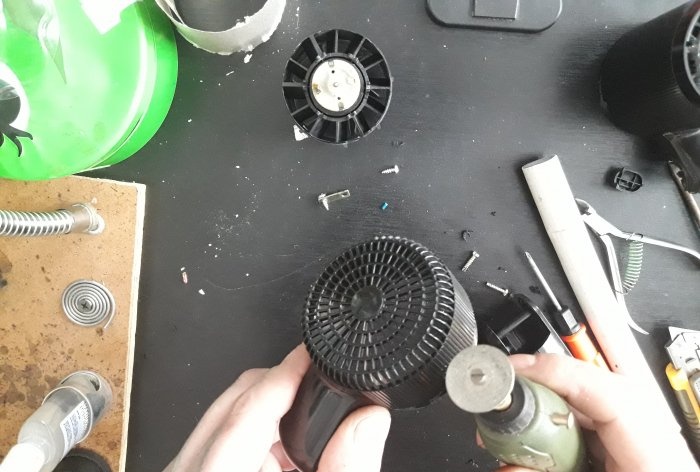
Next, we disassemble the body into parts and put it aside - while we work with the internal parts. Using wire cutters or pliers, remove the heat-resistant partitions with a nichrome spiral wound on them. If heat-resistant partitions may be useful in the future, then the spiral can be thrown into the trash without hesitation - it has most likely already outlived its usefulness... Next is the switch. The switch that was initially installed in the hair dryer body is not suitable for our purpose, because it has several modes. Namely; turning on, changing speeds, and turning off. We also remove it from the structure and put it away somewhere until required. In place of the remote switch, install a simple switch. The standard switch I have did not fit the body a little, so I had to modify the body with a burr using a machine with a cutting disc.
Mini vacuum cleaner from an old hair dryer

Mini vacuum cleaner from an old hair dryer

Using wire cutters, we also remove the resistors that are soldered to the contacts from the motor, since the motor will be powered directly from the 9-volt power supply.
Mini vacuum cleaner from an old hair dryer

Cut off the back grille of the hair dryer, on the side from which air will be drawn in.
Mini vacuum cleaner from an old hair dryer

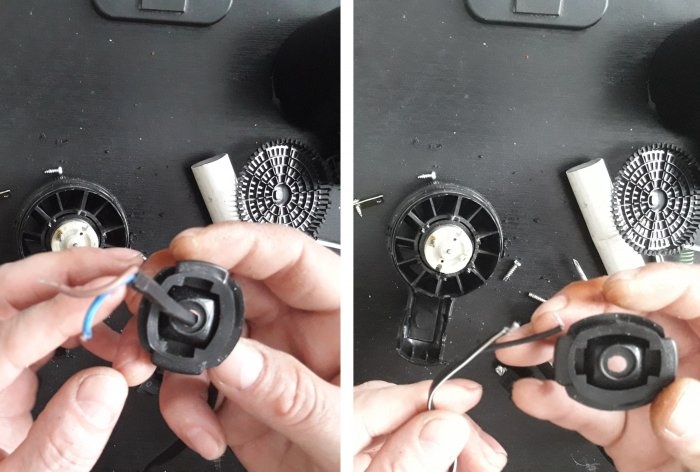
In general, we cut out and bite off everything except the motor with the propeller attached to the body. Next, we take a 9-volt power supply (I have a removable battery, but you can use a regular one), and put a plastic plug from the hair dryer handle onto its two-wire cable.
Mini vacuum cleaner from an old hair dryer

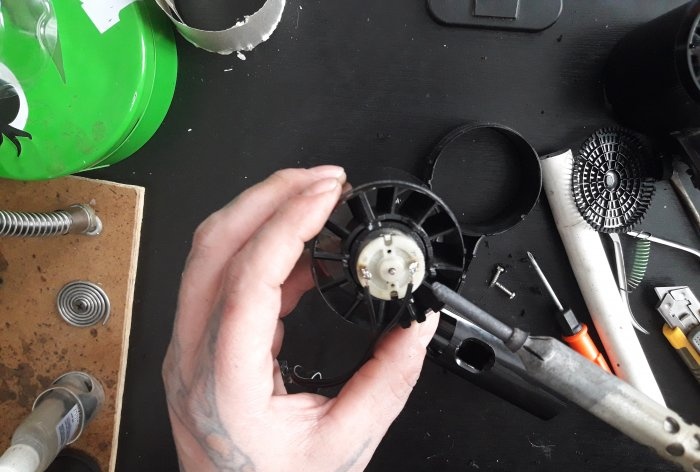
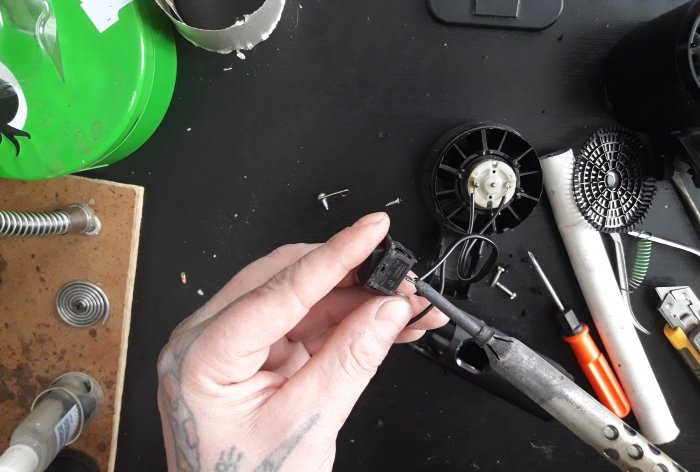
We check the polarity of the motor and solder the power supply wires to the motor contacts.
Mini vacuum cleaner from an old hair dryer

Mini vacuum cleaner from an old hair dryer

Next, having estimated where the switch will be located approximately, we cut one of the power cords and solder the switch into the resulting gap.
Mini vacuum cleaner from an old hair dryer

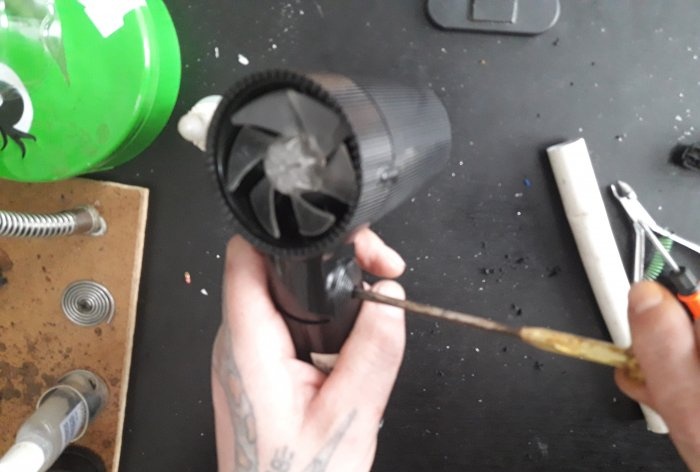
We install the switch in its place in the housing, install the engine with the propeller in place, and then fasten the entire housing together using mounting screws.
Mini vacuum cleaner from an old hair dryer

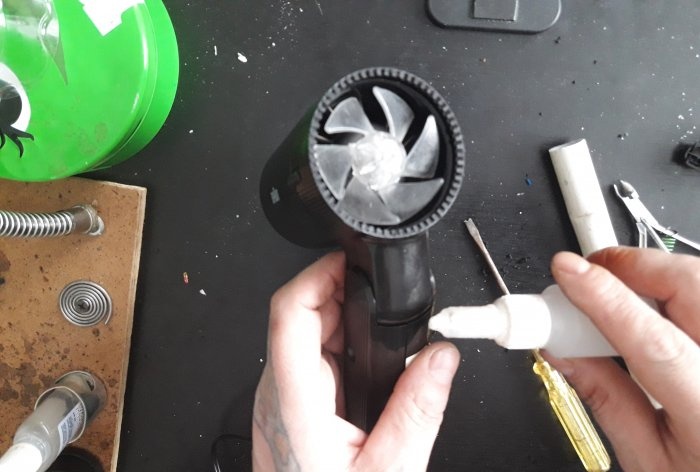
For greater reliability, I added a couple more drops of glue, since the body of the hair dryer I had was quite flimsy.
Mini vacuum cleaner from an old hair dryer

Now it’s the turn of the top of the bottle.
Mini vacuum cleaner from an old hair dryer

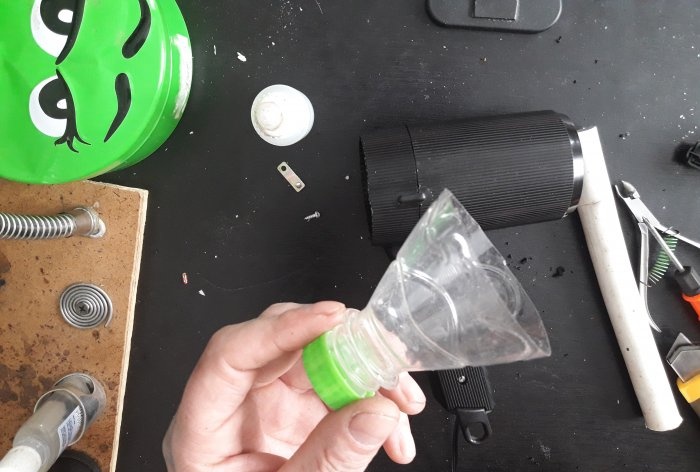
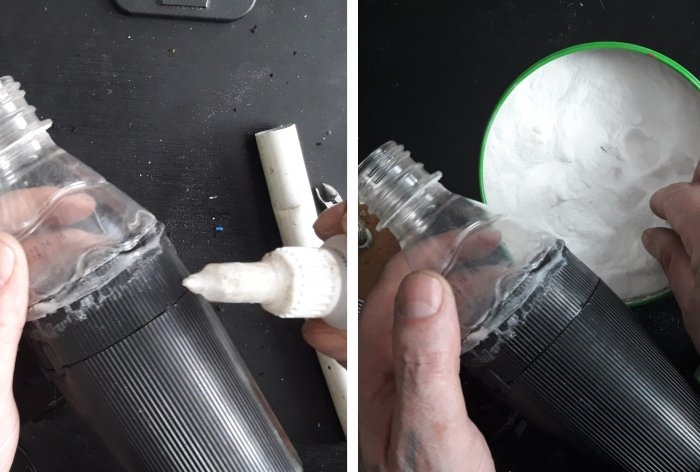
We cut off the neck so that it fits onto the round body of the hair dryer, in the part where air and debris will be sucked in in the future. We align it as evenly as possible and attach it to the body using instant glue and soda.
Mini vacuum cleaner from an old hair dryer

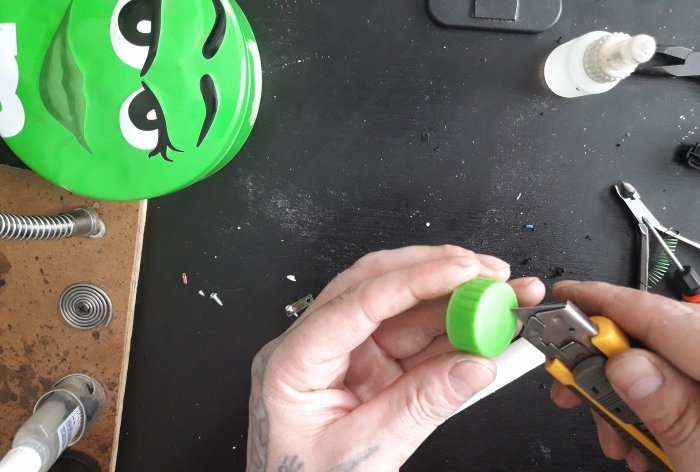
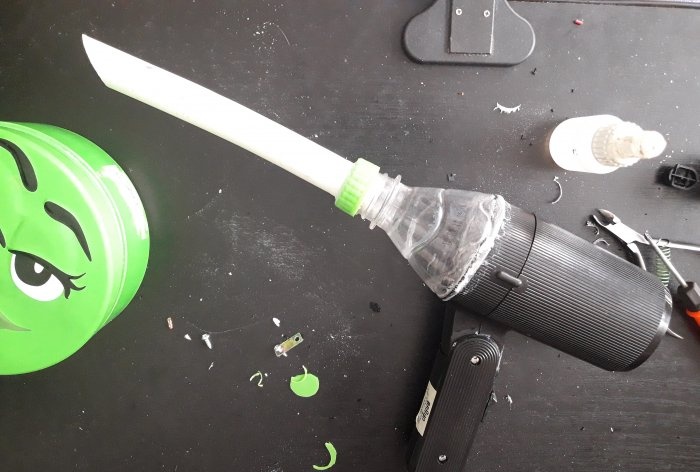
The main work is finished. All that remains is to assemble the nozzle for the resulting vacuum cleaner and a garbage bag. Making a thin nozzle takes just a few minutes! We cut a hole in the bottle cap for a piece of metal-plastic pipe.
Mini vacuum cleaner from an old hair dryer

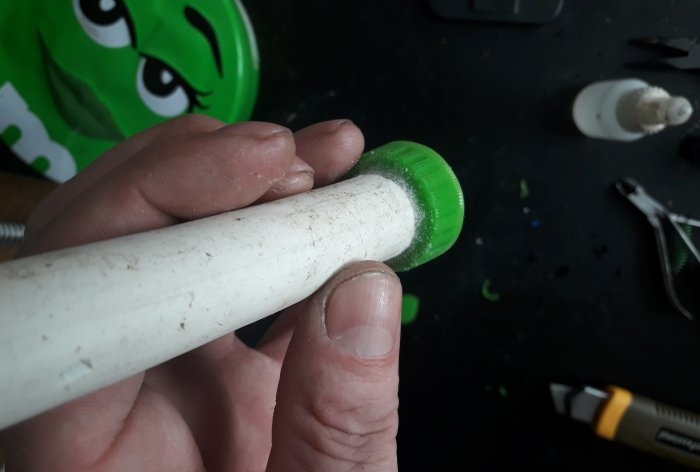
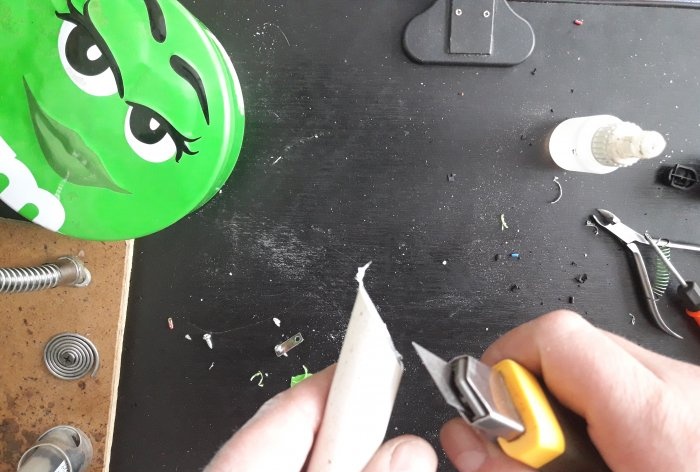
We stick the pipe into the hole, secure it with glue and soda, and cut off the tip at an angle of 45 degrees.
Mini vacuum cleaner from an old hair dryer

Mini vacuum cleaner from an old hair dryer

Next, simply screw the nozzle onto the body, like a regular bottle cap.
Mini vacuum cleaner from an old hair dryer

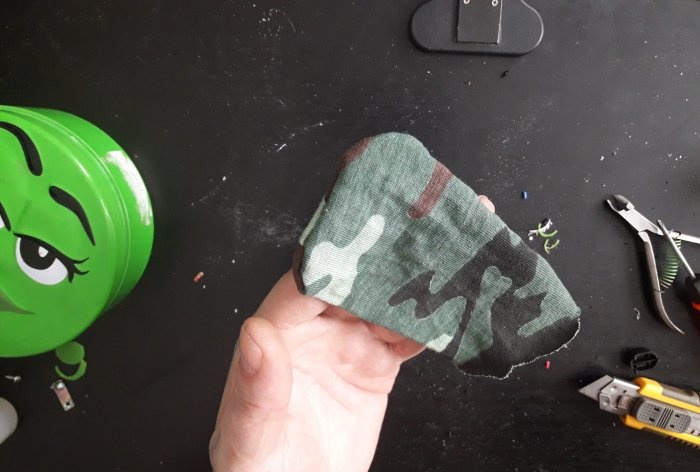
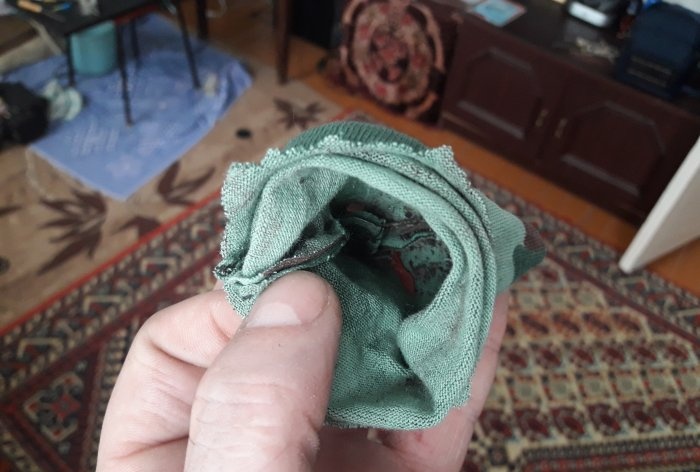
Several such attachments can be made, in different shapes, for different purposes. Well, and now the bag.Instead of a bag, in fact, you can use anything. For example, a sleeve or a sock. But I couldn’t find where to trim the sleeve, and I didn’t think it was very aesthetically pleasing to use a sock, so I sewed the bag myself, from an unnecessary rag, in a couple of minutes.
Mini vacuum cleaner from an old hair dryer

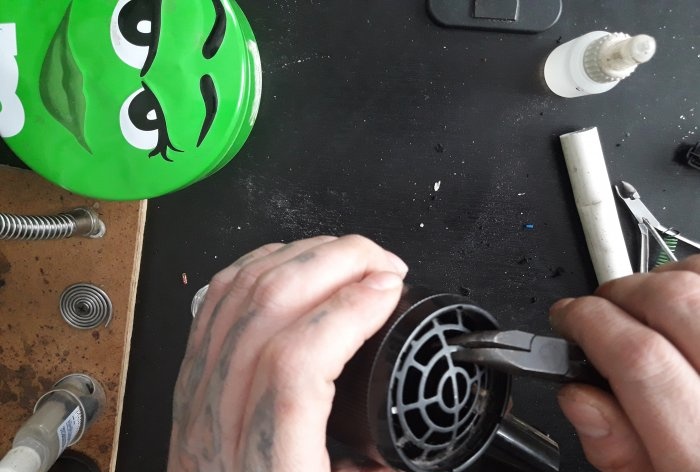
Well, now we tear out the second, opposite grid from the hair dryer with pliers, and put a bag on this end.
Mini vacuum cleaner from an old hair dryer

Mini vacuum cleaner from an old hair dryer

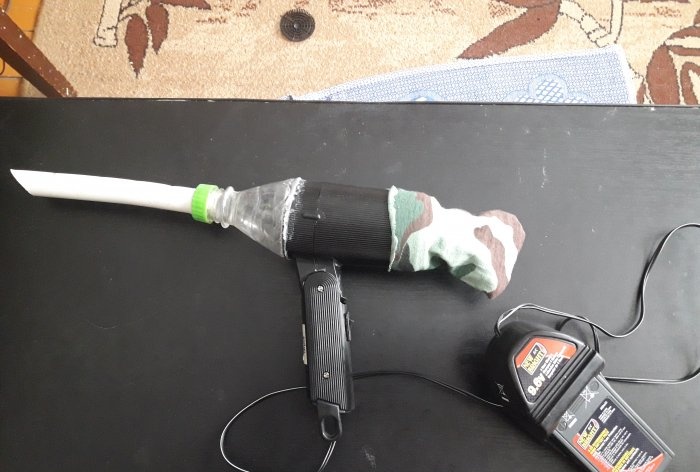
The bag should fit tightly so that it does not get torn off by the air flow. You could probably even secure it with tape, although I didn’t. That's all. You can check.
Mini vacuum cleaner from an old hair dryer

Mini vacuum cleaner from an old hair dryer

Watch the video


You can see tests of the mini vacuum cleaner below, at the end of the video about the assembly of this device.
Comment
  • bowtiesmilelaughingblushsmileyrelaxed relaxedsmirk
    heart_eyeskissing_heartkissing_closed_eyesflushedrelievedsatisfiedgrin
    winkstuck_out_tongue_winking_eyestuck_out_tongue_closed_eyesgrinningkissingstuck_out_tonguesleeping
    worriedfrowninganguishedopen_mouthgrimacingconfusedhushed
    expressionlessunamusedsweat_smilesweatdisappointed_relievedwearypassive
    disappointedconfoundedfearfulcold_sweatperseverecrysob
    joyastonishedscreamtired_faceangryragetriumph
    sleepyyummasksunglassesdizzy_faceimpsmiling_imp
    neutral_faceno_mouthinnocent
4 minus one =
Comments (3)
  1. Guest Andrey
    #1 Guest Andrey Guests 1 March 2019 15:23
    4
    They recruit children into the army, who have nothing better to do, then they think what to do with it...
  2. Guest Yuri
    #2 Guest Yuri Guests 2 March 2019 17:16
    3
    Drive dust through the engine? Well, well, hello to the brush unit!
  3. Leonid
    #3 Leonid Guests 13 March 2019 17:42
    0
    I assembled the device according to this scheme. It’s really a profit from an old hairdryer, and the convenience of the “pistol” - bookshelves, behind the TV - etc. - it’s very convenient to crawl around with such a “gun.”
    Now the Scheme Costs are
    First, the motor of my hair dryer barely worked at 9 volts and at 12 volts. Despite the fact that 9V was 2 amperes, and 12 - 1. As a result, a power supply from an old laptop with 19v 2 amperes was taken for power. So that there is traction. So here you need to select a specific hair dryer. So engines go from 9V to 24V on average. But 24 are usually impulse screwdrivers.
    Secondly, the back part does not need to be cut off entirely, as in the instructions. And cut out the mesh on different models - and select the neck of the bottle so that it looks neatly out of the hole from the mesh.
    Third, regarding the bag, I suggest a modification - the ideal option is a SOCK. You don’t have to sew anything, and at home you’ll always have a sock without a pair. Vacuumed it, turned it inside out, shook it out - everything was ready.
    Fourth - the very first retracted bolt tore the fan away from the mounting axis. I had to disassemble and glue, solder plastic, reinforce. Moral - Before final assembly, check the “plastic” of the fan by retracting the bolt. Or strengthen it in advance (Mesh for putty on the wall - with glue on top and that’s fine)

    P.S.
    For those who are in the tank and yelling about “dust in the brush assembly” - When disassembling the used hair dryer after a woman’s hands, hair was everywhere, including wound around the fan axis. The brush assembly is clean. When “collecting” dust, the engine, as well as the brush assembly, find themselves “under” the umbrella of the fan (its central, wide part). Therefore, all this is skepticism, it is unlikely that it will have much impact.

How to make a metal scriber from a bolt and a drill bit

Installing a circulation pump in a heating system using a bypass

How to make a low battery indicator without transistors with a clear response threshold

How to make bicycle wheel lights with your own hands

«Do it yourself - with your own hands» - a site of interesting homemade products made from scrap materials and items at home. Step-by-step master classes with photos and descriptions, technologies, life hacks - everything a real master or just a craftsman needs for needlework. Crafts of any complexity, a large selection of directions and ideas for creativity.

We recommend reading

Washing machine error codes