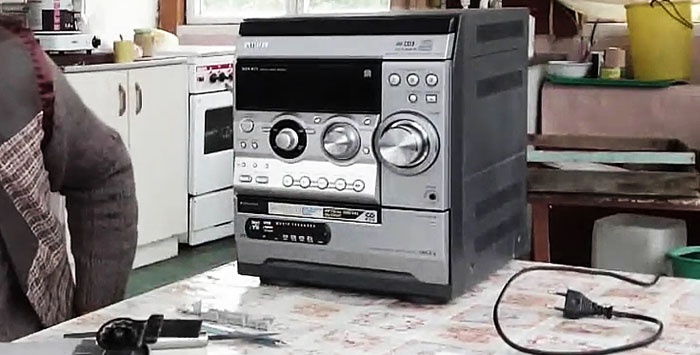
I have an old music center, which over time “moved” to the dacha, but I really like it. The appearance of the device is so-so, but the sound is simply gorgeous! I'm especially fascinated by its low-frequency amplifier.
The music center is in good condition and works great. There is a CD changer for three discs, two decks, one of which records. But, unfortunately, there is no ability to read information from modern media - USB drives and MicroSD flash memory cards.
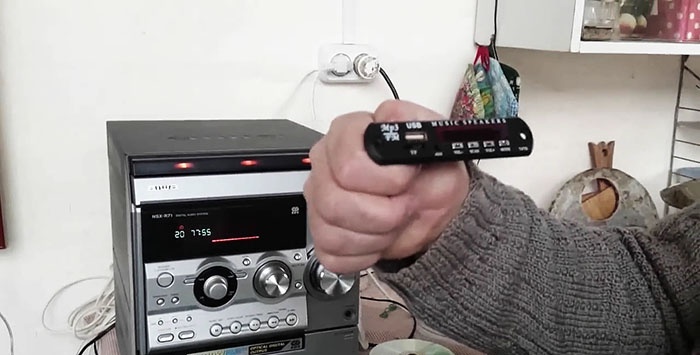
And here in the catalog AliExpress I discovered a wonderful MP3 player in the form of a built-in panel, on the front side of which there are slots for connecting USB and MicroSD memory cards. In addition, the player controls are displayed on the panel and there is a small display. The device also contains an FM tuner. It is powered by 5 Volts (although there are also models with 12 V power supply). There are exactly the same models with a Bluetooth module.
Having assessed the size and appearance of the device, I decided to integrate the player into my music center.I’ll tell you today how I did it and what came out of it.
Required Tools
For work we will need:
- Built-in MP3 player 5V;
- screwdriver;
- soldering iron with solder and flux;
- installation wires;
- a tool for creating a slot in a plastic case (vibration cutter);
- multimeter;
- screwdriver, 2 self-tapping screws and a 2mm drill.
Sequence of modernization of the music center
For the player to work you need to connect:
- power circuits (to the +5 Volt voltage source);
- output signal circuits (left and right channel).
Since there is an AUX mode in the center, and there are corresponding tulip-shaped connectors on the rear panel, I decided to connect the player’s output signal circuits to the AUX connectors from the inside.
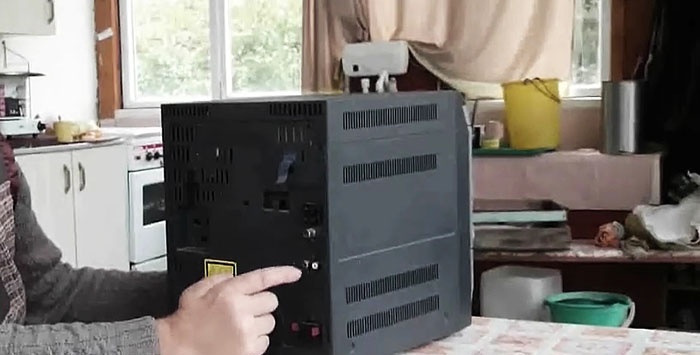
So, to find the connection points for the +5 Volt power supply circuits and access the inside of the AUX connectors, remove the side cover of the case.
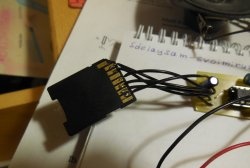
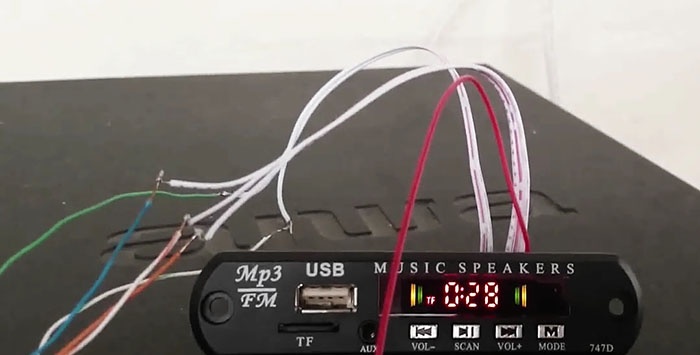
On the common board of the music center we find three points labeled AUX: GND – common, R – right, L – left. We will solder the terminals of our player GND, RO and OL to them, respectively common, right, left.
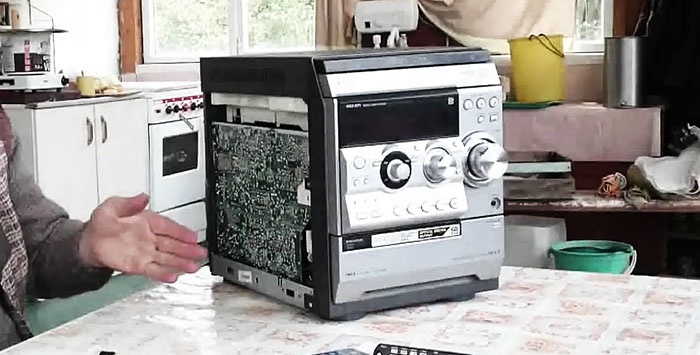
On the cable going from the power supply of the music center to the common board, we are looking for a voltage source of +5 Volts. Since the points on the board are not labeled, we find the required voltage by taking measurements with a multimeter. To do this, we connect one of its probes to the GND contact or to the chassis of the music center, which is connected to ground (GND), and with the second probe we check all the wires of the loop. Yes, it is very important to perform the search with the AUX mode turned on, since it is in this mode that I plan to listen to the player in the future.

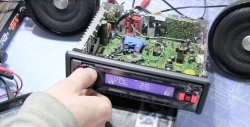
After finding the connection points, I solder all five wires of the player according to a temporary diagram (the sixth ANT pin - I don’t use the antenna, since there is its own FM tuner in the center).When soldering the music center, be sure to disconnect it from the network. I place the player on the top panel of the music center and plug it into the network without putting the side cover back.
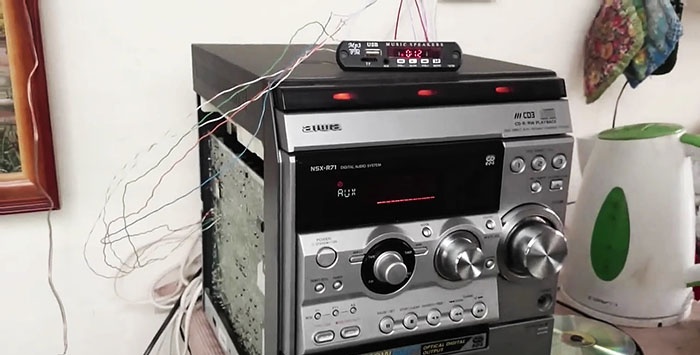
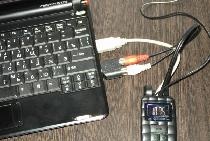
I turn on the AUX mode and, by inserting a MicroSD card with music recordings into the player slot, I make sure that the player is working.
All. Now you can begin the final installation. I chose the location of the player on the outer cover of the cassette deck, which is of sufficient thickness. Having marked the future hole, I carefully cut through the plastic.
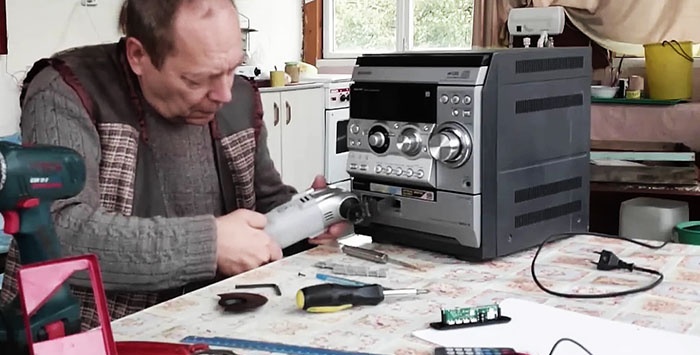
When installing the player, only its front panel should be outside. The player is secured with two self-tapping screws screwed into the prepared holes.
The temporarily soldered wires are unsoldered from the board, the entire resulting cable is carefully tied into a bundle, laid and secured inside the body of the music center, after which the wires are finally soldered.
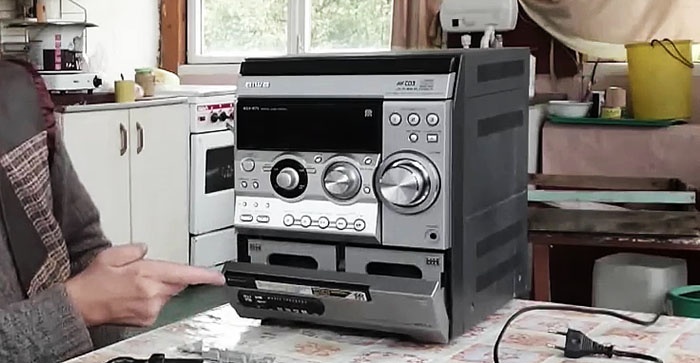
That's it now. You can close the lid and turn on the music center. All cassette decks have retained their functionality and work great.
Conclusion
I would like to remind you that you can begin work of this kind with a clear understanding of the danger of electric shock. It should be remembered that a household voltage of 220 Volts is lethal. Connecting electrical appliances with covers removed to the network is strictly prohibited during operation.
Therefore, when manipulating something that is plugged into the network without a cover, you need to be extremely careful and careful not to touch the board with your hands. When working with a multimeter, you should not allow the probe to short circuit adjacent contact pads on the board, which can lead to damage to the music center circuit.
Regarding the 5 V power supply, if for some reason you were unable to find it, but a voltage of 9 - 15 Volts is available, then you can use another modification built-in MP3 player with 12 V power supply, it just works in this range.